Співпраця
МИСТЕЦТВО
КРАСА ТА ЗДОРОВ'Я
РЕМЕСЛО
КУЛЬТУРА ТА ІСТОРІЯ
РОЗВАГИ
СЕРЕДОВИЩЕ
ЇЖА ТА НАПІЇ
ЗБОРНА ІНЖЕНЕРІЯ
НАУК
СПОРТ
ТЕХНОЛОГІЯ
НОСИМО
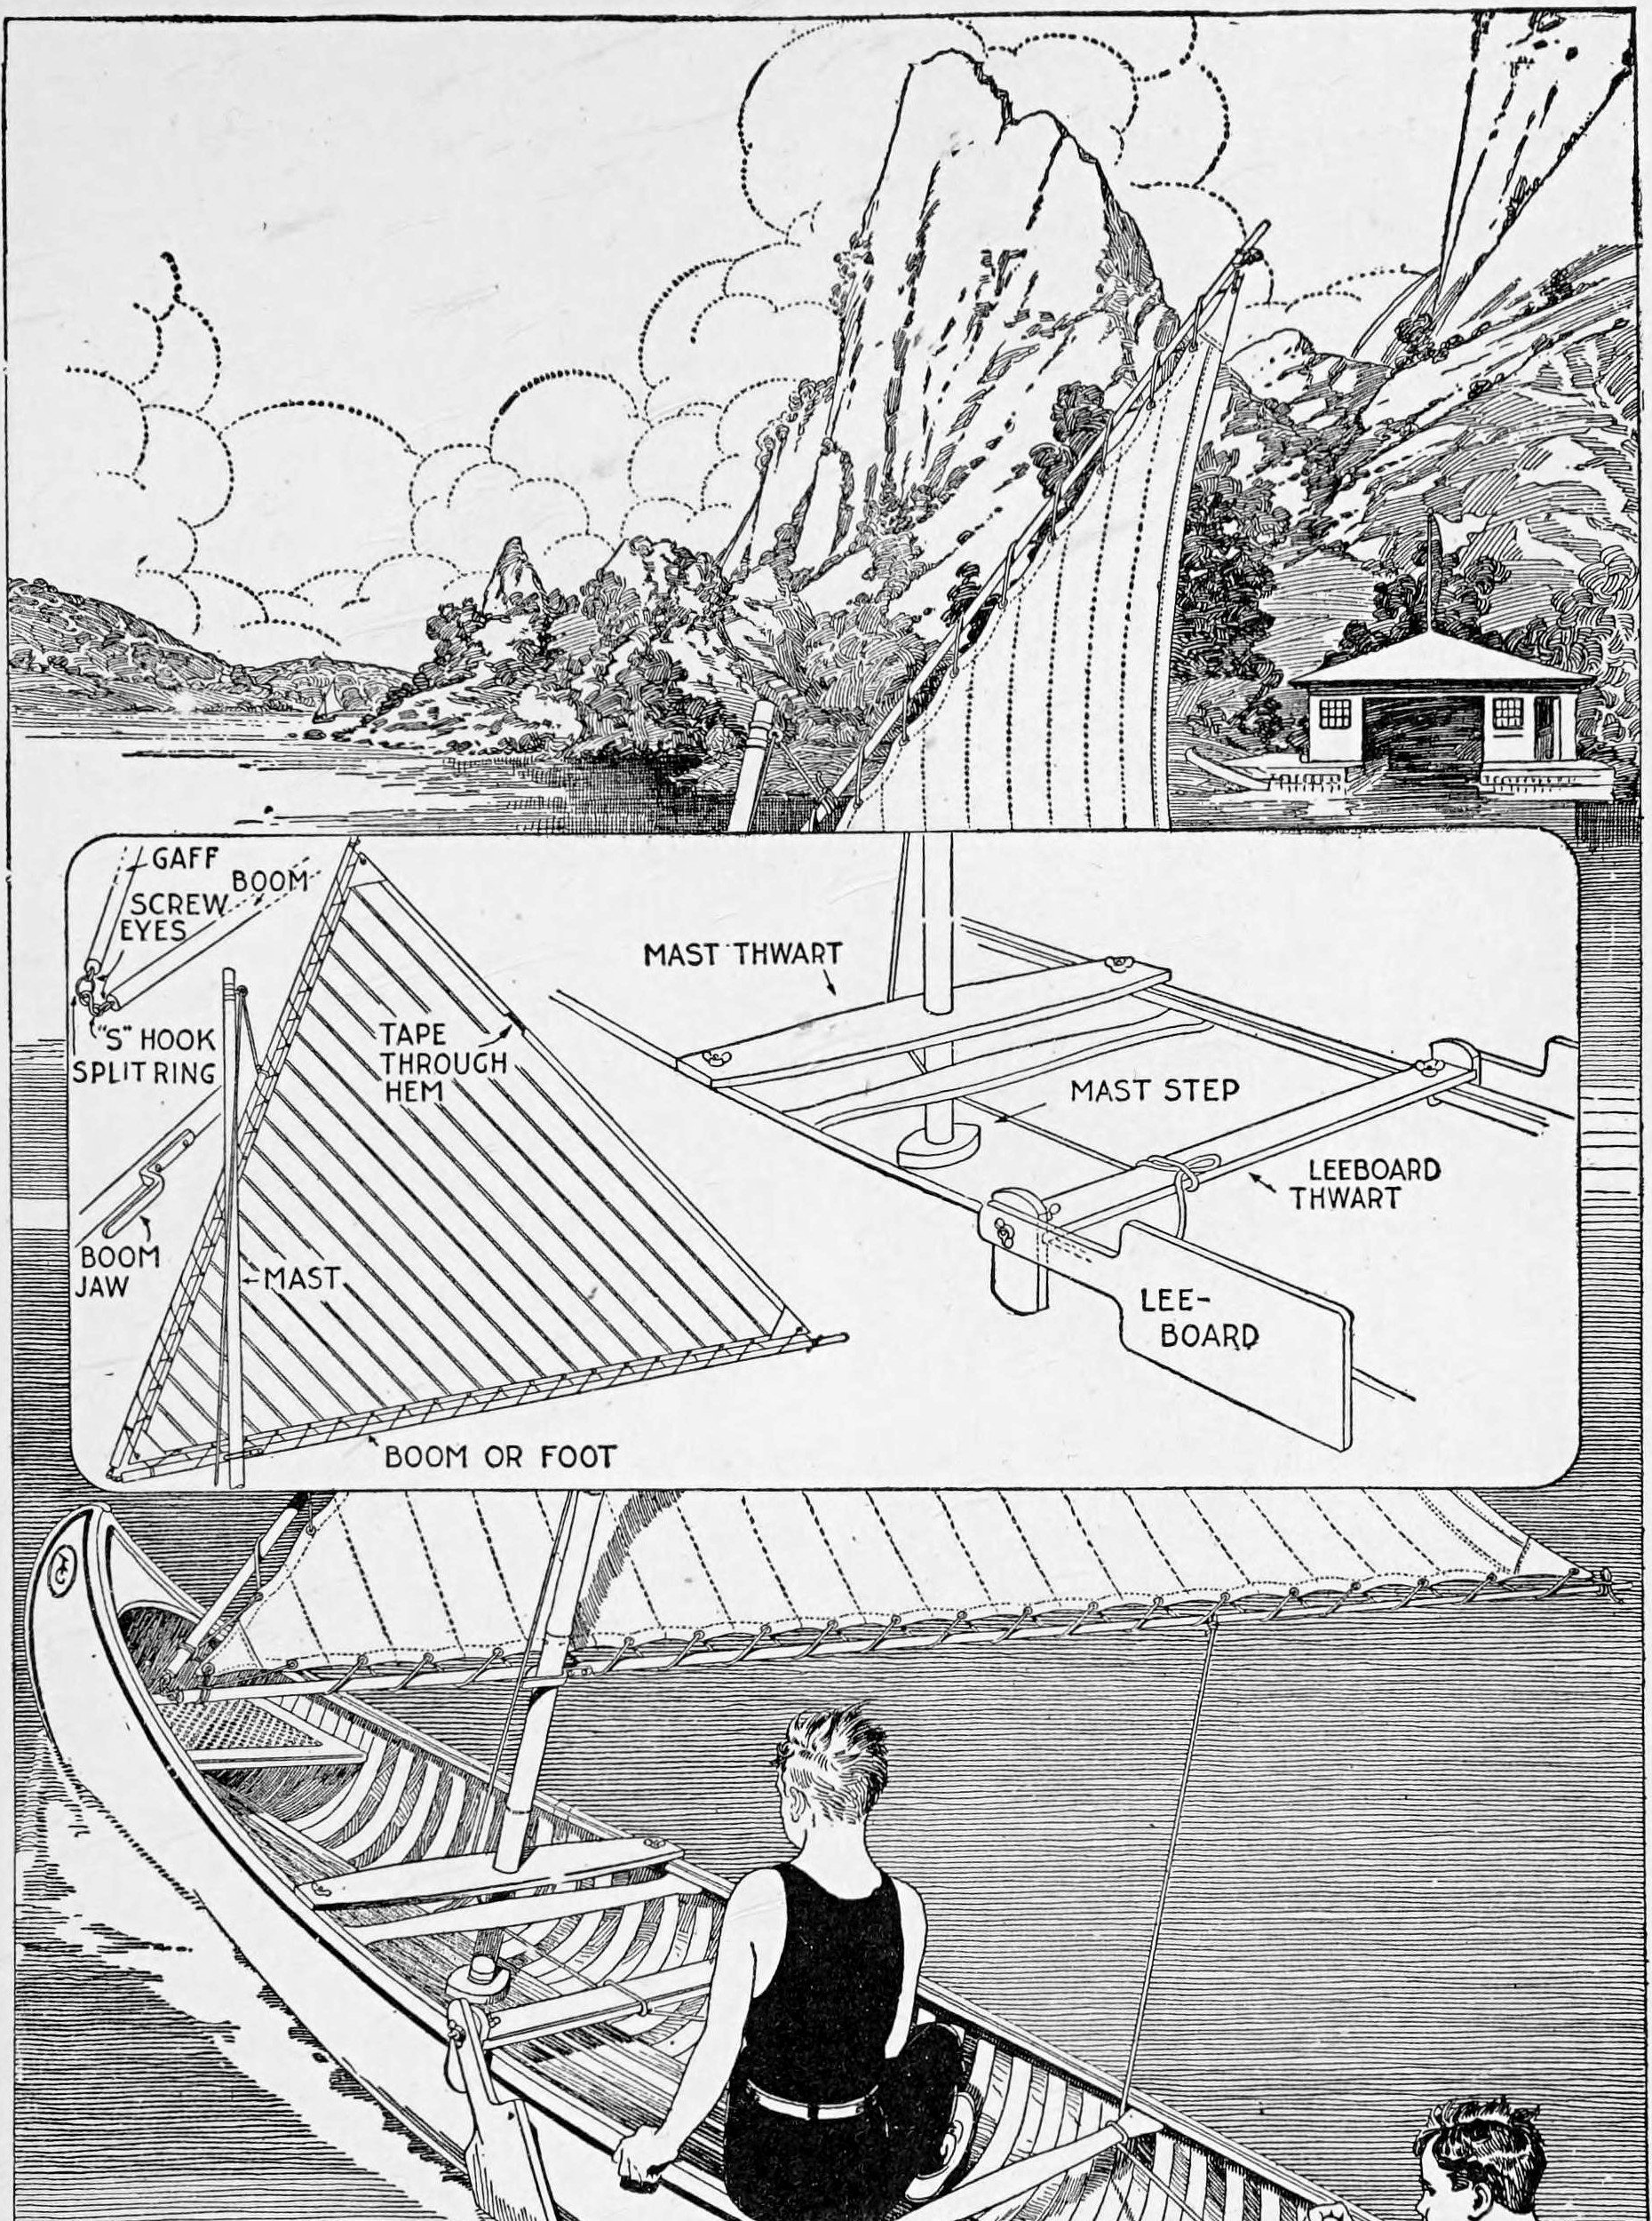


Canoe Sailing Rig: Bamboo Mast, 9 ft Lateen Sail, Clamp-In Mast Thwart and Leeboards (Boy Mechanic, 1919)
Stillman Taylor's sailing outfit for a 16 ft open canoe from The Boy Mechanic, Book 3 (1919): a 6 ft 10 in bamboo mast, a 9 ft lateen sail of cotton sheeting on two bamboo spars, a mast thwart and leeboard thwart that clamp to the gunwales with brass lantern-board hooks, and leeboards set by thumb nuts. Steer with the paddle.
Середній
A few days
Інструкції
1
1
Rig sizes and sail area
Rig sizes and sail area
Завантаження блокнота Jupyter…
2
2
Read The Boy Mechanic, Book 3
Read The Boy Mechanic, Book 3
"The lateen rig is best for an open canoe, because a shorter mast is required for the same sail area ... It is not safe to rig a canoe too heavily, and the rig described has been found to be well proportioned."
3
3
Make the mast
Make the mast
Cut bamboo 1-1/2 in across to 6 ft 10 in (carpet dealers' rolling bamboo of 1-1/2 to 2 in serves). Whittle a tapered wooden plug about 3 in long to wedge firmly in the top without splitting the cane, bore a small hole through the cane 2 in from the top, and fix a screw eye into the plug for the halyard. Drive small brads through the cane into the plug, and fit a brass ferrule over the end.
Матеріали для цього кроку:
 Бамбукові жердини1 штука
 Дошка з твердої деревини1 штука
 Шуруп-кільце1 штука
 Цвяхи1 штука
 Металеве кільце1 штука
Необхідні інструменти ({count})
 Ручна пилка
 Ніж для шкіри
 Ручний дриль
 Молоток
4
4
Make the spars
Make the spars
Use two bamboo fishing rods, 1 in at the butt and 10 ft long, as gaff and boom. Fix a 1-1/2 in screw eye with a 1/2 in eye at the end of each and join the spar ends with a 1-1/2 in brass split ring and a 1-3/4 in brass S hook. Fasten the 2 in brass boom jaw on the boom with its open end 18 in from the boom's forward end.
Матеріали для цього кроку:
 Бамбукова жердина2 штукШуруп-кільце2 штук
 Розрізне кільце (для ключів)1 штука
 S-подібний гак1 штука
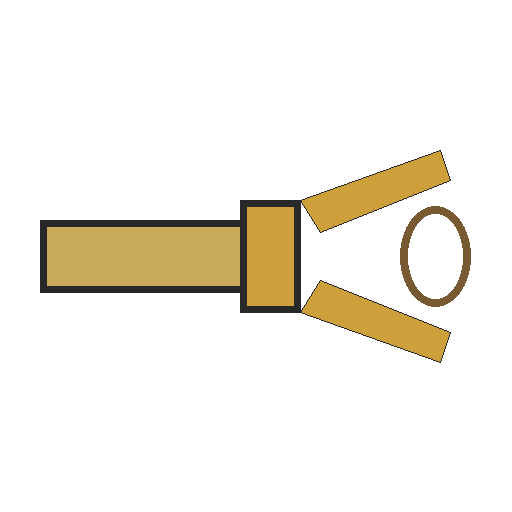 Вуса гіка1 штука
 Шурупи по дереву1 штука
Необхідні інструменти ({count})
Ручний дриль Викрутка пласка
 Рулетка
5
5
Sew the sail
Sew the sail
Lay the spars on the cloth and pencil a triangle 9 ft on each side. Sew the widths of 1 yd unbleached cotton sheeting together, lapped about 1/2 in and stitched close to both edges, preferably on a machine. Sew bights (folds) 1/2 in wide, 6 in apart, parallel with the leech. Reinforce the corners with segments of cloth. Along the edges lashed to the spars fold and sew 1 in hems, running a 1/2 in tape into the leech hem; fasten the tape to the spar at each end to take up stretch and stop a flapping leech.
Матеріали для цього кроку:
 Бавовняна тканина8 yard
 Швейні нитки1 штука
 Бавовняна кіперна стрічка1 штука
Необхідні інструменти ({count})
 Швейна машина
 Ножиці
 ОлівецьРулетка
6
6
Make the thwarts and mast step
Make the thwarts and mast step
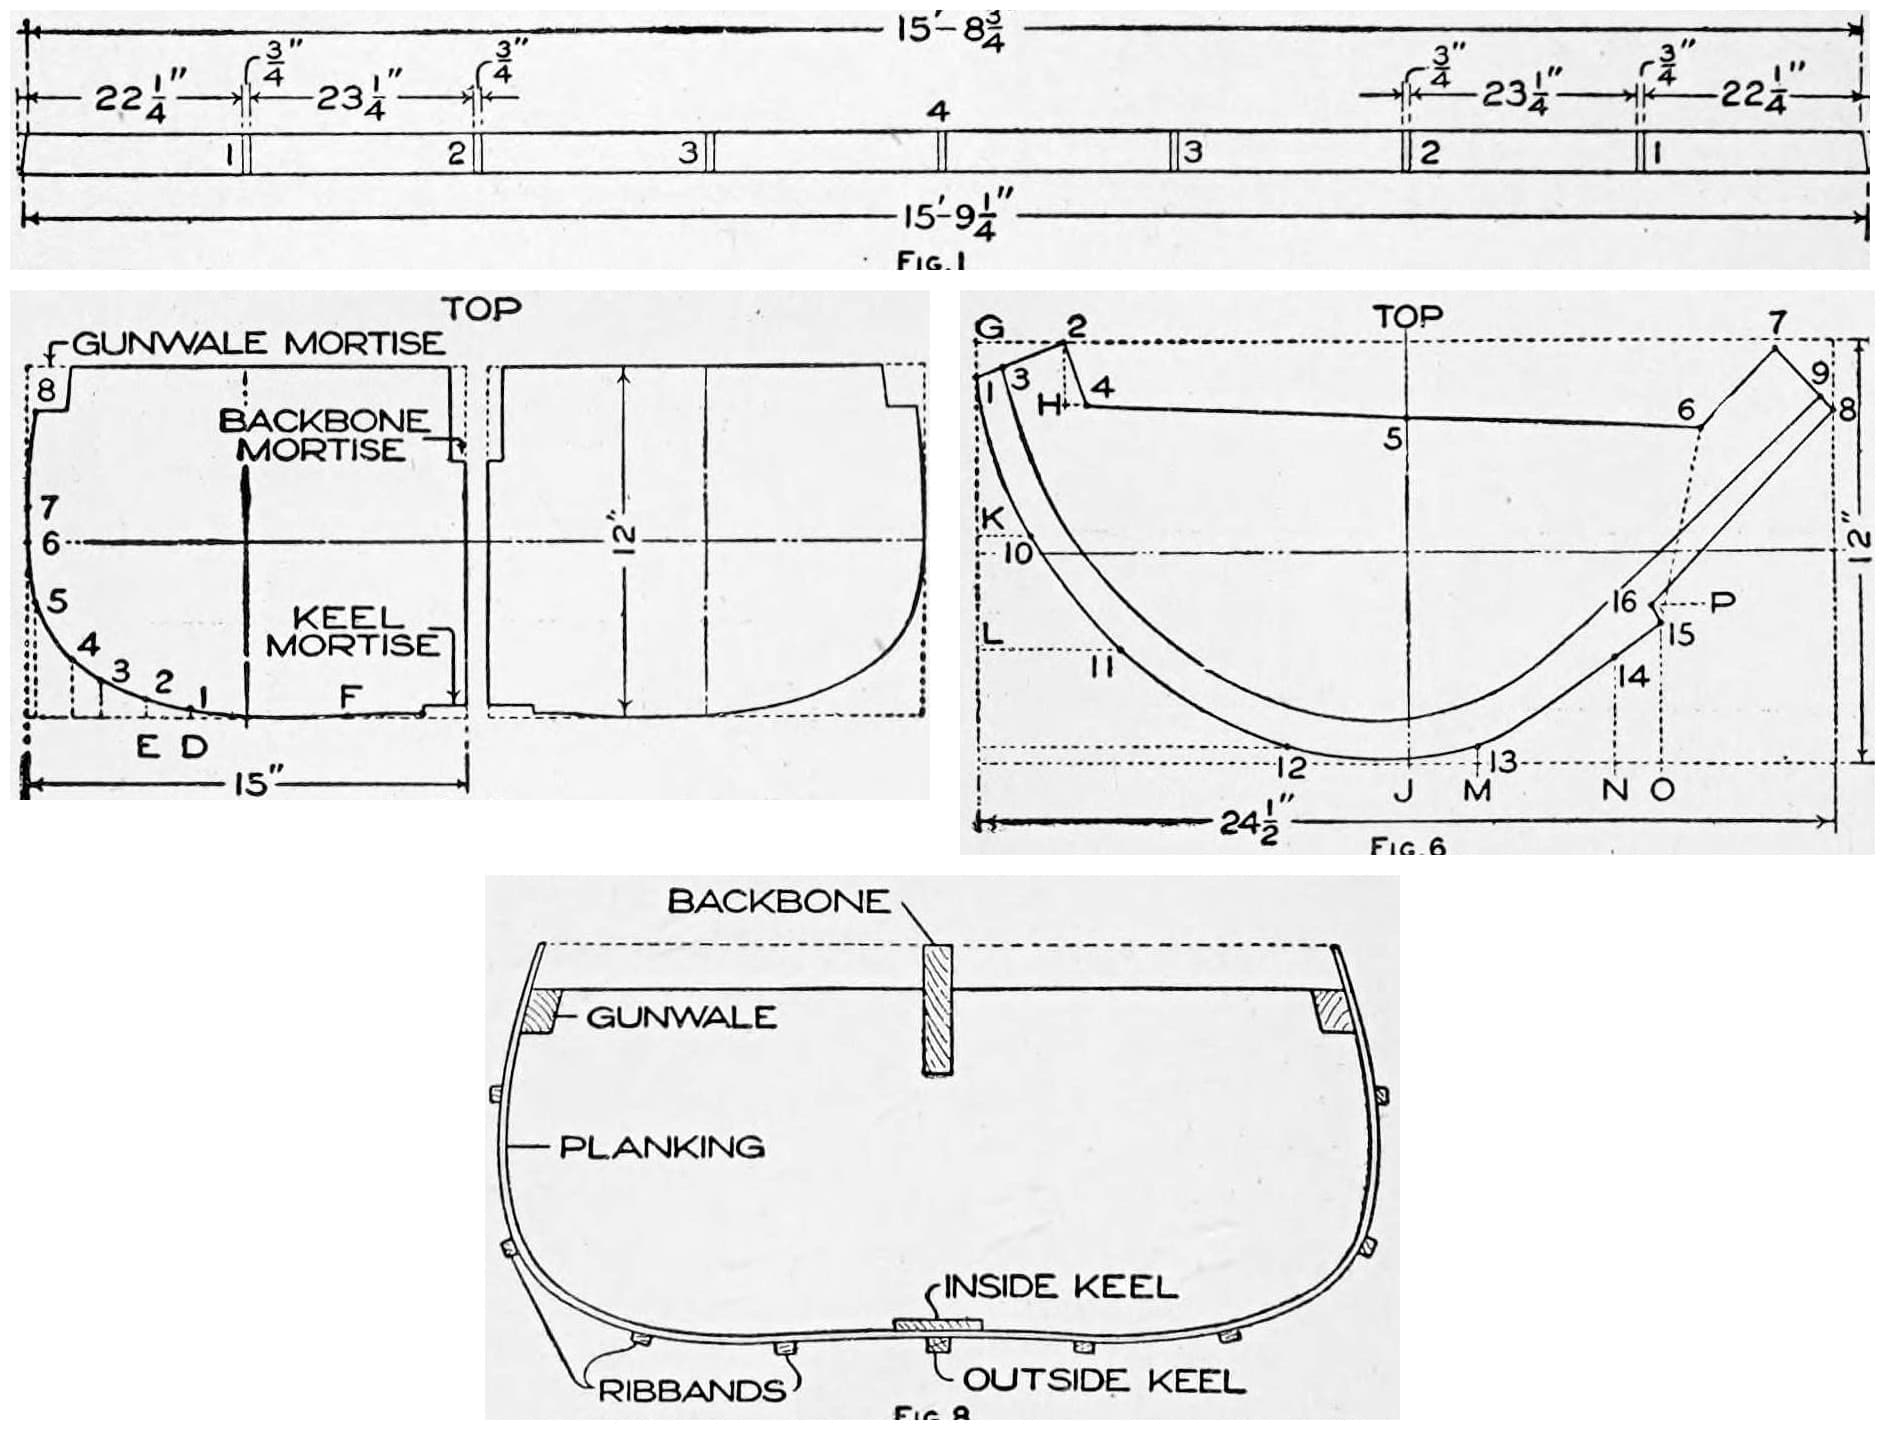
Mast thwart: two cedar or pine boards 28 by 10 by 3/8 in and a piece 27-1/2 by 3-1/2 by 3/4 in, made as in the plate with a hole in the centre for the mast and a brass lantern-board hook at each end to clamp it to the gunwales. Mast step: a block 5 by 2-1/2 by 1 in, shaped neatly, fixed to the grating (or the ribs). Leeboard thwart: cedar or white pine 5 ft by 4 by 7/8 in, with short upright ends set at an angle to the canoe's curve so it wedges in just aft of the mast; groove the ends to the thwart and screw them on. He gives no leeboard sizes; bolt a leeboard to each end with a 3 in by 5/16 in brass bolt, washer and thumb nut so its angle can be set.
Матеріали для цього кроку:
 Кедрова дошка4 штук
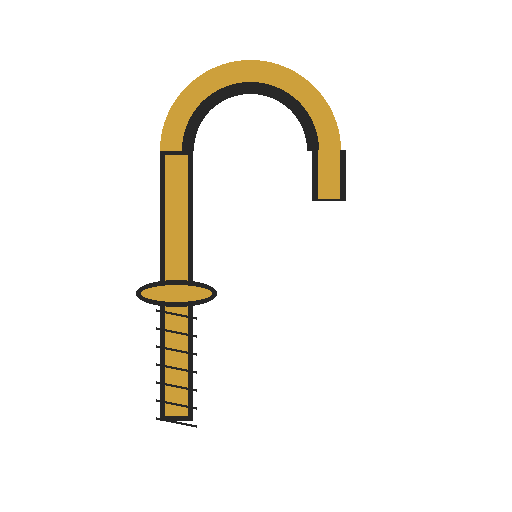 Гак для ліхтарної дошки4 штук
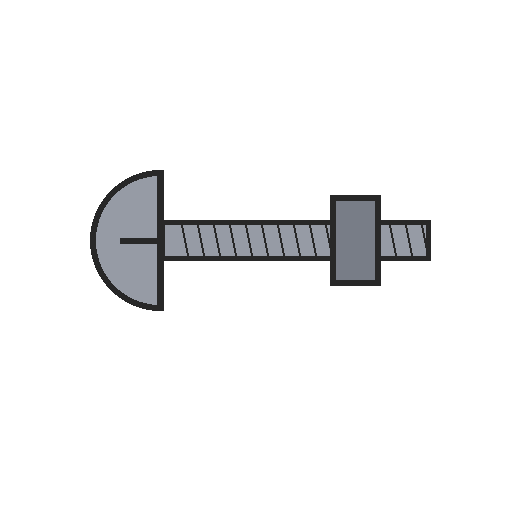 Пічний болт2 штук
 Плоска шайба2 штук
 Гайка-баранець2 штукШурупи по дереву1 штука
Необхідні інструменти ({count})
Ручна пилка Лобзикова пилка
 Ручний рубанок
 Стамески
 Коловорот із перкоюВикрутка пласка
7
7
Finish and rig
Finish and rig
Smooth all woodwork with sharp tools, sandpaper lightly, and give three coats of spar varnish. Lash the sail to the spars, run the 1/4 in cotton-rope halyard through the screw eye at the masthead until the gaff is close to the top, and find the balance by tying the halyard at different points along the gaff. Run the halyard under the forward thwart to the stern, never tied to it, and loop the main sheet round a thwart and hold it, never made fast.
Матеріали для цього кроку:
 Наждачний папір1 штука
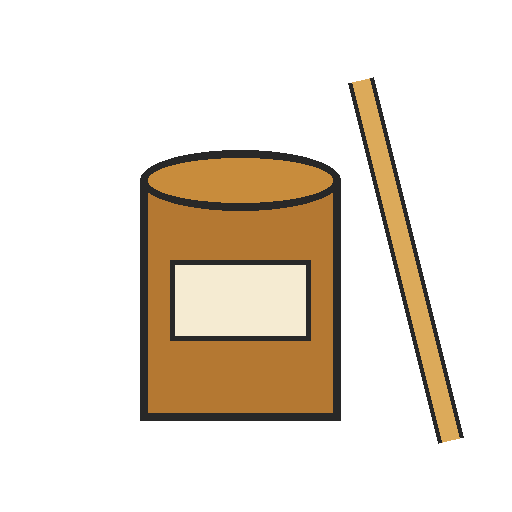 Яхтовий лак (для рангоуту)1 штука
 Бавовняна линва1 штука
Необхідні інструменти ({count})
 Широкий малярний пензельНожиці
8
8
Sailing safely
Sailing safely
Canoe sailing.
Flow
Loading...
9
9
History and honest limits
History and honest limits
From "How to Build a Canoe, Part II" by Stillman Taylor, in **The Boy Mechanic, Book 3**, Popular Mechanics, 1919 (Project Gutenberg 71856; checked on the archive.org scan boymechanic0003unse, pp. 86-88). He gives no leeboard sizes (they vary with the canoe); the list calls the leeboard bolts brass stove bolts with thumb nuts and the text carriage bolts with wing nuts. Cedar for the leeboards, the sail area and the metric figures are ours.
Матеріали
21- 1 штукаЗаповнювач
- 1 штукаЗаповнювач
- 2 штукЗаповнювач
- 1 штукаЗаповнювач
- 1 штукаЗаповнювач
- 2 штукЗаповнювач
- 1 штукаЗаповнювач
- 1 штукаЗаповнювач
- 1 штукаЗаповнювач
- 2 штукЗаповнювач
- 8 yardЗаповнювач
- 1 штукаЗаповнювач
- 1 штукаЗаповнювач
- 4 штукЗаповнювач
- 4 штукЗаповнювач
- 2 штукЗаповнювач
- 2 штукЗаповнювач
- 2 штукЗаповнювач
- 1 штукаЗаповнювач
- 1 штукаЗаповнювач
- 1 штукаЗаповнювач
Необхідні інструменти
14- Заповнювач
- Заповнювач
- Заповнювач
- Заповнювач
- Заповнювач
- 1 vendor sell this, none ship to you yetЗаповнювач
- Заповнювач
- Заповнювач
- 1 vendor sell this, none ship to you yetЗаповнювач
- Заповнювач
- Заповнювач
- Заповнювач
- Заповнювач
- Заповнювач
За цим кресленням виготовляють
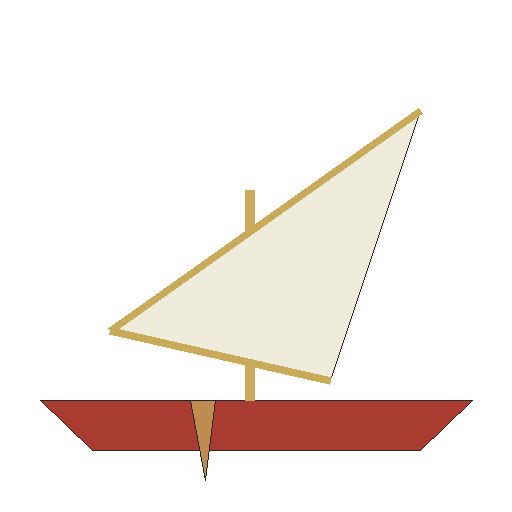
Пов'язані креслення
Ці креслення діляться знаннями — техніки, матеріали або принципи
CC0 Суспільне надбання
Це креслення випущено під ліцензією CC0. Ви можете вільно копіювати, змінювати, поширювати та використовувати цю роботу для будь-яких цілей без запиту дозволу.
Підтримайте мейкера, купуючи продукти через його креслення, де він отримує Комісію мейкера встановлену вендорами, або створіть нову ітерацію цього креслення та включіть його як зв'язок у власне креслення для розподілу доходу.