ART
BEAUTY & WELLNESS
CRAFT
CULTURE & HISTORY
ENTERTAINMENT
ENVIRONMENT
FOOD & DRINKS
REVERSE ENGINEERING
SCIENCES
SPORTS
TECHNOLOGY
WEARABLES
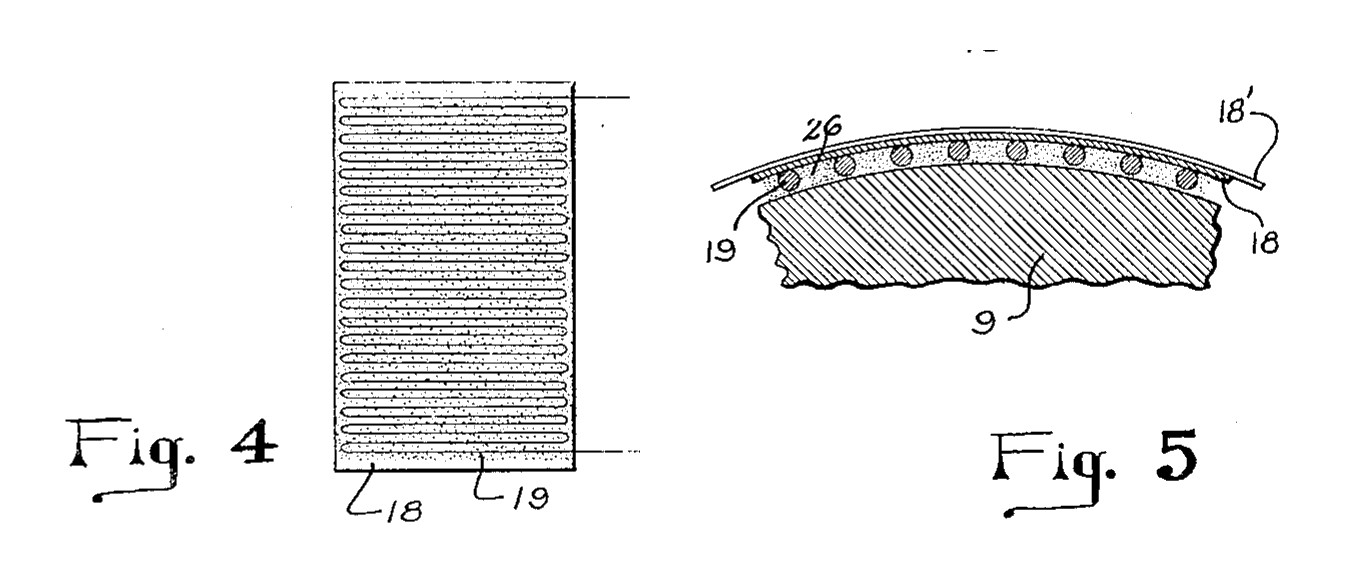


Bonded Wire Strain Gauge on Paper: Simmons, 1942
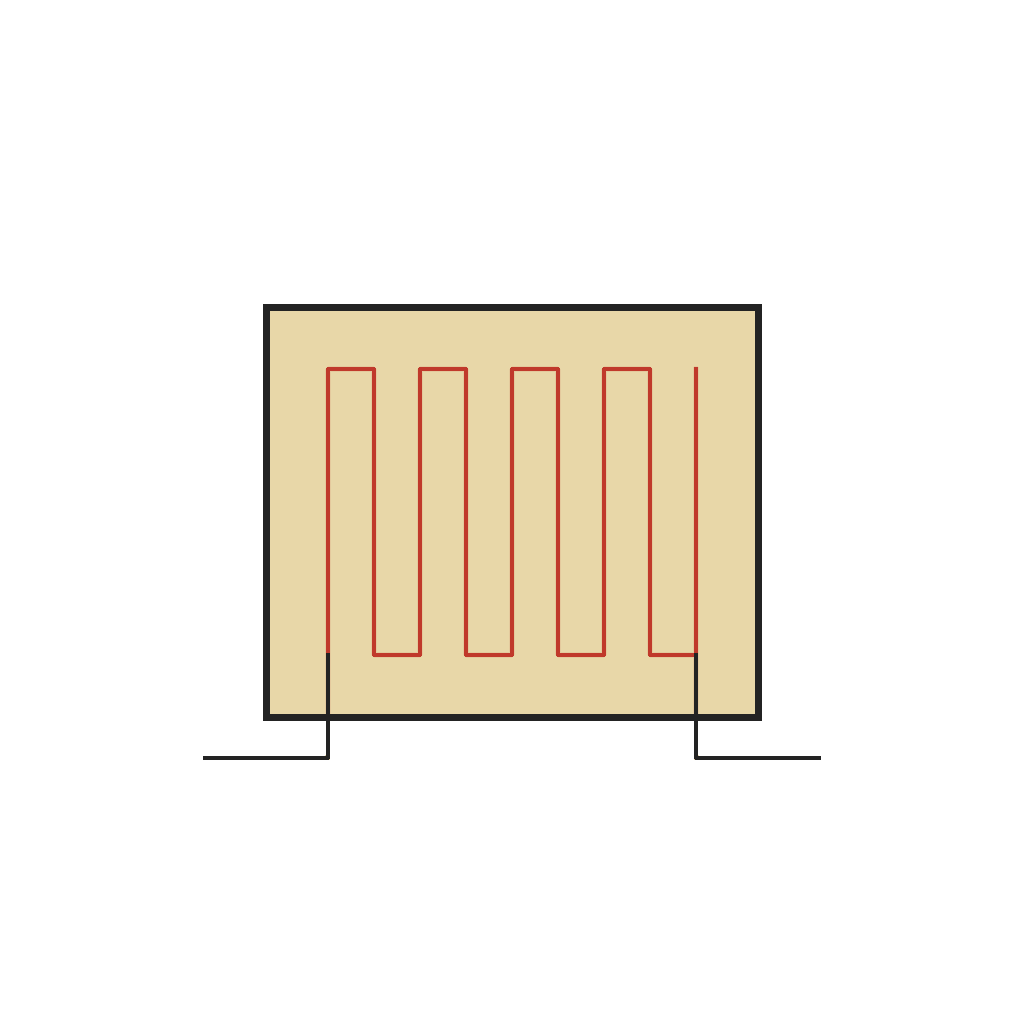
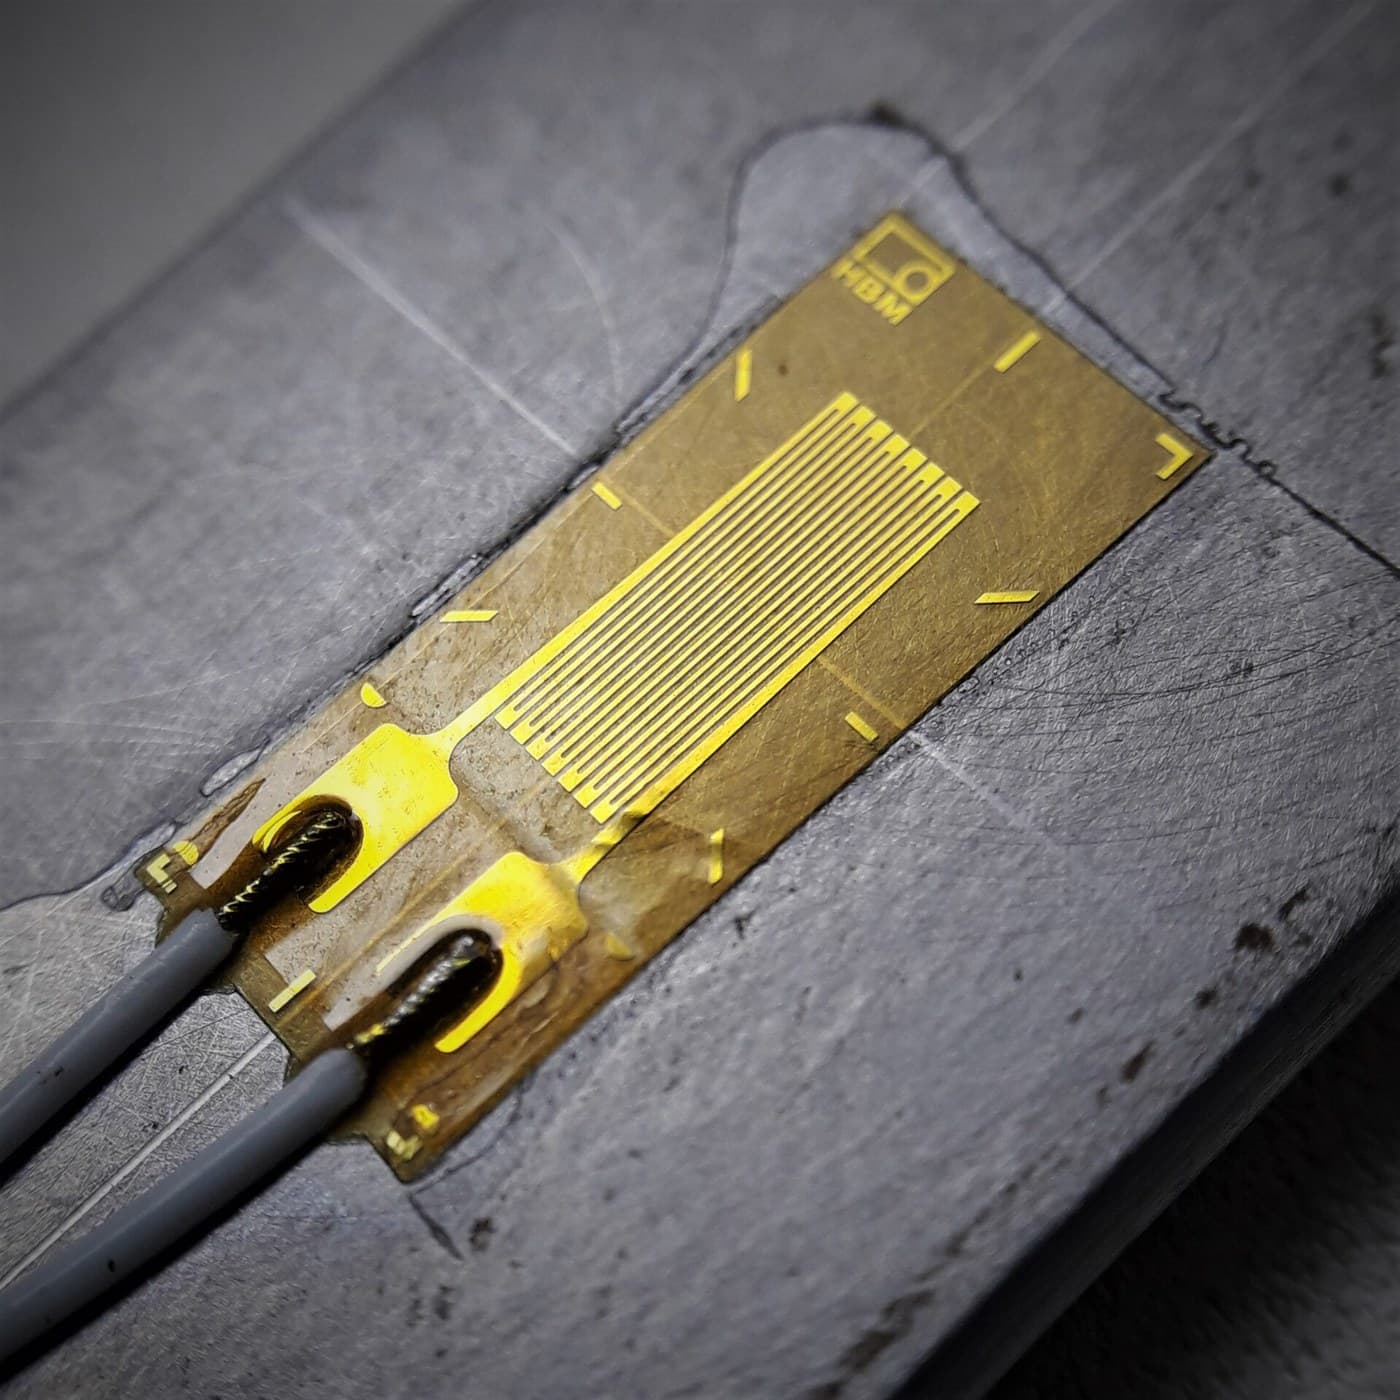
Edward E. Simmons, Jr. of Pasadena patented the bonded wire strain gauge in 1942, US 2,292,549 (filed 1940). A very fine resistance wire is cemented to a member along its entire length, so it stretches and shortens exactly with the surface and its electrical resistance follows the strain. His preferred form: Constantan or Advance wire, about 0.003 inch, wound back and forth on a thin paper, set in Glyptal, then cemented to the member and calibrated.
Advanced
Workshop process
Instructions
1
1
Wind the filament on thin paper
Wind the filament on thin paper
Use a fine resistance wire such as Constantan or Advance (a copper-nickel alloy, about 45 % nickel and 55 % copper); Simmons used No. 40 gauge, about 0.0031 inch. Wind it back and forth across a thin paper in parallel lengths whose alternate ends are joined, the strands very close together but not touching. A winding jig keeps the filament slightly taut.
Materials for this step:
 Constantan Wire1 as required
 Paper1 sheet
Tools needed:
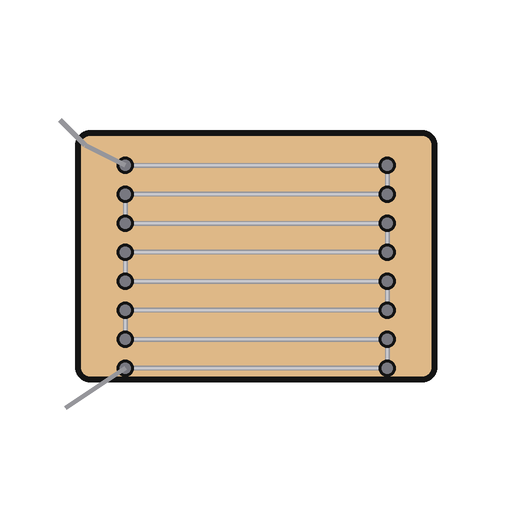 Winding Jig
 Scissors
2
2
Set it in Glyptal
Set it in Glyptal
Cover the wound filament with Glyptal and let it dry and harden thoroughly. Filament and paper now form one gauge unit, the filament lying in the plane of the paper surface.
Materials for this step:
 Glyptal Alkyd Resin1 as required
Tools needed:
 Fine Brushes
 Drying Oven
3
3
Cement it to the member
Cement it to the member
Put Glyptal on the surface of the member and wrap the gauge unit on with the strands running in the direction of the strain to be measured, the paper outside. The small amount of Glyptal on the surface insulates the filament from the member. Hold filament and paper in place by wrapping them with thread, then dry and harden the Glyptal thoroughly.
Materials for this step:
Glyptal Alkyd Resin1 as required Cotton Thread1 as required
Tools needed:
Fine BrushesDrying OvenScissors4
4
Calibrate it
Calibrate it
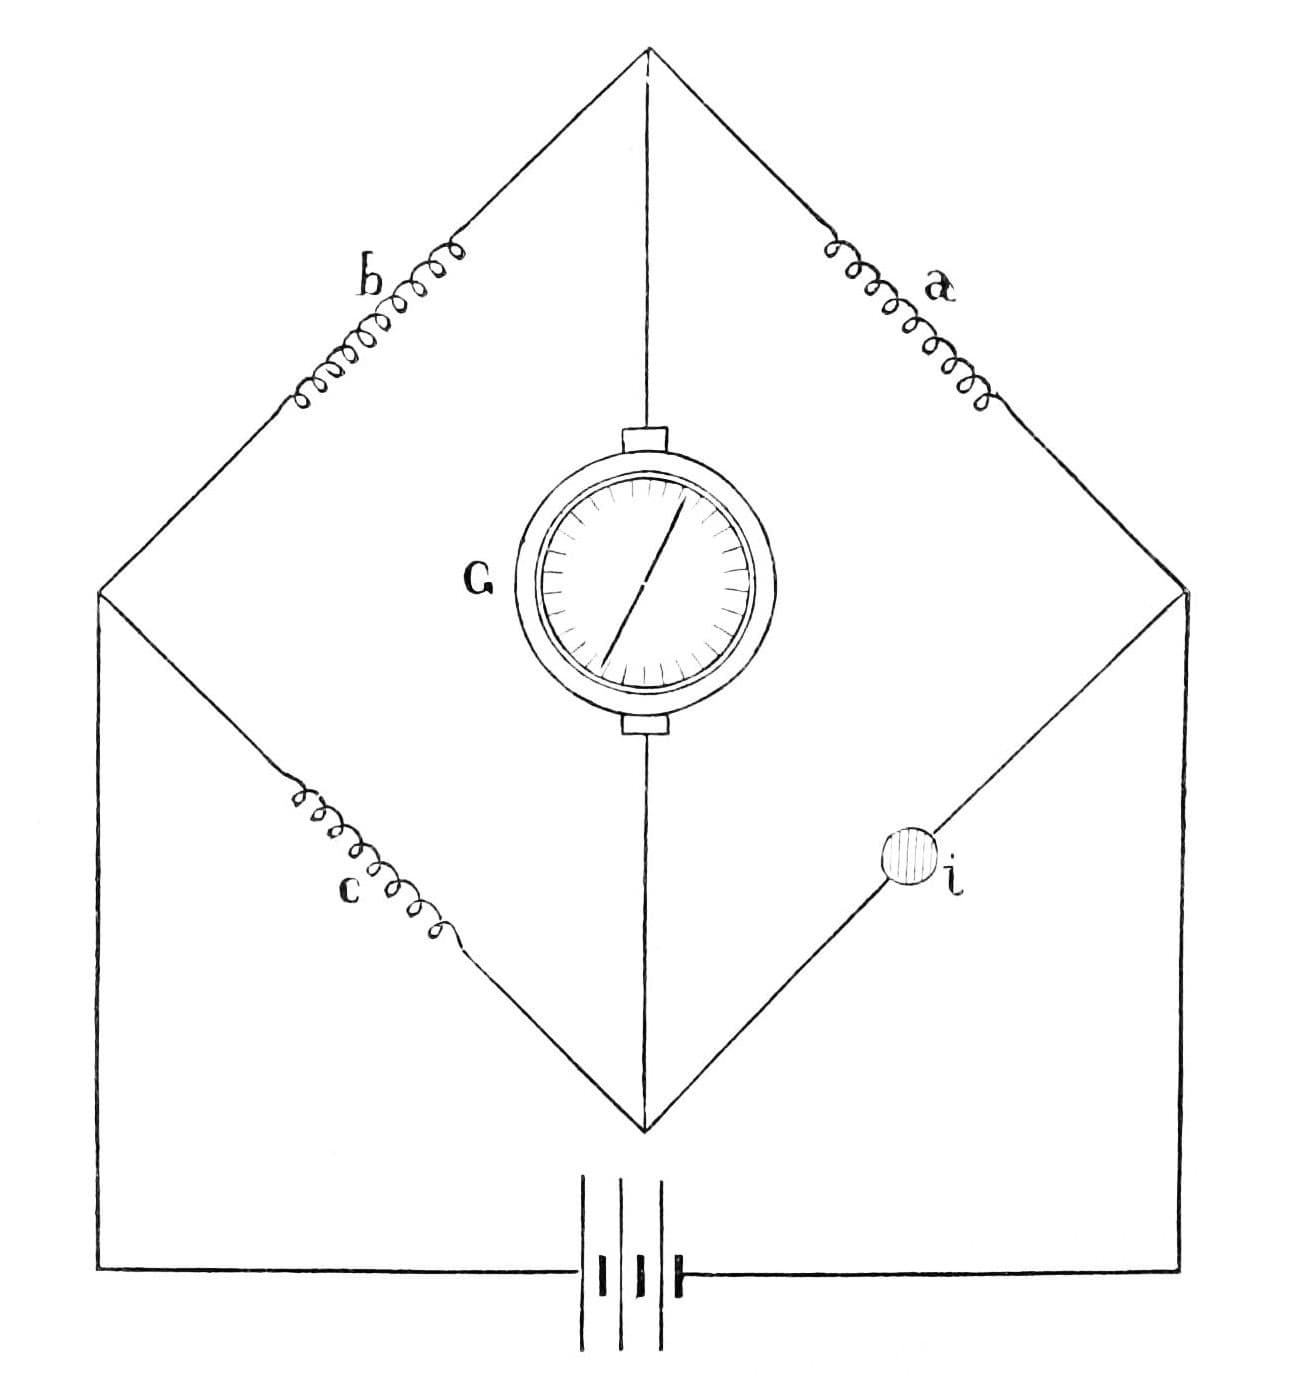
Load the member progressively in a materials testing machine and note the change in the filament's resistance at each load, measured on a Wheatstone bridge in which the filament is one arm. For very fast loads, as in impact tests, an oscillograph takes the place of the galvanometer.
Tools needed:
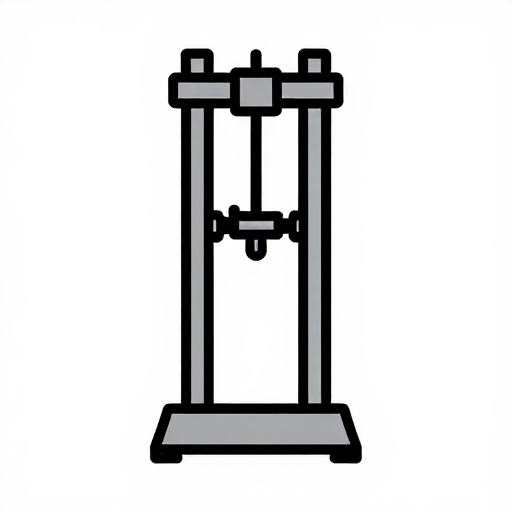 Materials Testing Machine
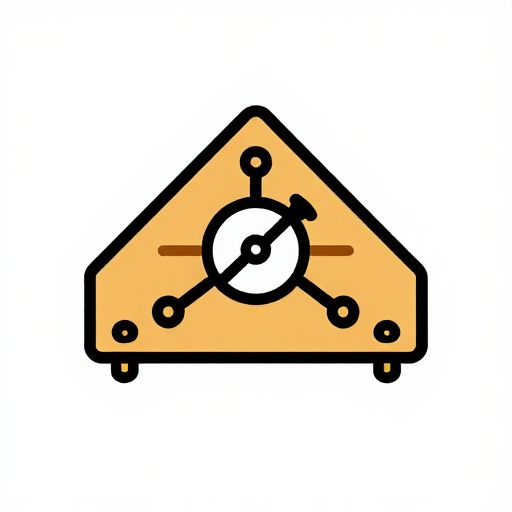 Wheatstone Bridge
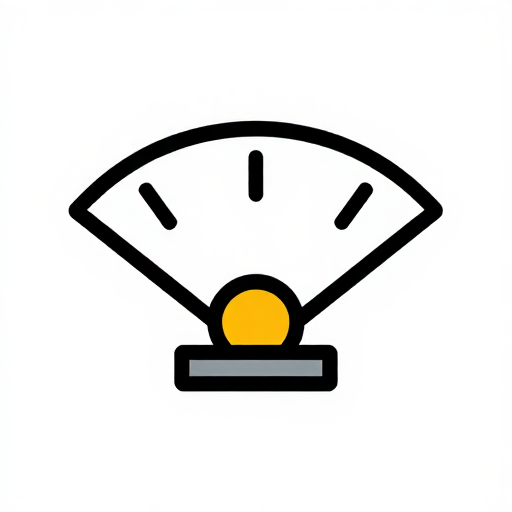 Analog Galvanometer
5
5
Bonding area and signal size
Bonding area and signal size
Loading Jupyter Notebook...
Materials
4- 1 as requiredPlaceholder
- 1 sheetPlaceholder
- 1 as requiredPlaceholder
- 1 as requiredPlaceholder
Tools Required
7- Placeholder
- Placeholder
- Placeholder
- Placeholder
- Placeholder
- Placeholder
- Placeholder
This blueprint makes
Related Blueprints
These blueprints share knowledge with this one — techniques, materials, or principles that connect them in the learning graph.

CC0 Public Domain
This blueprint is released under CC0. You are free to copy, modify, distribute, and use this work for any purpose, without asking permission.
Support the Maker by purchasing products through their Blueprint where they earn a Maker Commission set by Vendors, or create a new iteration of this Blueprint and include it as a connection in your own Blueprint to share revenue.