ART
BEAUTY & WELLNESS
CRAFT
CULTURE & HISTORY
ENTERTAINMENT
ENVIRONMENT
FOOD & DRINKS
REVERSE ENGINEERING
SCIENCES
SPORTS
TECHNOLOGY
WEARABLES
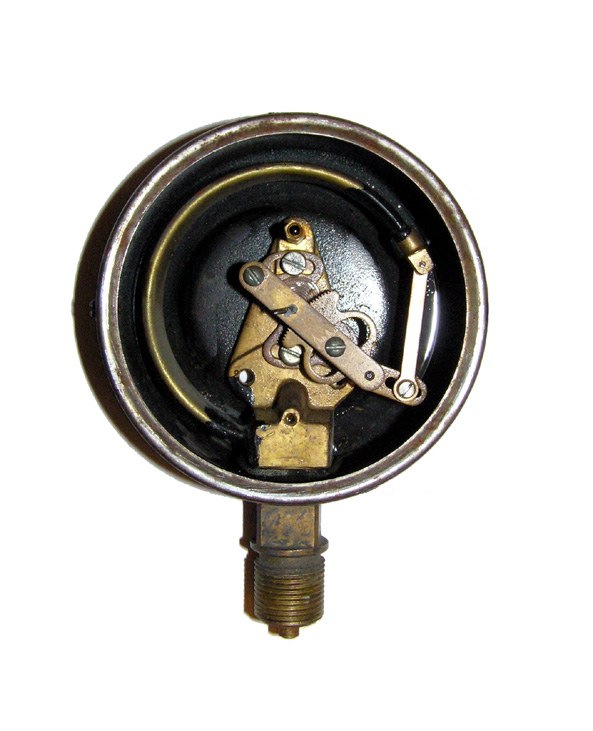


Bourdon-Tube Pressure Gauge
The heart of a dial pressure gauge is the Bourdon tube: a metal tube of oval section bent into a C and sealed at its free end. The greater the pressure, the farther the free tip moves, but only about 0.125–0.25 in (3–6 mm) across the whole range. A geared movement, built much like clockwork, turns that small movement into the sweep of a pointer, usually over 270° of dial. The tube metal must take a spring temper; phosphor bronze is used for most gauges for air, light oil or water, and beryllium copper for high pressure. The tube's wall thickness and the radius of its curve set the pressure range.
Advanced
Factory process
Instructions
1
1
Roll the C
Roll the C
Pass the tubing over a lubricated steel mandrel and between two grooved, powered rollers. One roller grips the end and bends the inside radius while the other presses from outside; the grooves keep the tube from flattening.
Materials for this step:
 Phosphor Bronze Tubing1 as required
Tools needed:
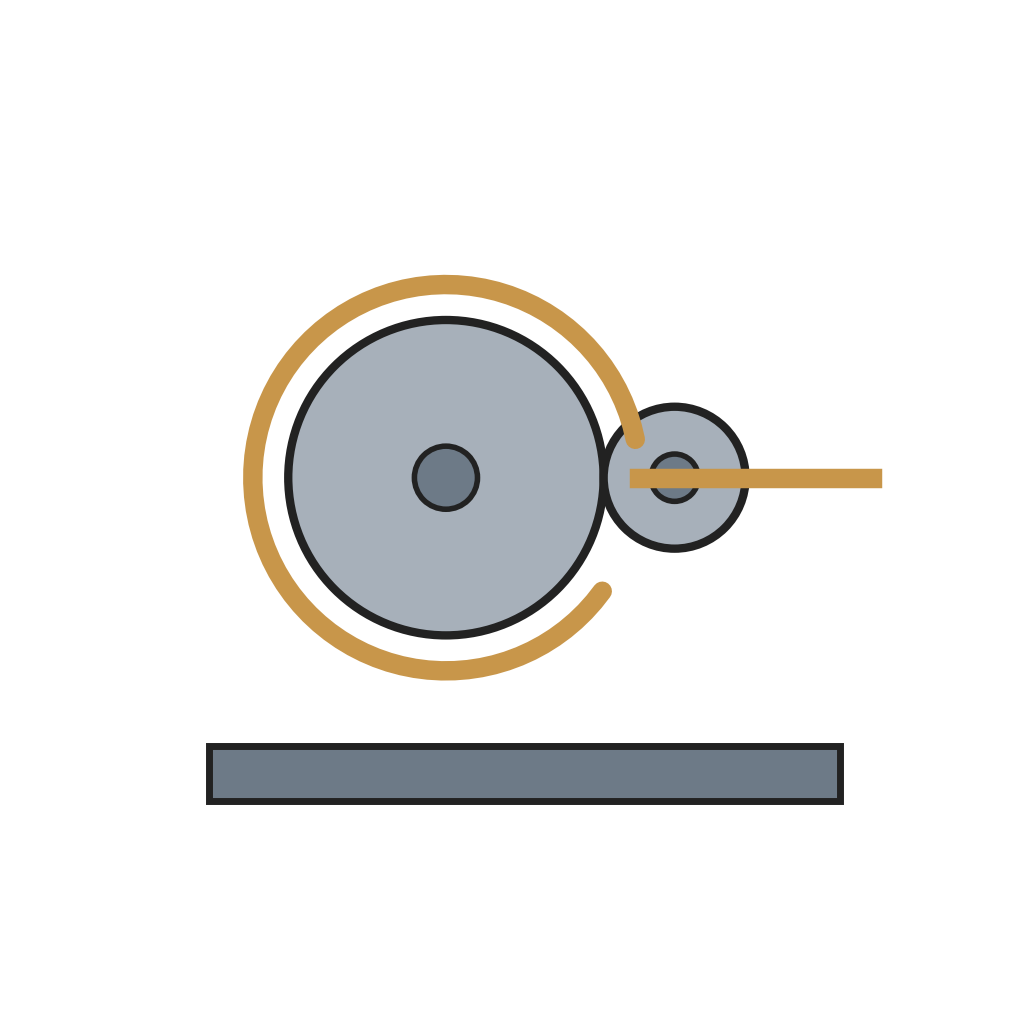 Bourdon Tube Rolling Machine
2
2
Cut and heat treat
Cut and heat treat
As the roller keeps turning, a saw blade on it cuts the tube to length. Heat treat the tubes in ovens to give them their spring temper.
Tools needed:
 Heat Treating Oven
3
3
Machine the socket
Machine the socket
Turn, drill, mill and thread the socket from bar stock in one cycle on a machining centre. One end is threaded to screw into the pressure source.
Materials for this step:
 Brass Round Bar1 as required
Tools needed:
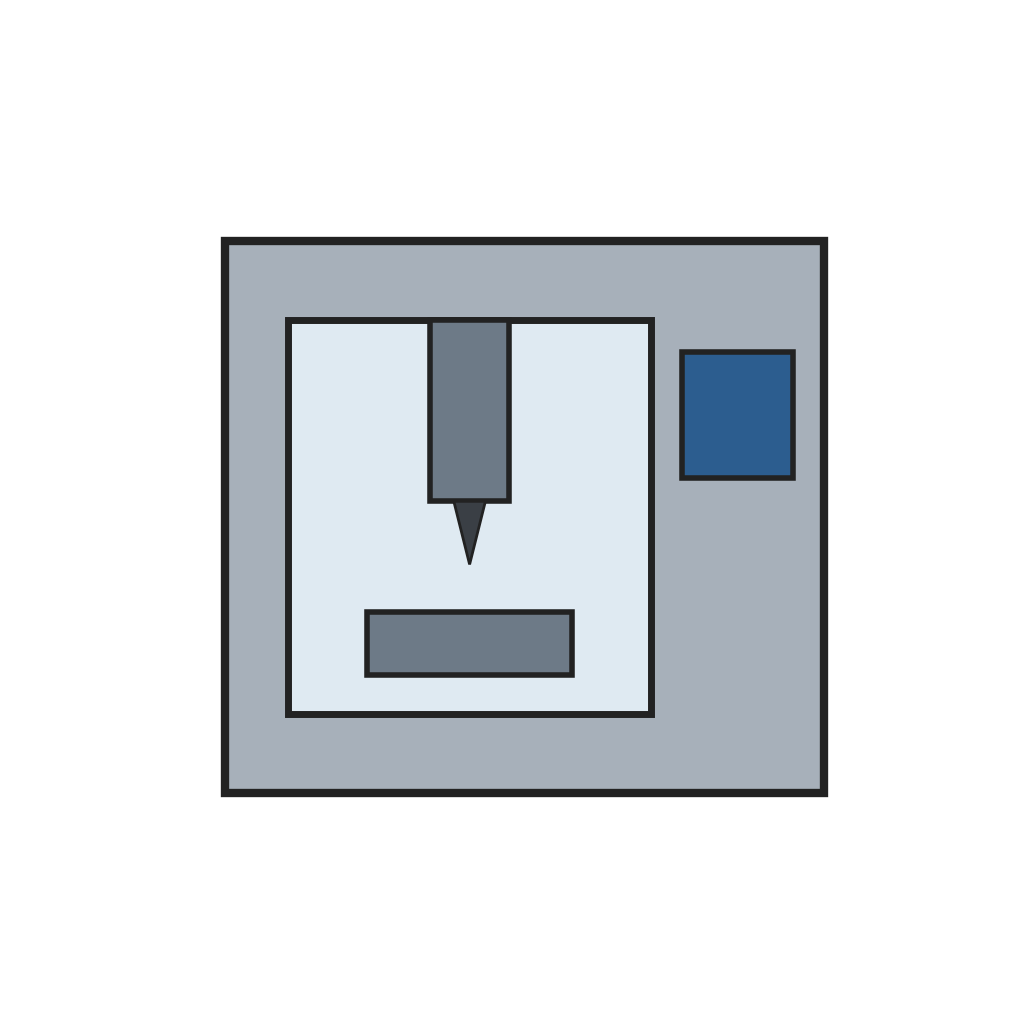 CNC Machining Centre
4
4
Join tube and socket
Join tube and socket
Solder, braze or weld the open end of the tube to the socket, locating the free end precisely, and seal the free end the same way. Fit an endpiece to the tip; its small hole links the tip to the movement.
Tools needed:
 Brazing Torch
5
5
Fit movement, dial and pointer
Fit movement, dial and pointer
Mount the movement, the dial and the pointer onto the socket as a group.
Materials for this step:
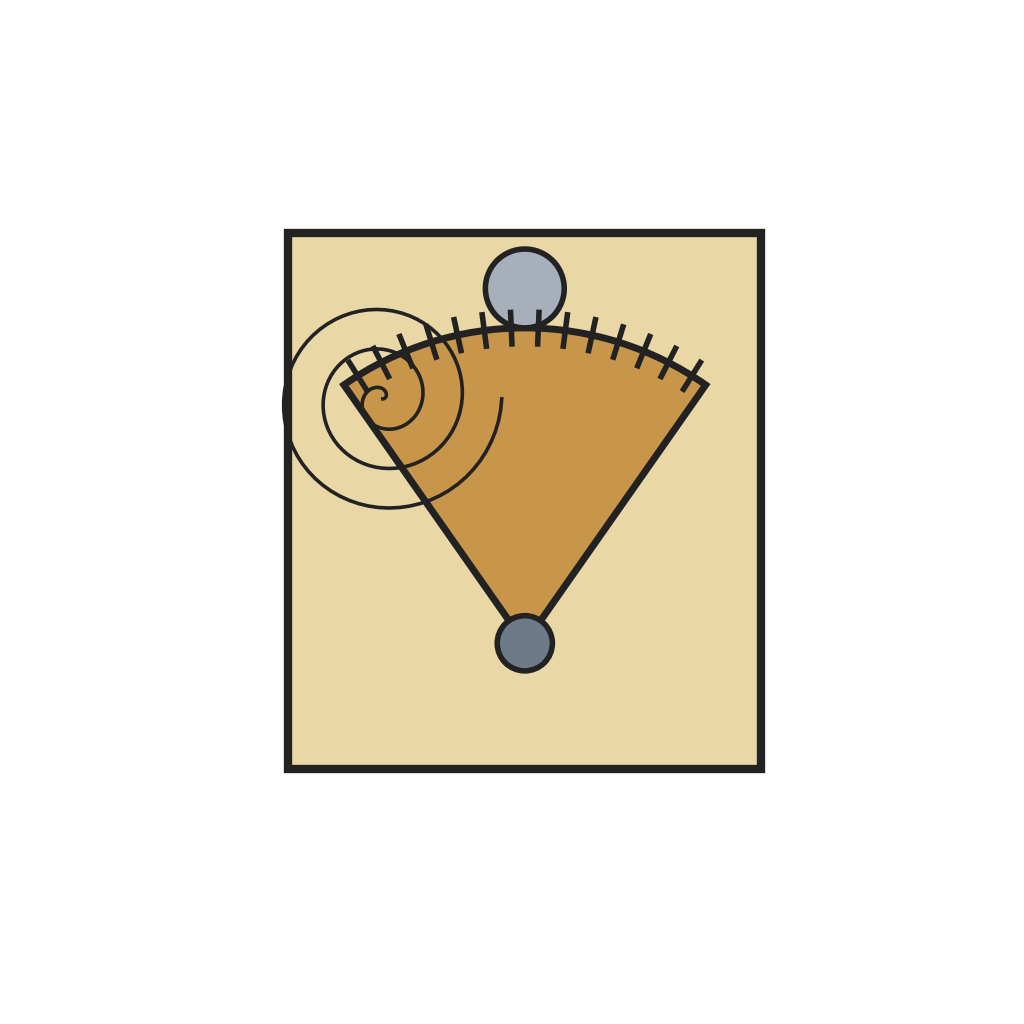 Pressure Gauge Movement1 piece
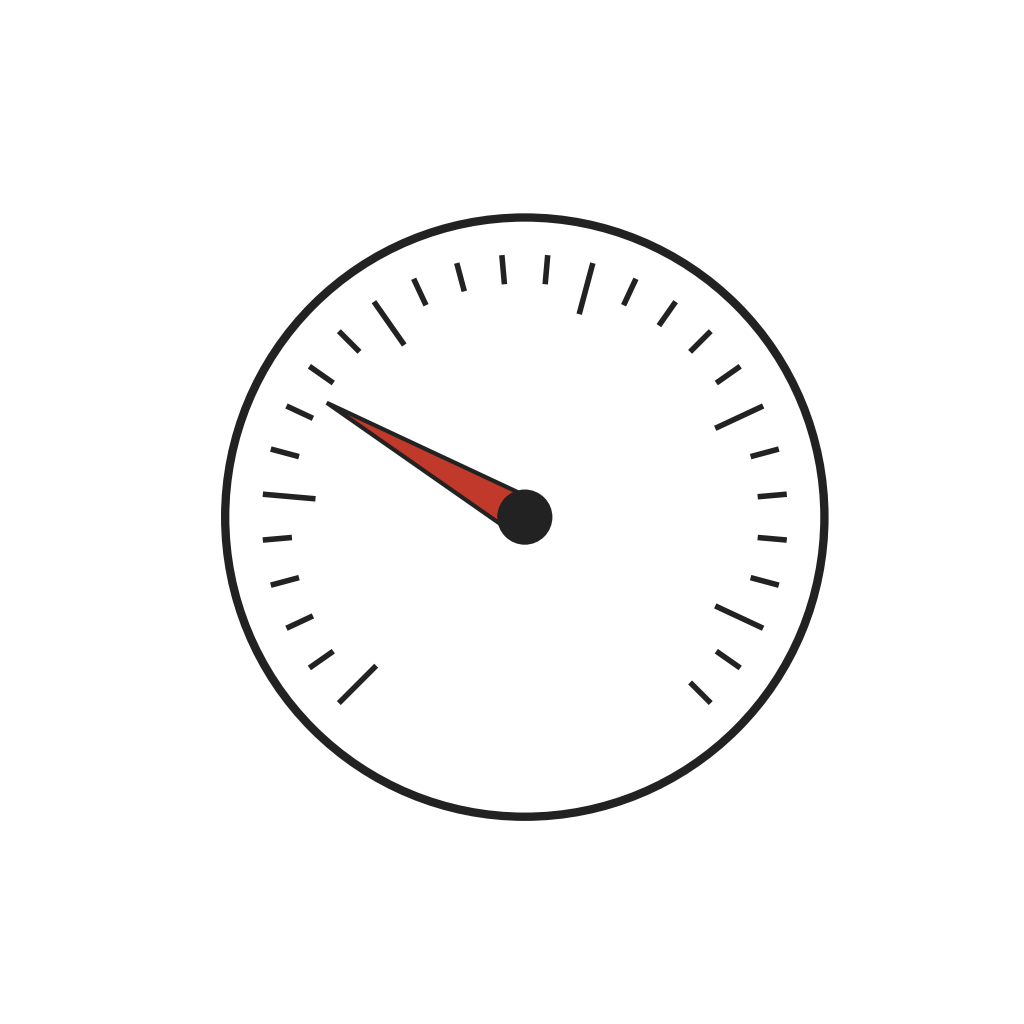 Gauge Dial and Pointer1 piece
6
6
Calibrate and case
Calibrate and case
Connect the assembly to a pressure source alongside a master gauge of known accuracy and adjust it until it reads the same; 2% is a common accuracy, finer grades 1, 0.5 or 0.25%. Then fit the case and lens.
Materials for this step:
 Gauge Case and Lens1 piece
Tools needed:
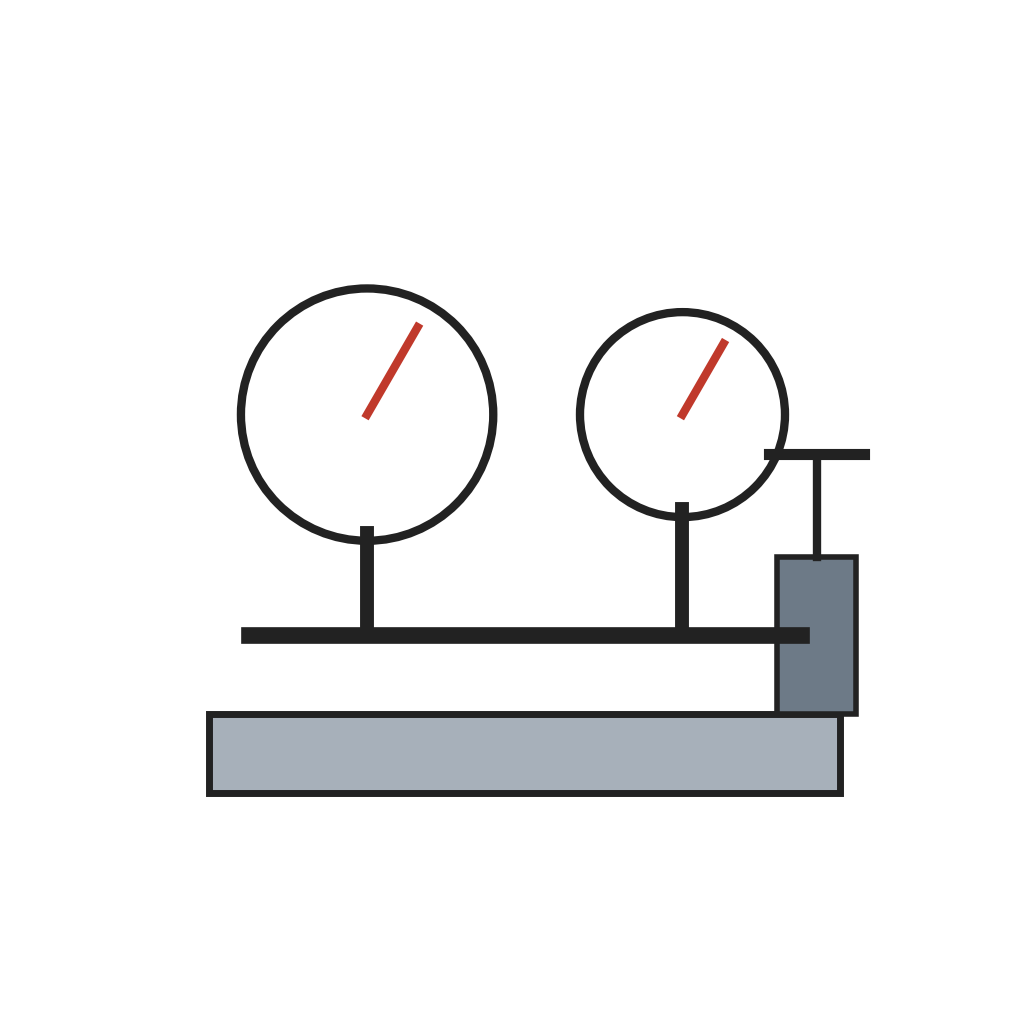 Gauge Calibration Bench with Master Gauge
Materials
5- 1 as requiredPlaceholder
- 1 as requiredPlaceholder
- 1 piecePlaceholder
- 1 piecePlaceholder
- 1 piecePlaceholder
Tools Required
5- Placeholder
- Placeholder
- Placeholder
- Placeholder
- Placeholder
Related Blueprints
These blueprints share knowledge with this one — techniques, materials, or principles that connect them in the learning graph.
CC0 Public Domain
This blueprint is released under CC0. You are free to copy, modify, distribute, and use this work for any purpose, without asking permission.
Support the Maker by purchasing products through their Blueprint where they earn a Maker Commission set by Vendors, or create a new iteration of this Blueprint and include it as a connection in your own Blueprint to share revenue.