ART
BEAUTY & WELLNESS
CRAFT
CULTURE & HISTORY
ENTERTAINMENT
ENVIRONMENT
FOOD & DRINKS
REVERSE ENGINEERING
SCIENCES
SPORTS
TECHNOLOGY
WEARABLES
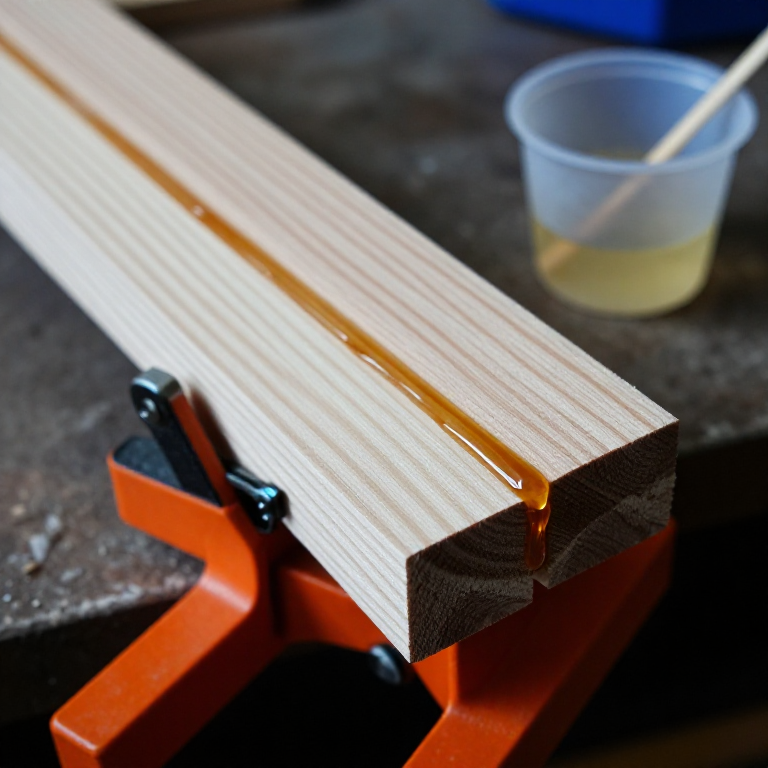


Epoxy Resin
Pierre Castan, a Swiss chemist at the dental firm De Trey Frères, was looking for a resin for dentures. He reacted a phenol carrying two hydroxy groups with epichlorohydrin, then hardened the product with an acid anhydride, and got a hard, clear, unusually adherent solid. Ciba licensed it and sold it as Araldite; in the US Sylvan Greenlee developed epoxies independently.
**US 2,324,483**, "Process of preparing synthetic resins", Castan, granted 20. July 1943, claims condensing "a polybasic carboxylic acid anhydride" with the product of "a phenol having at least two phenolic hydroxy groups and of an epichlorhydrine". It does not single out bisphenol A, the phenol most epoxies use today.
**Epichlorohydrin is a carcinogen; you start from a two-part kit.** You glue pine lap joints at the right ratio and four wrong ones, then test hardness and break the joints.
Beginner
2 hours plus 24 h cure
Instructions
1
1
Cut the joint pieces
Cut the joint pieces
Saw ten pine strips 100 x 25 mm. Sand one face of each end with 120 grit and dust off. Label five pairs 1:1, 1.25:1, 1:1.25, 1.5:1 and 1:1.5.
Materials for this step:
 Pine Board1 piece
 Sandpaper1 sheet
 Masking Tape1 roll
Tools needed:
 Hand Saw
 Steel Ruler
2
2
Measure by syringe
Measure by syringe
Gloves on. For each ratio draw resin and hardener in separate syringes (1:1 = 2 ml + 2 ml; 1.25:1 = 2.5 + 2; and so on) into its own cup. This assumes a 1:1-by-volume kit - scale to your label.
Materials for this step:
 Two-Part Epoxy25 ml
Tools needed:
 Nitrile Gloves
 Syringe Set
 Graduated Mixing Cups
 Clear Safety Glasses
3
3
Mix thoroughly
Mix thoroughly
Stir each cup 2 minutes, scraping the walls and bottom. Unmixed streaks behave like a wrong ratio.
Tools needed:
 Stirring Rod
4
4
Glue and pour
Glue and pour
Spread each mix on the sanded ends of its pair, overlap them 25 mm and spring-clamp over wax paper. Pour the rest as a coin-sized puddle on wax paper beside it.
Materials for this step:
 Wax Paper1 sheet
Tools needed:
 Spring Clamp
5
5
Cure 24 hours
Cure 24 hours
Leave everything at room temperature, 20 °C or warmer, for 24 hours. Cold slows the cure.
6
6
Pencil hardness
Pencil hardness
Sharpen pencils 6B to 6H and flatten the tips on 400 grit. Push each at 45° across a puddle, from hard down, until one no longer scratches. Record that grade.
Tools needed:
 Graphite Pencil Set
 Magnifying Loupe
7
7
Break the joints
Break the joints
Clamp one strip of a joint in the vise and tap the free end sideways with the mallet until it breaks. Estimate how much of the bond face is torn wood.
Tools needed:
 Bench Vise
 Rubber MalletClear Safety Glasses
8
8
Ratio, leftovers, results
Ratio, leftovers, results
Loading Jupyter Notebook...
9
9
History & Context
History & Context
**What the patent specifies:** a resin from a two-hydroxy phenol and epichlorohydrin, hardened by a polybasic acid anhydride. **Modern build (derived):** a two-part kit, most with an amine hardener that cures at room temperature.
Epoxy became the glue that holds metal, the matrix of fibreglass and carbon-fibre parts, and the boat-builder's resin. Its limits: it yellows in sunlight, softens with heat, and uncured resin and hardener sensitise skin - which is why the gloves stay on every time.
Materials
5- 1 piecePlaceholder
- 1 sheetPlaceholder
- 1 rollPlaceholder
- 25 mlPlaceholder
- 1 sheetPlaceholder
Tools Required
12- Placeholder
- Placeholder
- Placeholder
- Placeholder
- Placeholder
- Placeholder
- Placeholder
- Placeholder
- Placeholder
- Placeholder
- Placeholder
- Placeholder
Related Blueprints
These blueprints share knowledge with this one — techniques, materials, or principles that connect them in the learning graph.




CC0 Public Domain
This blueprint is released under CC0. You are free to copy, modify, distribute, and use this work for any purpose, without asking permission.
Support the Maker by purchasing products through their Blueprint where they earn a Maker Commission set by Vendors, or create a new iteration of this Blueprint and include it as a connection in your own Blueprint to share revenue.