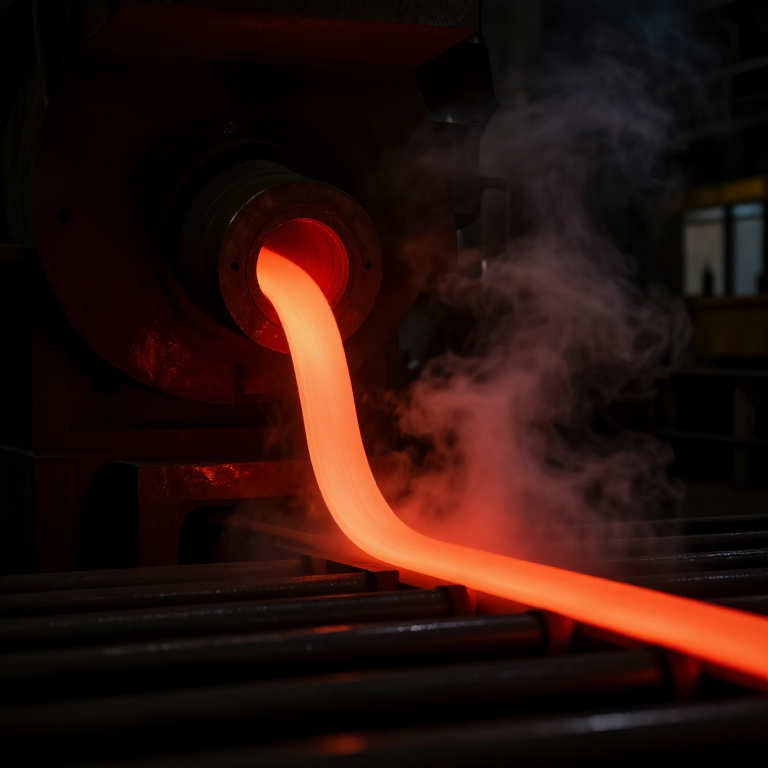


Continuous Casting
Instructions
Build the bottomless water-cooled mould
Build the bottomless water-cooled mould
A short copper tube with water around it and nothing underneath.
- Make a mould 40 mm square in section and only 150 mm long, from copper or thick aluminium.
- Build a water jacket around its outside with inlet at the bottom and outlet at the top.
- Taper the bore very slightly, wider at the top, to allow for the strand shrinking as it cools.
- Leave both ends fully open.
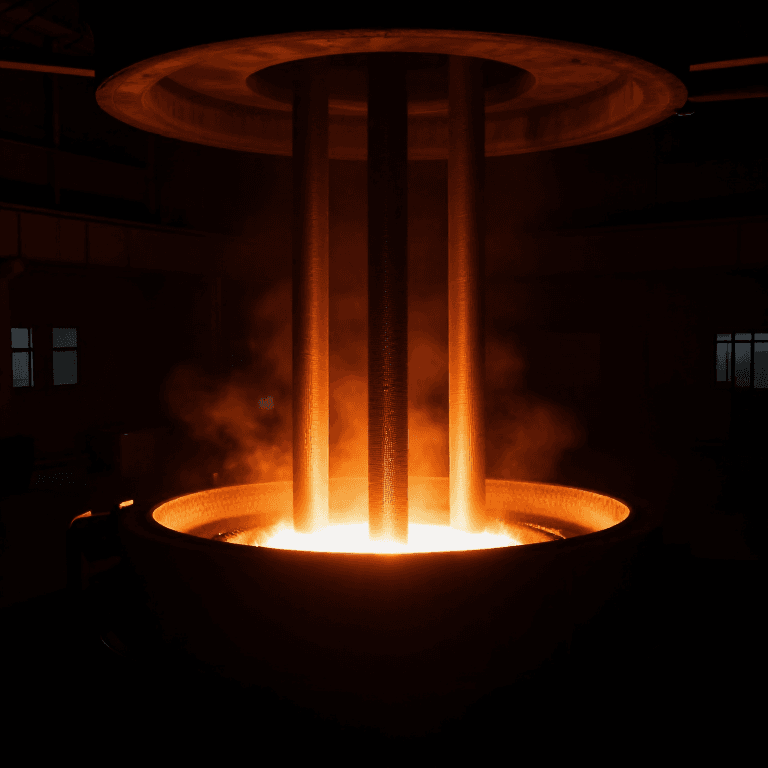
The mould is short on purpose. Its only job is to freeze a shell strong enough to contain the liquid core — not to solidify the whole section. The strand leaves the mould with a solid skin and a molten centre, and finishes freezing in the spray chamber below. Understanding that the mould makes a SHELL, not a casting, is the key to the whole process.
The taper matters: steel shrinks as it freezes and would otherwise pull away from the mould wall, losing heat transfer exactly where it is needed, or jam against a parallel wall. A degree or so of taper keeps contact without binding.Materials for this step:
 Copper Round Bar1 piece
 Aluminium Plate (10mm)1 piece
 M5 Flat Washer8 pieces
 M5 Hex Nut4 pieces
Tools needed:
 Hacksaw Frame with Blades (10-Pack)
 Cordless Drill/Driver (20V)
 Drill Bit Set
 File Set
 Bench Vise
 Digital Caliper 6-Inch
Add the oscillation — Junghans' contribution
Add the oscillation — Junghans' contribution
The mould must move up and down, and this is the invention.
- Mount the mould on vertical slides so it can travel 5 to 10 mm.
- Drive it from an eccentric on a shaft, giving smooth reciprocation at a few cycles per second.
- Arrange the motion so that on the DOWN stroke the mould briefly moves faster than the strand is being withdrawn.
- Fix the drive with M6 × 40 hex bolts × 4, M6 flat washers × 8 and M6 hex nuts × 4.
Why oscillation solves the fundamental problem. A freezing shell sticks to a stationary mould wall, and a stuck shell tears as it is pulled — the shell ruptures and liquid steel escapes, which is called a breakout and is the catastrophic failure of this process. Moving the mould downward faster than the strand for part of each cycle pushes the shell back into compression and breaks the adhesion before it can grip. That period is called negative strip, and it is what made continuous casting industrially possible.
This is a beautiful example of solving a sticking problem with motion rather than with lubricant or coating — though casting powder is used as well, and does the lubricating job.Materials for this step:
 Aluminum Flat Bar (1x1/4 inch, 36-inch)1 piece
 Ball Bearing - Non-Flanged (8mm Bore, 22mm OD)2 piecesM5 Flat Washer8 piecesM5 Hex Nut4 pieces
Tools needed:
Cordless Drill/Driver (20V)Drill Bit Set Allen/Hex Key SetFile SetDigital Caliper 6-Inch
 Combination Square
Build the withdrawal rolls and dummy bar
Build the withdrawal rolls and dummy bar
Something must pull the strand down at a controlled rate, and something must start it.
- Fit two driven rolls below the mould, gripping the strand between them.
- Gear them to a hand crank or a slow motor with a measurable speed.
- Make a dummy bar — a stub that plugs the mould's bottom at the start and is gripped by the rolls.
- Give the dummy bar's head a shape the first metal will freeze onto and grip.
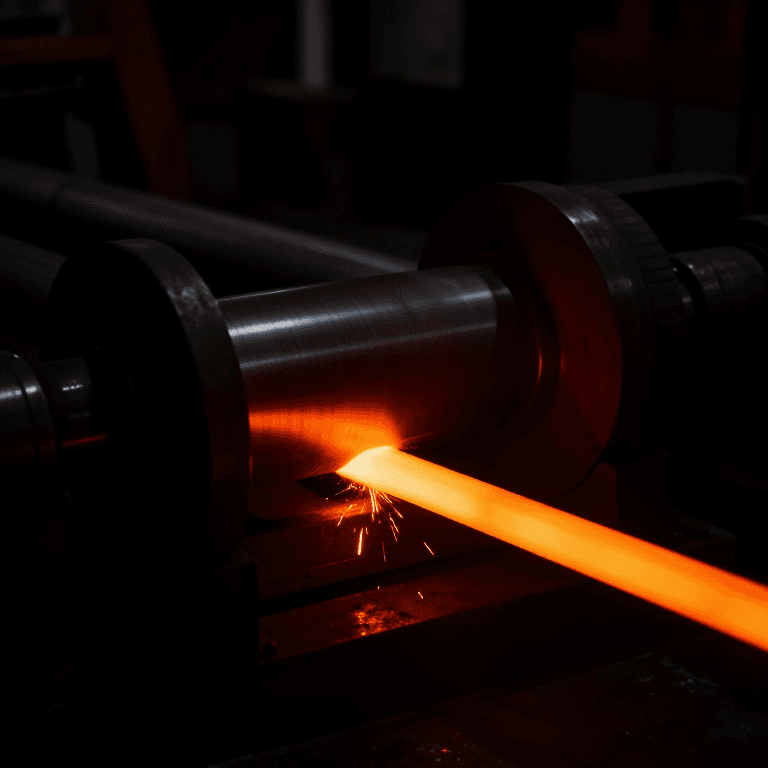
The dummy bar solves the starting problem. A bottomless mould has nothing to hold the first metal, so before pouring you plug it from below. The first steel freezes onto the dummy bar head, the rolls pull it down, and once a strand is established the dummy bar is disconnected and the process runs continuously. Every start-up on every caster in the world begins this way.
Withdrawal rate must match the rate at which a strong enough shell forms. Pull too fast and the shell is thin and bursts below the mould; too slow and the strand freezes solid in the mould and jams.Materials for this step:
 Aluminum Round Bar1 pieceBall Bearing - Non-Flanged (8mm Bore, 22mm OD)4 pieces
 Baltic Birch Plywood (3/4 inch, 24x30)1 sheetM5 Flat Washer8 piecesM5 Hex Nut4 pieces
Tools needed:
Cordless Drill/Driver (20V)Drill Bit Set JigsawAllen/Hex Key SetFile SetDigital Caliper 6-Inch
Cast a strand and account for the metal saved
Cast a strand and account for the metal saved
The economic case is arithmetic, and it is worth doing.
- Melt a low-temperature alloy and cast a continuous strand, withdrawing steadily.
- Section the strand and look for the shrinkage cavity along its axis.
- Now cast an ingot of the same alloy in a closed mould and section that.
- Measure the shrinkage pipe at the ingot's top and estimate what fraction must be cropped.
- Compare the yield of usable metal from each route.
Materials for this step:
 Crude Lead Ingot (from galena smelting)1 ingot
 Graphite-Clay Crucible1 piece
Tools needed:
 Crucible Tongs (long-handled)Hacksaw Frame with Blades (10-Pack)Digital Caliper 6-Inch
 Stopwatch
Abolishing the batch, and history
Abolishing the batch, and history
Henry Bessemer proposed casting steel continuously between rolls in 1857, long before it could be made to work. The obstacles were the sticking shell and the difficulty of controlling solidification, and they took most of a century to solve. Siegfried Junghans developed the oscillating mould in the 1930s, first for non-ferrous metals, and continuous casting of steel spread through the 1950s and 60s until it became near-universal.
The pattern is batch to continuous, and it is one of the great themes of industrial history. Puddling was a batch process and the open hearth was too; the Bessemer converter was a fast batch; continuous casting is the point where steelmaking's output stops being a series of objects and becomes a flow. The same transition happened in glass with the float process, in paper with the Fourdrinier machine already in this catalogue, and in chemicals with continuous reactors. Continuous processes are steadier, more uniform and more efficient — and far less forgiving, because there is no pause between units in which to correct anything.
How it closes this batch. The chain opened in 1783 with Cort's rolling mill, which needed a heated bloom to work on. Every process since has been about getting metal into a useful shape. Continuous casting feeds that same rolling mill directly, hot, in a strand of the right section — eliminating the ingot that every intermediate step existed to handle. The end of the chain connects straight back to its beginning.
Its honest limits: only simple sections — slabs, blooms and billets — since complex shapes still come from rolling or forging afterwards; a breakout is a serious and expensive failure; and the capital cost only makes sense at large scale. It is a process for making a great deal of one thing, which is exactly what modern steelmaking is.
Materials
10- 1 piecePlaceholder
- 1 piecePlaceholder
- 8 piecesPlaceholder
- 4 piecesPlaceholder
- Placeholder
- Ball Bearing - Non-Flanged (8mm Bore, 22mm OD)10% commission6 pieces$1.26
- 1 piecePlaceholder
- 1 sheetPlaceholder
- Placeholder
- 1 piecePlaceholder
Tools Required
11- Placeholder
- 1 vendor sell this, none ship to you yetPlaceholder
- Placeholder
- Placeholder
- Placeholder
- Placeholder
- Placeholder
- Placeholder
- 1 vendor sell this, none ship to you yetPlaceholder
- Placeholder
- Placeholder
Related Blueprints
These blueprints share knowledge with this one — techniques, materials, or principles that connect them in the learning graph.

CC0 Public Domain
This blueprint is released under CC0. You are free to copy, modify, distribute, and use this work for any purpose, without asking permission.
Support the Maker by purchasing products through their Blueprint where they earn a Maker Commission set by Vendors, or create a new iteration of this Blueprint and include it as a connection in your own Blueprint to share revenue.