Collaboration
ART
BEAUTY & WELLNESS
CRAFT
CULTURE & HISTORY
ENTERTAINMENT
ENVIRONMENT
FOOD & DRINKS
REVERSE ENGINEERING
SCIENCES
SPORTS
TECHNOLOGY
WEARABLES
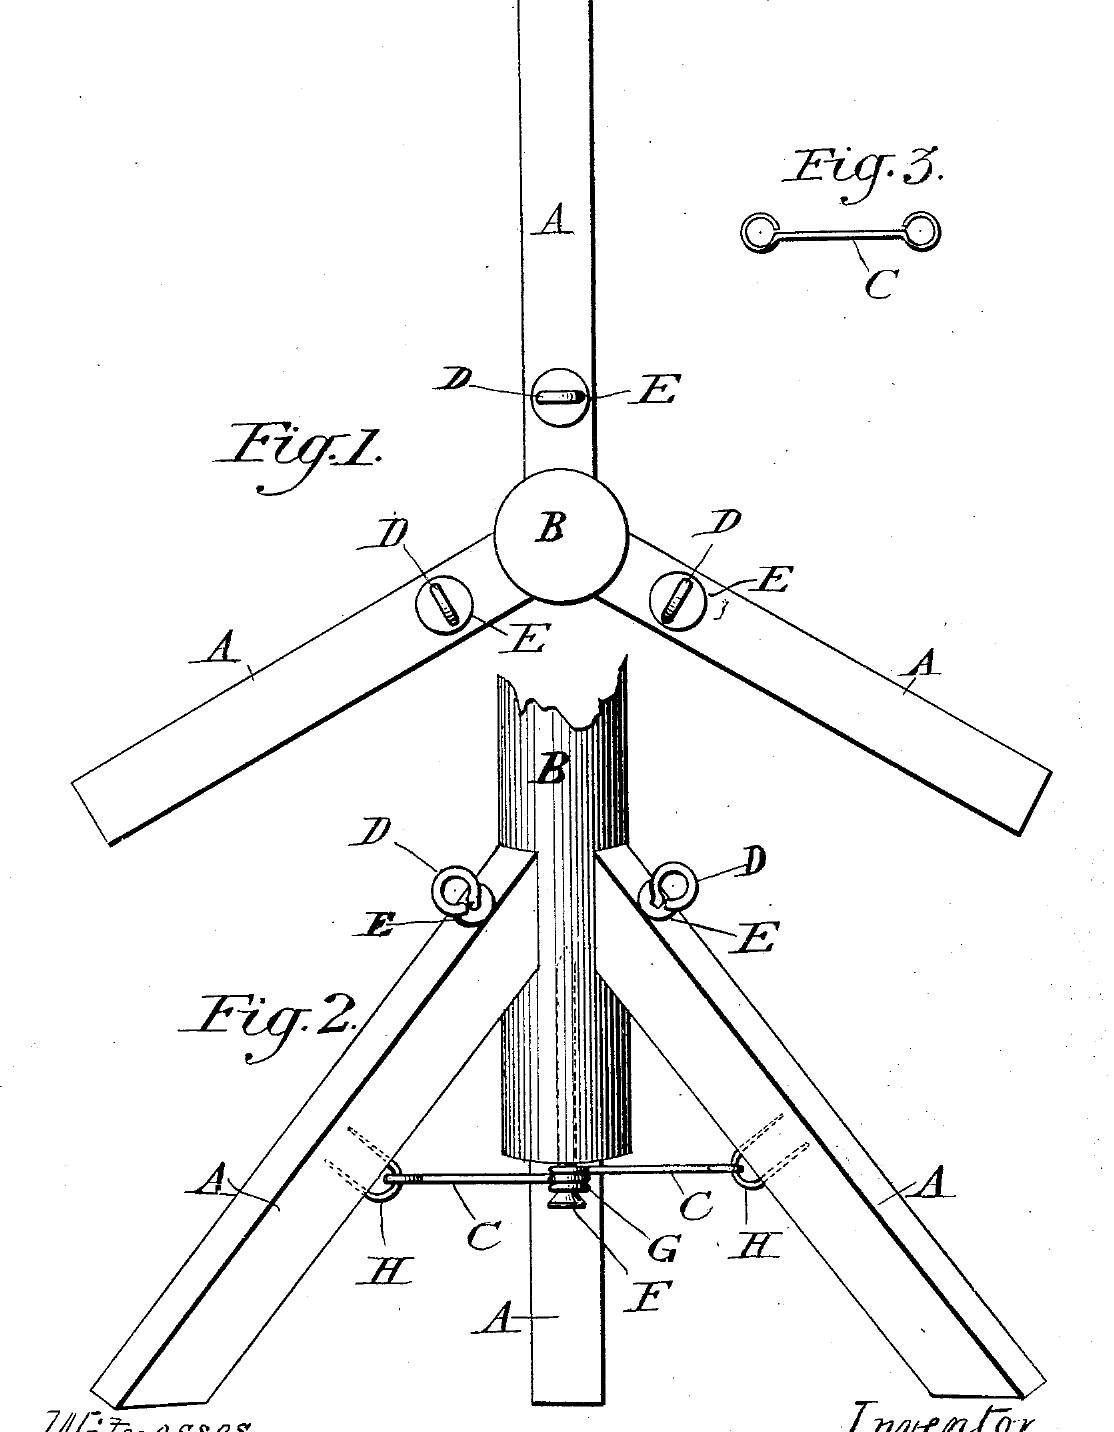


Christmas Tree Stand: Three Legs Tied by Wire Links to a Nail in the Butt (Cook, 1902)
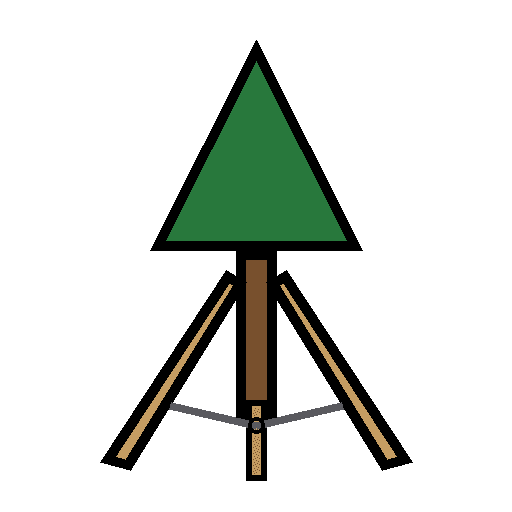
William Cook of New York received US 710,762, dated 7 October 1902, for a Christmas tree stand of three leaning legs and three wire links. The links meet under the tree on a nail driven up into the butt, and their other ends are fixed part way up the legs. The tops of the legs are screwed to the trunk. The tree's weight pushes the feet out, the links pull back, and the tops of the legs squeeze the trunk.
We make it from pine and steel wire. All sizes are ours.
Beginner
About 3 hours
Instructions
1
1
Where the links go
Where the links go
Loading Jupyter Notebook...
2
2
Read US 710,762
Read US 710,762
"The tendency of legs A to spread by weight of tree causes an outward tension at wire nail F through the several links C and inward pressure on stem of tree by upper part of legs A. Thus the tree is held very secure and perfectly upright by two opposite forces acting a short space apart and derived from weight of tree."
3
3
Cut the legs
Cut the legs
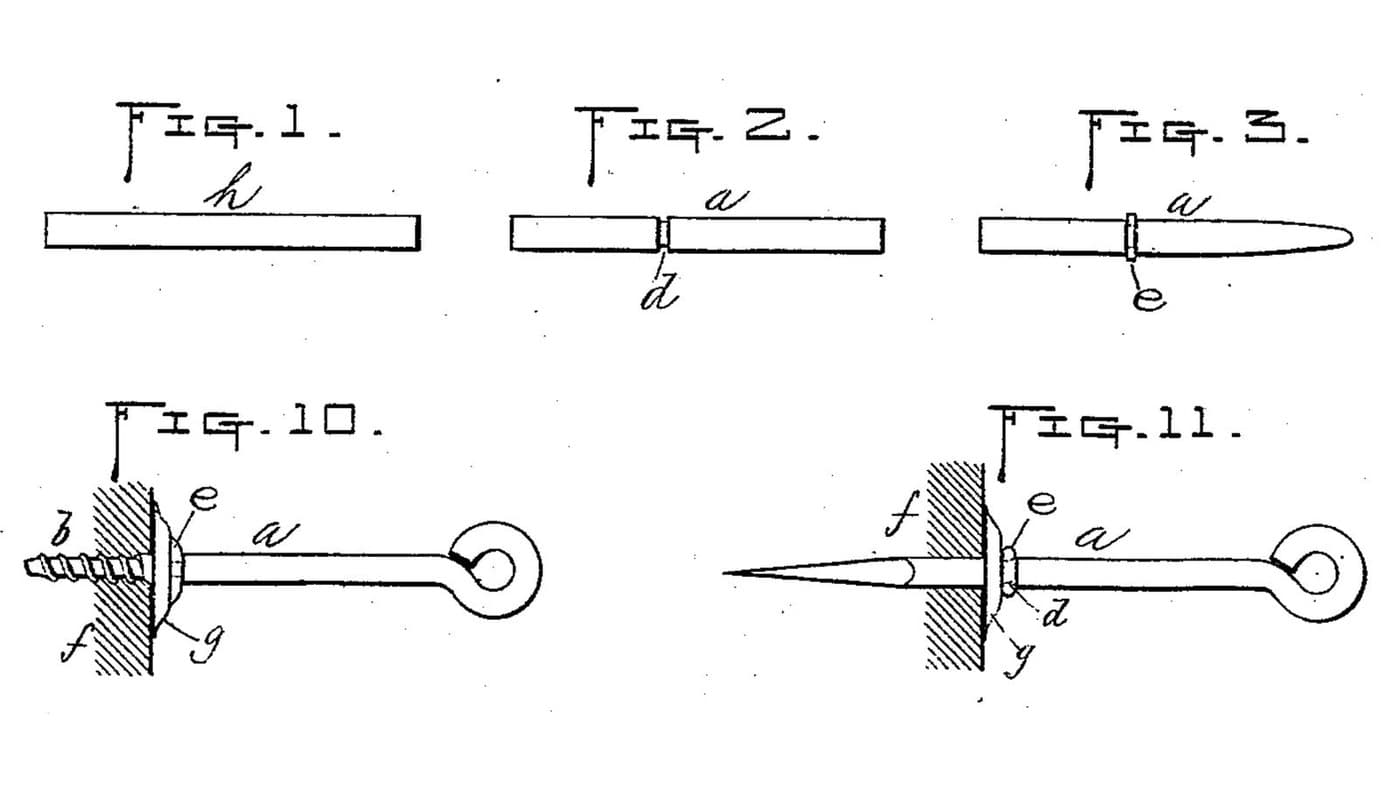
Saw three legs 700 mm long from 70 x 22 mm pine (ours). Set a bevel gauge to 30 degrees and cut both ends of each leg at that angle, parallel to each other, so the foot sits flat on the floor and the top lies along the trunk, as in his Fig. 2. Sand off the splinters.
Materials for this step:
 Pine Board1 piece
Tools needed:
 Hand Saw
 Bevel Gauge
 Tape Measure
 Pencil
 Sandpaper
4
4
Bend the links
Bend the links
Cut three pieces of 2.5 mm steel wire, each the link length from the notebook plus about 60 mm for the eyes. Bend a round eye at each end with round-nose pliers, as his Fig. 3, so the eyes' centres are the link length apart. Make all three the same.
Materials for this step:
 Steel Wire3 pieces
Tools needed:
 Wire Cutters
 Round-nose PliersTape Measure
5
5
Staple the links to the legs
Staple the links to the legs
Mark each leg where the notebook says, on its inner face. Bend three U staples from the same wire (ours). Lay a link's outer eye on the mark and drive a staple over it into the leg, his staple H, leaving the eye free to turn.
Materials for this step:
Steel Wire1 pieceTools needed:
Wire CuttersRound-nose Pliers Claw Hammer
6
6
Drill the tops of the legs
Drill the tops of the legs
Drill a hole through the top of each leg, about 40 mm from its end, just big enough for the screw eye's shank to pass.
Tools needed:
 Hand Drill
7
7
Nail the links to the butt
Nail the links to the butt
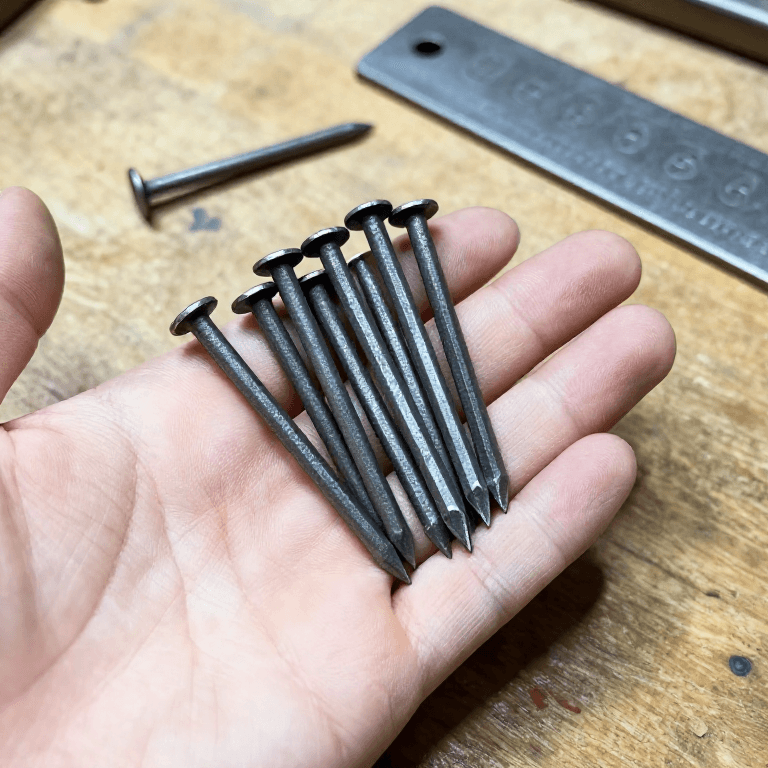
Saw the butt of the tree off square. Lay the tree on its side. Thread a long wire nail through the three free eyes of the links, his nail F, and drive it up into the middle of the bottom end of the tree.
Materials for this step:
 Nails1 piece
Tools needed:
Hand SawClaw Hammer8
8
Fix the tops of the legs
Fix the tops of the legs
Bring the top of each leg in against the trunk. Make a start hole in the trunk with an awl through the leg's hole, and turn a screw eye through the leg into the trunk until the leg is held tight, his screw-eye D. Do all three, then stand the tree up.
Materials for this step:
 Screw Eye3 pieces
Tools needed:
 Awl
9
9
Check it stands upright
Check it stands upright
All three feet should touch the floor and the links should be straight and tight. Look at the tree from two sides. To take it down, turn out the screw eyes and pull the nail; the links fold about the nail for storing.
10
10
Troubleshooting
Troubleshooting
Christmas tree stand troubleshooting.
Flow
Loading...
11
11
History and honest limits
History and honest limits
**William Cook** of New York, US 710,762, dated 7 October 1902, filed 29 July 1901. He claimed "a Christmas-tree stand composed of legs, and links, one end of each link being connected with one leg at a point intermediate between the ends of the leg, and the opposite ends of the links being connected with each other to form a seat". He says the stand is "more economical of construction and more easily applied" and that "size of tree offers no obstacle". He names no materials and gives no sizes: the pine, the wire, the 700 mm legs, the 30 degree angle, the butt height and how the screw eyes pass through the legs are ours. His drawing also marks parts E and G, which his text does not describe.
Materials
4- 1 piecePlaceholder
- 4 piecesPlaceholder
- 1 piecePlaceholder
- 3 piecesPlaceholder
Tools Required
10- Placeholder
- Placeholder
- 1 vendor sell this, none ship to you yetPlaceholder
- 1 vendor sell this, none ship to you yetPlaceholder
- Placeholder
- Placeholder
- Placeholder
- Placeholder
- Placeholder
- Placeholder
This blueprint makes
Related Blueprints
These blueprints share knowledge with this one — techniques, materials, or principles that connect them in the learning graph.
CC0 Public Domain
This blueprint is released under CC0. You are free to copy, modify, distribute, and use this work for any purpose, without asking permission.
Support the Maker by purchasing products through their Blueprint where they earn a Maker Commission set by Vendors, or create a new iteration of this Blueprint and include it as a connection in your own Blueprint to share revenue.