ART
BEAUTY & WELLNESS
CRAFT
CULTURE & HISTORY
ENTERTAINMENT
ENVIRONMENT
FOOD & DRINKS
REVERSE ENGINEERING
SCIENCES
SPORTS
TECHNOLOGY
WEARABLES



Distortion and Sequence: The Weld Pulls, So Decide Where It Pulls To
Every weld shrinks as it cools, and it drags the parts with it. A frame that was square when it was tacked comes out of the jig as a parallelogram; two plates butted flat come out as a shallow roof; a long seam in sheet makes the sheet ripple.
None of that is a beginner's fault. Steel expands about twelve micrometres per metre per degree, the weld metal is restrained while it is hot, and it therefore ends up shorter than it started.
Since the pull cannot be prevented, the work is to predict it, balance it, and use less heat. This rung puts numbers on all three.
Intermediate
4 hours
Instructions
1
1
Three shrinkages, in three directions
Three shrinkages, in three directions
**Transverse shrinkage** closes the joint across the seam. Two plates tacked with a 3 mm gap end up with less. It follows the amount of metal deposited, so it is worst in thick multi-pass joints.
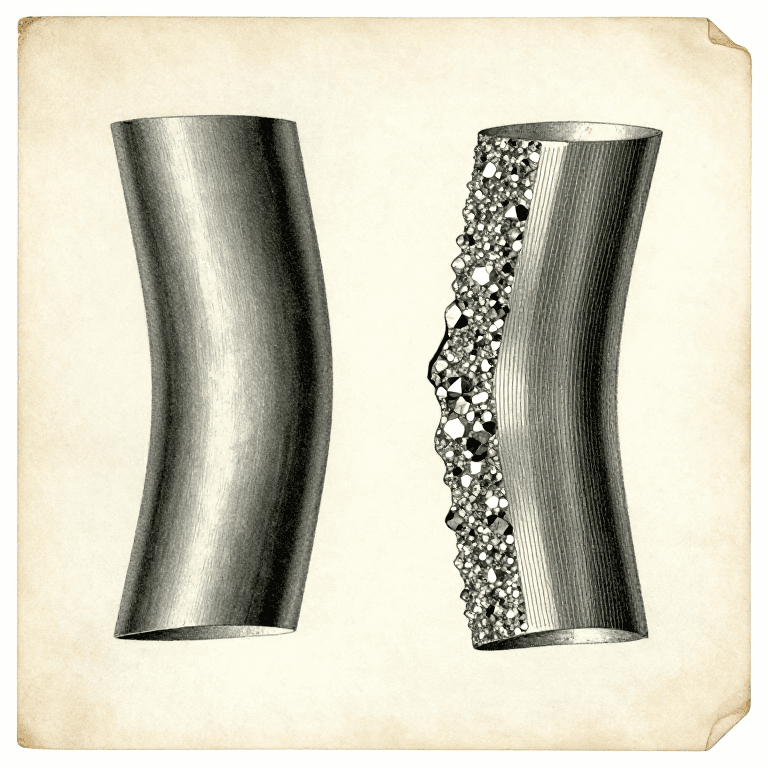
**Longitudinal shrinkage** shortens the seam along its length. It is much smaller than the transverse figure, but on a long member it bows the whole piece towards the weld — which is why a beam welded on one flange only ends up curved.
**Angular distortion** is the fold along the seam. It happens because a single-sided weld has more metal near one face, so that face shrinks more. This is the one that ruins frames, and it is the one the sequence can actually cancel.
All three are worse with more heat, and heat per unit length is the number the bead rung worked out.
Materials for this step:
 Mild Steel Plate2 pieces
 Mild Steel Flat Bar2 pieces
Tools needed:
 Combination Square
 Steel Ruler
2
2
How far it moves
How far it moves
Loading Jupyter Notebook...
Tools needed:
 Desktop Computer
3
3
Tack, then think about the order
Tack, then think about the order
**Tack from the middle outwards**, not from one end. Tacking from one end pushes the accumulated shrinkage ahead of you and the far end closes up before you get there.
**Back-step.** Weld short lengths, each one laid in the opposite direction to the overall progress: start 100 mm along and weld back to the start, then start 200 mm along and weld back to 100, and so on. Each short run shrinks into metal already welded instead of into the open joint.
**Balance across the neutral axis.** On a tee, weld one side then the other. On a box, weld opposite corners alternately. Never finish one whole side before starting the other.
**Skip around.** On a frame with many joints, never weld two adjacent joints one after the other. Move to the far side and let the first cool.
**Pre-set.** For a distortion you cannot cancel, set the parts up bent the opposite way by the amount the notebook predicts and let the weld pull them straight. That is how a fabricator makes a straight beam out of a process that always bends one.
Materials for this step:
Mild Steel Plate2 pieces Mild Steel Angle Iron2 pieces
 Welding Electrode1 pack
Tools needed:
 Arc Welder
 Auto-Darkening Welding Helmet
 Welding Gloves
 C-ClampCombination Square
 Soapstone Block
4
4
Clamping helps less than you think, and costs something
Clamping helps less than you think, and costs something
The obvious answer to distortion is to hold the work rigidly. It works, but only while the clamps are on.
Restraint does not remove the shrinkage — it converts it into **residual stress** locked into the joint. Release the clamps and some of the movement happens anyway. Worse, a heavily restrained joint in a thick or hardenable steel can crack as it cools, because the contracting weld has nowhere to go.
So use clamps and jigs to hold **alignment** — to keep the gap and the angle where you set them — and control distortion with sequence, balance and less heat instead. Those work by reducing the shrinkage rather than fighting it.
If a piece still comes out bent, it can be pulled back by flame straightening: heating a small wedge-shaped area, letting the surrounding cold metal upset it, and letting it shrink on cooling. That is the same physics used deliberately — and it puts yet more residual stress in, so it is a repair, not a plan.
Materials for this step:
Mild Steel Plate2 piecesTools needed:
C-Clamp Bar ClampCombination Square
 Digital Angle Gauge
Materials
4- 2 piecesPlaceholder
- 2 piecesPlaceholder
- 2 piecesPlaceholder
- 1 packPlaceholder
Related Blueprints
These blueprints share knowledge with this one — techniques, materials, or principles that connect them in the learning graph.

CC0 Public Domain
This blueprint is released under CC0. You are free to copy, modify, distribute, and use this work for any purpose, without asking permission.
Support the Maker by purchasing products through their Blueprint where they earn a Maker Commission set by Vendors, or create a new iteration of this Blueprint and include it as a connection in your own Blueprint to share revenue.