ART
BEAUTY & WELLNESS
CRAFT
CULTURE & HISTORY
ENTERTAINMENT
ENVIRONMENT
FOOD & DRINKS
REVERSE ENGINEERING
SCIENCES
SPORTS
TECHNOLOGY
WEARABLES
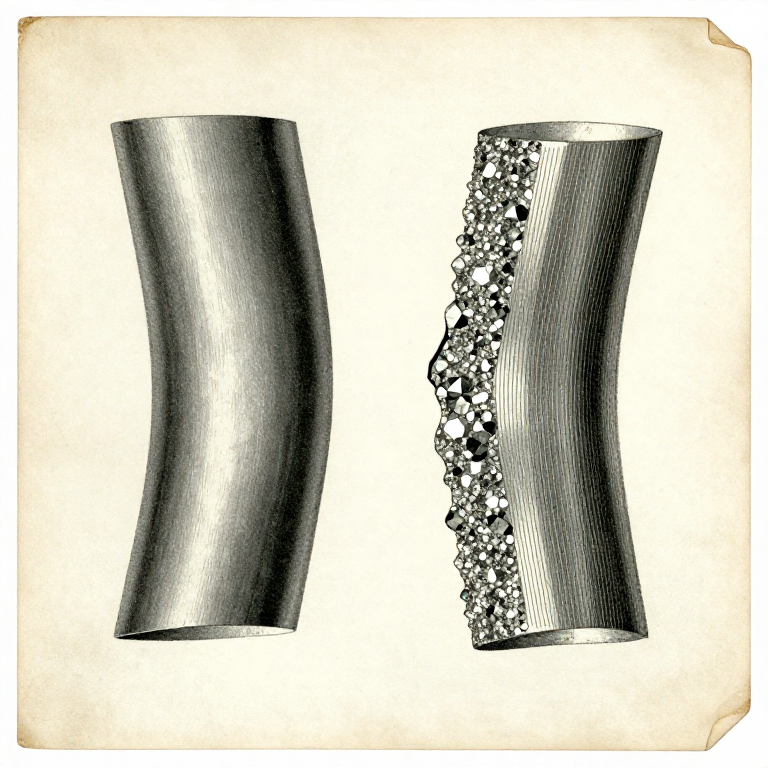


What Heat Costs: Scale, Grain Growth and Burnt Steel
Heat is not free. Every minute at temperature takes something from the steel, and past a certain point the damage cannot be undone by anything you do afterwards.
Three things happen in order as the temperature rises: the surface oxidises, the grain grows, and finally the metal burns — oxygen penetrates the grain boundaries and the piece crumbles under the hammer. The first is a nuisance, the second is fixable, the third is terminal.
Knowing which you are looking at, and which can still be recovered, is what separates a salvageable piece from scrap.
Advanced
3 hours
Instructions
1
1
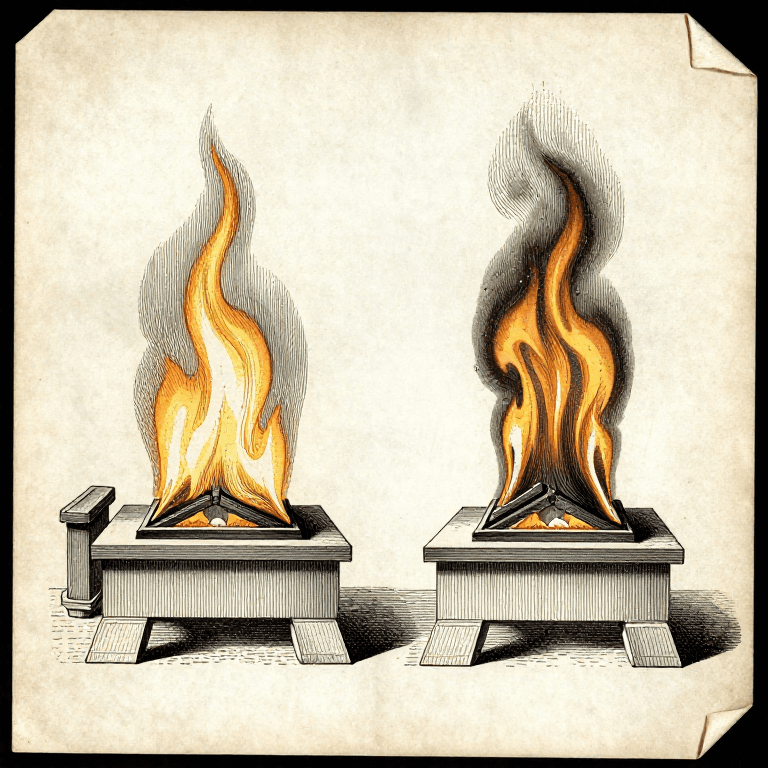
Grain growth: too hot, too long, and the steel gets coarse
Grain growth: too hot, too long, and the steel gets coarse
Steel is made of crystal grains, and above the critical temperature those grains GROW — faster the hotter it is and the longer it is held. Coarse-grained steel is brittle: it breaks with a crystalline sparkly fracture instead of a fine grey one.
Break a test piece and look at the fracture with a loupe. A fine, almost velvety grey surface is good steel; visible glittering crystals mean the grain has grown and the toughness has gone with it.
The good news is that this one is repairable. NORMALISING — heating just above critical and cooling in still air, two or three times — refines the grain back down. The published heat-treatment blueprint normalises before hardening for exactly this reason.
Materials for this step:
 Mild Steel Bar2 pieces
Tools needed:
 Blacksmith Forge
 Magnifying Loupe
 Anvil
Anvil Forge Hammer
2
2
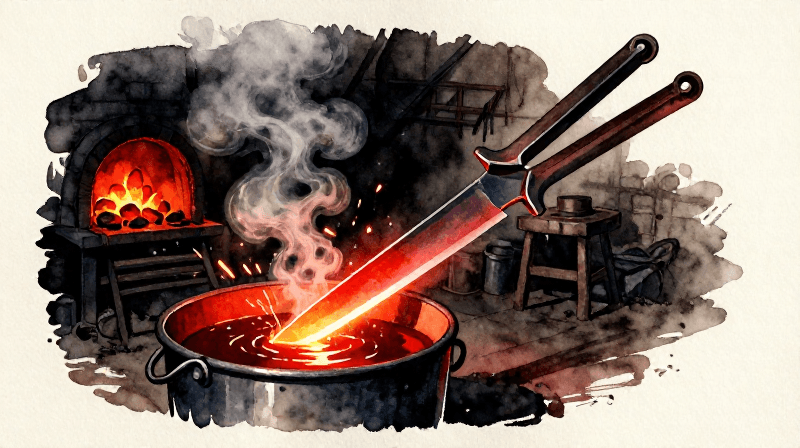
Burnt steel: the point of no return
Burnt steel: the point of no return
Take steel far enough past welding heat and it throws bright sparks like a firework and the surface looks wet and running. At that point oxygen has penetrated along the grain boundaries and the metal has no strength holding its grains together.
Burnt steel crumbles under the hammer and cracks along fissures that appear from nowhere. It cannot be recovered — no amount of normalising, forging or heat treatment restores it. The only fix is to cut off the burnt section and start from sound metal.
The warning signs come in order: heavy sparking, an unnaturally liquid-looking surface, and a piece that suddenly feels soft and crumbly under the hammer. Pull it out at the first, not the third.
Materials for this step:
Mild Steel Bar1 pieceTools needed:
Blacksmith Forge Shaded Forge Goggles
 Blacksmith TongsForge Hammer
3
3
Different metals, very different windows
Different metals, very different windows
Steel is forgiving: a wide working range and visible warnings. Most other metals are not, and their warnings arrive too late.
COPPER and BRASS do not glow usefully until they are near melting, so colour is no guide at all — and brass loses zinc as white fume well before that, which is both a material loss and genuinely harmful to breathe. ALUMINIUM never glows: it goes from apparently fine to collapsing with no visual warning whatsoever, which is why people melt aluminium parts by accident and never see it coming.
For those, use an instrument or a physical indicator — a mark made with a temperature-indicating crayon, or the old trick of a smear of soap that chars at a known point. The eye simply has nothing to work with.
Materials for this step:
Mild Steel Bar1 pieceTools needed:
 Infrared Thermometer
 Thermocouple with ReadoutBlacksmith Forge
 Leather Gauntlet Gloves
4
4
Work in fewer, better heats
Work in fewer, better heats
Every trip into the fire costs scale, risks grain growth and uses fuel. A smith who plans the sequence and gets three operations out of one heat finishes with less loss and better steel than one who reheats after every few blows.
Plan before the piece goes in: know what you will do at this heat, have the tools laid out, and work while it is hot rather than thinking while it cools. That is the real reason experienced smiths look unhurried — the thinking happened earlier.
And stop working the steel when it drops below forging heat. Hammering cold steel hardens it, can crack it, and achieves very little movement for the effort. Back in the fire is the right answer; forcing it is not.
Materials for this step:
Mild Steel Bar1 piece Charcoal - Lump2 pieces
Tools needed:
Blacksmith ForgeAnvilForge HammerBlacksmith TongsRelated Blueprints
These blueprints share knowledge with this one — techniques, materials, or principles that connect them in the learning graph.
CC0 Public Domain
This blueprint is released under CC0. You are free to copy, modify, distribute, and use this work for any purpose, without asking permission.
Support the Maker by purchasing products through their Blueprint where they earn a Maker Commission set by Vendors, or create a new iteration of this Blueprint and include it as a connection in your own Blueprint to share revenue.