Collaboration
ART
BEAUTY & WELLNESS
CRAFT
CULTURE & HISTORY
ENTERTAINMENT
ENVIRONMENT
FOOD & DRINKS
REVERSE ENGINEERING
SCIENCES
SPORTS
TECHNOLOGY
WEARABLES
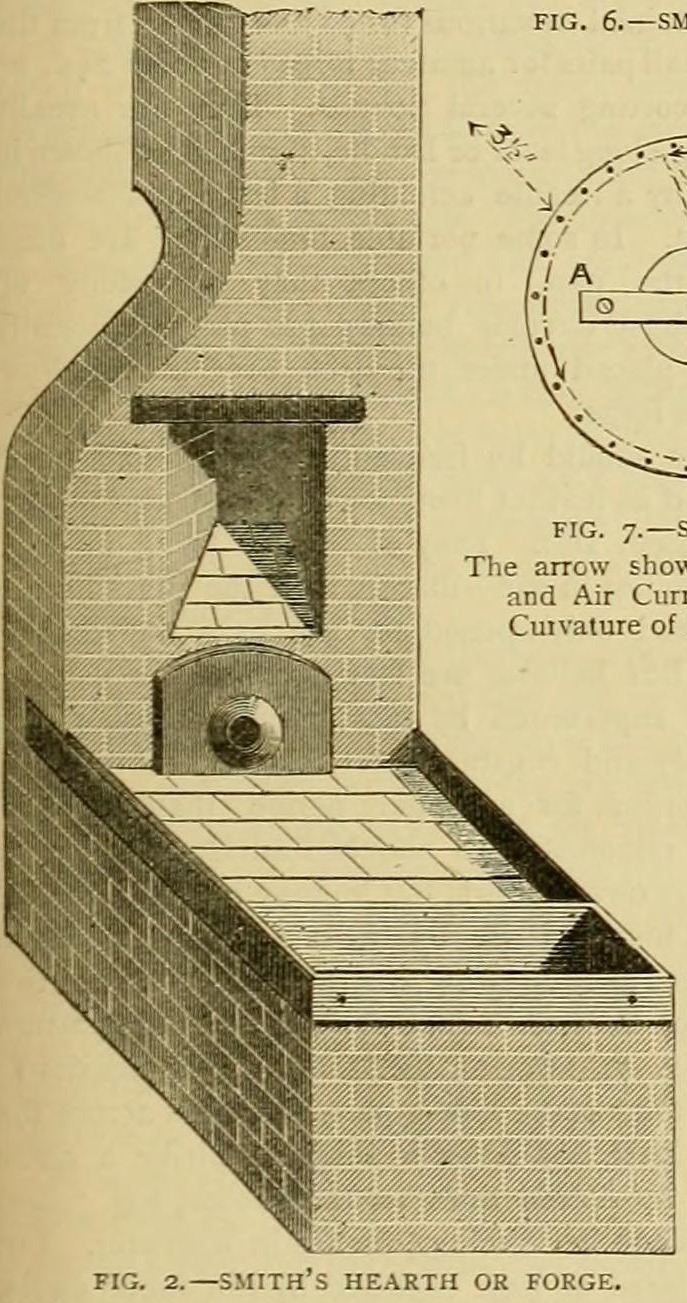


Brick Smith's Hearth: Stone Base, Firebrick Top in an Iron Rim, a Cannon-Shot Tuyere and a Slake Trough (Edwinson, 1886)
The fixed smith's hearth George Edwinson told Amateur Work readers to build (1886): stone below, firebrick in fireclay on top, every course bound with hoop iron, a 4 in. iron rim forming the hearth pan, a fire back and tuyere made from a 1 in. plate and a bored 14-pounder iron shot, a slanting flue, a 10 x 10 x 22 in. slake trough, and a clinker floor.
Intermediate
Two to three days of building
Instructions
1
1
His sizes
His sizes
Loading Jupyter Notebook...
2
2
Read Edwinson
Read Edwinson
"The foundation of this structure up to within one foot of the top may be of stone, but the finishing courses should be of firebrick."
3
3
Build the base
Build the base
Build the hearth in stone up to 1 ft (30 cm) below the top, binding every course with pieces of hoop iron. Leave an arch at the back for the coal pit and the blast pipe (figs. 4, 5). Overall size is ours: fit it to your shop.
Materials for this step:
 Stone Block1 piece
 Iron Hoop1 piece
 Refractory Clay1 piece
Tools needed:
 Trowel
 Spirit Level
4
4
Make the fire back and tuyere
Make the fire back and tuyere
Bore a 3/4 in. hole through a 14-pounder iron shot and open it to a 1 in. taper on one side. Cut and countersink a hole in a 1 in. iron plate to take a third of the shot, and drill four 1/2 in. holes to bolt the plate through the wall with nuts and fish plates. (Or buy a fire back and tue-iron.)
Materials for this step:
 Iron Shot (Ballast)1 piece
 Iron Plate1 piece
 Hex Bolt Assortment1 piece
Tools needed:
 Drill Press
 Blacksmith Forge
 Hammer
5
5
Firebrick top and back
Firebrick top and back
Lay the top courses and the back wall round the tuyere in firebrick bedded and jointed with fireclay, still binding each course with hoop iron. Build in the fire back with the shot as the tuyere, and leave a slanting flue hole just above it (fig. 5).
Materials for this step:
 Firebricks1 pieceRefractory Clay1 pieceIron Hoop1 piece
Tools needed:
TrowelSpirit Level6
6
Fit the slake trough
Fit the slake trough
Before the last course, set in a water trough 10 in. deep and wide and 22 in. long, of sheet iron, cast iron or stone, inside the rim line; bolt a sheet-iron one to the rim. A sheet-iron division riveted across gives a coal trough too.
Materials for this step:
 Mild Steel Sheet1 piece
 Iron Rivets1 piece
 Water1 piece
Tools needed:
Drill PressHammer7
7
Bind with the rim
Bind with the rim
Bind the top course with a rim of 1/4 x 4 in. iron, half below the brick edge and half above it to make the hearth pan, its ends bolted to the back wall with 3/8 in. bolts built into the brickwork.
Materials for this step:
Iron Plate1 pieceHex Bolt Assortment1 pieceTools needed:
Blacksmith Forge AnvilHammerDrill Press
8
8
Connect the blast
Connect the blast
Bring the pipe from a fan or bellows under the arch to the back of the tue-iron. He reckons about 150 cu ft (4.2 m3) of air a minute for a welding heat: a 9 in. fan at about 360 rpm or a double-action bellows.
Tools needed:
 Air Blower
9
9
Lay the floor
Lay the floor
Ram wetted smiths', foundry or boiler clinkers sprinkled with a little Portland cement hard and level, with a thin layer of smithy cinder ashes beaten on top. Stone or ordinary concrete floors misbehave when hot iron is dropped on them.
Materials for this step:
 Portland Cement1 pieceWater1 piece
Tools needed:
Hammer10
10
Troubleshooting
Troubleshooting
Hearth troubleshooting.
Flow
Loading...
11
11
History and honest limits
History and honest limits
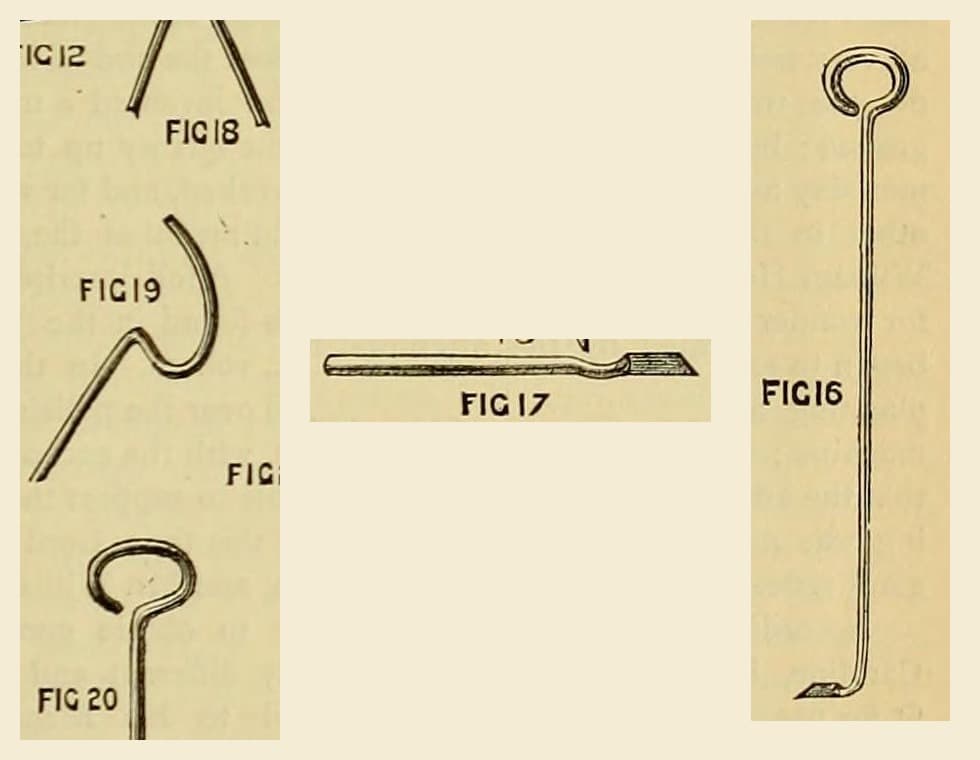
From George Edwinson, "Smithing and Forging" I, **Amateur Work, Illustrated**, vol. V (1886), pp. 161-162 and figs. 2, 4, 5 (checked on the archive.org scan amateurworkillus05lond). He gives no overall hearth size; that and the metric figures and tools are ours.
Materials
11- 1 piecePlaceholder
- 1 piecePlaceholder
- 2 piecesPlaceholder
- 1 piecePlaceholder
- 2 piecesPlaceholder
- 2 piecesPlaceholder
- 1 piecePlaceholder
- 1 piecePlaceholder
- 1 piecePlaceholder
- 2 piecesPlaceholder
- 1 piecePlaceholder
This blueprint makes

Related Blueprints
These blueprints share knowledge with this one — techniques, materials, or principles that connect them in the learning graph.
CC0 Public Domain
This blueprint is released under CC0. You are free to copy, modify, distribute, and use this work for any purpose, without asking permission.
Support the Maker by purchasing products through their Blueprint where they earn a Maker Commission set by Vendors, or create a new iteration of this Blueprint and include it as a connection in your own Blueprint to share revenue.