Collaboration
ART
BEAUTY & WELLNESS
CRAFT
CULTURE & HISTORY
ENTERTAINMENT
ENVIRONMENT
FOOD & DRINKS
REVERSE ENGINEERING
SCIENCES
SPORTS
TECHNOLOGY
WEARABLES
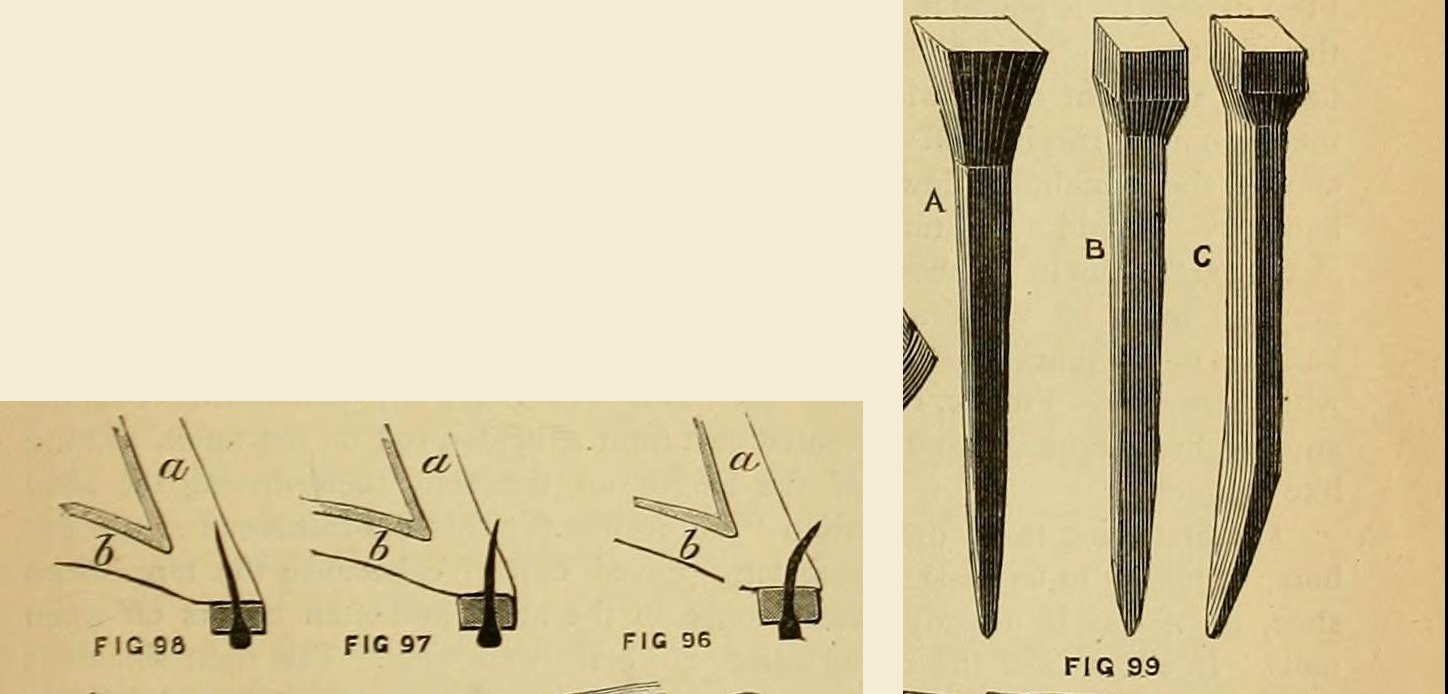


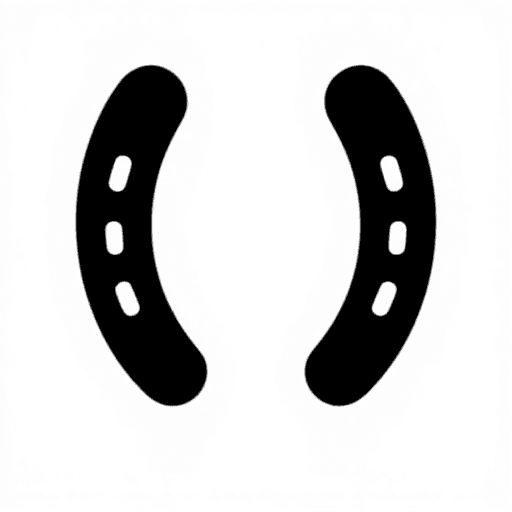
Hand-Forged Horseshoe Nails: Drawn from Nail Rod, Cut on the Sett, Headed in a Nail-Former, Point Set Cold (Edwinson, 1886)
How country smiths made their own horseshoe nails, from George Edwinson's farriery chapter in Amateur Work (1886): the best nail rod (or rod welded up from old nails) drawn to a point, cut off on the sett, headed in a nail-former with a shallow countersink, cooled slowly in the scale, then finished cold with the point bent slightly so it clenches in the right place.
Intermediate
A few minutes per nail once practised
Instructions
1
1
His lengths
His lengths
Loading Jupyter Notebook...
2
2
Read Edwinson
Read Edwinson
"The worthy smiths used to make their own horse-shoe nails, either from the very best nailing rods ... or from nail rods made by themselves."
3
3
Get nail rod
Get nail rod
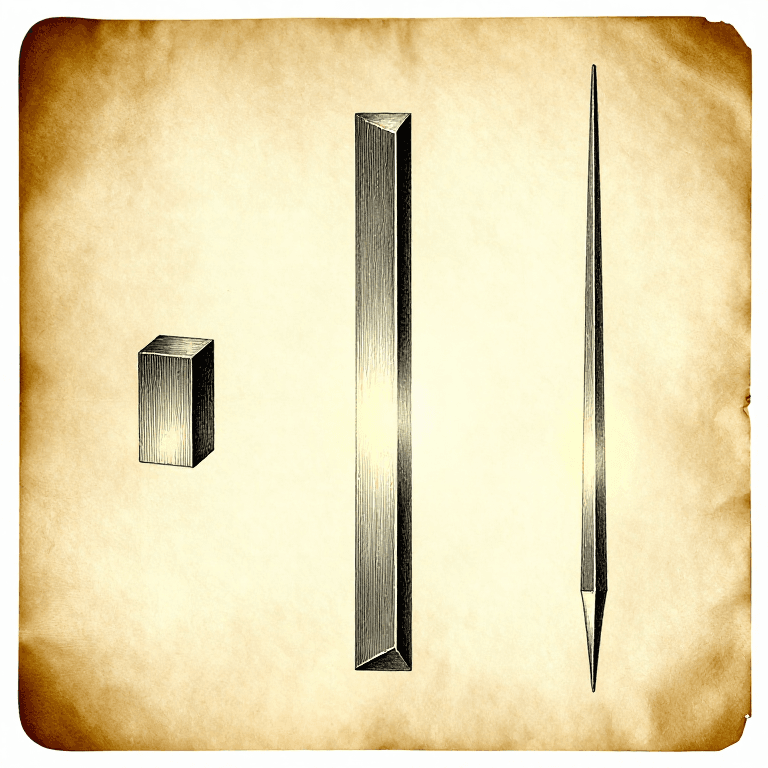
Use the best nail rod, sized to the upper part of the nail head. Or make it: faggot old horseshoe nails with scraps of nail rod, bound with iron wire, weld the faggot in the forge and draw it out into rod.
Materials for this step:
 Wrought Iron Rod1 piece
 Iron Wire1 piece
Tools needed:
 Blacksmith Forge
 Anvil
 Hammer
 Blacksmith Tongs
4
4
Draw and cut
Draw and cut
Heat the rod and draw the nail shank to shape on the anvil. Hold it on the sett and cut it off with one blow, nicking off just enough metal above the shank to form the head. Usual lengths 1 1/2, 1 3/4, 1 7/8, 2 and 2 1/2 in. (38-64 mm).
Tools needed:
Blacksmith ForgeAnvilHammer Hot Cut Hardy
5
5
Head it
Head it
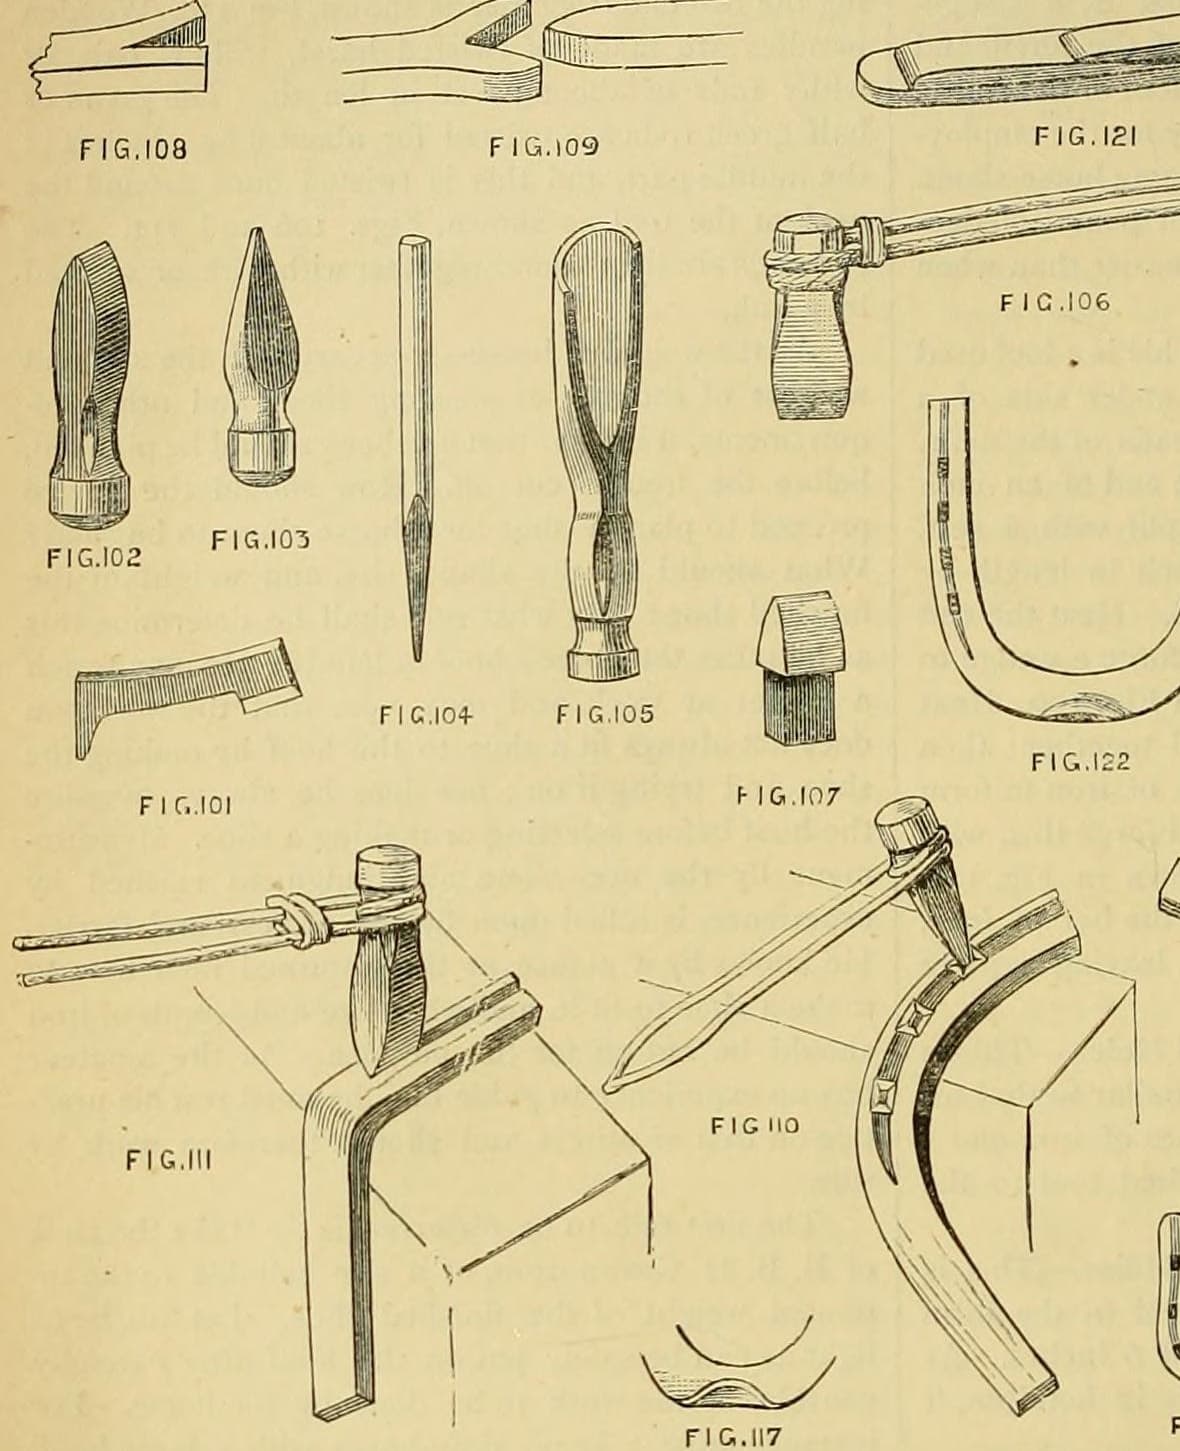
Drive the head into a nail-former with a shallow countersink, not a steep one: a tapered head wears loose and breaks off (his fig. 99, A old style, B right). Expert smiths shape the shoulders with the hammer and sett alone.
Tools needed:
 Nail HeaderHammer
6
6
Cool slowly
Cool slowly
Let each nail fall among the scale at the foot of the anvil block and scatter them on scale or ashes. Never let them fall on iron or cool in a heap: they turn brittle.
Tools needed:
Anvil7
7
Finish cold
Finish cold
On a small anvil held in the vice, touch the heads into shape with a light hammer, sharpen the points by hammering, and bend each point a little (fig. 99 C) so it comes out at the right height on the hoof wall for the clench (fig. 100).
Tools needed:
 Bench ViseAnvilHammer
8
8
Troubleshooting
Troubleshooting
Horseshoe nail troubleshooting.
Flow
Loading...
9
9
History and honest limits
History and honest limits
From George Edwinson, "Smithing and Forging" VI, **Amateur Work, Illustrated**, vol. V (1886), pp. 509-511 and figs. 96-100 (checked on the archive.org scan amateurworkillus05lond), drawing in part on W. J. E. Crane, The Smithy and Forge. He gives no nail rod section; the metric figures and tools are ours.
This blueprint makes
Related Blueprints
These blueprints share knowledge with this one — techniques, materials, or principles that connect them in the learning graph.
CC0 Public Domain
This blueprint is released under CC0. You are free to copy, modify, distribute, and use this work for any purpose, without asking permission.
Support the Maker by purchasing products through their Blueprint where they earn a Maker Commission set by Vendors, or create a new iteration of this Blueprint and include it as a connection in your own Blueprint to share revenue.