ART
BEAUTY & WELLNESS
CRAFT
CULTURE & HISTORY
ENTERTAINMENT
ENVIRONMENT
FOOD & DRINKS
REVERSE ENGINEERING
SCIENCES
SPORTS
TECHNOLOGY
WEARABLES
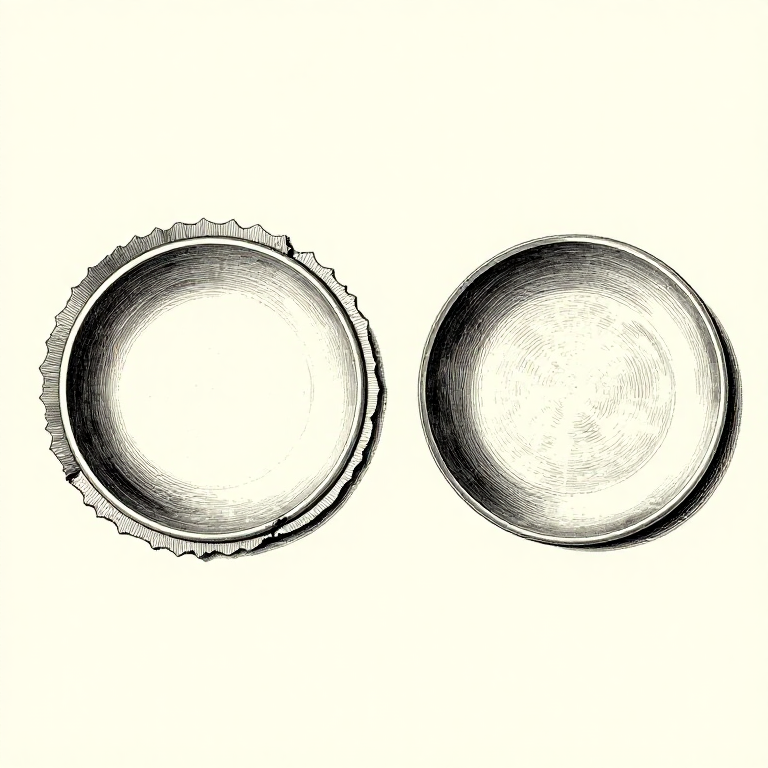


Fettling: What Happens After the Mould Is Broken Open
The casting that comes out of the sand is not the part. It has a sprue, runners, gates, risers, flash along the parting line and sand baked onto its surface — and all of that has to come off.
FETTLING is that work, and it is usually the longest single operation in making a casting. A gating system designed with fettling in mind takes minutes to remove; one designed without it takes an hour with a grinder.
It is also when the casting is finally inspected properly. Dimensions checked, surfaces seen for the first time, defects found — which is why the reading rung comes before this one rather than after it.
Intermediate
3 hours
Instructions
1
1
Let it cool in the sand, and be patient about it
Let it cool in the sand, and be patient about it
Breaking a mould open early to see the casting is the commonest impulse and one of the commonest ways to ruin one. A casting cooling in sand cools slowly and evenly; exposed to air it cools fast on the outside and can crack.
Cast iron is the extreme case: cooled quickly it forms hard white iron at the surface that cannot be machined at all, and the whole point of a grey iron casting is lost. Slow cooling in the sand is what makes it grey.
Wait until it can be handled with gloves. That is usually far longer than it feels, and the casting is not improving in any way by coming out early — it is only at risk.
Materials for this step:
 Casting Sand1 kg
Tools needed:
 Leather Gauntlet Gloves
 Crucible Tongs
2
2
Cut the gating off, do not break it
Cut the gating off, do not break it
Saw or cut the runners and risers off rather than snapping them. A break can run INTO the casting, taking a piece of the part with it, and that is not repairable on anything that matters.
Brittle alloys — grey iron, some bronzes — can be struck off cleanly where a notch has been cut first to control where the fracture runs. Ductile ones must be sawn or cut.
Leave a few millimetres proud and dress back to the surface afterwards. Cutting flush in one operation risks going into the casting, and a raised stub is far easier to remove than a gouge is to fill.
Materials for this step:
 Bronze Ingot1 piece
Tools needed:
 Hacksaw
 File Set
 Digital Caliper 6-Inch
3
3
Dress the flash, and keep the form
Dress the flash, and keep the form
Flash comes off with a file or a grinder, following the shape the casting was meant to have. The temptation is to grind until the line disappears, which takes the casting's form with it.
Work with the eye and the hand on the FORM, not on the defect. A flat file on a curved surface produces a flat, and on a cast form that flat is more visible than the flash line was.
Sand is abrasive and it blunts everything quickly. Wire-brush the casting before filing it, and accept that fettling files are consumables — or use a grinder first and files only for the finish.
Materials for this step:
Bronze Ingot1 pieceTools needed:
File Set Magnifying LoupeLeather Gauntlet Gloves
4
4
Measure it, weigh it, and write it all down
Measure it, weigh it, and write it all down
Measure the finished casting against the drawing. A systematic difference from the intended size is a shrinkage allowance that was wrong, and that is a pattern correction rather than a process one.
Weigh the casting and the gating separately. That gives the YIELD — casting weight over total poured — which is the number a foundry actually optimises, and 50 to 70% is typical for sand casting.
Then record everything: alloy, pouring temperature, sand condition, gating layout, what came out and what was wrong with it. Every rung in this batch ends at that notebook, because a casting process is reproducible only to the extent that it is written down.
Materials for this step:
Bronze Ingot1 pieceTools needed:
Digital Caliper 6-Inch Precision Scale
 Steel Ruler
Materials
2- 1 kgPlaceholder
- 1 piecePlaceholder
Related Blueprints
These blueprints share knowledge with this one — techniques, materials, or principles that connect them in the learning graph.

CC0 Public Domain
This blueprint is released under CC0. You are free to copy, modify, distribute, and use this work for any purpose, without asking permission.
Support the Maker by purchasing products through their Blueprint where they earn a Maker Commission set by Vendors, or create a new iteration of this Blueprint and include it as a connection in your own Blueprint to share revenue.