ART
BEAUTY & WELLNESS
CRAFT
CULTURE & HISTORY
ENTERTAINMENT
ENVIRONMENT
FOOD & DRINKS
REVERSE ENGINEERING
SCIENCES
SPORTS
TECHNOLOGY
WEARABLES
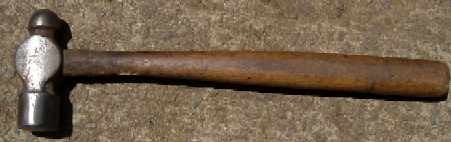


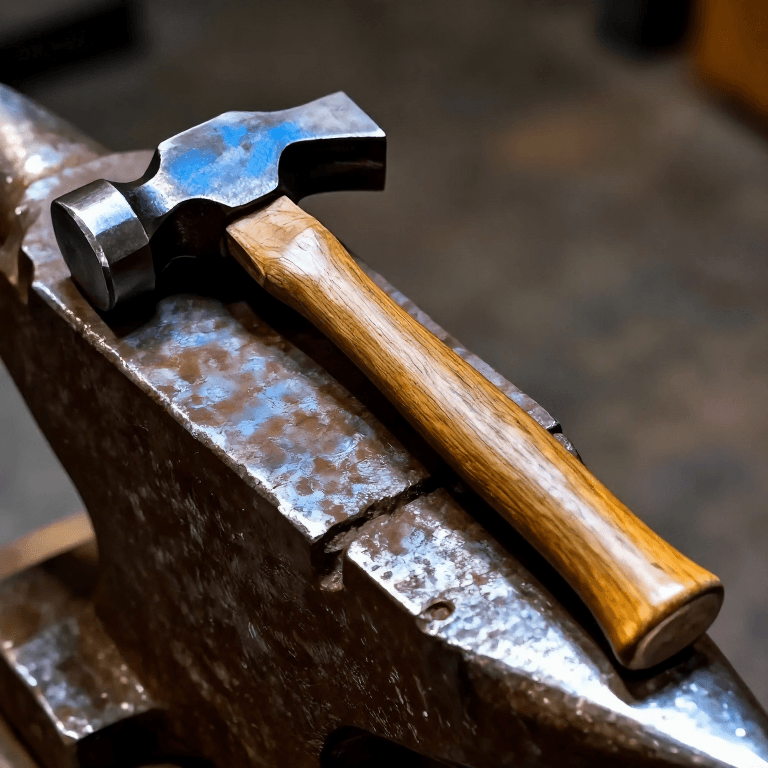
Forged Ball-Peen Hammer
A 2-pound ball-peen hammer forged from 1½-inch square tool steel; a 6½-inch bar gives two heads. The eye is punched and drifted, the body fullered and rounded so it tapers both ways from a thick centre, then the face is drawn out and swaged and the ball peen rounded in a bottom swage. Both ends are hardened by dipping them in turn, with water dripping on the face, and tempered from the heat held around the eye: dark brown for the face, brown or purple for the peen. The eye cools last, which keeps it tough.
Advanced
4–6 hours
Instructions
1
1
Mark and flatten
Mark and flatten
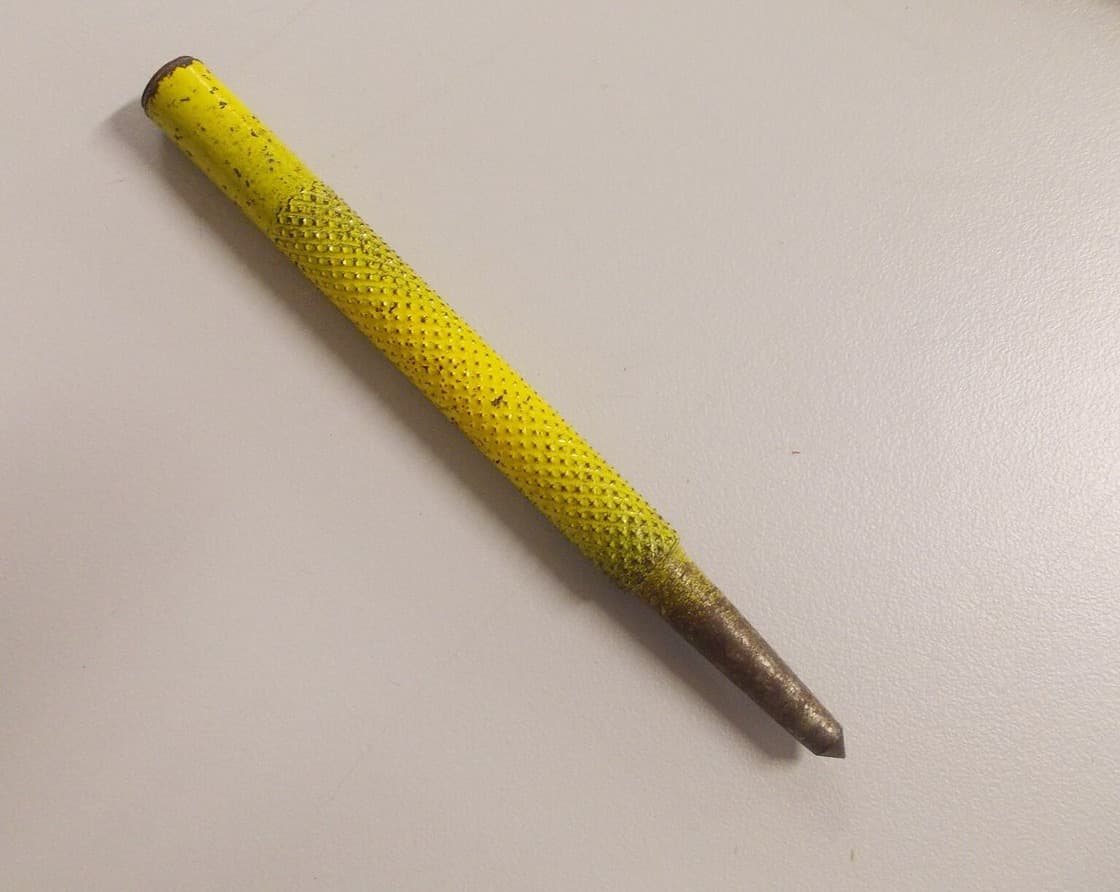
Mark the bar with a chisel and centre punch. Flatten the end before punching, or the hole grows too large.
Materials for this step:
 Square Tool Steel Bar1 piece
Tools needed:
 Center Punch
 Hot Chisel
 Blacksmith Forge
 Anvil
Anvil Sledgehammer
 Blacksmith Tongs
2
2
Punch and drift the eye
Punch and drift the eye
Punch the eye at the centre-punch mark, drive in a drift and hammer the bulged sides straight.
Tools needed:
 Hot Punch
 Drift
Drift Forge Hammer
3
3
Shape the body
Shape the body
Rough out the shape with top and bottom fullers, then round the body at the anvil's rounded edge with a top fuller and set hammer, thicker at the centre than at the ends.
Tools needed:
 Fuller
 Set Hammer
4
4
Face and peen
Face and peen
Cut the head from the bar from four sides for a square end. Draw out the face, swage it and trim it with a hot chisel; then cut the peen to length, cut off its corners and round it in a bottom swage. Drive the drift through from both sides to taper the eye.
Tools needed:
Hot Chisel Bottom SwageDrift
5
5
Grind
Grind
Grind both ends, rounding the edges of the face slightly so it does not mark hot work.
Tools needed:
 Bench Grinder
6
6
Harden and temper
Harden and temper
Heat the whole head slowly to the hardening heat and hold it by a tong jaw in the eye. Lower about 1½ inches of the face into water, then harden the peen the same way while water drips on the face, keeping the eye hot. Polish the ends; take the face to dark brown and the peen to brown or purple, then dip the ends alternately so the eye cools slowly.
Tools needed:
Blacksmith Forge Quench BucketBlacksmith Tongs
 Emery Cloth
7
7
Handle
Handle
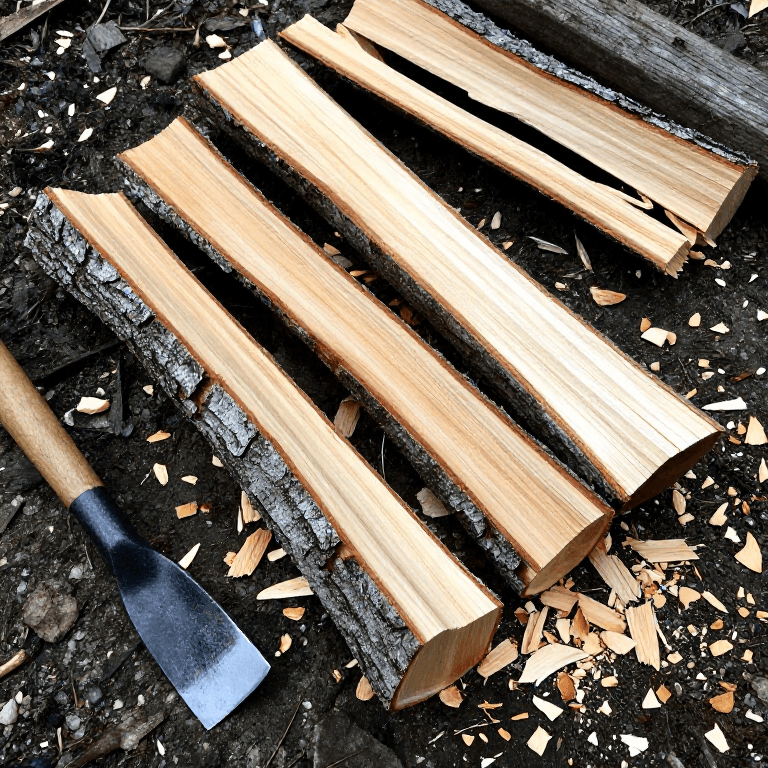
Shave the handle stock to fit the eye tightly, drive the head on, saw a kerf in the handle's top and drive a glued hardwood wedge into it. Trim flush and oil the handle.
Materials for this step:
 Hardwood Handle Stock1 piece
 Hardwood Wedge1 piece
 Linseed Oil10 ml
Tools needed:
 Spokeshave
 Crosscut Saw
 Bench Vise
Materials
4- 1 piecePlaceholder
- 1 piecePlaceholder
- 1 piecePlaceholder
- 10 mlPlaceholder
Tools Required
18- Placeholder
- Placeholder
- Placeholder
- Placeholder
- Placeholder
- Placeholder
- Placeholder
- Placeholder
- Placeholder
- Placeholder
- Placeholder
- Placeholder
- Placeholder
- Placeholder
- Placeholder
- Placeholder
- Placeholder
- Placeholder
This blueprint makes
Related Blueprints
These blueprints share knowledge with this one — techniques, materials, or principles that connect them in the learning graph.
CC0 Public Domain
This blueprint is released under CC0. You are free to copy, modify, distribute, and use this work for any purpose, without asking permission.
Support the Maker by purchasing products through their Blueprint where they earn a Maker Commission set by Vendors, or create a new iteration of this Blueprint and include it as a connection in your own Blueprint to share revenue.