ART
BEAUTY & WELLNESS
CRAFT
CULTURE & HISTORY
ENTERTAINMENT
ENVIRONMENT
FOOD & DRINKS
REVERSE ENGINEERING
SCIENCES
SPORTS
TECHNOLOGY
WEARABLES
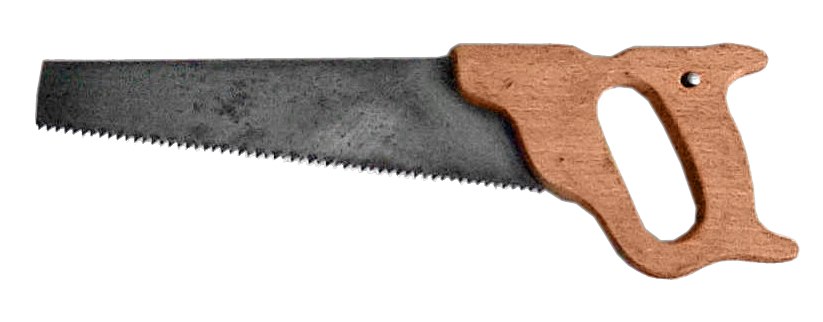


Hand Saw: Plate, Teeth, Temper and Handle
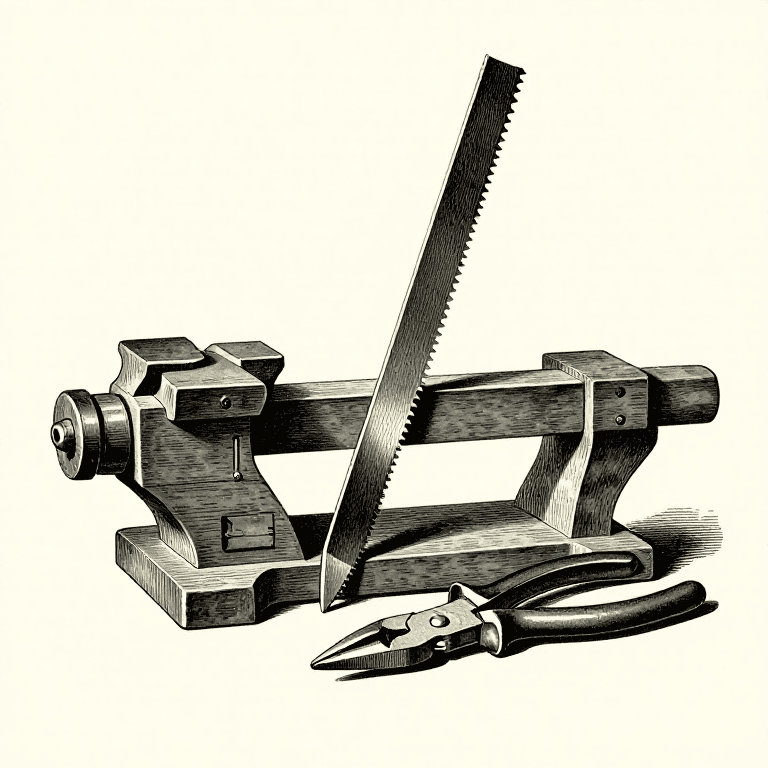
Hand saws were made like this in the saw works of the 1880s. Steel plate is sheared to the outline of the blade and the teeth are punched in a press. The toothed plate is heated to a light cherry red and plunged into a bath of oil, tallow, rosin and beeswax, which leaves it as brittle as glass; it is then flattened between heated dies until it reaches a blue, the colour of spring temper. After smithing and grinding, the teeth are set, bent alternately left and right, and filed sharp, and a wooden handle is riveted on. Today the plate is laser cut and the teeth are ground and flame hardened.
Advanced
Factory process (1880s)
Instructions
1
1
Cut the plate
Cut the plate
Shear the steel plate to the outline of the blade.
Materials for this step:
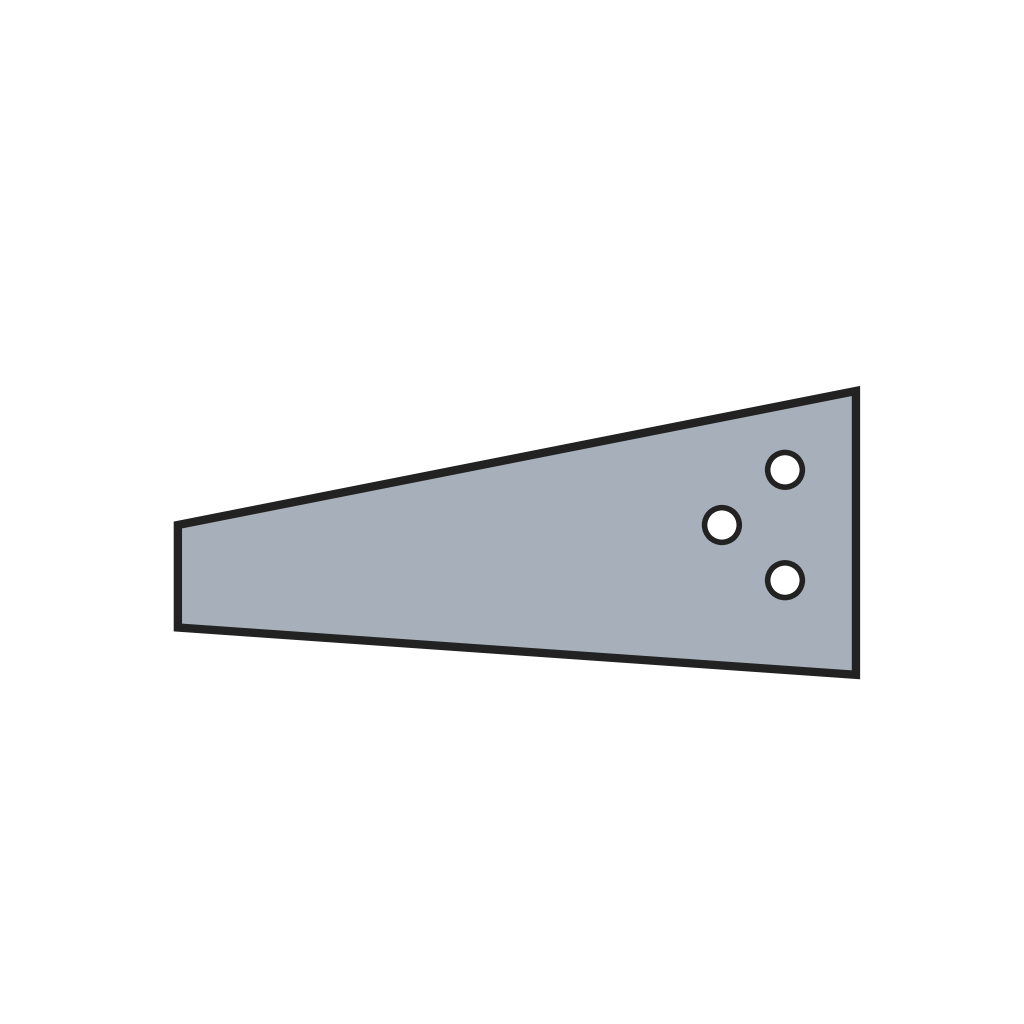 Saw Plate Steel Sheet1 piece
Tools needed:
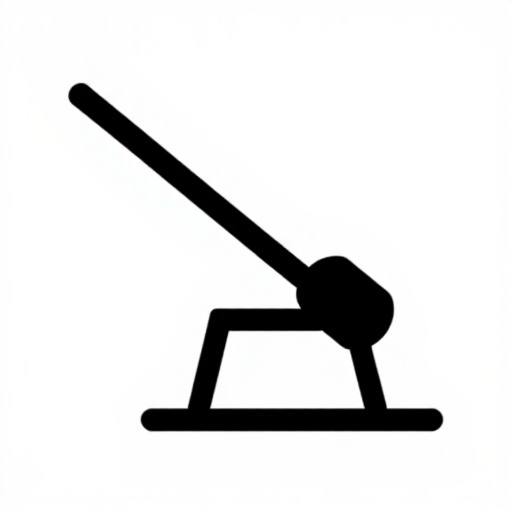 Plate Shears
2
2
Punch the teeth
Punch the teeth
Punch the teeth along the edge with a shaped die in a press.
Tools needed:
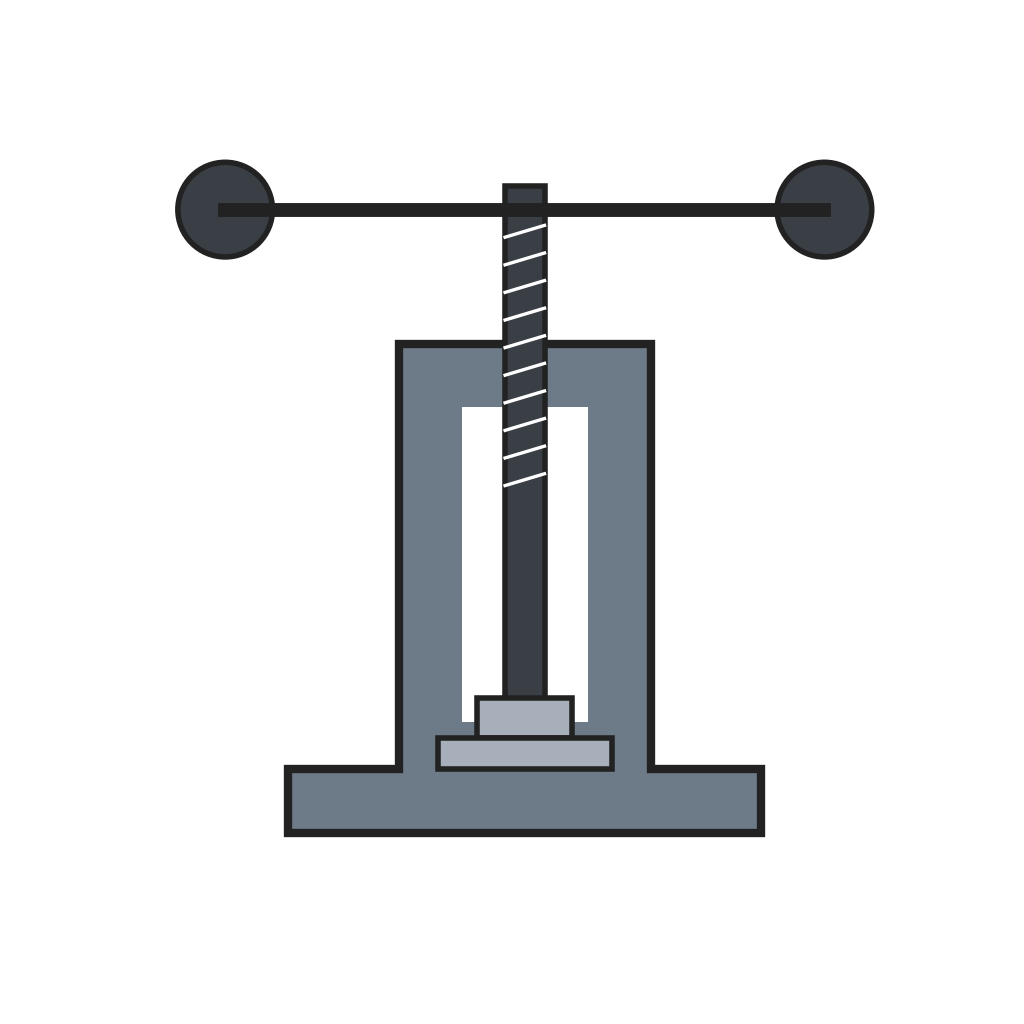 Saw Tooth Punching Press
3
3
Harden
Harden
Heat the toothed plate to a light cherry red and plunge it into a bath of oil, tallow, rosin and beeswax. It comes out as brittle as glass and buckled.
Materials for this step:
 Animal Fat (Tallow)1 kg
 Pine Rosin0.5 kg
 Beeswax0.5 kg
4
4
Flatten and temper
Flatten and temper
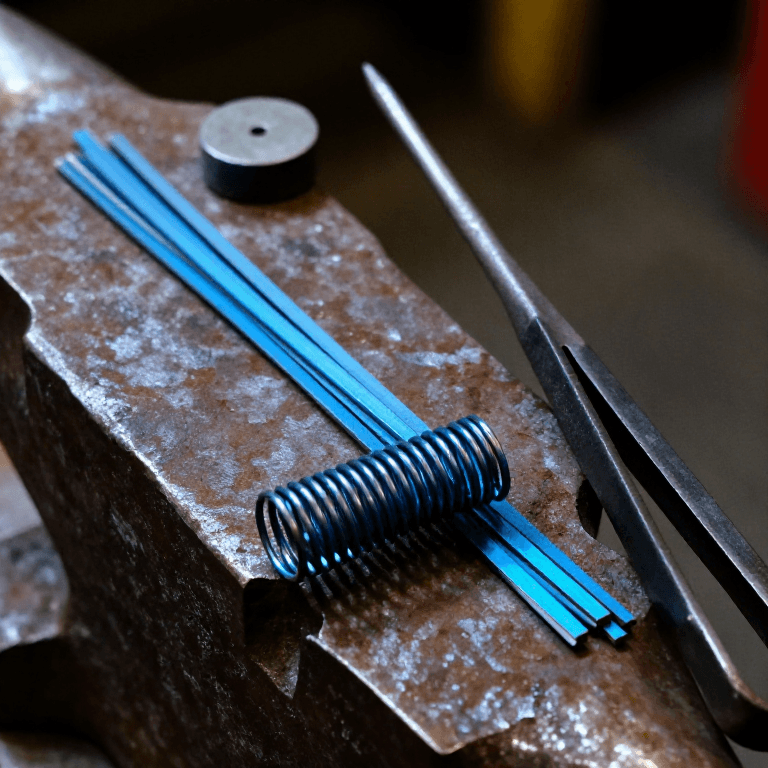
Clean off the scale and grease and press the plate flat between heated dies until it turns blue, the spring temper. Test it by bending: a good blade springs back straight.
Tools needed:
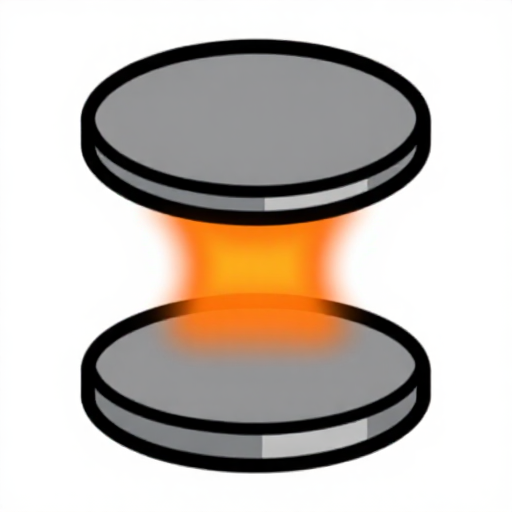 Heated Flattening Dies
5
5
Smith and grind
Smith and grind
Hammer out any remaining unevenness on a stake, then grind the blade to its gauge on a grindstone.
Tools needed:
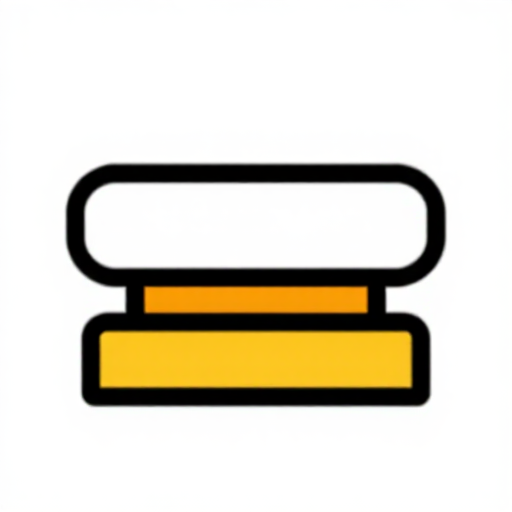 Grindstone
6
6
Set and sharpen
Set and sharpen
Set the teeth alternately left and right with a saw set, joint the points level with a file, and file each tooth sharp with a triangular file.
Tools needed:
 Saw Set
 Metal File
7
7
Fit the handle
Fit the handle
Shape a handle from beech and fix the blade in it with rivets.
Materials for this step:
 Beech Lumber1 piece
 Saw Handle Rivets3 pieces
Materials
6- 1 piecePlaceholder
- Placeholder
- 0.5 kgPlaceholder
- 0.5 kgPlaceholder
- 1 piecePlaceholder
- 3 piecesPlaceholder
Tools Required
6- Placeholder
- Placeholder
- Placeholder
- Placeholder
- Placeholder
- Placeholder
This blueprint makes

Related Blueprints
These blueprints share knowledge with this one — techniques, materials, or principles that connect them in the learning graph.
CC0 Public Domain
This blueprint is released under CC0. You are free to copy, modify, distribute, and use this work for any purpose, without asking permission.
Support the Maker by purchasing products through their Blueprint where they earn a Maker Commission set by Vendors, or create a new iteration of this Blueprint and include it as a connection in your own Blueprint to share revenue.