ART
BEAUTY & WELLNESS
CRAFT
CULTURE & HISTORY
ENTERTAINMENT
ENVIRONMENT
FOOD & DRINKS
REVERSE ENGINEERING
SCIENCES
SPORTS
TECHNOLOGY
WEARABLES
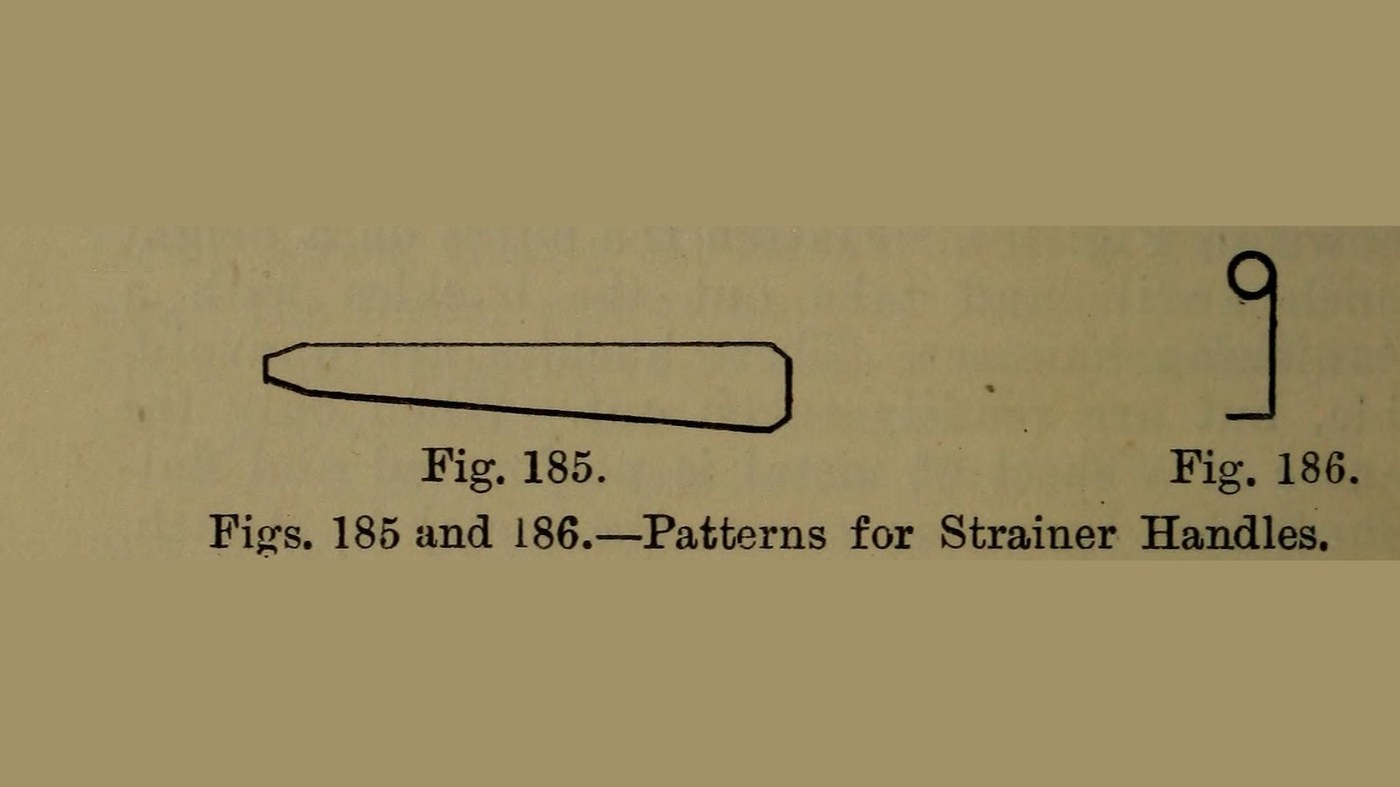


Handle: a Wired Tinplate Lifting Handle, Riveted and Soldered On (Hasluck, 1907)
A tinsmith's lifting handle is a strip of tinplate cut to a tapering pattern, stiffened with wire along its edges and bent so its narrow end curls into a ring, then riveted and soldered to the vessel.
Paul N. Hasluck's Tinplate Work (1907) gives it for the strainer of a fish kettle (Figs. 185-186). He gives no sizes for the pattern or the wire; those are unknown here.
Source: P. N. Hasluck, Tinplate Work (1907), pp. 89-90. Picture: his Figs. 185 and 186.
Beginner
An hour for a pair
Instructions
1
1
Read Hasluck
Read Hasluck
"Having cut two to this pattern, wire the edges, and bend to the shape of Fig. 186, letting the narrow part of the pattern form the ring; then rivet and solder them to the strainer."
2
2
Cut to the pattern
Cut to the pattern
Mark out the handle on tinplate to the pattern of Fig. 185, a long strip tapering to a narrow end, and cut it out with snips; cut two for a pair. Hasluck gives no sizes (unknown).
Materials for this step:
 Tinplate Sheet1 two strips
Tools needed:
 Scriber
 Snips
 Unknown Dimensions
3
3
Wire the edges
Wire the edges
Wire the edges of each strip: The gauge for the handles is not given; the strainer they are made for is wired with No. 10 B.W.G. tinned wire.
Materials for this step:
 Iron Wire1 edges
Tools needed:
 Wooden Mallet
 Stake
4
4
Bend the ring
Bend the ring
Bend the strip to the shape of Fig. 186, curling the narrow end of the pattern round into the ring you lift by.
Tools needed:
Wooden MalletStake5
5
Rivet and solder on
Rivet and solder on
Punch the rivet holes, rivet the flat end of the handle to the vessel, and solder it.
Materials for this step:
 Iron Rivets1 per handle
 Tin-Lead Solder1 small amount
Tools needed:
 Sheet Metal Hole Punch
 Riveting Hammer
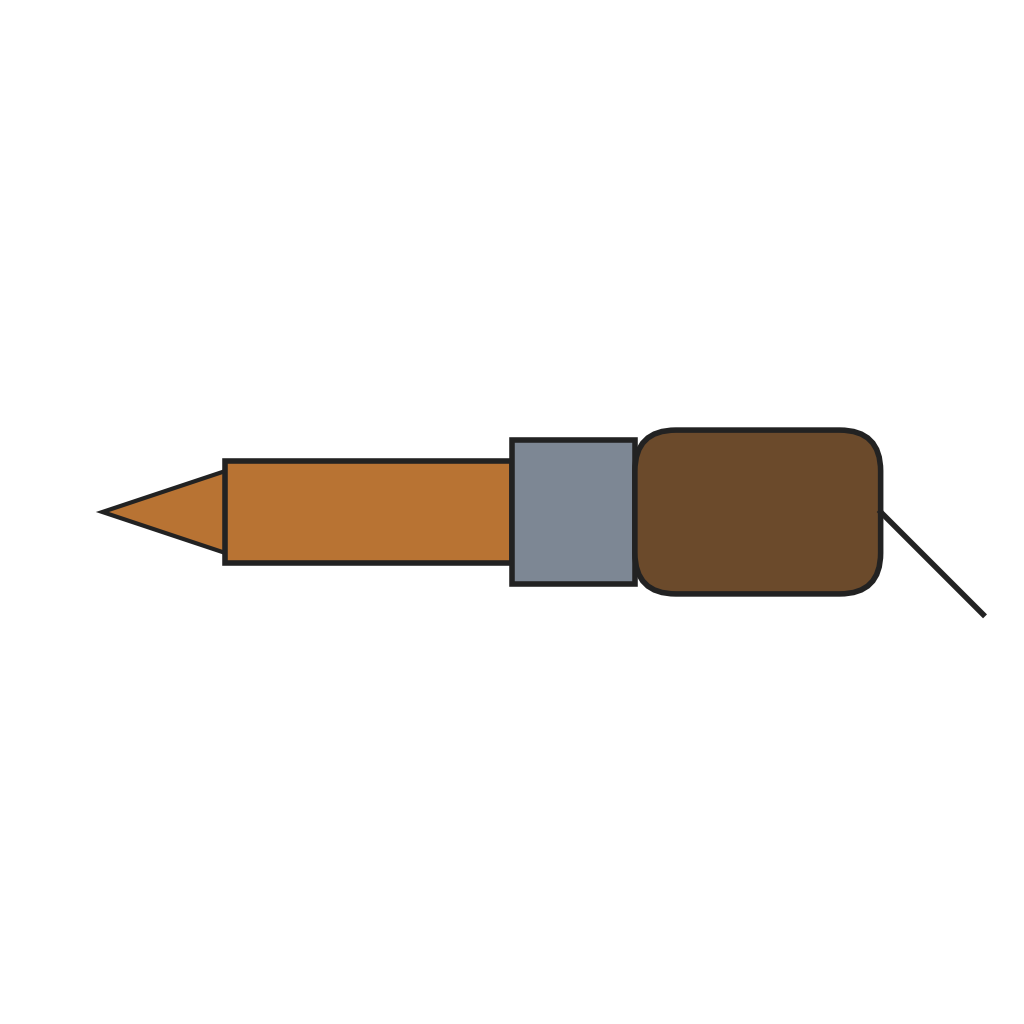 Electric Soldering Iron
 Flux
6
6
History and honest limits
History and honest limits
In Hasluck this handle lifts the perforated strainer out of a fish kettle; his colander has a pair of bow handles riveted on opposite each other.
He gives the pattern by figure only, with no sizes, and does not say which wire goes in the handle edges; the tools are ours.
Materials
4- 1 two stripsPlaceholder
- 1 edgesPlaceholder
- 1 per handlePlaceholder
- 1 small amountPlaceholder
This blueprint makes

Related Blueprints
These blueprints share knowledge with this one — techniques, materials, or principles that connect them in the learning graph.

CC0 Public Domain
This blueprint is released under CC0. You are free to copy, modify, distribute, and use this work for any purpose, without asking permission.
Support the Maker by purchasing products through their Blueprint where they earn a Maker Commission set by Vendors, or create a new iteration of this Blueprint and include it as a connection in your own Blueprint to share revenue.