
Collaboration
ART
BEAUTY & WELLNESS
CRAFT
CULTURE & HISTORY
ENTERTAINMENT
ENVIRONMENT
FOOD & DRINKS
REVERSE ENGINEERING
SCIENCES
SPORTS
TECHNOLOGY
WEARABLES
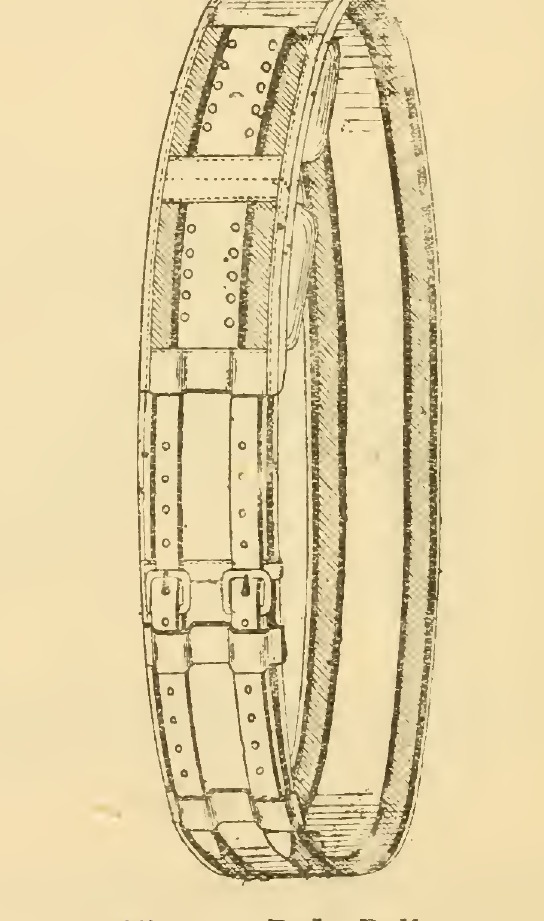
Body Roller: Web Band With a Quilted, Flock-Stuffed Pad and Two Buckled Straps (Hasluck, Saddlery, 1904)
Tex

Created by

Tex

13. November 2026FO
1
0
0
0
0

Body Roller: Web Band With a Quilted, Flock-Stuffed Pad and Two Buckled Straps (Hasluck, Saddlery, 1904)

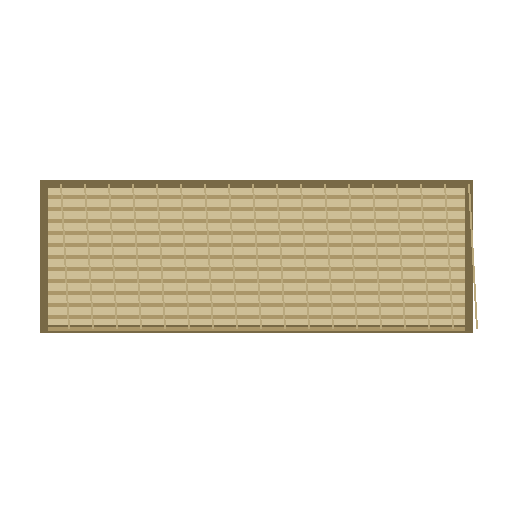
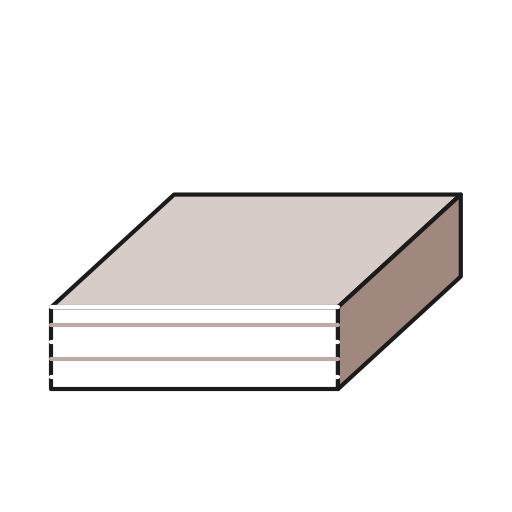
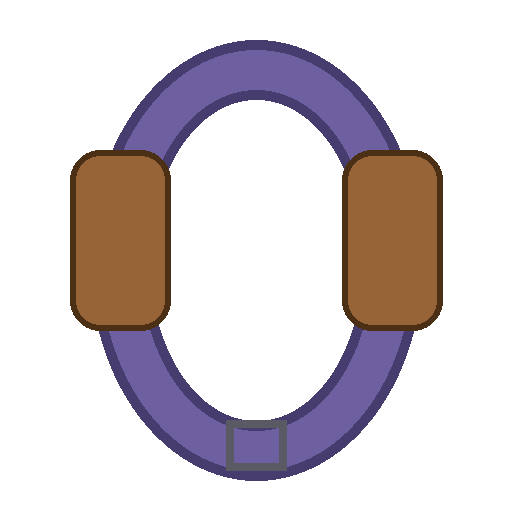
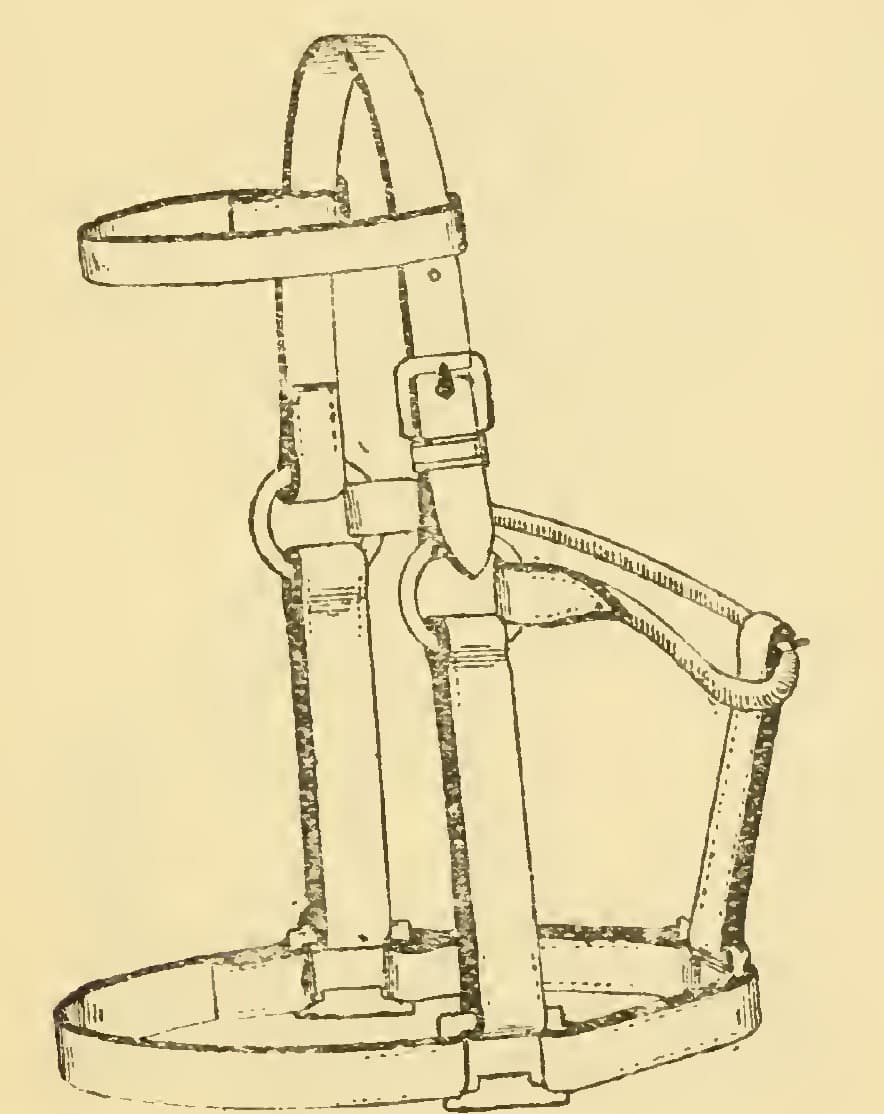
A body roller is buckled round a horse behind the withers to keep its rug or sheet in place. This is the two-strap roller from Paul N. Hasluck's Saddlery (1904): a 6 ft 2 in web band with a stuffed pad of two compartments, faced with hogskin, lined with serge, quilted with twenty small leather rounds, and fastened with two buckled straps. Every size is his. Rollers may be of worsted, linen, union, webbing or leather.
Advanced
About 2 days

Instructions

1

The marks on the roller

Loading Jupyter Notebook...
2

Read Saddlery, ch. IX

"Body rollers are made of worsted, linen, union, webbing, or leather, with one, two, or three straps, a full-sized roller being 6 ft. 2 in. long."
3

Bind the ends and mark the pad

Cut the roller 6 ft 2 in long; the pad sits about 10 in from one point. Bind the short end near the pad with leather 1 in wide on each side, stitched with single thread. Bind the other end the same way, 1 in wide on the front, but line the girth for about 6 in below and stitch along the edge of the roller; raise a stitch over the edge of the leather without running through. With a lead pencil, mark a line across 10 in from the end without lining, a second line 1 ft away, and two more 5-1/4 in from each line, leaving a 1-1/2 in space between them.

Materials for this step:

Girth WebbingGirth Webbing1 piece
Pigskin LeatherPigskin Leather1 piece
Linen ThreadLinen Thread1 piece
BeeswaxBeeswax1 piece
PencilPencil1 piece

Tools needed:

Leather KnifeLeather Knife
AwlAwl
Two Harness NeedlesTwo Harness Needles
Stitching PonyStitching Pony
Tape MeasureTape Measure
4

Cut the card, lining and facings

Cut stiff cardboard the width of the roller, reaching 1 in below each end line, and thin its edges. Cut white serge (basil or hogskin for a leather girth) to reach 2 in below the two end lines and 1/2 in wider on each side. Cut two hogskin facings 1 ft 4 in by 1-1/4 in, narrowed at the centre to a little less than half opposite the space between the inner lines; round the corners and cut slanting towards the ends until each is about 1/2 in wide at the point. Turn the serge down 1/4 in along its long edges and whip it to the facings along the shaped edge, centre to centre, with the full and narrow parts matching on each side.

Materials for this step:

PasteboardPasteboard1 piece
Wool SergeWool Serge1 piece
Pigskin LeatherPigskin Leather1 piece
Linen ThreadLinen Thread1 piece
BeeswaxBeeswax1 piece

Tools needed:

Leather KnifeLeather Knife

ScissorsScissors
Two Harness NeedlesTwo Harness Needles
Tape MeasureTape Measure
5

Make and set the straps

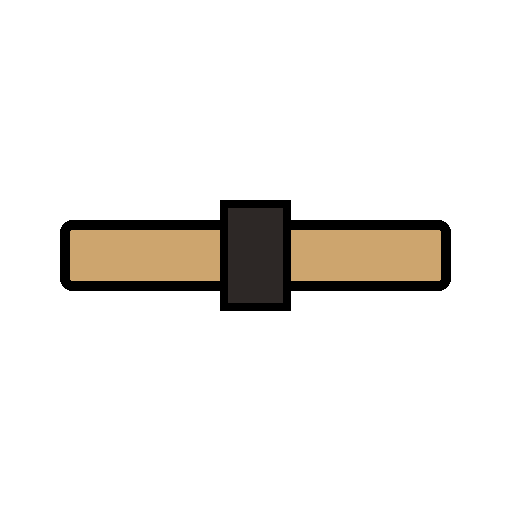
Cut two pieces of leather 2-1/4 in deep and the width of the roller and crease them along the long sides with a hot iron; cut two similar pieces of basil. Cut two strong 1-1/4 in brown leather straps 1 ft 6 in long, point one end, shave the other, crease them double and make eight holes in each. Put one basil piece underneath, level with the roller edges, reaching a little above the line nearer the short end. Place the straps within 1/4 in of that line, pointing towards the short end, and stitch them down firmly through roller and basil.

Materials for this step:

Pigskin LeatherPigskin Leather1 piece
Basil LeatherBasil Leather1 piece
Harness LeatherHarness Leather1 piece
Linen ThreadLinen Thread1 piece
BeeswaxBeeswax1 piece

Tools needed:

Leather KnifeLeather Knife
Creasing ToolCreasing Tool
Leather Hole PunchLeather Hole Punch
AwlAwl
Two Harness NeedlesTwo Harness Needles
6

Build the pad

Place the hogskin end pieces on the ends of the pad, their upper edges about 1/8 in above the end lines, and the other basil piece under the end without straps; tack the basil down. Tack a creased piece 1-3/4 in wide across the centre to cover the two central lines, then tack the cardboard underneath, centred. The end piece at the strap end covers the stitched ends of the straps. Stitch the end pieces through roller and card along their upper cross lines and the ends of the centre piece at the edges, leaving the two central lines unstitched.

Materials for this step:

Pigskin LeatherPigskin Leather1 piece
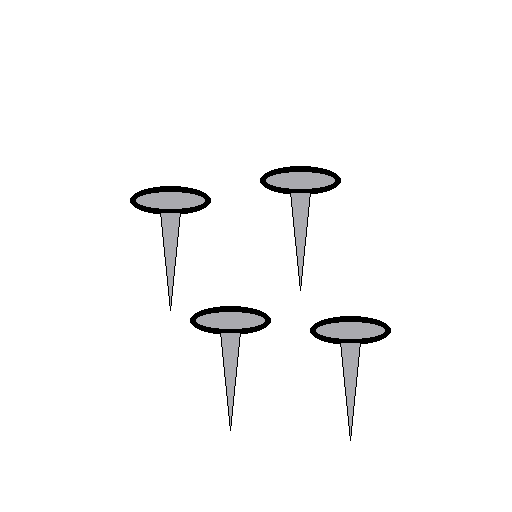
Lasting TacksLasting Tacks1 piece
Linen ThreadLinen Thread1 piece
BeeswaxBeeswax1 piece

Tools needed:

HammerHammer
Creasing ToolCreasing Tool
AwlAwl
Two Harness NeedlesTwo Harness Needles
7

Line, bind and stuff

Put the serge lining and facing centre to centre on each side and whip the facing to the roller along both edges through web and card, the ends reaching just below the stitched end lines. Bind both edges with a thin hogskin strip about 1/2 in wide from end piece to end piece. Stitch the two centre lines through from side to side, making two compartments. Make two rows of stitches down through the leather between and close to the straps, and two at the other end. Stuff both sides firm and level with flock through the bottom opening, turn in the serge edge, and raise a stitch to hold the leather lining opposite the serge.

Materials for this step:

Pigskin LeatherPigskin Leather1 piece
Wool FlockWool Flock1 piece
Linen ThreadLinen Thread1 piece
BeeswaxBeeswax1 piece

Tools needed:

Leather KnifeLeather Knife
AwlAwl
Two Harness NeedlesTwo Harness Needles
8

Quilt the pad

Cut twenty small round or scalloped pieces of coloured roan or hogskin, a little smaller than a threepenny bit. Quilt five on each side of each part, twenty in all, in a perfectly straight line 1 in from the edge: drive the needle up from below, through the leather round, down again through it and the roller, and knot it below over a small tuft of coloured wool.

Materials for this step:

Roan LeatherRoan Leather1 piece
Dyed Wool YarnDyed Wool Yarn1 piece
Linen ThreadLinen Thread1 piece
BeeswaxBeeswax1 piece

Tools needed:

Leather KnifeLeather Knife
Two Harness NeedlesTwo Harness Needles
9

Fit the buckles and loops

Cut two chapes for two 1-1/4 in buckles and two loops, and stitch the chapes with the outside of the buckles flush with the end of the roller, straight to the straps. Make a loop long enough to reach across the girth, stitched across at both ends and with two cross rows in the centre, leaving room for the two straps, about 6 in below the chapes. Block, crease and finish the loops; he puts a fancy stamp in the centre of each.

Materials for this step:

Harness LeatherHarness Leather1 piece
Iron Buckle with TongueIron Buckle with Tongue2 pieces
Linen ThreadLinen Thread1 piece
BeeswaxBeeswax1 piece

Tools needed:

Leather KnifeLeather Knife
Creasing ToolCreasing Tool
Loop StickLoop Stick
AwlAwl
Two Harness NeedlesTwo Harness Needles
10

Troubleshooting

Body roller troubleshooting.

Flow

Loading...
11

History and honest limits

From **Saddlery**, edited by Paul N. Hasluck, David McKay, 1904 (archive.org saddlery00hasl), chapter IX, "Horse Clothing", body rollers, pp. 75-80, Figs. 31-32; every fraction was read on the scan. His wording on the end pieces is brief; check them against Figs. 31 and 32. The stallion roller, surcingle, sheets and hood are not made here. The thread, tools and metric figures are ours.

Materials

14

Tools Required

10

This blueprint makes

CC0 Public Domain

This blueprint is released under CC0. You are free to copy, modify, distribute, and use this work for any purpose, without asking permission.

Support the Maker by purchasing products through their Blueprint where they earn a Maker Commission set by Vendors, or create a new iteration of this Blueprint and include it as a connection in your own Blueprint to share revenue.

Discussion

(0)

Log in to join the discussion

Loading comments...