
Collaboration
ART
BEAUTY & WELLNESS
CRAFT
CULTURE & HISTORY
ENTERTAINMENT
ENVIRONMENT
FOOD & DRINKS
REVERSE ENGINEERING
SCIENCES
SPORTS
TECHNOLOGY
WEARABLES
Breaking Cavesson: Leather-Covered Cavesson Iron With Padded Noseband and Double Throat Lash (Hasluck, Saddlery, 1904)
Tex

Created by

Tex

13. November 2026FO
1
0
0
0
0

Breaking Cavesson: Leather-Covered Cavesson Iron With Padded Noseband and Double Throat Lash (Hasluck, Saddlery, 1904)

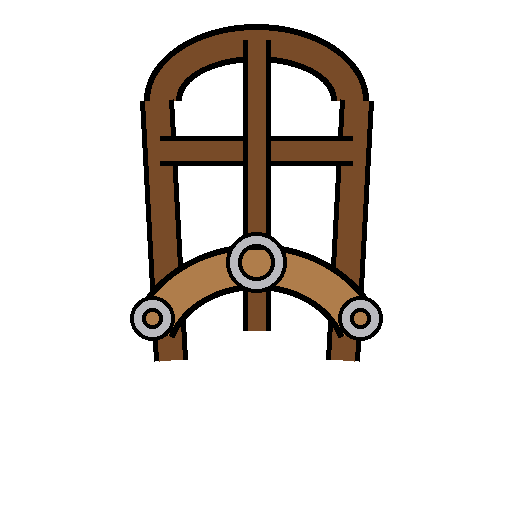
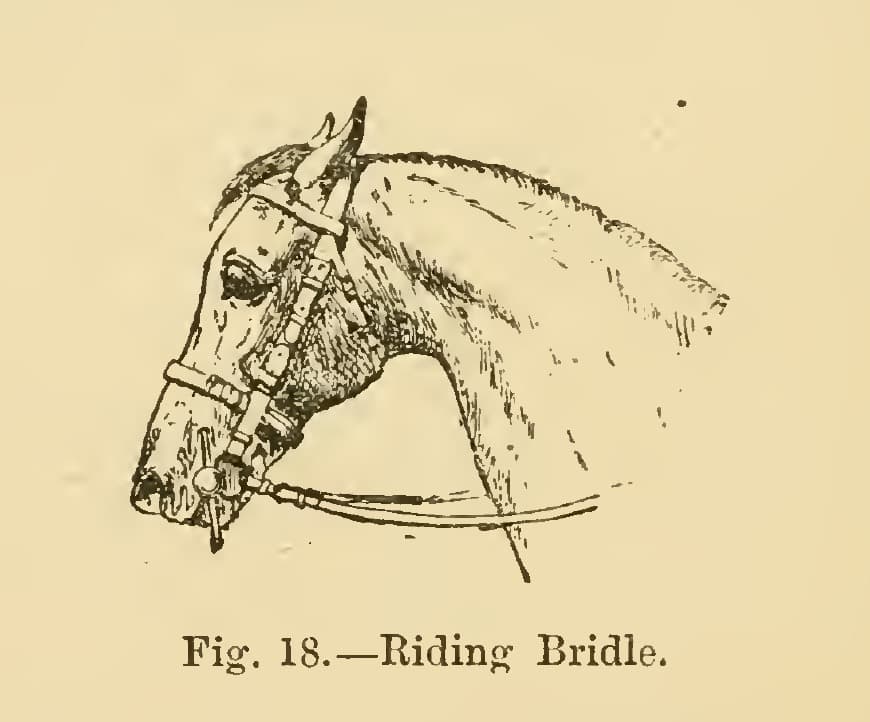
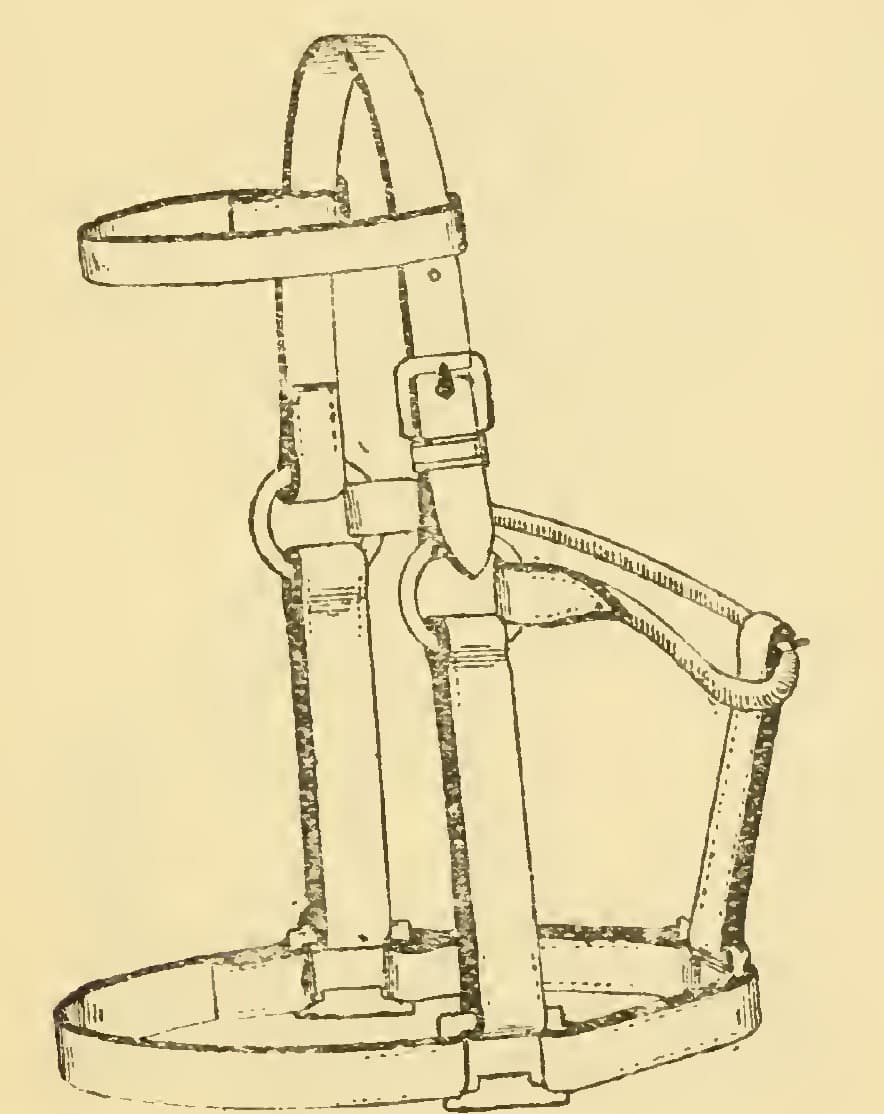
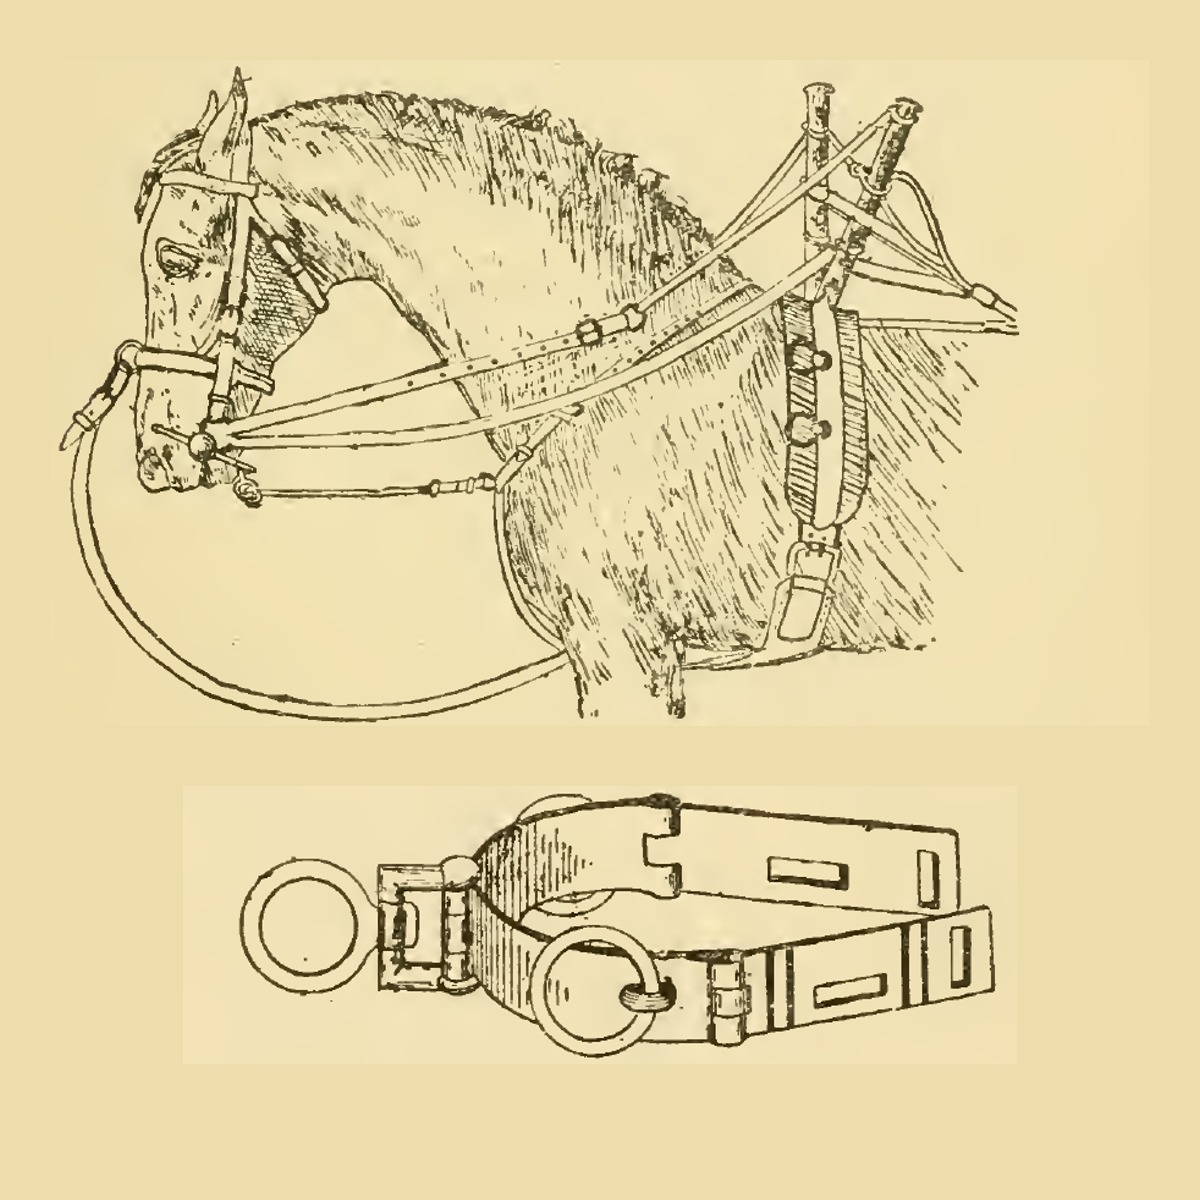
A cavesson holds a young horse's head steady while it is broken in; it is used without a bit, and the leading rein goes on its rings. This is the cavesson from the breaking-down tackle in Paul N. Hasluck's Saddlery (1904): a bought cavesson iron covered in leather and padded inside, a strap up the face, cheeks, jaw straps, a headpiece and one or two throat lashes. Every size is his.
Advanced
About 1 day

Instructions

1

His sizes in centimetres

Loading Jupyter Notebook...
2

Read Saddlery, ch. VII

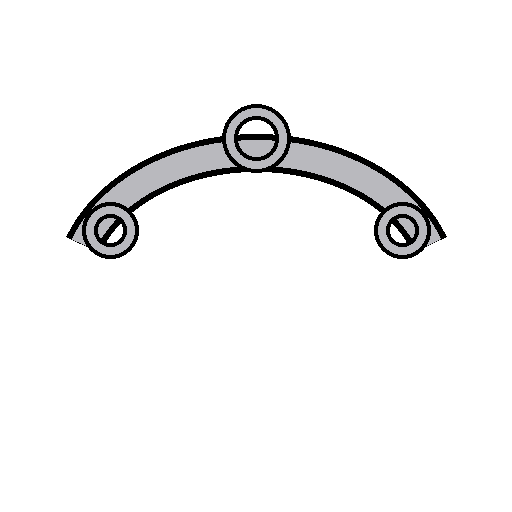
"The cavison iron (Fig. 22) can be purchased ready-made; it acts as a noseband, being strong to hold the horse's head steady. In the centre is a ring, which turns like a swivel, and another ring is placed on each side." It has openings at the sides for the cheeks and one at each end for the straps below the jaw.
3

Cover the iron

Cover the cavesson iron with thin brown leather and herringbone-stitch it underneath, out of sight. Make holes in the leather opposite the openings in the iron.

Materials for this step:

Cavesson IronCavesson Iron1 piece
Basil LeatherBasil Leather1 piece
Linen ThreadLinen Thread1 piece
BeeswaxBeeswax1 piece

Tools needed:

Leather KnifeLeather Knife
AwlAwl
Two Harness NeedlesTwo Harness Needles
Stitching PonyStitching Pony
4

Fit the cheeks

Fit two cheeks 7 in by 1 in in the side openings, each with a runner and buckle and a loop at the top.

Materials for this step:

Harness LeatherHarness Leather1 piece
Iron Buckle with TongueIron Buckle with Tongue2 pieces
Linen ThreadLinen Thread1 piece
BeeswaxBeeswax1 piece

Tools needed:

Leather KnifeLeather Knife
Edge BevellerEdge Beveller
Edge SlickerEdge Slicker
Creasing ToolCreasing Tool
Propane TorchPropane Torch
Loop StickLoop Stick
AwlAwl
Two Harness NeedlesTwo Harness Needles
5

Fit the face strap

Cut a 1 in strap 20 in long to pass round the centre of the iron, go up the face and buckle in the centre of the headpiece. Turn one end in enough to go round the iron and leave enough to stitch it together on the upper side. Slit it in half far enough to go over the centre ring, put it round with half the slit on each side of the ring, and stitch it above the iron, with a hoop under the forehead (his word) for it to pass through.

Materials for this step:

Harness LeatherHarness Leather1 piece
Linen ThreadLinen Thread1 piece
BeeswaxBeeswax1 piece

Tools needed:

Leather KnifeLeather Knife
Leather Hole PunchLeather Hole Punch
AwlAwl
Two Harness NeedlesTwo Harness Needles
Stitching PonyStitching Pony
6

Fit the jaw straps

Put a strap 9 in long in the off-side opening at the end of the iron, and another 5 in long, with a buckle, loop and runner, on the near side.

Materials for this step:

Harness LeatherHarness Leather1 piece
Iron Buckle with TongueIron Buckle with Tongue1 piece
Linen ThreadLinen Thread1 piece
BeeswaxBeeswax1 piece

Tools needed:

Leather KnifeLeather Knife
Loop StickLoop Stick
Leather Hole PunchLeather Hole Punch
AwlAwl
Two Harness NeedlesTwo Harness Needles
7

Make and strap on the pad

Make a stuffed leather pad, as for a cart winker cheek but longer, to run all along the inside of the iron and reach about 1 in beyond it at each end; it is slightly wider when stuffed and flattened. Do not make it clumsy and thick with stuffing. Make four 1/2 in straps long enough to pass round the iron, with a few holes punched in them; stitch one across the pad at each end and one on each side of the central ring, to fasten the pad on.

Materials for this step:

Harness LeatherHarness Leather1 piece
Wool FlockWool Flock1 piece
Linen ThreadLinen Thread1 piece
BeeswaxBeeswax1 piece

Tools needed:

Leather KnifeLeather Knife
Leather Hole PunchLeather Hole Punch
AwlAwl
Two Harness NeedlesTwo Harness Needles
Stitching PonyStitching Pony
8

Make the headpiece and throat lash

Make the headpiece of good leather 2 ft 4 in long, so that it fits a horse of any size, and slit it 8 in or 9 in at each side so that, when cut, it is 1-3/4 in wide; it can be narrowed in the centre between the slits. Put a chape and buckle in the centre to take the face strap. Make the foreband as for a stallion bridle (the same length as an ordinary bridle front, or a little longer). Make the throat lash 1 ft 8 in long when turned in and 3/4 in wide, with a buckle, a loop and a runner at each end.

Materials for this step:

Harness LeatherHarness Leather1 piece
Iron Buckle with TongueIron Buckle with Tongue3 pieces
Linen ThreadLinen Thread1 piece
BeeswaxBeeswax1 piece

Tools needed:

Leather KnifeLeather Knife
Edge BevellerEdge Beveller
Edge SlickerEdge Slicker
Creasing ToolCreasing Tool
Propane TorchPropane Torch
Loop StickLoop Stick
Leather Hole PunchLeather Hole Punch
AwlAwl
Two Harness NeedlesTwo Harness Needles
9

Add a second throat lash for safety

If you want extra safety, put a 5/8 in strap 6 in long on each side of the cheek, stitched in with the chape at the top and slanting slightly downwards, and make an extra throat lash 5/8 in by 1 ft 4 in to buckle to them. "With two throat lashes the bridle will be firm and safe on the horse's head."

Materials for this step:

Harness LeatherHarness Leather1 piece
Linen ThreadLinen Thread1 piece
BeeswaxBeeswax1 piece

Tools needed:

Leather KnifeLeather Knife
Leather Hole PunchLeather Hole Punch
AwlAwl
Two Harness NeedlesTwo Harness Needles
10

Troubleshooting

Cavesson troubleshooting.

Flow

Loading...
11

History and honest limits

From **Saddlery**, edited by Paul N. Hasluck, David McKay, 1904 (archive.org saddlery00hasl), chapter VII, "Breaking-down Tackle", pp. 59-61, Figs. 21-22; every fraction was read on the scan. He sends the reader to the stallion bridle for the foreband and to a cart winker cheek for the pad, without sizes here. The leading rein (9 ft by 1-1/8 in), side reins, dumb jockey, Corbett martingale, crupper and girth of the full tackle are not made here. Basil for the "thin brown leather", the buckle count in the list, the thread, tools and metric figures are ours.

Materials

7

Tools Required

10

This blueprint makes

CC0 Public Domain

This blueprint is released under CC0. You are free to copy, modify, distribute, and use this work for any purpose, without asking permission.

Support the Maker by purchasing products through their Blueprint where they earn a Maker Commission set by Vendors, or create a new iteration of this Blueprint and include it as a connection in your own Blueprint to share revenue.

Discussion

(0)

Log in to join the discussion

Loading comments...