
Collaboration
ART
BEAUTY & WELLNESS
CRAFT
CULTURE & HISTORY
ENTERTAINMENT
ENVIRONMENT
FOOD & DRINKS
REVERSE ENGINEERING
SCIENCES
SPORTS
TECHNOLOGY
WEARABLES
Child's Pilch: Treeless Saddle With Stuffed Roll, Web Girth Straps and Flock Panel (Hasluck, Saddlery, 1904)
Tex

Created by

Tex

13. November 2026FO
1
0
0
0
0

Child's Pilch: Treeless Saddle With Stuffed Roll, Web Girth Straps and Flock Panel (Hasluck, Saddlery, 1904)

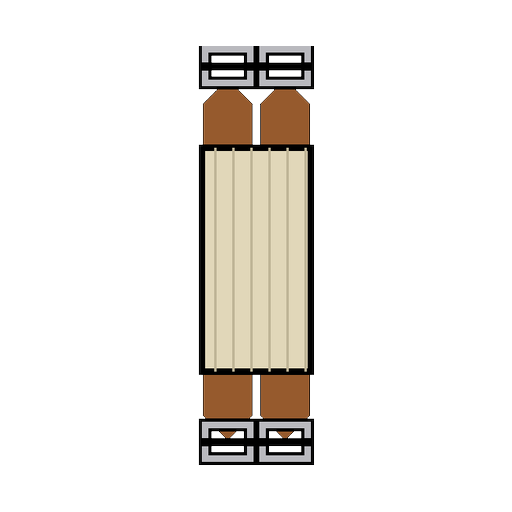
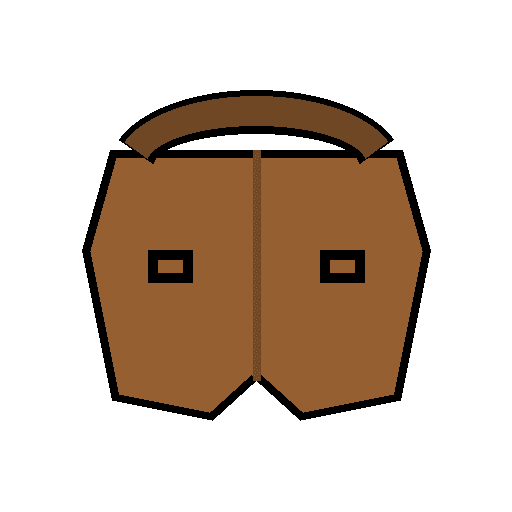
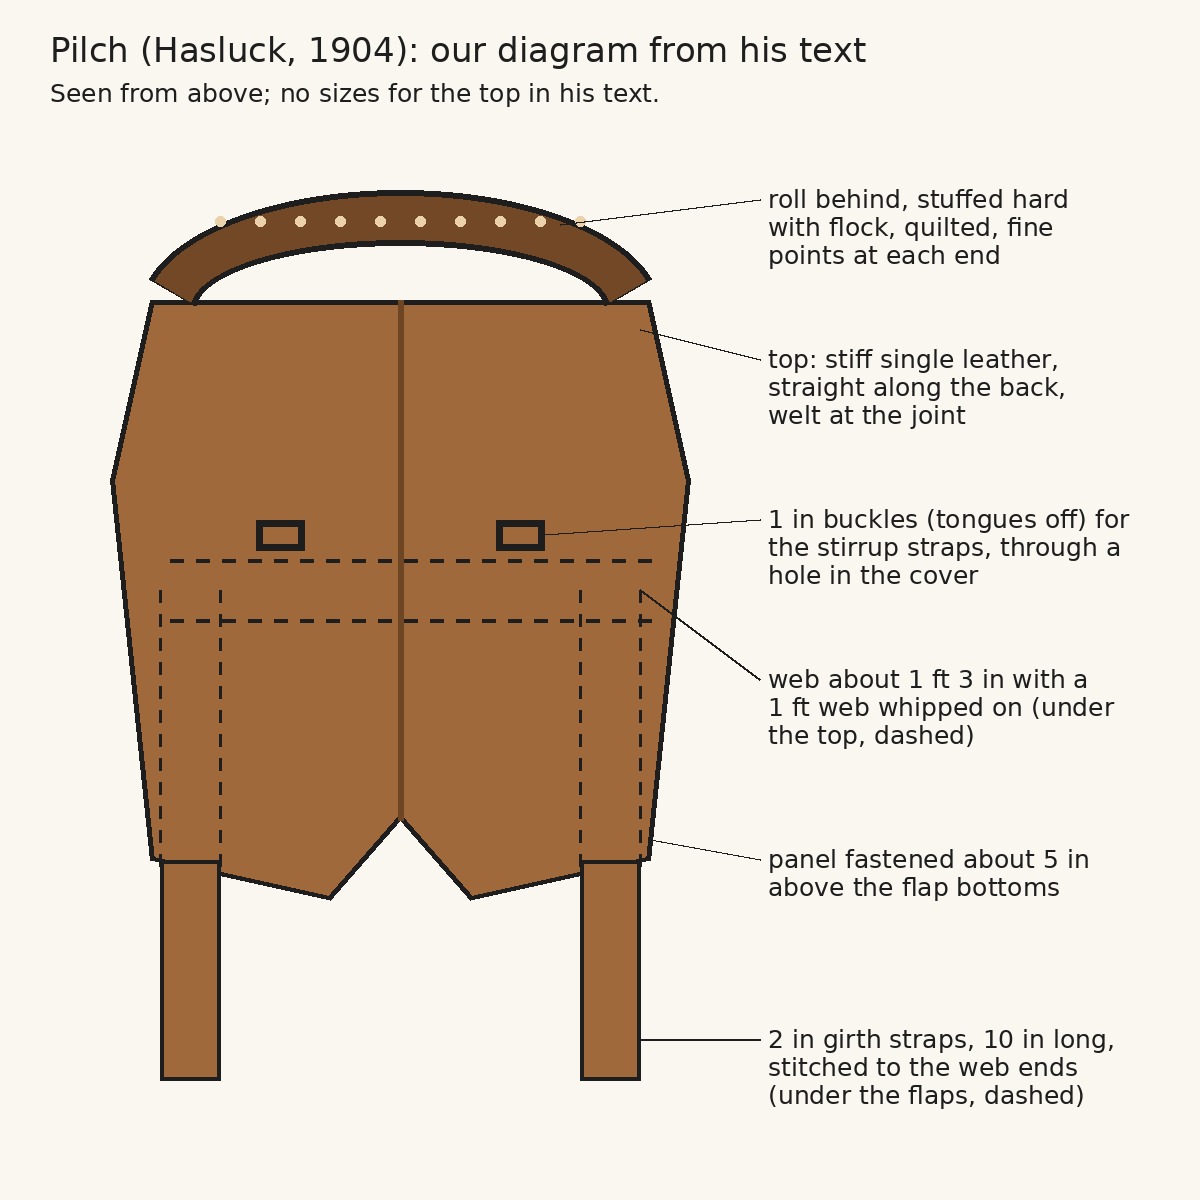
A pilch is a child's saddle made without a tree. This is the plain boy's pilch from Paul N. Hasluck's Saddlery (1904): a stiff leather top with a hard-stuffed roll behind, webs underneath carrying the girth straps and the stirrup buckles, and a flock-stuffed panel. He gives no size for the top; the picture is our diagram from his text.
Advanced
About 2 days

Instructions

1

His sizes in centimetres

Loading Jupyter Notebook...
2

Read Saddlery, ch. IV

"A pilch is the form of saddle used by a boy or girl." He adds that pilches "accommodate themselves to almost any horse, though they lose their shape under a heavy weight".
3

Cut the top

Cut the top somewhat like a saddle panel but smaller, and in a straight line along the back. Put a welt at the joint and stitch it double-handed on the under side. The top can be plain stiff single leather, or covered plain with basil or hogskin (tack a cover coarsely along the edge, then bind it with leather).

Materials for this step:

Harness LeatherHarness Leather1 piece
Linen ThreadLinen Thread1 piece
BeeswaxBeeswax1 piece

Tools needed:

Leather KnifeLeather Knife
AwlAwl
Two Harness NeedlesTwo Harness Needles
Stitching PonyStitching Pony
Tape MeasureTape Measure
4

Make the web for the girth and stirrup straps

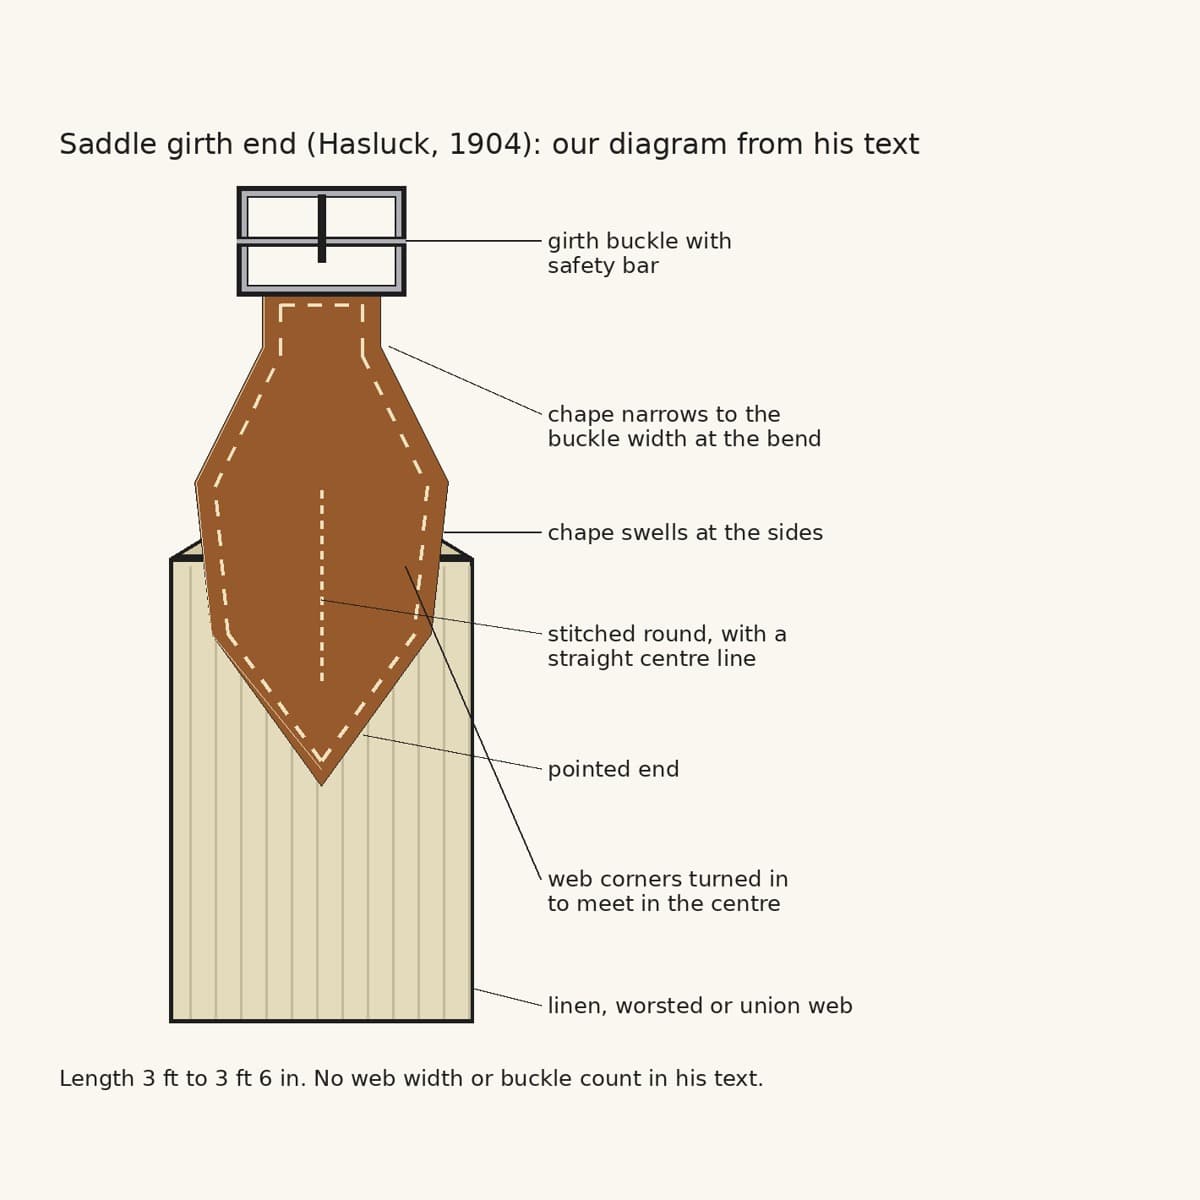
Take a piece of webbing about 1 ft 3 in long and stitch a 2 in strap, 10 in long, to each end, turning the end of the web in under the stitch. Whip a second piece of web about 1 ft long to the edge of the first, at equal distances from both ends, and fit two chapes and 1 in buckles with the tongues taken off, for the stirrup straps. Stitch this to the lower part of the top, right in the centre. Bring the stirrup buckles forward and cut a hole for each to come through on the outside without the web showing; the holes must be the same distance from the centre on each side. Stitch the web firmly through the top from end to end.

Materials for this step:

Girth WebbingGirth Webbing1 piece
Harness LeatherHarness Leather1 piece
Iron Buckle with TongueIron Buckle with Tongue2 pieces
Linen ThreadLinen Thread1 piece
BeeswaxBeeswax1 piece

Tools needed:

Leather KnifeLeather Knife
PincersPincers
Edge BevellerEdge Beveller
Creasing ToolCreasing Tool
Propane TorchPropane Torch
AwlAwl
Two Harness NeedlesTwo Harness Needles
Stitching PonyStitching Pony
Tape MeasureTape Measure
5

Make and fix the roll

Cut linen to the shape and size of the roll, double it and stitch the edges together; stuff it hard with flock and quilt it firmly. It should reach round the back and come to a fine point at each end. Draw it tight round the back of the seat, bringing the points down level at each corner of the flap part of the top, and put a stitch here and there along the bottom through the linen and the top.

Materials for this step:

Linen FabricLinen Fabric1 piece
Wool FlockWool Flock1 piece
Linen ThreadLinen Thread1 piece
BeeswaxBeeswax1 piece

Tools needed:

ScissorsScissors
AwlAwl
Two Harness NeedlesTwo Harness Needles
6

Cover and quilt the roll

Cut hogskin or basil large enough to cover the roll. Raise a stitch along the bottom on both sides of the roll in the cover and run the stitches up and down through the top, drawing the cover down tightly over the roll. Quilt the roll with stitches from side to side, a little tuft of flock under each stitch, drawn tight; fasten the thread securely at the end.

Materials for this step:

Pigskin LeatherPigskin Leather1 piece
Wool FlockWool Flock1 piece
Linen ThreadLinen Thread1 piece
BeeswaxBeeswax1 piece

Tools needed:

Leather KnifeLeather Knife
AwlAwl
Two Harness NeedlesTwo Harness Needles
7

Make and fasten the panel

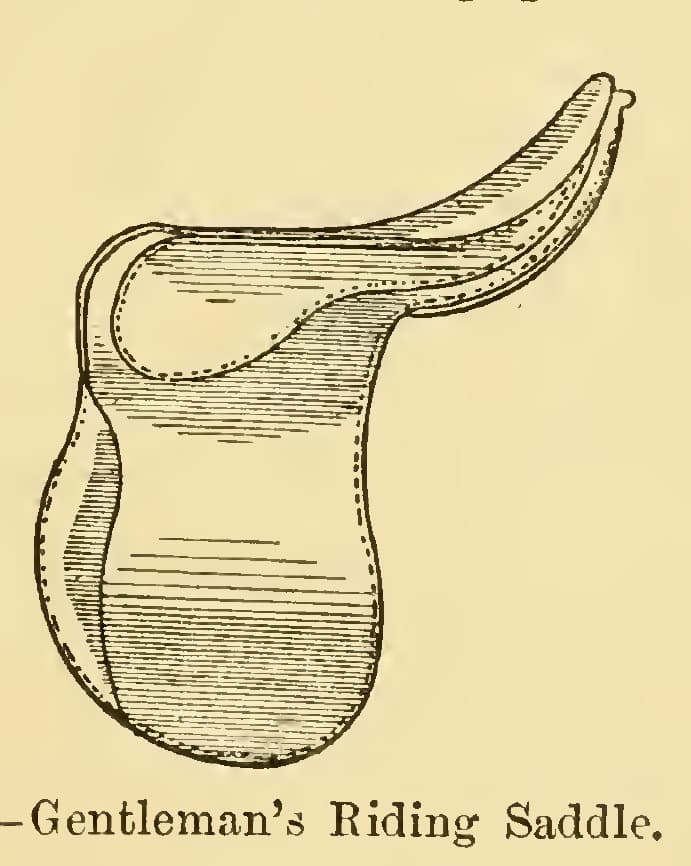
Make the panel exactly like a saddle panel (see the riding saddle blueprint). Fasten it by putting stitches through the top here and there along the front and round the back near the edge, with a small tuft of flock under each stitch on the panel and every stitch knotted over the flock as you go. Do not fasten the panel right at the bottom of the flaps, but about 5 in from it.

Materials for this step:

Basil LeatherBasil Leather1 piece
Wool SergeWool Serge1 piece
Wool FlockWool Flock1 piece
Linen ThreadLinen Thread1 piece
BeeswaxBeeswax1 piece

Tools needed:

Leather KnifeLeather Knife
AwlAwl
Two Harness NeedlesTwo Harness Needles
Tape MeasureTape Measure
8

Stirrup straps, irons and girths

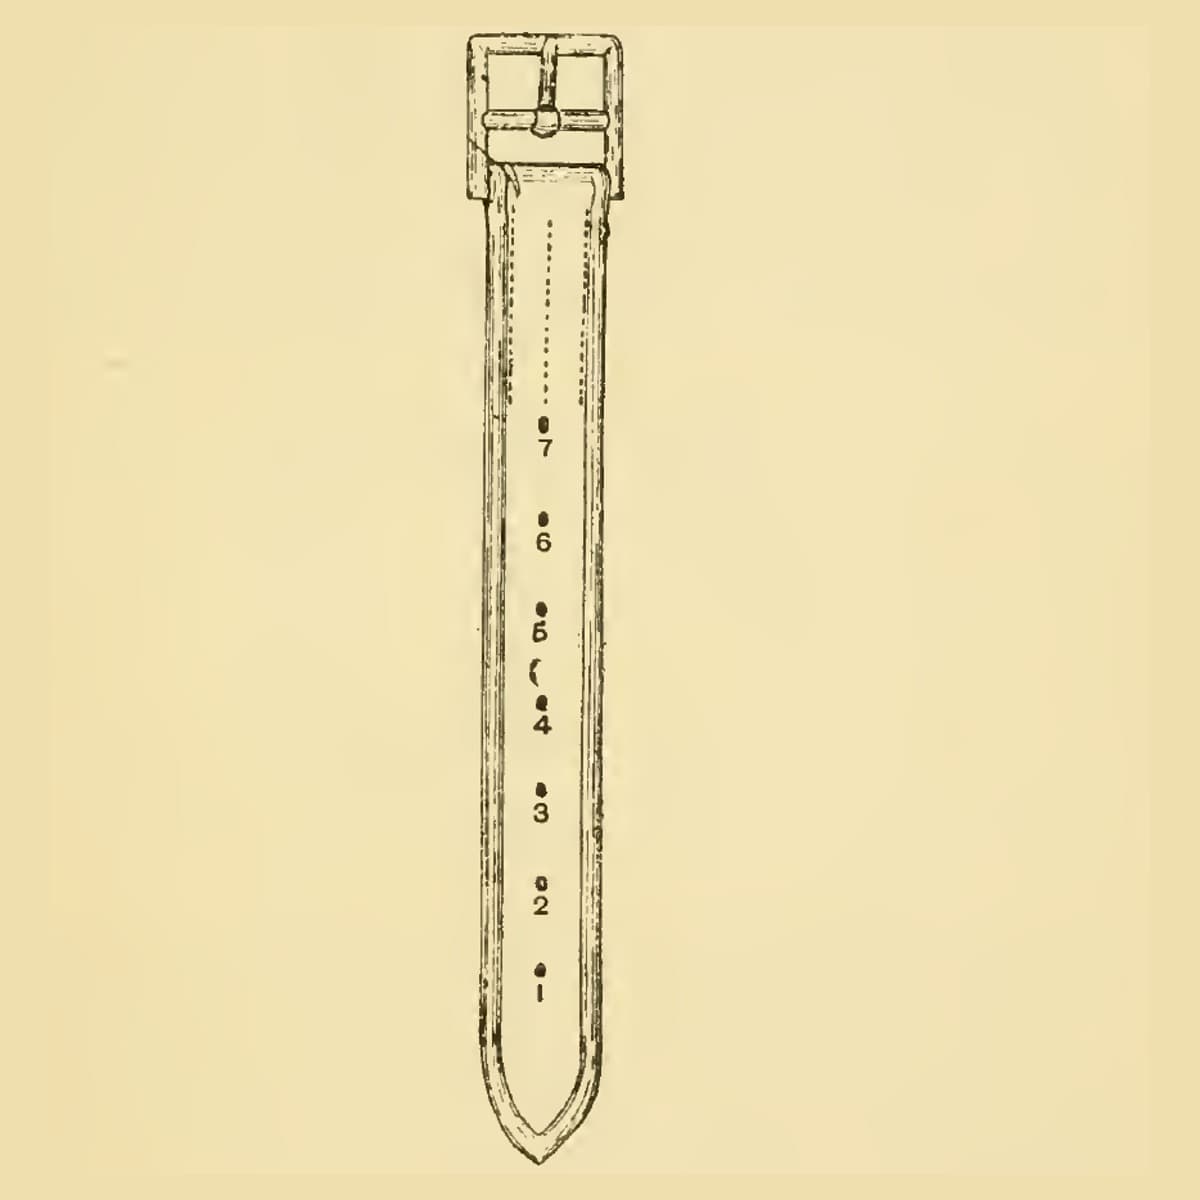
Make a pair of 1 in stirrup straps 1 ft 8 in long, and get a pair of boy's stirrup irons (he says they could be bought tinned for sixpence a pair). A pair of girths 1 ft 6 in and 1 ft 8 in long completes the pilch.

Materials for this step:

Harness LeatherHarness Leather1 piece
Stirrup IronStirrup Iron2 pieces
Saddle GirthSaddle Girth2 pieces

Tools needed:

Leather KnifeLeather Knife

Leather Hole PunchLeather Hole Punch
Tape MeasureTape Measure
9

Troubleshooting

Pilch troubleshooting.

Flow

Loading...
10

History and honest limits

From **Saddlery**, edited by Paul N. Hasluck, David McKay, 1904 (archive.org saddlery00hasl), chapter IV, "Children's Saddles or Pilches", pp. 36-39, read on the scan; the chapter has no figures, so the picture is our own diagram from his text. He gives no size for the top. The reversible heads and the safe for a girl, the girl's slipper stirrup and the crupper web are not made here. The thread, tools and metric figures are ours.

Materials

12

Tools Required

11

This blueprint makes

CC0 Public Domain

This blueprint is released under CC0. You are free to copy, modify, distribute, and use this work for any purpose, without asking permission.

Support the Maker by purchasing products through their Blueprint where they earn a Maker Commission set by Vendors, or create a new iteration of this Blueprint and include it as a connection in your own Blueprint to share revenue.

Discussion

(0)

Log in to join the discussion

Loading comments...