Collaboration
ART
BEAUTY & WELLNESS
CRAFT
CULTURE & HISTORY
ENTERTAINMENT
ENVIRONMENT
FOOD & DRINKS
REVERSE ENGINEERING
SCIENCES
SPORTS
TECHNOLOGY
WEARABLES


Plough Coupling Strap: Cross-Strap With Buckled Billets for a Pair of Horses (Hasluck, Harness Making, 1904)
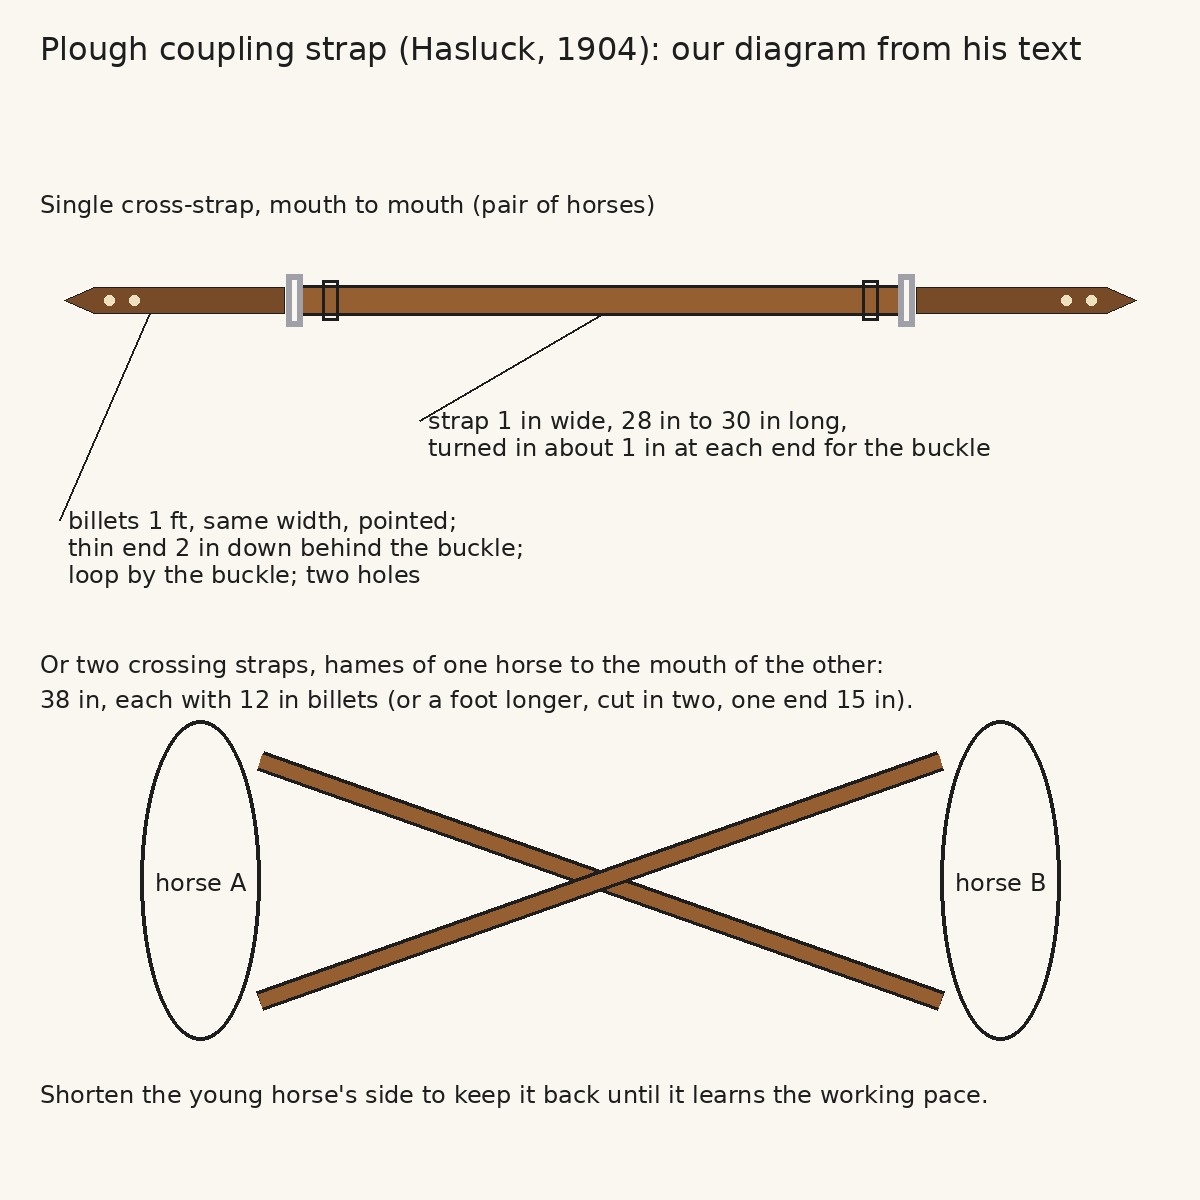
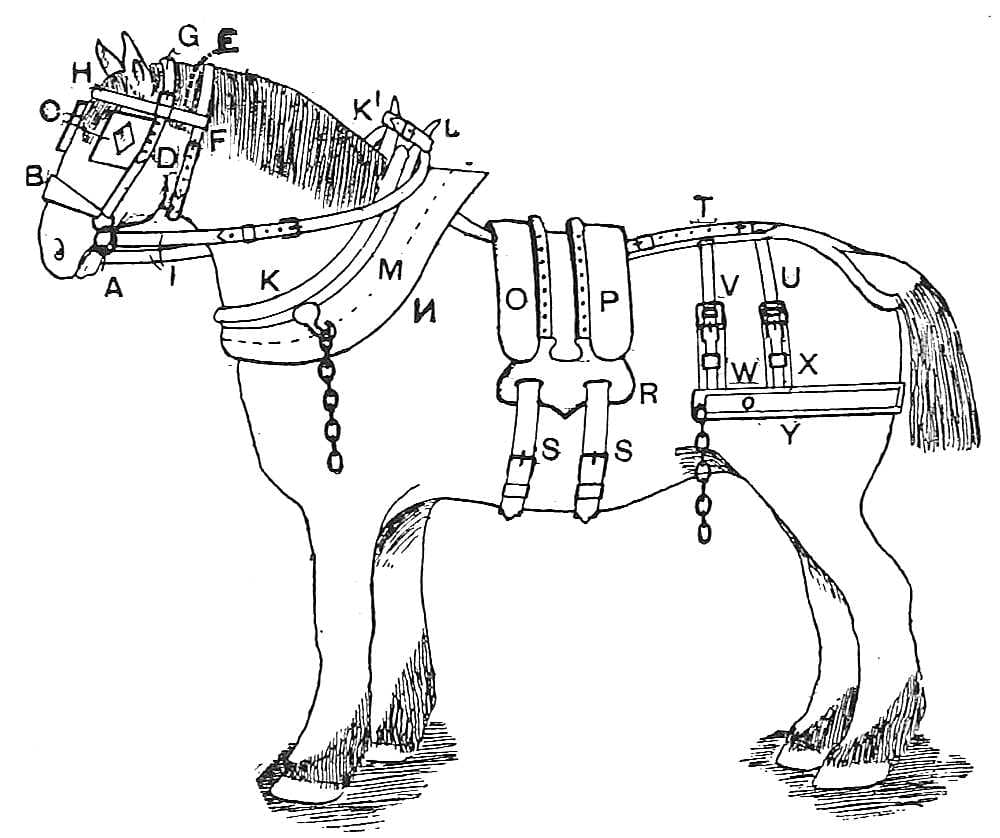
When two horses plough side by side, a coupling strap ties them together so they keep level. This is the coupling from Paul N. Hasluck's Harness Making (1904): a 1 in strap 28 in to 30 in long with a buckled billet at each end, buckled from the mouth of one horse to the other. Every size is his; the picture is our diagram.
Beginner
About 2 hours
Instructions
1
1
His sizes in centimetres
His sizes in centimetres
Loading Jupyter Notebook...
2
2
Read Harness Making, ch. IX
Read Harness Making, ch. IX
"Couplings are also a necessary part of plough gear. In some localities only cross-straps are employed from mouth to mouth when ploughing in pairs."
3
3
Cut the strap
Cut the strap
Cut the strap 1 in wide and 28 in to 30 in long. Turn it in about 1 in at each end, make a hole for the buckle, and shave the points.
Materials for this step:
 Harness Leather1 piece
Tools needed:
 Leather Knife
 Leather Hole Punch
 Tape Measure
4
4
Make the billets
Make the billets
Cut two billets the same width, 1 ft long; trim them to a point at one end and shave the other. Edge them and crease them (the book prints "edge back, and crease them", probably for "edge, black").
Materials for this step:
Harness Leather1 piece Leather Dye1 piece
Tools needed:
Leather Knife Edge Beveller
 Creasing Tool
 Propane Torch
5
5
Put it together
Put it together
Put the buckle in, then the thin end of the billet 2 in down at the back of the buckle. Put a loop between the chape by the buckle, and stitch one billet and buckle at each end. Punch two holes in each billet.
Materials for this step:
 Iron Buckle with Tongue2 piecesHarness Leather1 piece
 Leather Thread1 piece
 Beeswax1 piece
Tools needed:
 Loop Stick
 Awl
 Two Harness Needles
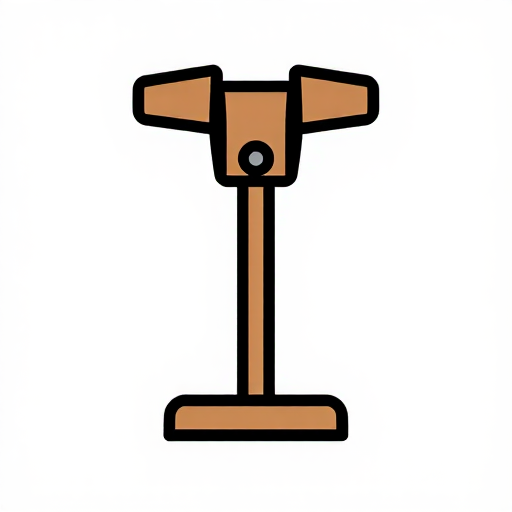 Stitching PonyLeather Hole Punch
6
6
Crossing couplings for a pair
Crossing couplings for a pair
Sometimes two coupling straps are used for a pair, crossing each other from the hames of each horse to the mouth of the other. Make them the same way but longer: 38 in, each with 12 in billets. Some are made a foot longer and cut in two, one end 15 in long with a buckle and loop and the other made to buckle on, with many holes. Then the coupling can be shortened on a young horse's side, to keep it back until it has learned the ordinary working pace.
Materials for this step:
Harness Leather1 pieceIron Buckle with Tongue4 piecesLeather Thread1 pieceBeeswax1 pieceTools needed:
Leather KnifeLoop StickAwlTwo Harness NeedlesLeather Hole PunchTape Measure7
7
Troubleshooting
Troubleshooting
Coupling strap troubleshooting.
Flow
Loading...
8
8
History and honest limits
History and honest limits
From **Harness Making**, edited by Paul N. Hasluck, Cassell, 1904 (Project Gutenberg 70169), chapter IX, "Plough Harness", couplings, pp. 110-111; every figure was checked on the archive.org scan (harnessmaking00hasl). He gives no buckle size; a 1 in buckle suits the 1 in strap. The picture is our diagram from his text. The tools and metric figures are ours.
Materials
5- 4 piecesPlaceholder
- 1 piecePlaceholder
- 4 piecesPlaceholder
- 2 piecesPlaceholder
- 2 piecesPlaceholder
Tools Required
10- Placeholder
- Placeholder
- 1 vendor sell this, none ship to you yetPlaceholder
- Placeholder
- Placeholder
- Placeholder
- Placeholder
- Placeholder
- Placeholder
- Placeholder
This blueprint makes
Related Blueprints
These blueprints share knowledge with this one — techniques, materials, or principles that connect them in the learning graph.
CC0 Public Domain
This blueprint is released under CC0. You are free to copy, modify, distribute, and use this work for any purpose, without asking permission.
Support the Maker by purchasing products through their Blueprint where they earn a Maker Commission set by Vendors, or create a new iteration of this Blueprint and include it as a connection in your own Blueprint to share revenue.