ART
BEAUTY & WELLNESS
CRAFT
CULTURE & HISTORY
ENTERTAINMENT
ENVIRONMENT
FOOD & DRINKS
REVERSE ENGINEERING
SCIENCES
SPORTS
TECHNOLOGY
WEARABLES


Heat-Shrink Tubing
Paul Cook founded Raychem in 1957 to use radiation chemistry: electron beams that cross-link polyethylene chains so the plastic no longer melts, only softens. Such a material has a memory. Stretch it while hot, cool it stretched, and it keeps the new size until heated again - then it shrinks back tight onto whatever is inside.
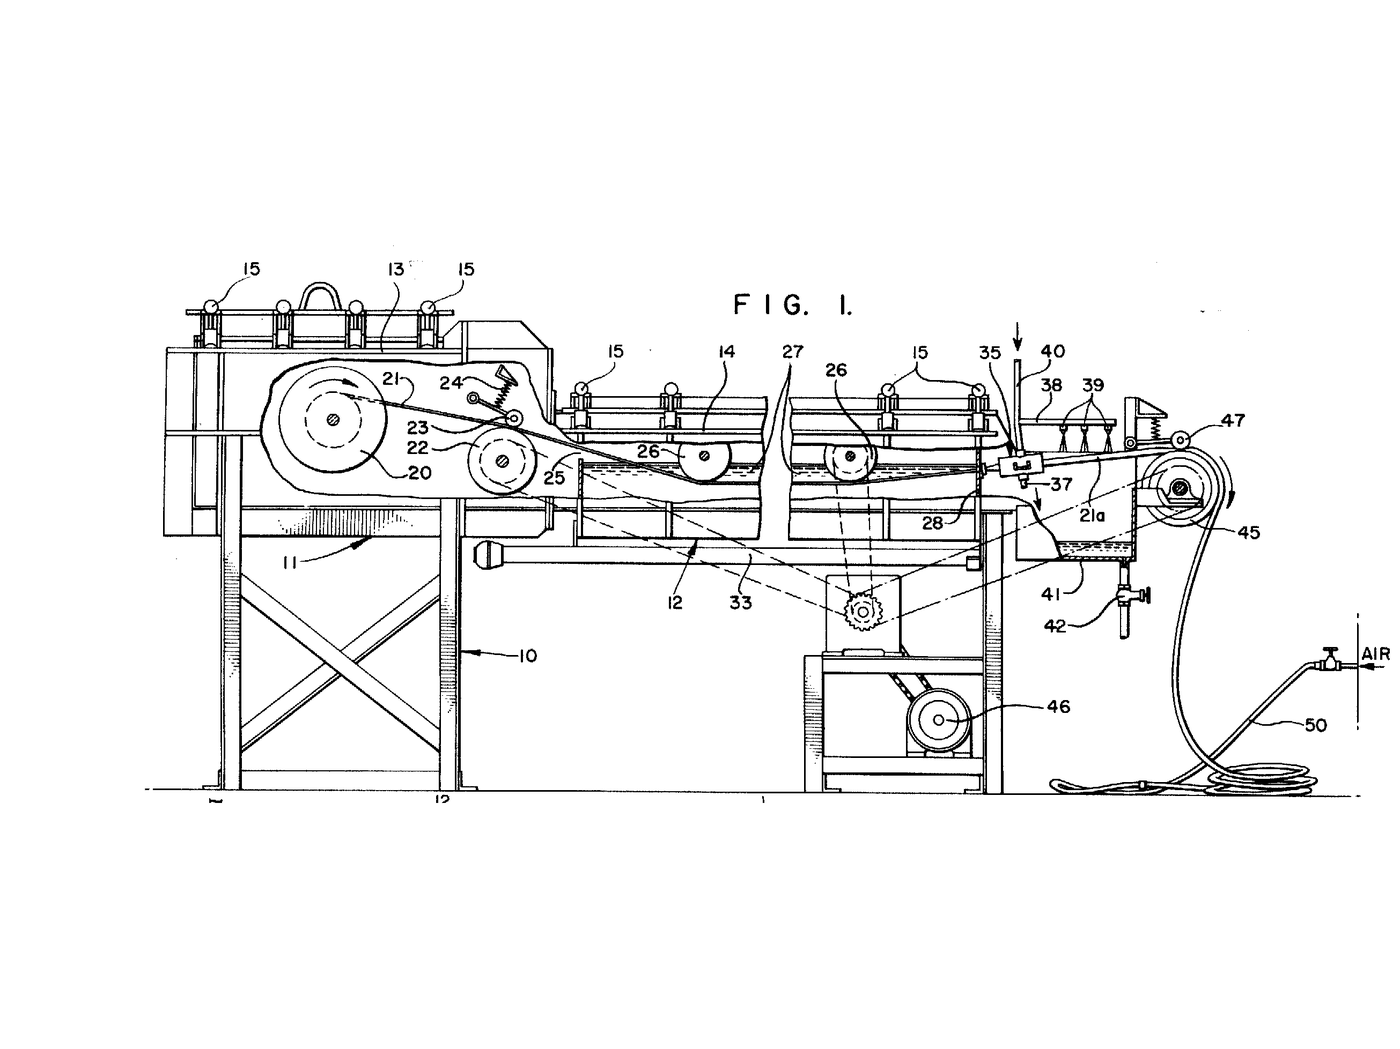
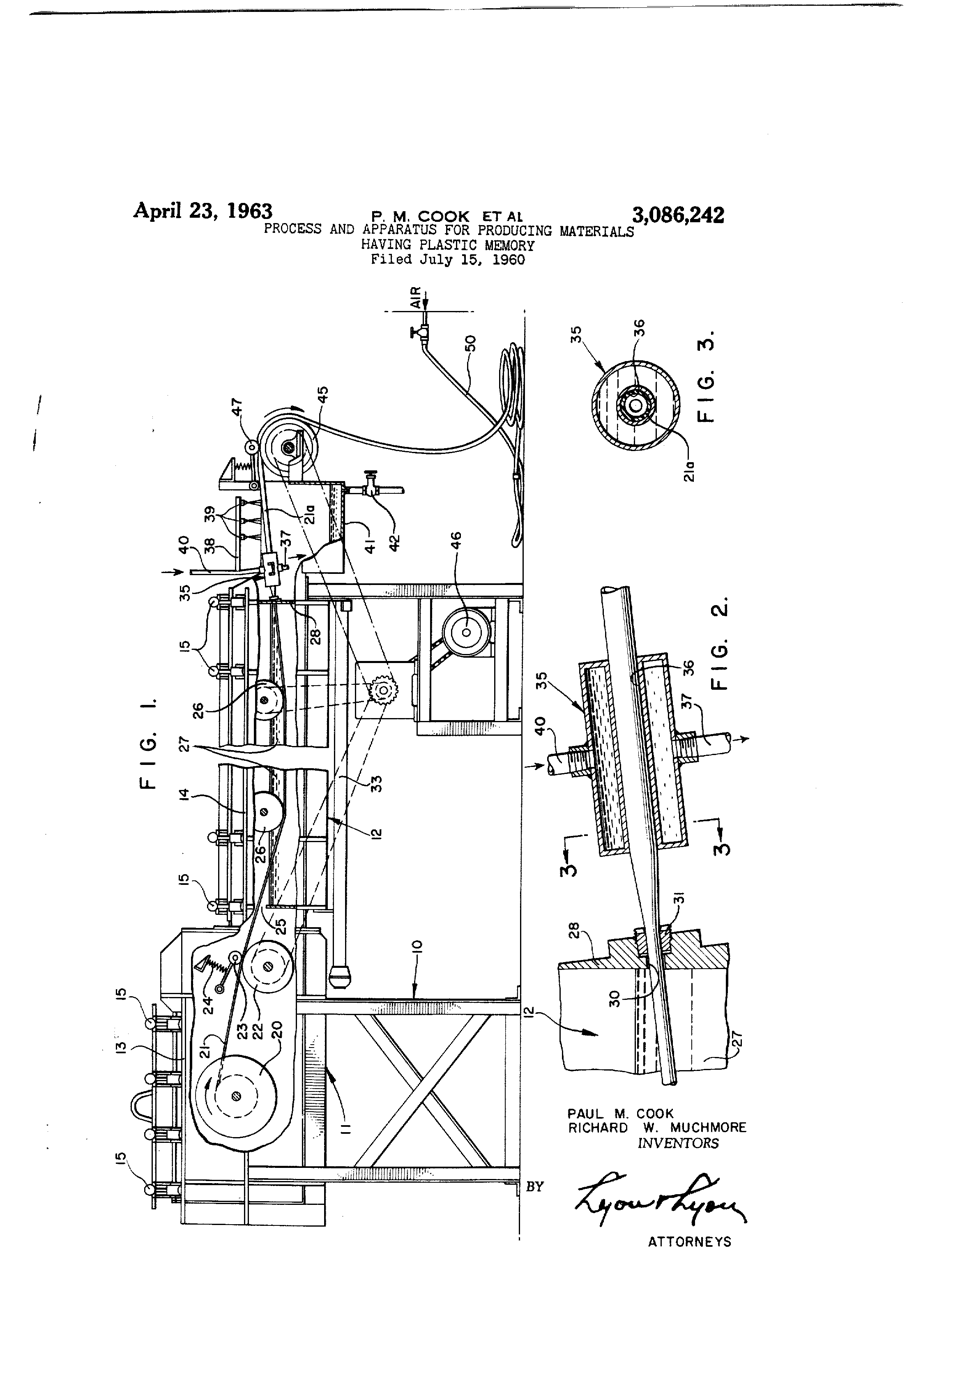
**US 3,086,242**, "Process and apparatus for producing materials having plastic memory", Cook and Muchmore, assigned to Raychem, filed 15. July 1960, granted 23. April 1963: tubing carried through a heated zone in a pressure vessel, expanded as it emerges, and cooled while expanded - "dimensionally heat-unstable tubing".
**You measure the memory and use it**: free-shrink a sample and check where the plastic went, then insulate a crimped wire splice.
Beginner
1 hour
Instructions
1
1
Measure as supplied
Measure as supplied
Cut 40 mm of 2:1 heat-shrink. Measure its flattened width, its wall (pinch one wall in the caliper) and its length.
Materials for this step:
 Heat Shrink Tubing1 piece
Tools needed:
 Utility Knife
 Digital Caliper 6-Inch
2
2
Shrink it free
Shrink it free
Hold it in the helping hands and heat evenly with the heat gun, keeping the gun moving, until it stops changing. Let it cool; measure inside diameter, wall and length again.
Tools needed:
 Heat Gun
 Helping HandsDigital Caliper 6-Inch
 Clear Safety Glasses
3
3
Crimp the splice
Crimp the splice
Slide 40 mm of heat-shrink onto one wire first. Strip 6 mm from both wire ends, push them into a butt splice and crimp each side. Tug each wire to 20 N on the spring scale - it must not pull out.
Materials for this step:
 Hookup Wire1 meter
 Non-Insulated Butt Splice1 pieceHeat Shrink Tubing1 piece
Tools needed:
 Wire Strippers
 Crimping Tool
 Force Meter (Spring Scale)
4
4
Shrink it on
Shrink it on
Centre the tube over the splice with 10 mm overlap onto the insulation each side. Heat from the middle outwards so air is pushed out, not trapped.
Tools needed:
Heat Gun5
5
Test the insulation
Test the insulation
Wrap aluminium foil tightly round the shrunk sleeve. Set the multimeter to its highest resistance range and measure between the wire and the foil: it must read open circuit. Then check the wire end to end: near zero ohms.
Materials for this step:
 Aluminium Foil1 sheet
Tools needed:
 Multimeter
6
6
Shrink ratio and conservation
Shrink ratio and conservation
Loading Jupyter Notebook...
7
7
History & Context
History & Context
**What the patent specifies:** tubing heated, expanded under pressure as it leaves a vessel, and cooled while expanded, to give material with plastic memory. **Modern build (derived):** commercial 2:1 polyolefin heat-shrink.
Heat-shrink replaced tape on aircraft, military and then all wiring harnesses; the same memory idea gives shrink film and pipe-joint sleeves. Its limits: it must be slid on before the joint is made, overheating chars it, and a thin wall offers little protection from abrasion.
Materials
4- 2 piecesPlaceholder
- 1 meterPlaceholder
- 1 piecePlaceholder
- 1 sheetPlaceholder
Tools Required
9- Placeholder
- Placeholder
- 1 vendor sell this, none ship to you yetPlaceholder
- Placeholder
- Placeholder
- Placeholder
- Placeholder
- Placeholder
- Placeholder
This blueprint makes
Related Blueprints
These blueprints share knowledge with this one — techniques, materials, or principles that connect them in the learning graph.


CC0 Public Domain
This blueprint is released under CC0. You are free to copy, modify, distribute, and use this work for any purpose, without asking permission.
Support the Maker by purchasing products through their Blueprint where they earn a Maker Commission set by Vendors, or create a new iteration of this Blueprint and include it as a connection in your own Blueprint to share revenue.