ART
BEAUTY & WELLNESS
CRAFT
CULTURE & HISTORY
ENTERTAINMENT
ENVIRONMENT
FOOD & DRINKS
REVERSE ENGINEERING
SCIENCES
SPORTS
TECHNOLOGY
WEARABLES
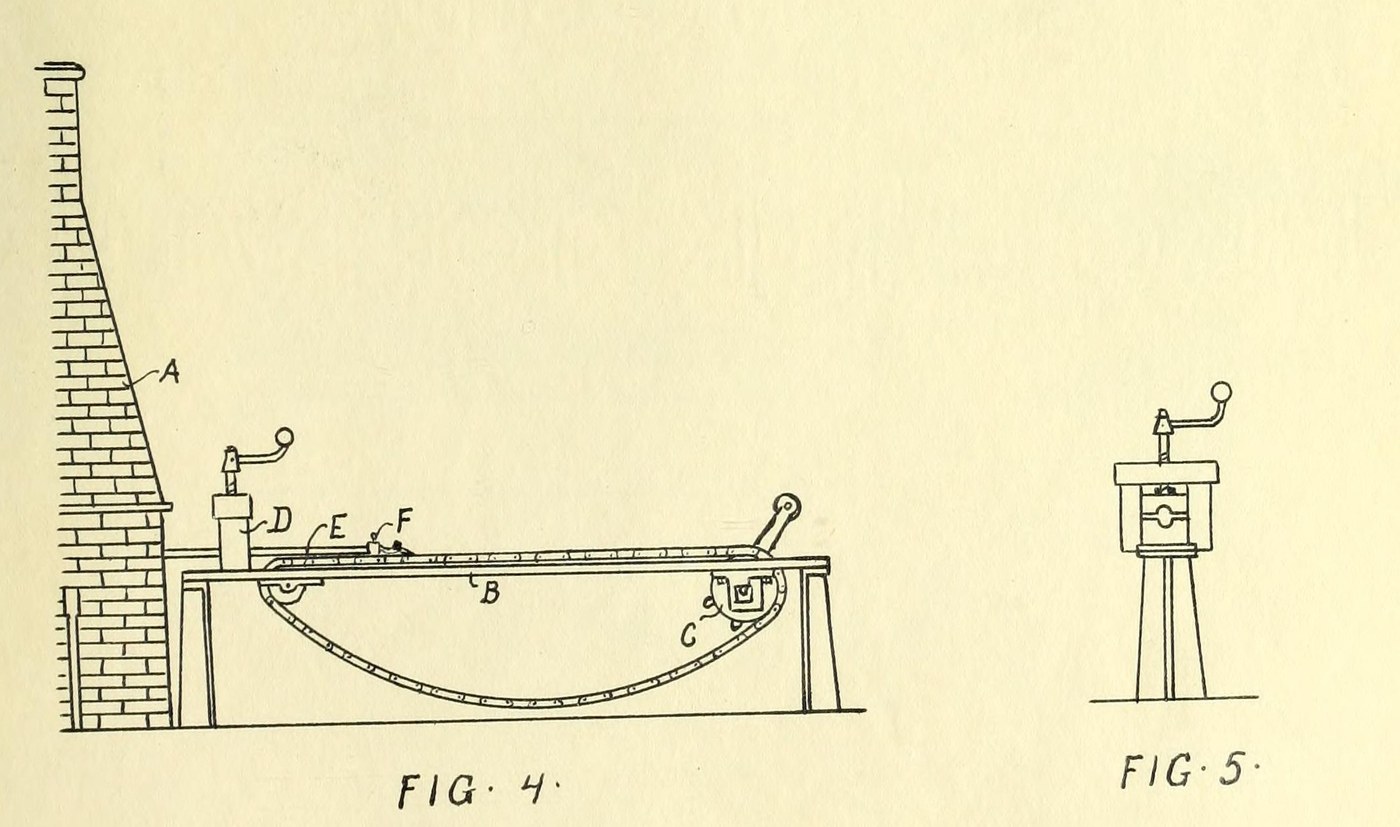

Iron Tube: Butt-Welded by Drawing Through Dies on a Draw Bench (Whitehouse, 1825)
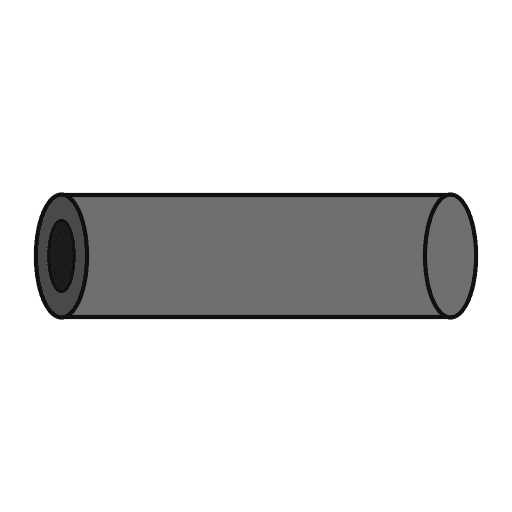
Cornelius Whitehouse's way of making welded iron tubes, the basis of butt-weld pipe ever since: a strip of flat iron is turned up into a tube with its edges meeting, heated nearly to fusion in a hollow fire, and pulled by the chain of a draw bench through a pair of dies, which press the hot edges together and weld them.
The tube is welded in two halves, one end at a time. Whitehouse made tubes 2 to 8 ft long in one piece, smooth inside and out.
Unknown: plate thickness, width and tube sizes. The source does not give them.
Source: Whitehouse's specification of 1825, quoted in C. D. Terry, Butt Weld Pipe (1907). Picture: Terry's Figs. 4 and 5.
Advanced
Unknown
Instructions
1
1
Turn the plate over
Turn the plate over
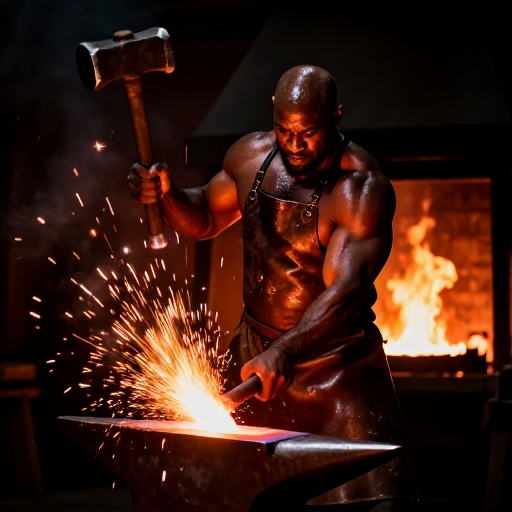
Take a piece of flat iron (plough-plate iron) of a thickness and width to suit the intended bore. Bend up its sides ('turn it over') until the edges meet, or nearly so, and it forms a long tube. Ours: hammer and anvil for the bending.
Materials for this step:
 Wrought Iron Bars1 flat plough-plate iron
 Unknown Dimensions1 piece
Tools needed:
 Forge Hammer
 Flat Anvil
2
2
Heat in the hollow fire
Heat in the hollow fire
Put the tube into a hollow fire, urged by a blast, and heat it until the iron is on the point of fusion. Ours: a smith's forge as the hollow fire.
Tools needed:
 Blacksmith Forge
 Forge Tongs
3
3
Draw it through the dies
Draw it through the dies
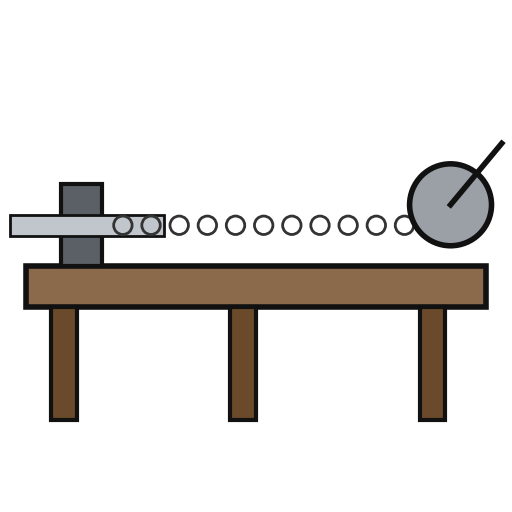
Clamp the end of the tube to the chain of the draw bench, driven by a hand winch or an engine. Draw it out of the fire through a pair of dies of the size wanted, set in a screw press and closed to their bearing, so that the hot edges are pressed together and welded. A pair of pinchers with a conical hole, held against a standard, may be used instead of the press and dies.
Tools needed:
 Draw BenchForge Tongs
4
4
Weld the other half
Weld the other half
Open the clamp and take the tube off. Grip the other end, put the unwelded part into the fire, heat it, and draw it through the dies in the same way.
Tools needed:
Blacksmith ForgeDraw BenchForge TongsMaterials
2- 1 flat plough-plate ironPlaceholder
- 1 piecePlaceholder
Tools Required
5- Placeholder
- Placeholder
- Placeholder
- Placeholder
- Placeholder
Connected Blueprint Materials


This blueprint makes
CC0 Public Domain
This blueprint is released under CC0. You are free to copy, modify, distribute, and use this work for any purpose, without asking permission.
Support the Maker by purchasing products through their Blueprint where they earn a Maker Commission set by Vendors, or create a new iteration of this Blueprint and include it as a connection in your own Blueprint to share revenue.