Collaboration
ART
BEAUTY & WELLNESS
CRAFT
CULTURE & HISTORY
ENTERTAINMENT
ENVIRONMENT
FOOD & DRINKS
REVERSE ENGINEERING
SCIENCES
SPORTS
TECHNOLOGY
WEARABLES
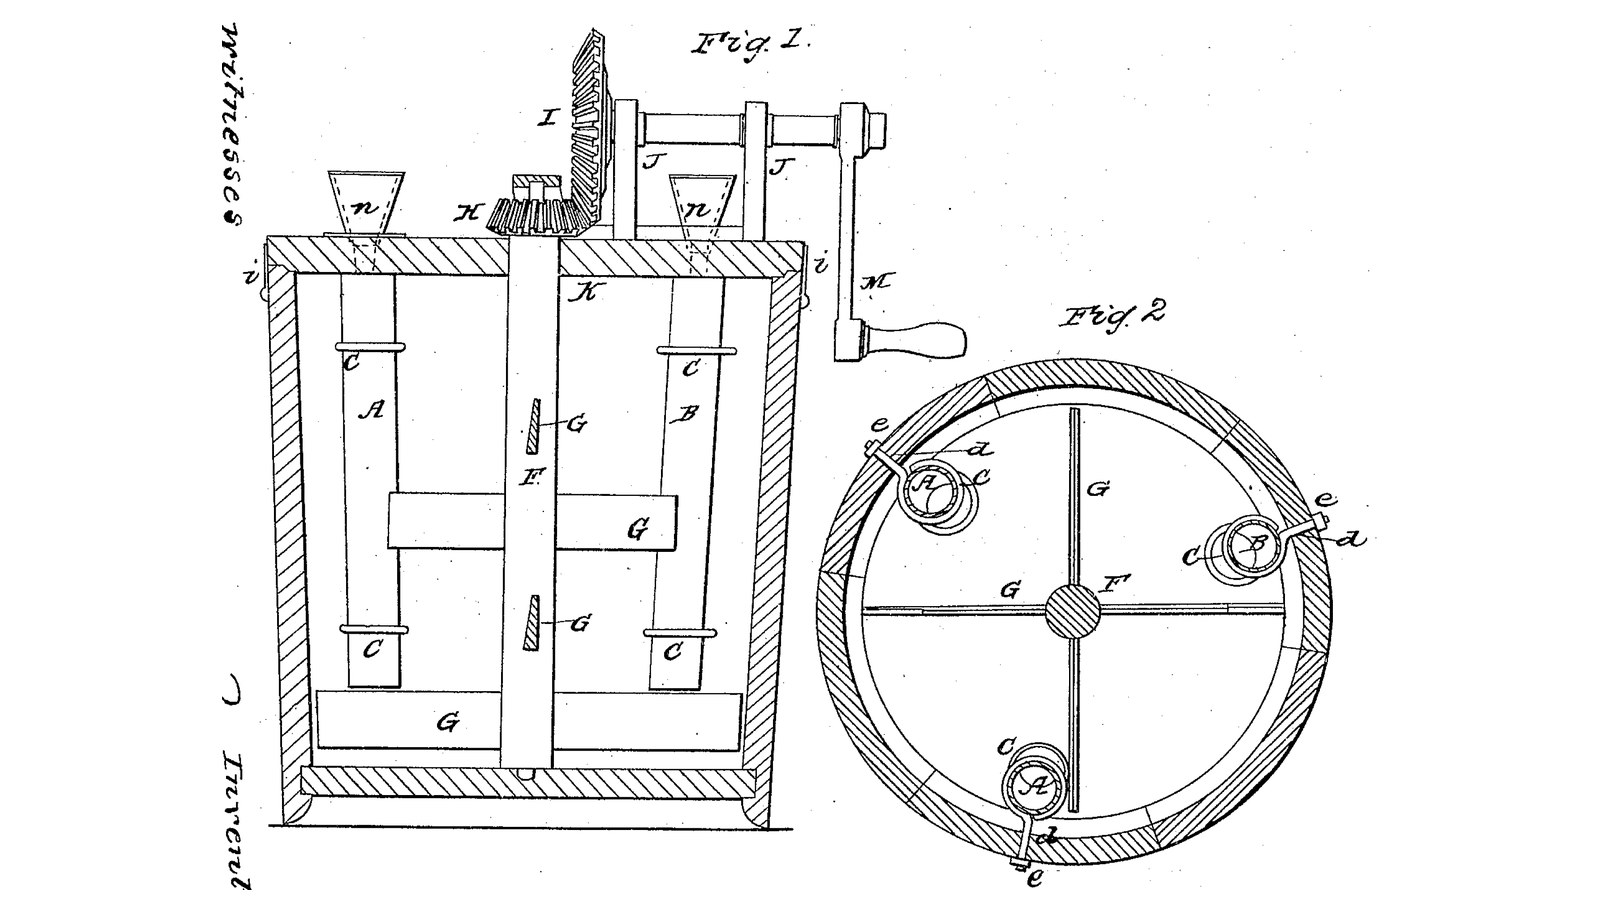

Water-and-Air Tube Churn: Two Tubes of Warm or Cold Water and an Open Air Tube Stand by the Wall, Blades Sweep Under and Between
Thomas A. Jebb of Buffalo, New York, received US 32,697, dated 2 July 1861, for a geared churn with three tubes standing just inside its wall. Two are closed at the bottom and filled with cold water or ice in summer, warm water in winter, to bring the cream to the right warmth; the third is open at both ends, and the long lower dash blade, sweeping under its foot, draws air down it into the cream. The tubes also split the swirling cream, part through the gap by the wall and part back toward the shaft. Funnels in the cover feed the tubes without lifting it.
The gap between the tubes and the wall is the patent's; every other size here is ours.
Intermediate
About 2 days
Instructions
1
1
Tempering the cream from inside
Tempering the cream from inside
Loading Jupyter Notebook...
2
2
Jebb's earlier churn, a year and a half before
Jebb's earlier churn, a year and a half before
In his first churn Jebb split the current with thick staves and swept a long blade beneath them. Here tubes do the splitting, and also temper and air the cream.
3
3
Read US 32,697
Read US 32,697
"The nature of this invention relates to the application and use of three tubes (A, A,) and (B) so arranged within the churn as to serve the threefold purpose of, 1st, breaking and dividing the body of cream, as it is set in motion by the dash blades, 2d, graduating the temperature of the cream by the use of warm or cold water in the tubes (A, A,) and 3d, ventilating, by causing a current of air to pass down the tube (B,) into the midst of the cream."
4
4
Print the tube plugs (two)
Print the tube plugs (two)
A plug sealing the bottom of a water tube: 37.6 mm across, 15 long, with a 42 mm lip. Print two; seal them in with silicone. PETG, 0.2 mm layers, 30 % infill, 4 walls.
5
5
Print the rings C (six)
Print the rings C (six)
A ring round a tube: 50 mm across, 40.2 bore, 12 high, with a boss and a 5.2 mm hole for the shank. Print six. PETG, 0.2 mm layers, 30 % infill, 4 walls.
6
6
Tubes A, A and B, rings C, shanks d and nuts e
Tubes A, A and B, rings C, shanks d and nuts e
Use a 20-litre food-grade bucket as the churn. Cut three 40 mm stainless tubes 315 mm long. Seal a printed plug into the bottom of two of them, the water tubes A; leave the third, the air tube B, open at both ends. Stand them a third of a turn apart round the inside, 40 mm off the floor, their outsides 15 mm from the wall all the way up (the patent's half to three quarters of an inch), leaning with the wall. Put two rings C on each, 110 and 280 mm up, run an M6 threaded rod shank d from each ring out through a hole in the wall, and tighten a nut e and washer on it outside, sealed with silicone.
Materials for this step:
 20-Liter Bucket1 piece
 Stainless Steel Tube1 piece
 PETG Filament1 piece
 Silicone Sealant1 piece
 Threaded Rod1 piece
 Hex Nut12 pieces
 Flat Washer12 pieces
Tools needed:
 FDM 3D Printer
 Hacksaw
 Files (Hand File)
 Cordless Drill
 Drill Bit Set
 Adjustable Spanner
 Tape Measure
7
7
Print the step
Print the step
The step on the floor: 40 mm across, 12 high, with a 16.8 mm hole 8 deep. PETG, 0.2 mm layers, 30 % infill, 4 walls.
8
8
Shaft F and dash blades G
Shaft F and dash blades G
Cut a 16 mm stainless shaft 440 mm long. Mortise three hardwood dash blades G 24 x 8 mm through hardwood hubs on it: the lower 250 mm long, 20 mm above the floor, sweeping under the tubes' ends; the other two 140 mm long, at 150 and 260 mm, turned 60 and 120 degrees from it, sweeping between the tubes. Stand the shaft in the step.
Materials for this step:
 Stainless Steel Rod1 piece
 Hardwood Board1 piece
 Hardwood Dowels1 piece
 Wood Glue1 piece
Tools needed:
 Table Saw
 Chisel Set - WoodCordless DrillDrill Bit SetHacksaw
9
9
Print the pinion H
Print the pinion H
The pinion on the shaft's top: 14 teeth, module 2.5, 16.2 mm bore. PETG, 0.2 mm layers, 30 % infill, 4 walls.
10
10
Print the wheel I
Print the wheel I
The driving wheel: a crown wheel of 42 teeth, module 2.5, 16.2 mm bore. PETG, 0.2 mm layers, 30 % infill, 4 walls.
11
11
Cover K, tunnels n, frame J, wheels H and I, winch M, hooks l
Cover K, tunnels n, frame J, wheels H and I, winch M, hooks l
Cut a 12 mm HDPE cover K to the bucket's top, bored 16.8 mm at the centre and 21 mm over each tube's mouth. Set a small kitchen funnel in each of those holes, its spout reaching down into the tube, as the tunnels n. Pin the pinion H on the shaft 40 mm above the cover. Screw two hardwood blocks 50 x 25 x 118 mm, the frame J, to the cover 60 and 125 mm from the centre, bored 16.6 mm across 93 mm up; run a 16 mm stainless shaft 150 mm long through them with the wheel I pinned on meshing H, a shaft collar, and a winch M of mild steel flat bar, 100 mm throw, with a hardwood handle. Fix two hooks and eyes l to hold the cover to the bucket.
Materials for this step:
 HDPE Sheet1 piece
 Kitchen Funnel3 piecesHardwood Board1 pieceStainless Steel Rod1 piece
 Shaft Collar1 piece
 Split Pin3 pieces
 Mild Steel Flat Bar1 pieceHardwood Dowels1 piece
 Wood Screws6 pieces
 Hook and Eye2 piecesPETG Filament1 piece
Tools needed:
FDM 3D Printer Compass
 Jigsaw
 Spade Bit SetCordless DrillDrill Bit SetHacksawFiles (Hand File)
 Bench Vise
 Screwdriver Set
12
12
The build in 3D
The build in 3D
FreeCAD model of this build, the bucket cut open: the two closed water tubes and the open air tube on their rings and shanks, the shaft with the long lower blade under the tubes and two short blades between them, the cover with its funnels, and the gearing and winch.
13
13
Temper and churn
Temper and churn
Pour about 10 litres of heavy cream into the bucket and hook on the cover. Pour cold water or ice water into the two water tubes through their funnels if the cream is warm, warm water if it is cold; each filling moves the cream only a degree or two, so start with cream near 15 °C, checked with the thermometer, and refill the tubes as it drifts. Leave the air tube's funnel open. Turn the winch steadily, timing it. When the butter comes, unhook and lift off the cover and gearing, lift out the shaft, take out the butter, pour the buttermilk into a bowl, wash the butter in cold water until it runs clear, salt and weigh it. Empty the water tubes.
Materials for this step:
 Heavy Cream10 l
 Water1 piece
 Coarse Sea Salt1 piece
Tools needed:
 Leave-In Probe Thermometer
 Stopwatch
 Digital Kitchen Scale
 Stainless Steel Mixing Bowl (Large)
14
14
Troubleshooting
Troubleshooting
Tube churn troubleshooting.
Flow
Loading...
15
15
History and honest limits
History and honest limits
**Thomas A. Jebb** of Buffalo, Erie County, New York, US 32,697, 2 July 1861, "Churn". He claimed "the described arrangement of the water tubes A, A, air tube B, and dash blades G, G, G within the churn tub, so that a space may be left between the said tubes and the sides of the churn tub, and so that the lower dash blade shall revolve under the lower ends of said tubes, while the other dash blades shall revolve in the space between said tubes". His text calls the shaft both F and E. His tub widened toward the bottom; ours, a bucket, widens toward the top, and our tubes lean with it. The gap of half to three quarters of an inch is his; every other size here is ours.
Materials
21- 1 piecePlaceholder
- 1 piecePlaceholder
- 2 piecesPlaceholder
- 1 piecePlaceholder
- 1 piecePlaceholder
- 12 piecesPlaceholder
- 12 piecesPlaceholder
- 1 piecePlaceholder
- 1 piecePlaceholder
- 1 piecePlaceholder
- 1 piecePlaceholder
- 1 piecePlaceholder
- 3 piecesPlaceholder
- 1 piecePlaceholder
- 3 piecesPlaceholder
- 1 piecePlaceholder
- 6 piecesPlaceholder
- 2 piecesPlaceholder
- 10 lPlaceholder
- 1 piecePlaceholder
- 1 piecePlaceholder
Tools Required
18- Placeholder
- Placeholder
- Placeholder
- 1 vendor sell this, none ship to you yetPlaceholder
- Placeholder
- Placeholder
- 1 vendor sell this, none ship to you yetPlaceholder
- 1 vendor sell this, none ship to you yetPlaceholder
- Placeholder
- Placeholder
- 1 vendor sell this, none ship to you yetPlaceholder
- Placeholder
- Placeholder
- Placeholder
- Placeholder
- Placeholder
- Placeholder
- Placeholder
Design Files
6This blueprint makes


Related Blueprints
These blueprints share knowledge with this one — techniques, materials, or principles that connect them in the learning graph.
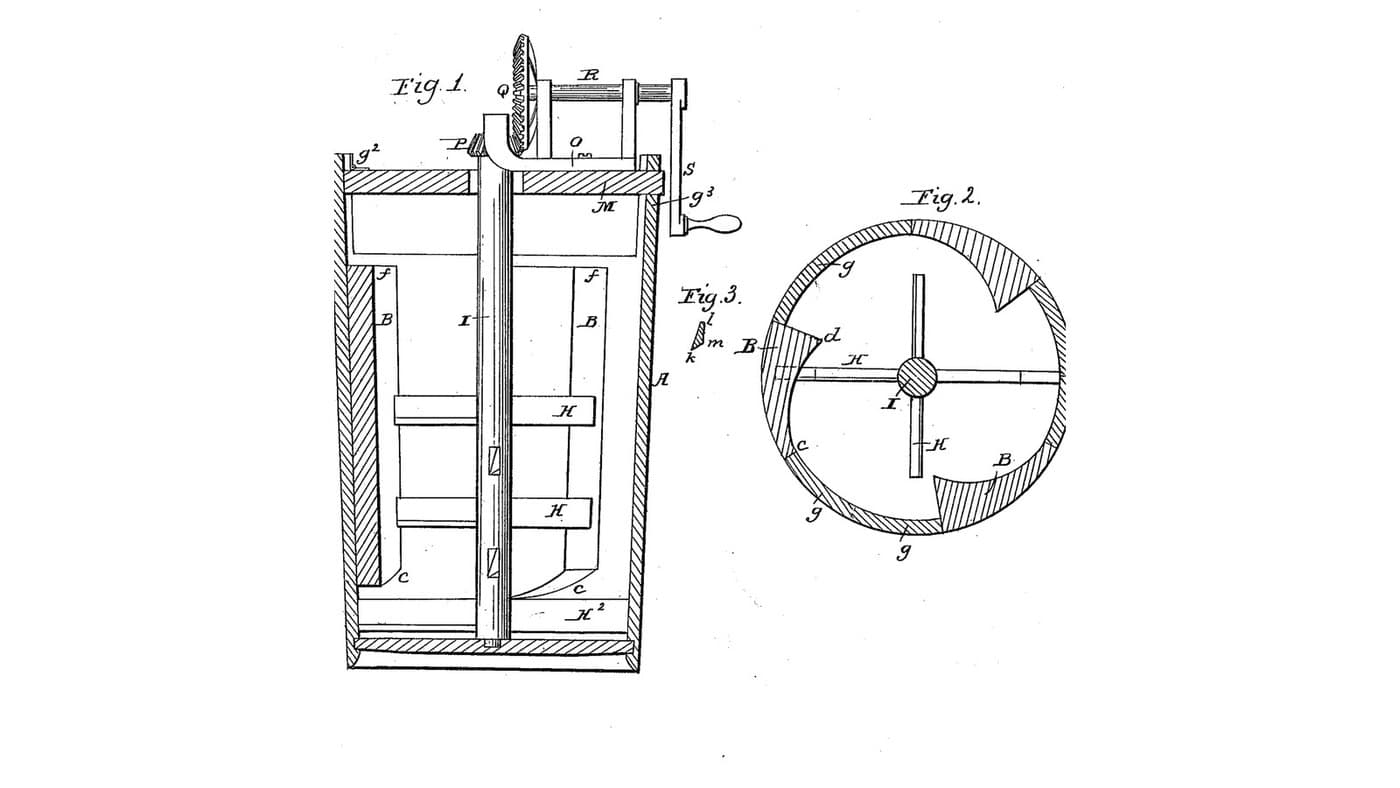
Segmental-Stave Churn: Thick Curved Staves Split the Cream's Current, a Long Blade Sweeps Beneath Them
by Buttercup
Woodworking
0
0
0
0
0
0
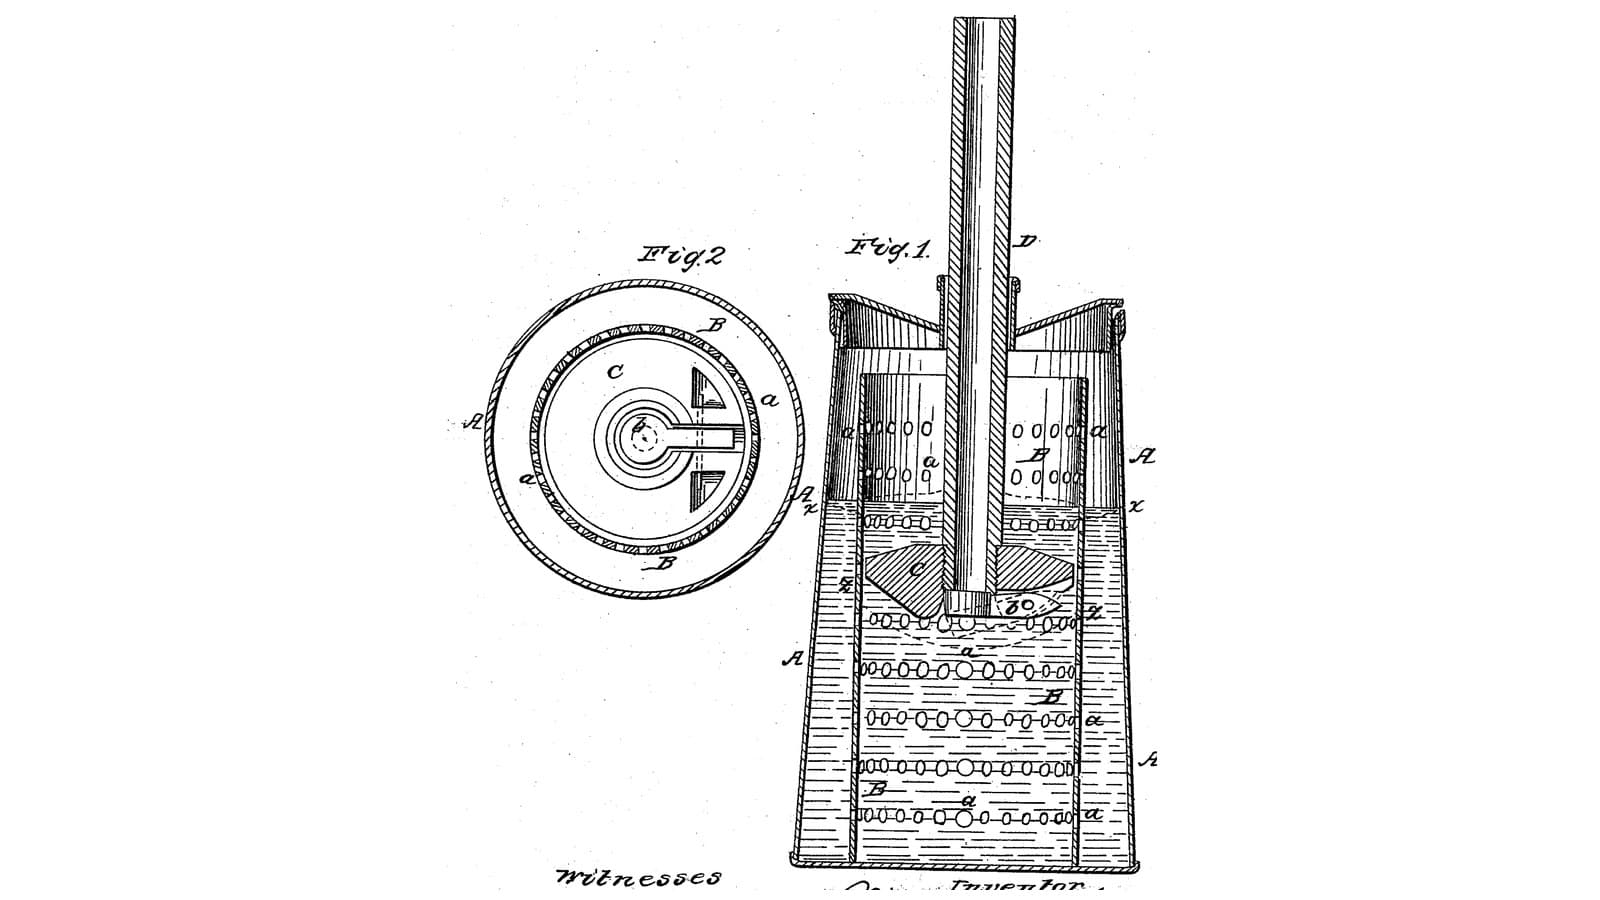
Hollow-Staff Plunger Churn: A Plunger in a Perforated Inner Cylinder Draws Air Down Its Staff on the Up Stroke
by Buttercup
Woodworking
1
0
0
0
0
0
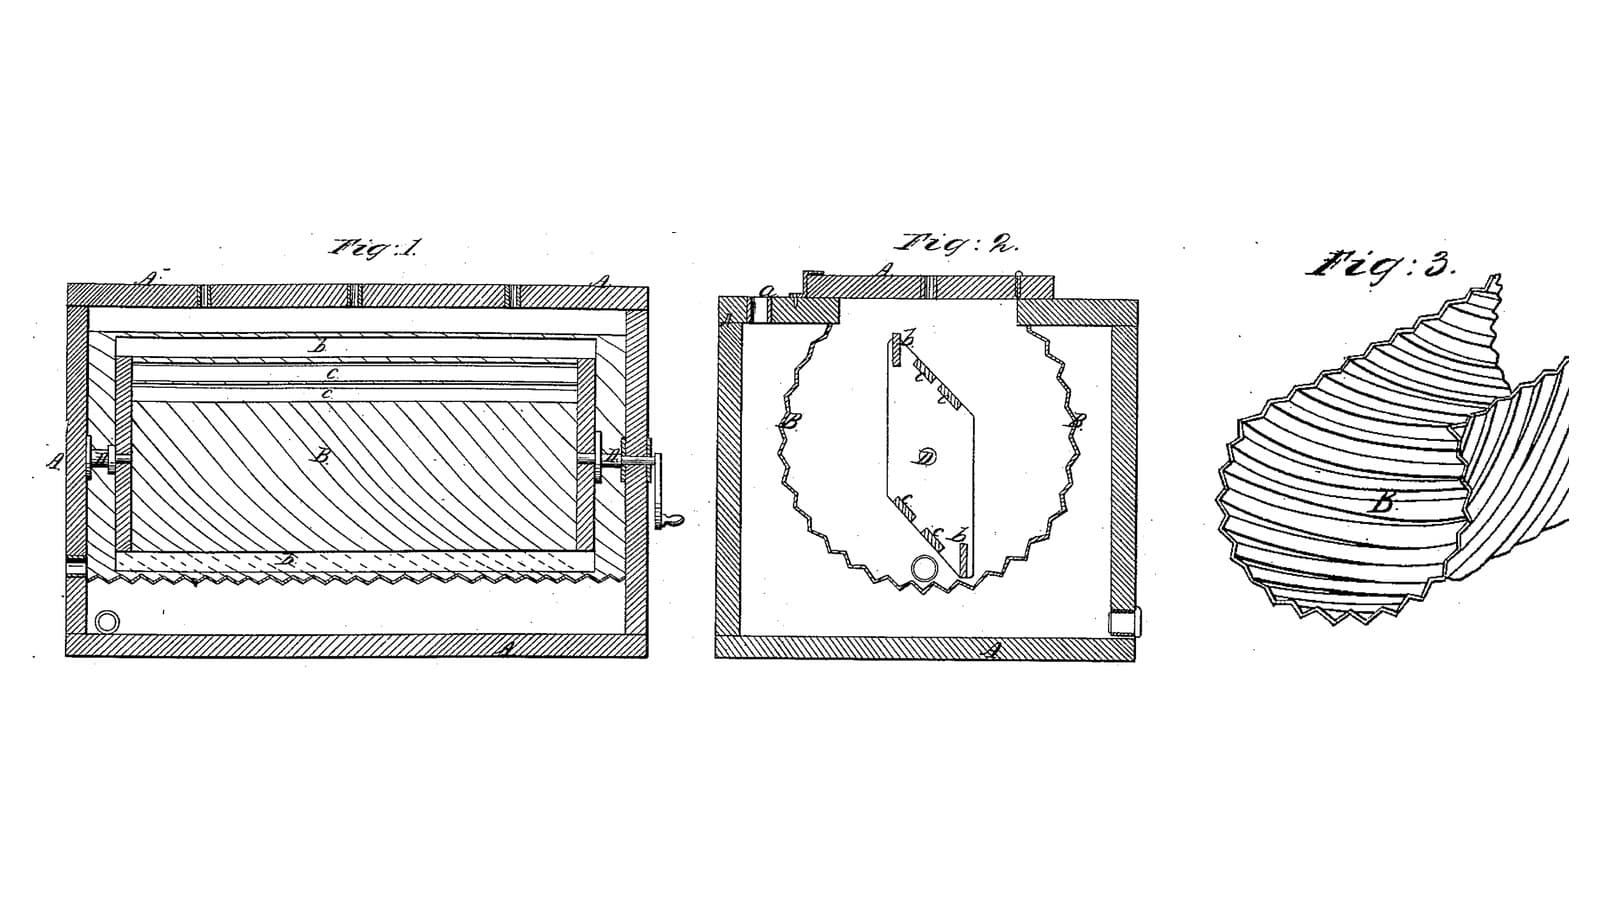
Spiral-Corrugated Water-Jacket Churn: A Bevelled Strip Dasher Throws Cream Against Diagonal Corrugations in a Warmed or Cooled Chamber
by Buttercup
Woodworking
0
0
0
0
0
0

Churning Butter from Cream — The 5,000-Year-Old Fat Separation
by TheChef
CRAFT
60
0
0
0
0
0
CC0 Public Domain
This blueprint is released under CC0. You are free to copy, modify, distribute, and use this work for any purpose, without asking permission.
Support the Maker by purchasing products through their Blueprint where they earn a Maker Commission set by Vendors, or create a new iteration of this Blueprint and include it as a connection in your own Blueprint to share revenue.