Collaboration
ART
BEAUTY & WELLNESS
CRAFT
CULTURE & HISTORY
ENTERTAINMENT
ENVIRONMENT
FOOD & DRINKS
REVERSE ENGINEERING
SCIENCES
SPORTS
TECHNOLOGY
WEARABLES
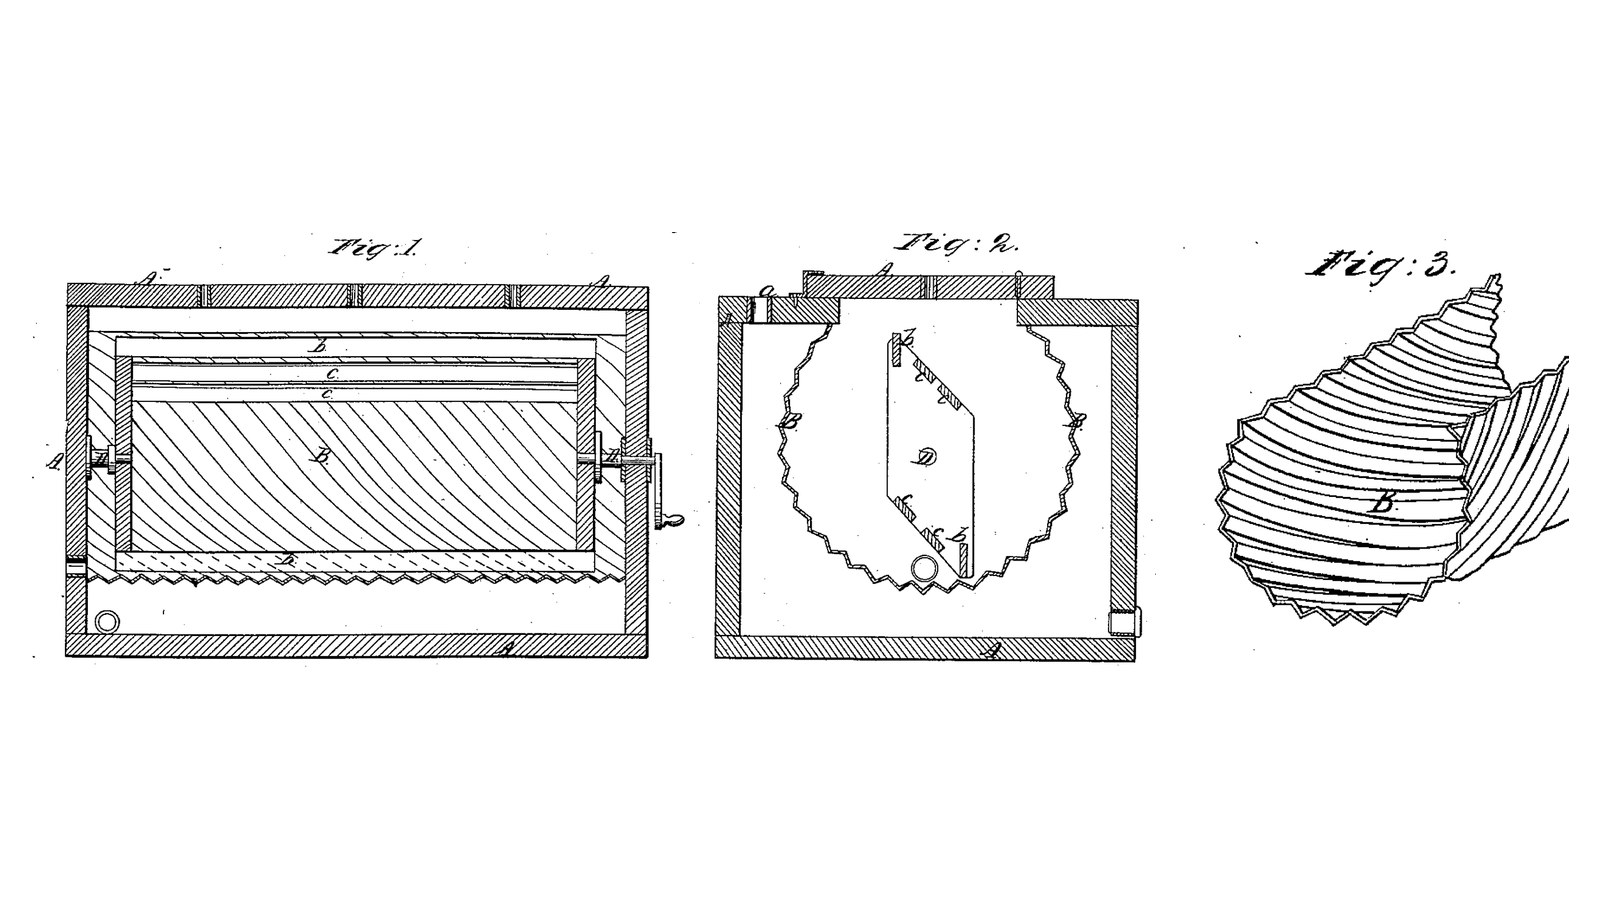

Spiral-Corrugated Water-Jacket Churn: A Bevelled Strip Dasher Throws Cream Against Diagonal Corrugations in a Warmed or Cooled Chamber
David Sherman of Uniontown, Maryland, and Robert W. Fenwick of Washington, D.C., received US 29,445, dated 31 July 1860, for a churn whose chamber is a nearly round metal plate corrugated diagonally all over, set in a water-tight wooden case with room around it for warm or cold water. A cranked dasher of two bevelled end bars carries strips standing across the corrugations; it flings the cream against them, they break its current, and it runs back to the middle.
The patent gives no sizes; every size here is ours.
Intermediate
About 3 days
Instructions
1
1
Spiral corrugations from four printed rings
Spiral corrugations from four printed rings
Loading Jupyter Notebook...
2
2
Churning inside a water jacket, a year before
Churning inside a water jacket, a year before
Gissinger stands two churns in a water box. Sherman and Fenwick wrap the water round one corrugated chamber.
3
3
Read US 29,445
Read US 29,445
"It is a very essential thing to force the cream against a surface which will break the direction of the current and at the same time allow the cream to flow back to the point from which is was moved, for by breaking the current, the churning is facilitated. Our diagonally or spirally corrugated churning chamber does this perfectly."
4
4
Print the chamber rings (four)
Print the chamber rings (four)
One ring of the chamber B: 100 mm long, a plain 208 mm cylinder outside, 28 spiral corrugations inside (crests 95 mm, troughs 101 mm from the axis), open over the top with two upright lips. Print four; they are identical and their corrugations run on from one to the next. Needs a 220 mm bed. PETG, 0.2 mm layers, 30 % infill, 4 walls, printed standing on an end.
5
5
Case A and chamber B
Case A and chamber B
Glue up two hardwood ends 30 x 290 x 288 mm. On each, 160 mm above the bottom edge, draw circles 203 and 209 mm across and rout a groove 6 mm deep between them, with two straight grooves 4 mm wide rising from it to the top edge, about 125 mm apart between centres, for the lips. Cut hardwood sides 20 x 288 x 400, a bottom and a top 20 x 250 x 400, and cut a mouth 122 mm wide the length of the top. Seal the four rings end to end with silicone, set their ends and lips in the grooves with silicone, and glue and screw the case together round them, sealing every joint inside: the space round the chamber is the water jacket. Bore a 16 mm hole in the top 100 mm off centre and seal in a short stainless tube a for the water. In one end bore 16 mm holes at the chamber's bottom and at the case's bottom and fit rubber stoppers: drains for the buttermilk and the water (ours). Make a hardwood lid for the mouth with a plug that fits it.
Materials for this step:
 Hardwood Board4 pieces
 PETG Filament1 piece
 Silicone Sealant2 pieces
 Wood Glue1 piece
 Wood Screws40 pieces
 Stainless Steel Tube1 piece
 Rubber Stoppers2 pieces
Tools needed:
 FDM 3D Printer
 Table Saw
 Compass
 Router
 Jigsaw
 Chisel Set - Wood
 Cordless Drill
 Drill Bit Set
 Spade Bit Set
 Bar Clamp
 Screwdriver Set
 Tape Measure
6
6
Dasher: shaft D, bars b and strips c
Dasher: shaft D, bars b and strips c
Cut two hardwood end bars b 50 x 20 mm and 156 mm long, and bevel both ends of each across its width, from the full length on one edge to 100 mm on the other, the two bevels facing opposite ways. Cut six hardwood strips c 20 x 6 mm and 360 mm long, and screw three, one below another, along each pair of bevelled ends, so they stand on opposite sides of the shaft and run end to end across the corrugations. Bore the bars 16 mm at their middles, 360 mm apart over their outer faces, on a 16 mm stainless shaft D 515 mm long, and pin them. Pass the shaft through the ends at the chamber's centre, hold it with a shaft collar outside each end, and pin on a crank of mild steel flat bar, 120 mm throw, with a hardwood handle.
Materials for this step:
Hardwood Board1 pieceWood Screws12 pieces Stainless Steel Rod1 piece
 Split Pin2 pieces
 Shaft Collar2 pieces
 Mild Steel Flat Bar1 piece
 Hardwood Dowels1 piece
Tools needed:
Table SawChisel Set - WoodCordless DrillDrill Bit Set Hacksaw
 Files (Hand File)
 Bench ViseScrewdriver Set
7
7
The build in 3D
The build in 3D
FreeCAD model of this build, its front half cut away: the four printed rings with their spiral corrugations, set in the grooved case ends with the water jacket round them, the top with its mouth, lid and water tube a, the drains, and the dasher with its bevelled bars and strips on the cranked shaft.
8
8
Temper and churn
Temper and churn
Pour about 5 litres of heavy cream into the chamber, so its surface stays below the shaft. Pour water through the tube a into the jacket, warm in a cold room or cold in a warm one but never hotter than the hand can bear, until the cream reads about 15 °C on the thermometer. Put on the lid and turn the crank steadily, timing it. When the butter comes, draw the buttermilk off by its stopper into a bowl, take out the butter through the mouth, wash it in cold water until it runs clear, salt and weigh it. Drain the jacket by its stopper.
Materials for this step:
 Heavy Cream5 l
 Water1 piece
 Coarse Sea Salt1 piece
Tools needed:
 Leave-In Probe Thermometer
 Stopwatch
 Digital Kitchen Scale
 Stainless Steel Mixing Bowl (Large)
9
9
Troubleshooting
Troubleshooting
Corrugated-chamber churn troubleshooting.
Flow
Loading...
10
10
History and honest limits
History and honest limits
**David Sherman** of Uniontown, Maryland, and **Robert W. Fenwick** of Washington, D.C., US 29,445, 31 July 1860, "Churn", assigned to D. Sherman and Bernard Mills. They claimed "corrugating the surface of the near cylindrical churning chamber diagonally or spirally ... in combination with the blades c, c, (of the dasher) which are set so as to stand across the diagonal or spiral corrugations". Their chamber was a bent, corrugated metal plate; ours is printed rings with plain outsides. The drains are ours; the text does not say how the buttermilk or water is let off. The patent gives no sizes; every size here is ours.
Materials
15- 4 piecesPlaceholder
- 1 piecePlaceholder
- 2 piecesPlaceholder
- 1 piecePlaceholder
- 52 piecesPlaceholder
- 1 piecePlaceholder
- 2 piecesPlaceholder
- 1 piecePlaceholder
- 2 piecesPlaceholder
- 2 piecesPlaceholder
- 1 piecePlaceholder
- 1 piecePlaceholder
- 5 lPlaceholder
- 1 piecePlaceholder
- 1 piecePlaceholder
Tools Required
19- Placeholder
- 1 vendor sell this, none ship to you yetPlaceholder
- Placeholder
- Placeholder
- 1 vendor sell this, none ship to you yetPlaceholder
- Placeholder
- 1 vendor sell this, none ship to you yetPlaceholder
- Placeholder
- Placeholder
- Placeholder
- Placeholder
- 1 vendor sell this, none ship to you yetPlaceholder
- Placeholder
- Placeholder
- Placeholder
- Placeholder
- Placeholder
- Placeholder
- Placeholder
Design Files
2This blueprint makes


Related Blueprints
These blueprints share knowledge with this one — techniques, materials, or principles that connect them in the learning graph.
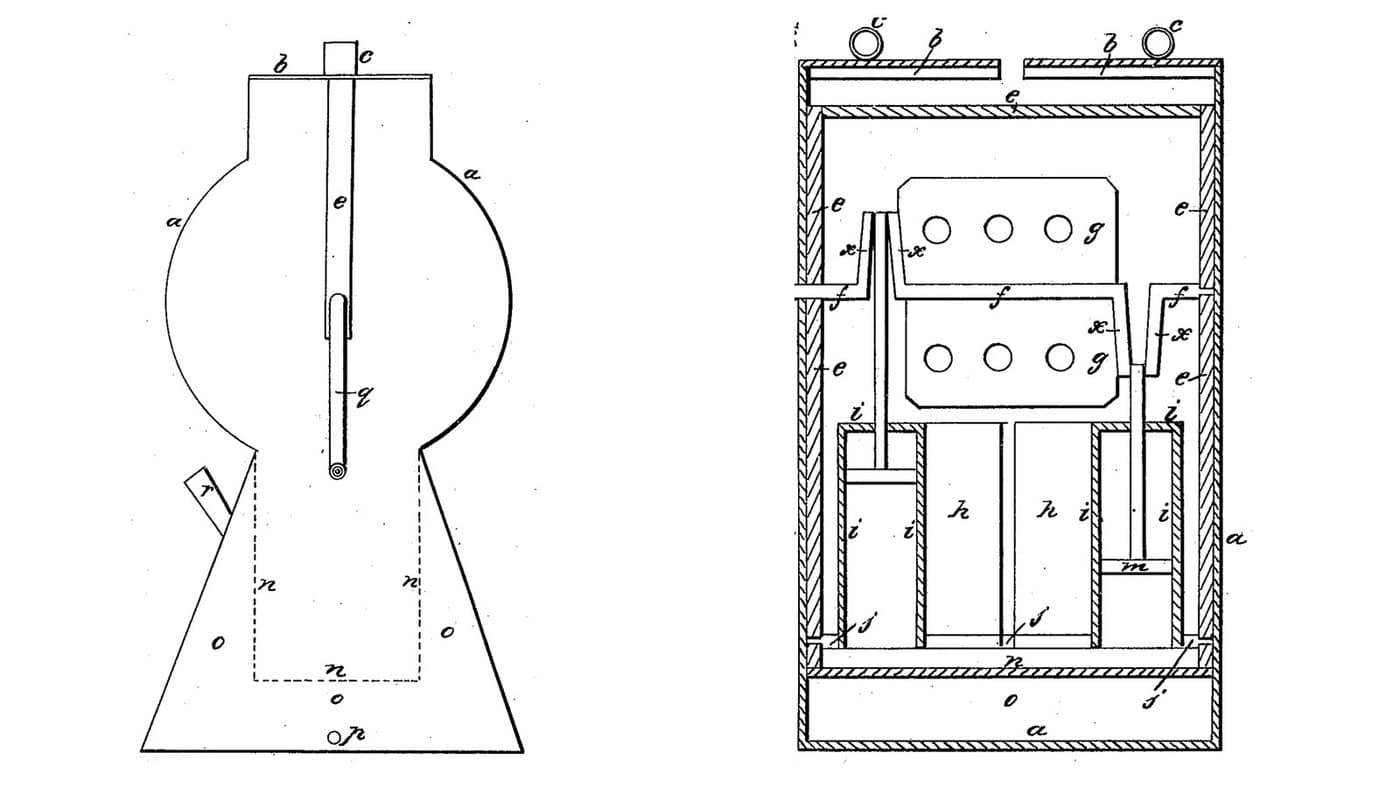
Rocking-Churns Water-Jacket Churn: Two Small Churns Rock and Their Dashers Plunge, Wings Turn Above
by Buttercup
Woodworking
1
0
0
0
0
0
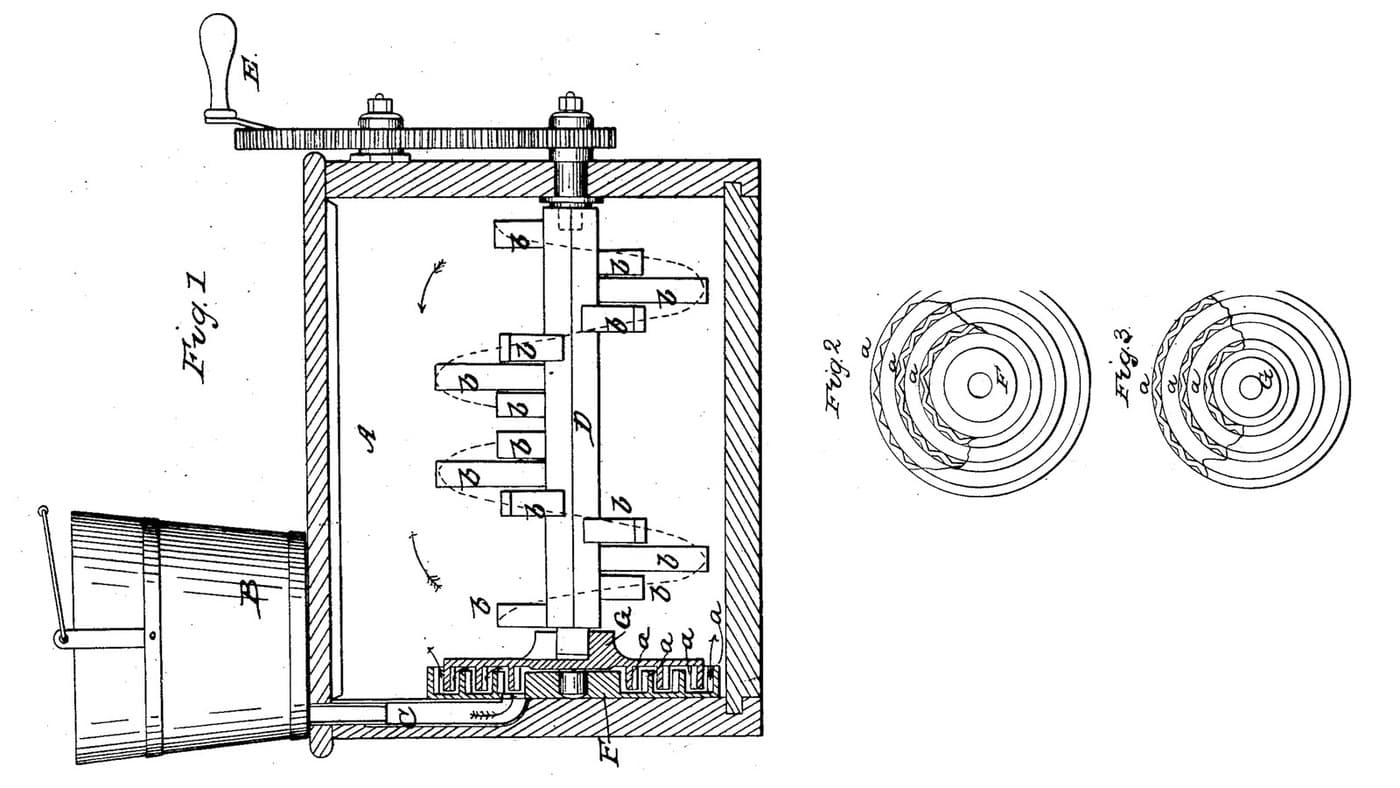
Ring-Disk Spiral-Pin Churn: Cream Forced Out Between Corrugated Rings, Then Drawn to the Middle by Spiral Pins
by Buttercup
Woodworking
0
0
0
0
0
0
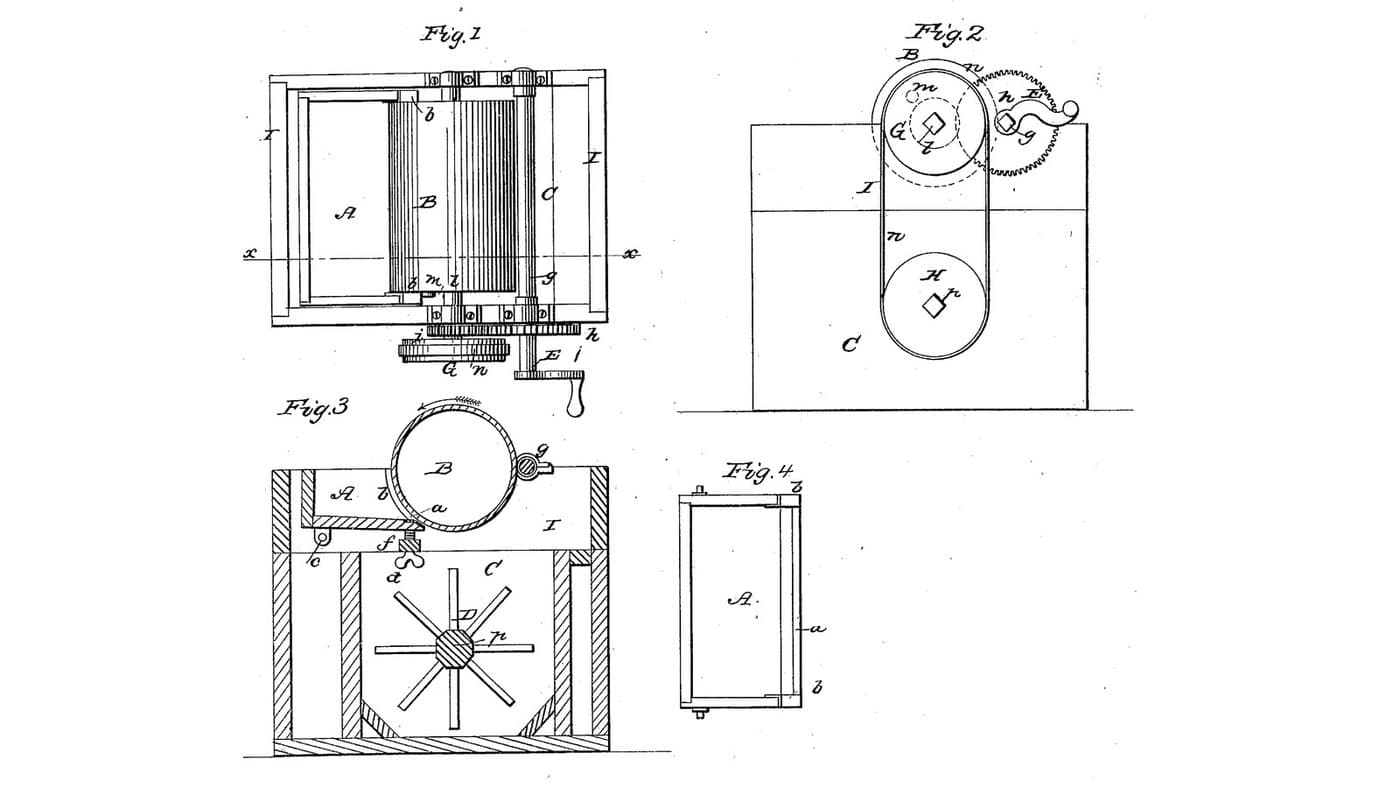
Hot-Water Cylinder Churn: Cream Is Crushed Between a Warm Turning Cylinder and an Adjustable Plate, Then Falls to a Dasher
by Buttercup
Woodworking
0
0
0
0
0
0

Churning Butter from Cream — The 5,000-Year-Old Fat Separation
by TheChef
CRAFT
60
0
0
0
0
0
CC0 Public Domain
This blueprint is released under CC0. You are free to copy, modify, distribute, and use this work for any purpose, without asking permission.
Support the Maker by purchasing products through their Blueprint where they earn a Maker Commission set by Vendors, or create a new iteration of this Blueprint and include it as a connection in your own Blueprint to share revenue.