Collaboration
ART
BEAUTY & WELLNESS
CRAFT
CULTURE & HISTORY
ENTERTAINMENT
ENVIRONMENT
FOOD & DRINKS
REVERSE ENGINEERING
SCIENCES
SPORTS
TECHNOLOGY
WEARABLES
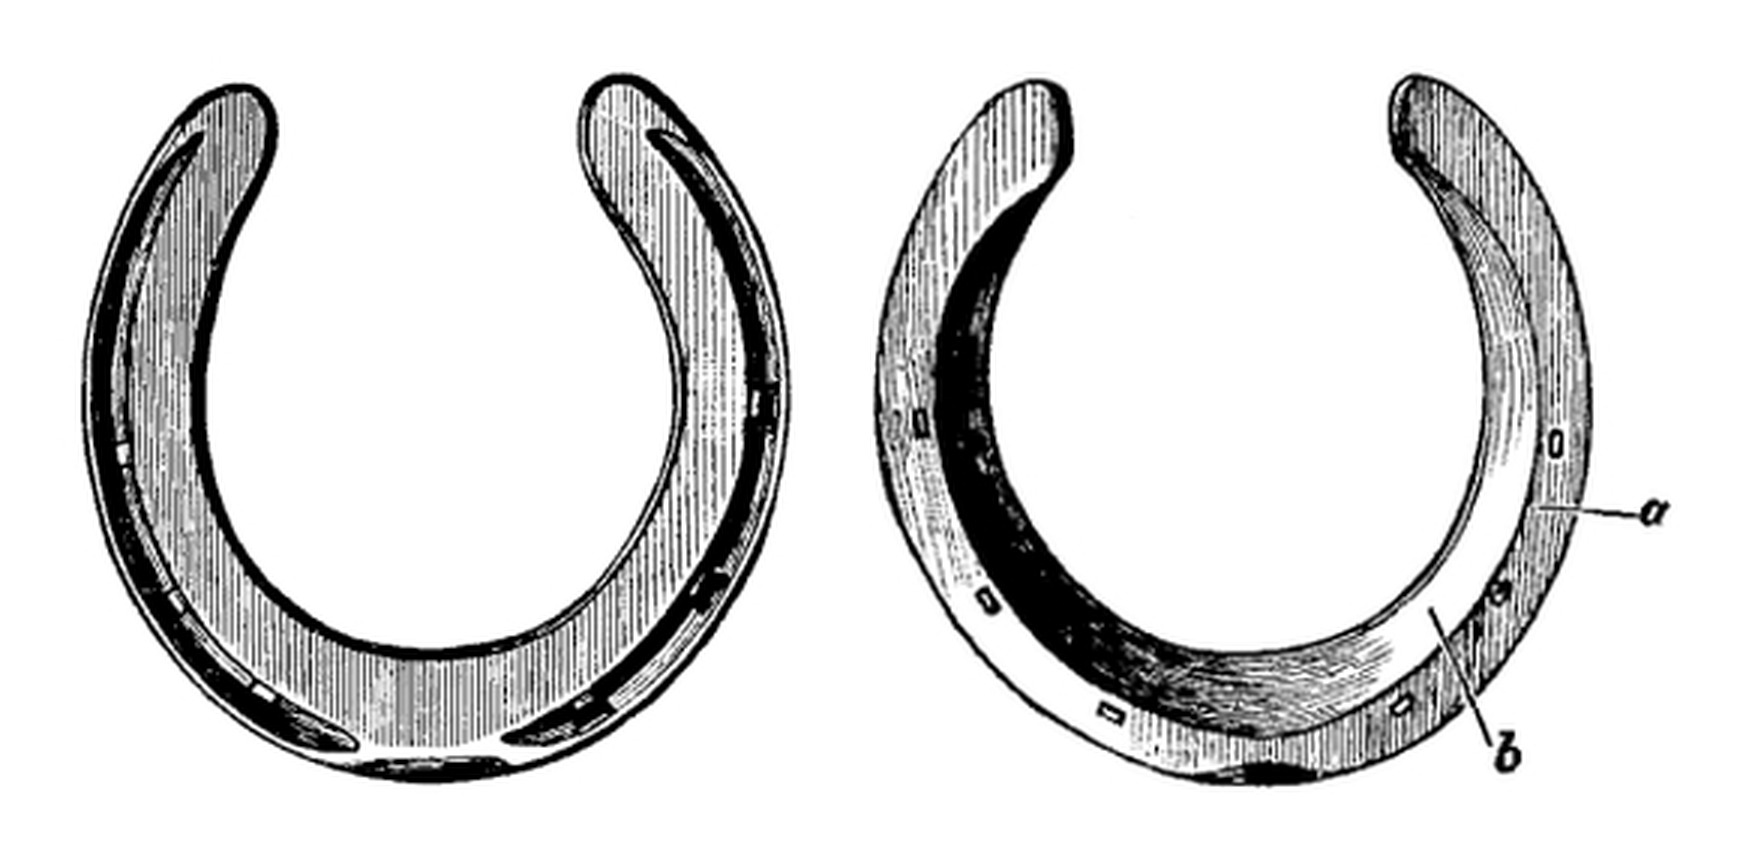


Front Horseshoe Forged in Two Heats: Bend, Bevel, Concave, Fuller and Punch (Lungwitz and Adams, Text-Book of Horseshoeing, 1913)
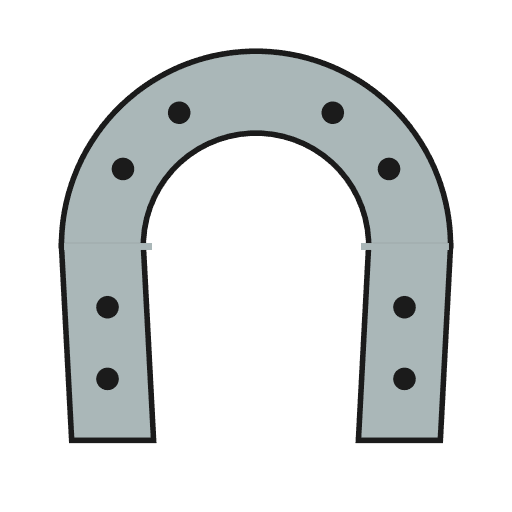
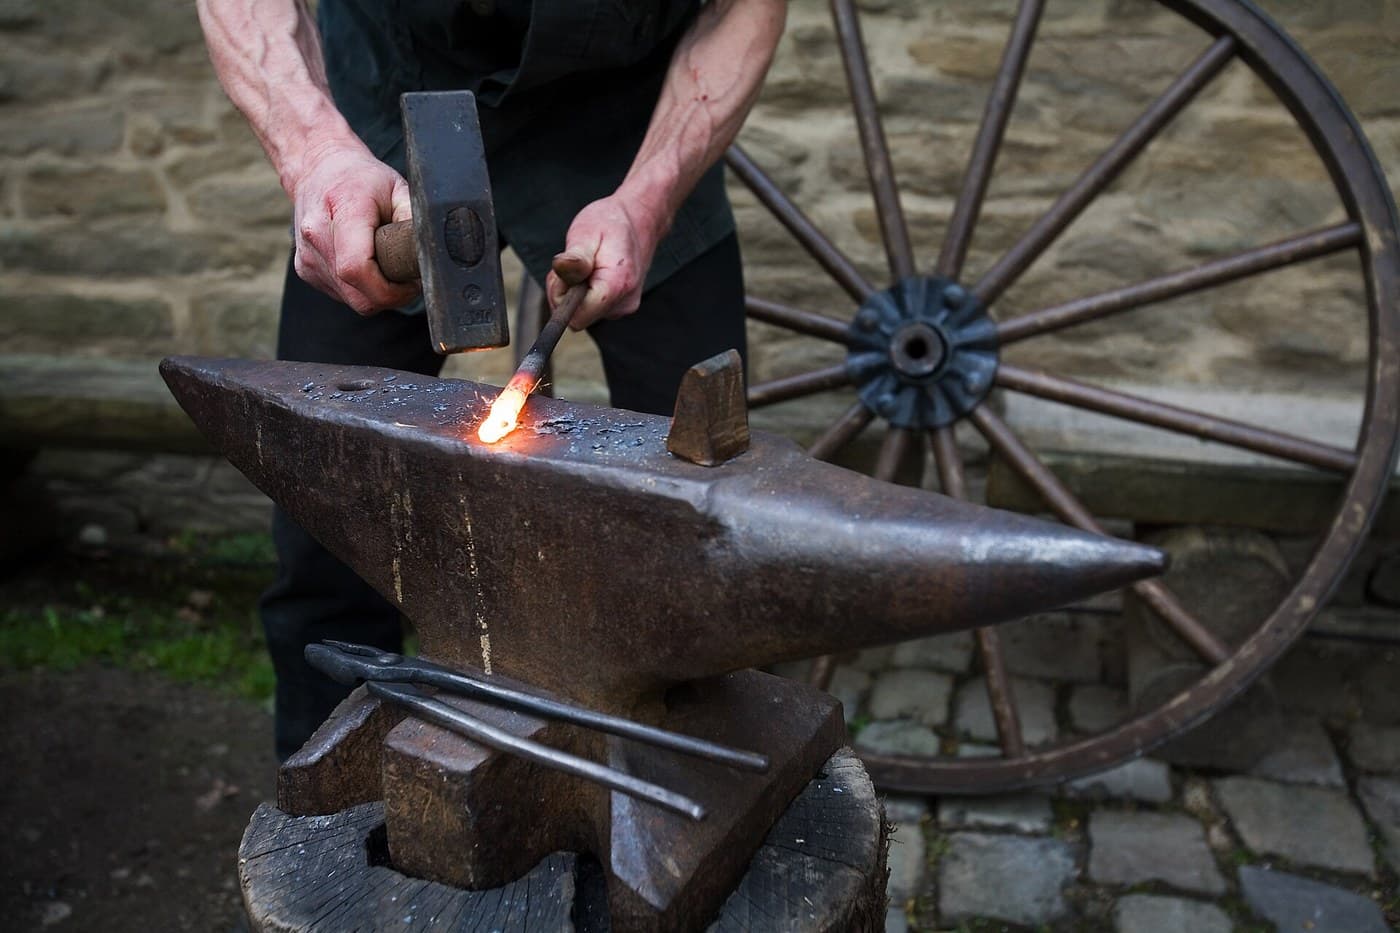
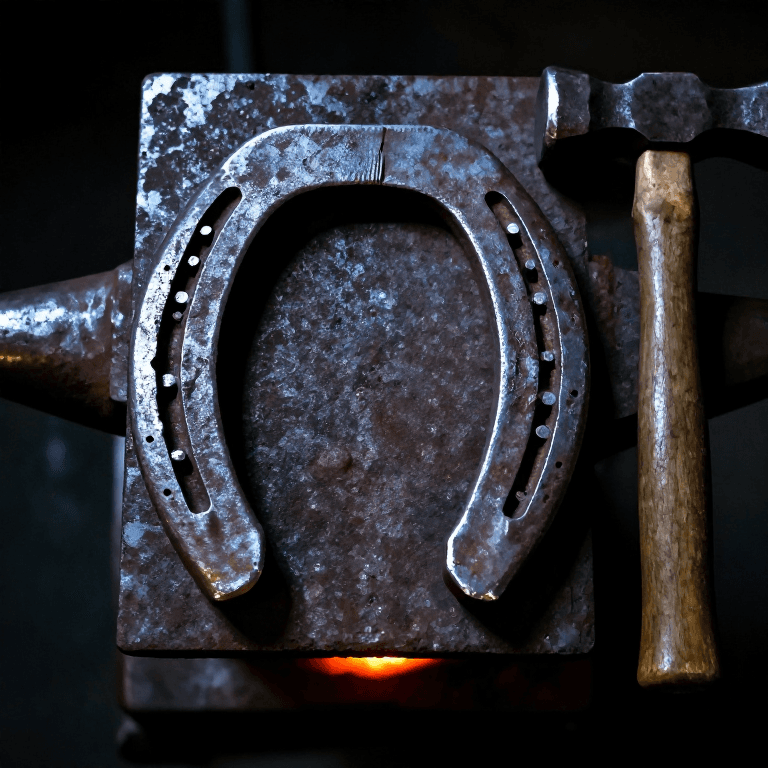
A flat front horseshoe made from one iron bar, as taught at the Dresden shoeing school: bend each branch over the anvil, bevel and flatten it, concave the hoof side, fuller the crease, and stamp and pritchel the nail holes. From Lungwitz and Adams, A Text-Book of Horseshoeing (11th edition, 1913).
"Any ordinary shoe can and should be completed in the rough in two heats." Fitting and nailing the shoe to the horse are not covered here.
Intermediate
8-15 minutes a pair, once practised
Instructions
1
1
Bar length and sizes
Bar length and sizes
Loading Jupyter Notebook...
2
2
Read Lungwitz and Adams
Read Lungwitz and Adams
"A shoe should be made thoughtfully, but yet quickly enough to make the most of the heat."
3
3
Measure the hoof
Measure the hoof
Measure the length of the hoof from the point of the toe to the buttress, and its greatest width. Added together they give the length of the bar. To keep the exact outline, set the hoof on stiff paper and trace round the wall with a pencil.
Tools needed:
 Tape Measure
 Pencil
 Heavy Paper Sheets
4
4
Cut the bar
Cut the bar
Choose good, tough iron, of a width and thickness that needs the least working. Cut the bar to the length you measured; a bar shoe or a shoe with heel calks needs a longer bar.
Materials for this step:
 Wrought Iron Bar1 piece
Tools needed:
 Blacksmith Forge
 Hot Cut Hardy
 Forge Tongs
 Rounding Hammer
5
5
Bend the outer branch
Bend the outer branch
Heat the bar white-hot just beyond its middle. Lay the head of the sledge across one end of the anvil face, hold the cold end of the bar on it with the hot end on the face, and bend the bar into a half-circle with the round head of the turning hammer. Make the outer branch first, and the right shoe first in a pair. Draw out the end to width and thickness with the sledge.
Tools needed:
Blacksmith Forge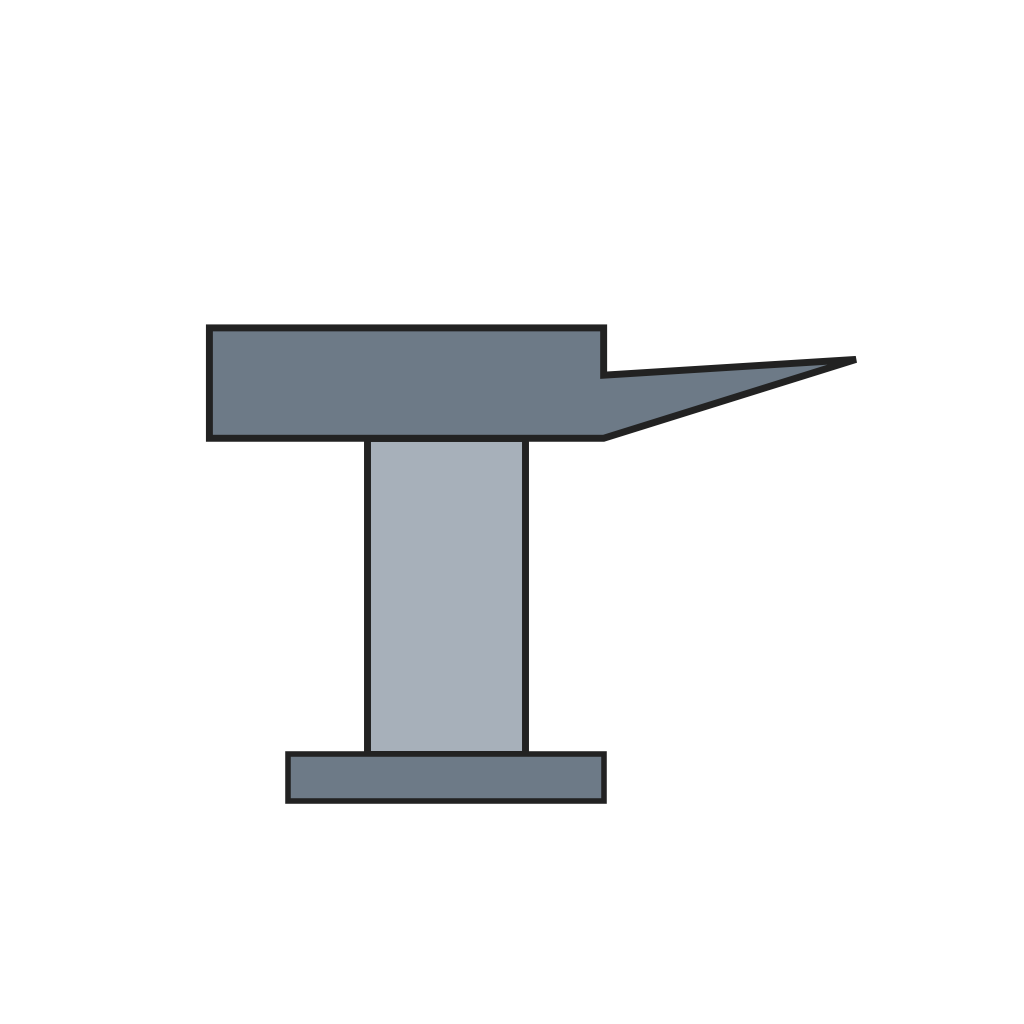 Beak Anvil
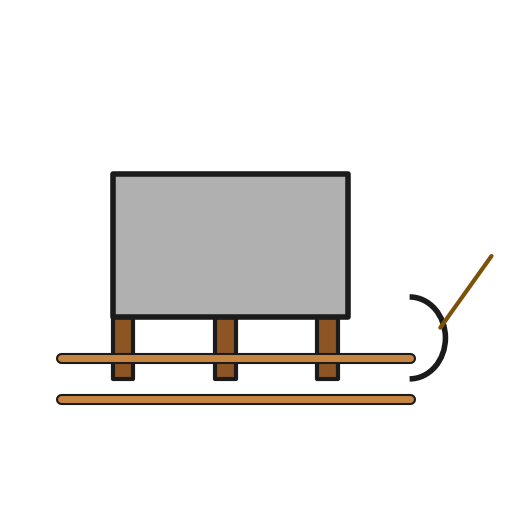 SledgeRounding HammerForge Tongs
6
6
Bevel and flatten
Bevel and flatten
Lay the bent branch obliquely across the heel of the horn, turn it to the right onto an edge, and bevel it diamond-shaped from toe to end. Flatten it on the face: bending stretched and thinned the outer edge and thickened the inner one, so leave the inner edge a trifle thinner. Go over it lightly on the horn with the flat face of the hammer to shape it.
Tools needed:
Beak AnvilRounding HammerForge Tongs7
7
Concave and fuller
Concave and fuller
Concave (seat) the hoof side, ending about 3/4 in from the end of the branch, or leave it flat for an arched sole. Turn the branch and fuller it: set the fuller about 1/12 in from the edge on small shoes, more on large ones, and lead it from the end of the branch to the toe, twice, to about two-thirds of the thickness.
Tools needed:
Beak AnvilSledge FullerRounding HammerForge Tongs
8
8
Stamp and pritchel the nail holes
Stamp and pritchel the nail holes
Stamp the nail holes in the crease and punch them through with the pritchel. Six are enough for a medium shoe, all in the front half and none at the toe. Their distance from the outer edge equals the thickness of the wall there; incline the toe holes a little inward and punch the quarter holes straight. Each hole tapers from the ground side to the hoof side.
Tools needed:
Beak Anvil Hot Punch
 PritchelRounding HammerForge Tongs
9
9
Finish the branch, then the other
Finish the branch, then the other
Run over the surfaces, go over the outer edge on the horn, and hammer the bearing surface smooth and level. Make the inner branch the same way, turned to the left and fullered from toe to heel. The finished front shoe is round at the toe and about 7/16 in thick; a hind shoe is bent more pointed at the toe and needs no concaving, only the inner edge rounded.
Tools needed:
Blacksmith ForgeBeak AnvilRounding HammerFullerHot PunchPritchelForge Tongs10
10
Troubleshooting
Troubleshooting
Horseshoe troubleshooting.
Flow
Loading...
11
11
History and honest limits
History and honest limits
From **A Text-Book of Horseshoeing, for Horseshoers and Veterinarians**, by A. Lungwitz (Dresden shoeing school) and John W. Adams (University of Pennsylvania), 11th edition, J. B. Lippincott, 1913 (Project Gutenberg 66786), chapter III F, "Making Shoes"; wall thicknesses after Mayer. Not covered: trimming, fitting and nailing the shoe to the hoof, clips, calks and special shoes. The book names no forge fuel. The metric figures are ours.
Materials
1- 1 piecePlaceholder
Tools Required
12- 1 vendor sell this, none ship to you yetPlaceholder
- 1 vendor sell this, none ship to you yetPlaceholder
- Placeholder
- Placeholder
- Placeholder
- Placeholder
- Placeholder
- Placeholder
- Placeholder
- Placeholder
- Placeholder
- Placeholder
This blueprint makes
Related Blueprints
These blueprints share knowledge with this one — techniques, materials, or principles that connect them in the learning graph.
CC0 Public Domain
This blueprint is released under CC0. You are free to copy, modify, distribute, and use this work for any purpose, without asking permission.
Support the Maker by purchasing products through their Blueprint where they earn a Maker Commission set by Vendors, or create a new iteration of this Blueprint and include it as a connection in your own Blueprint to share revenue.