ART
BEAUTY & WELLNESS
CRAFT
CULTURE & HISTORY
ENTERTAINMENT
ENVIRONMENT
FOOD & DRINKS
REVERSE ENGINEERING
SCIENCES
SPORTS
TECHNOLOGY
WEARABLES
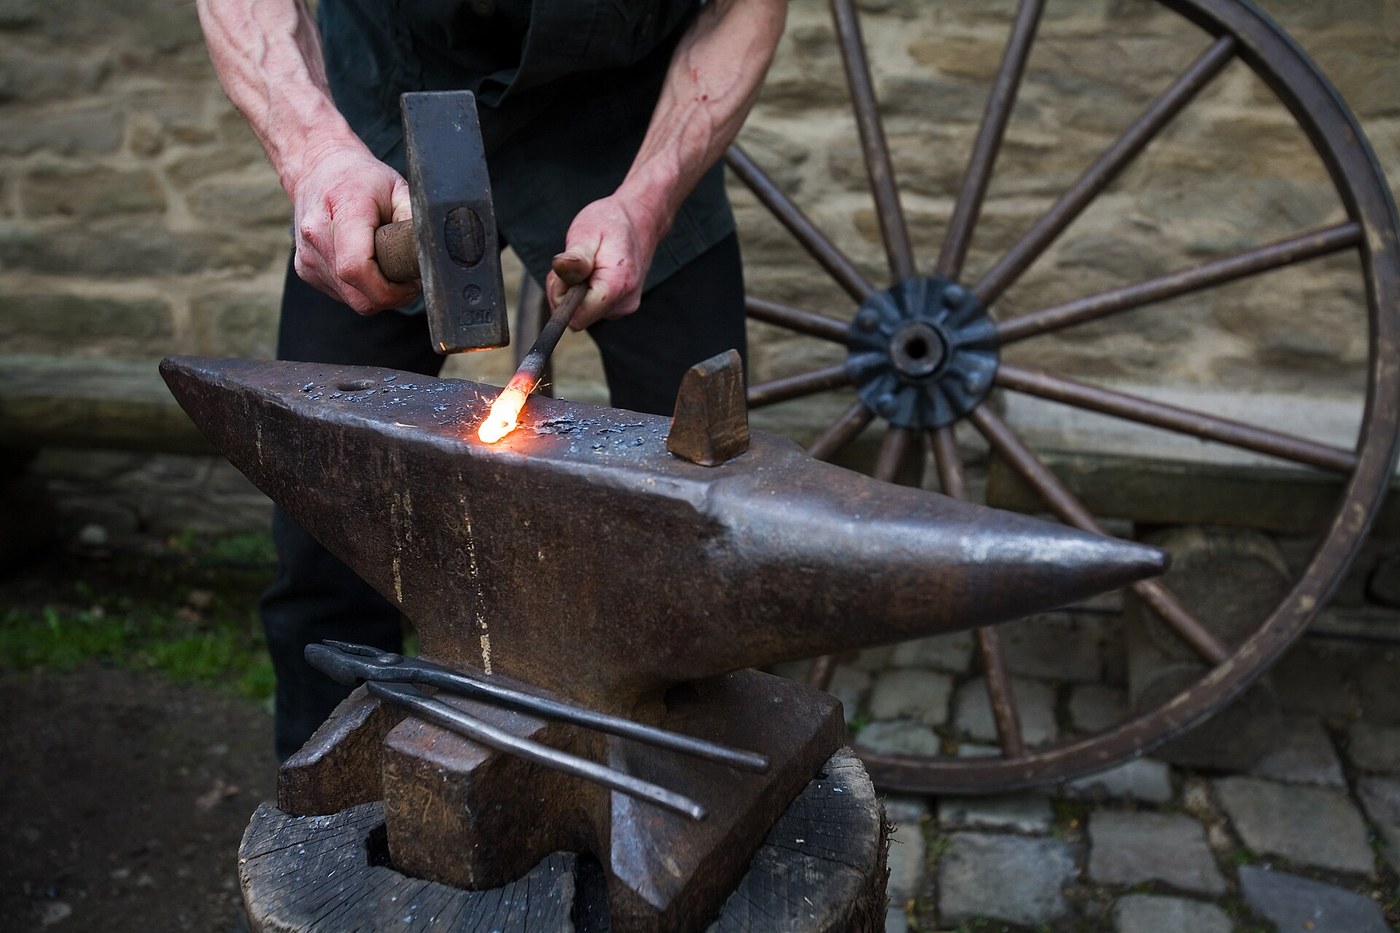


Smith's Top and Bottom Tools: Punch, Drift, Hardy, Fullers, Chisel and Swage
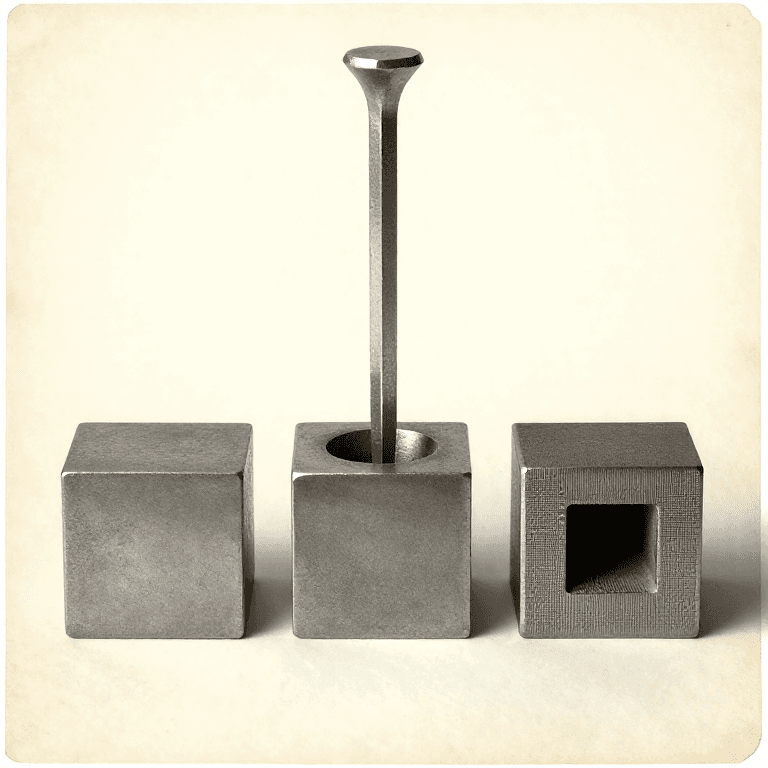
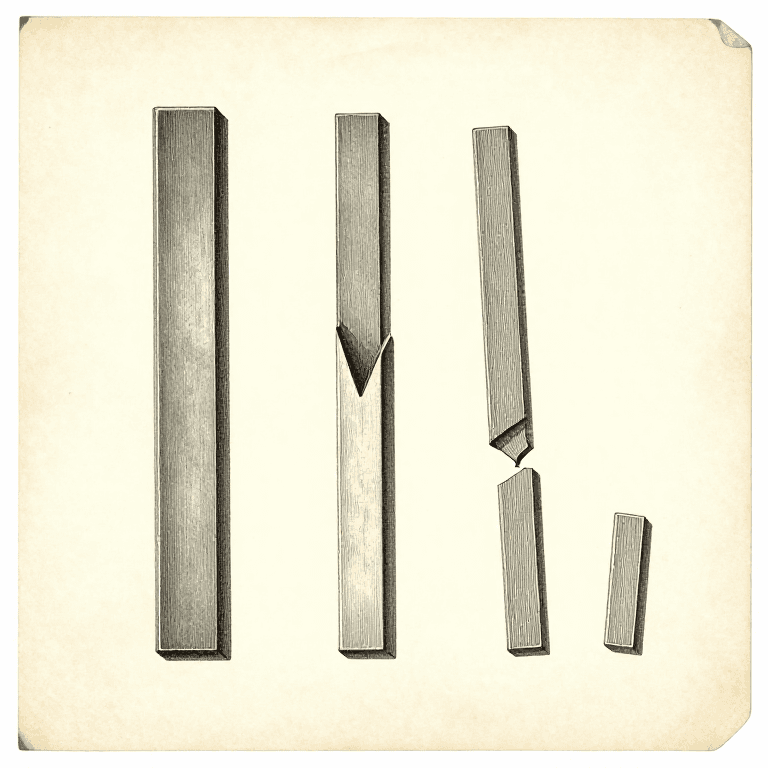
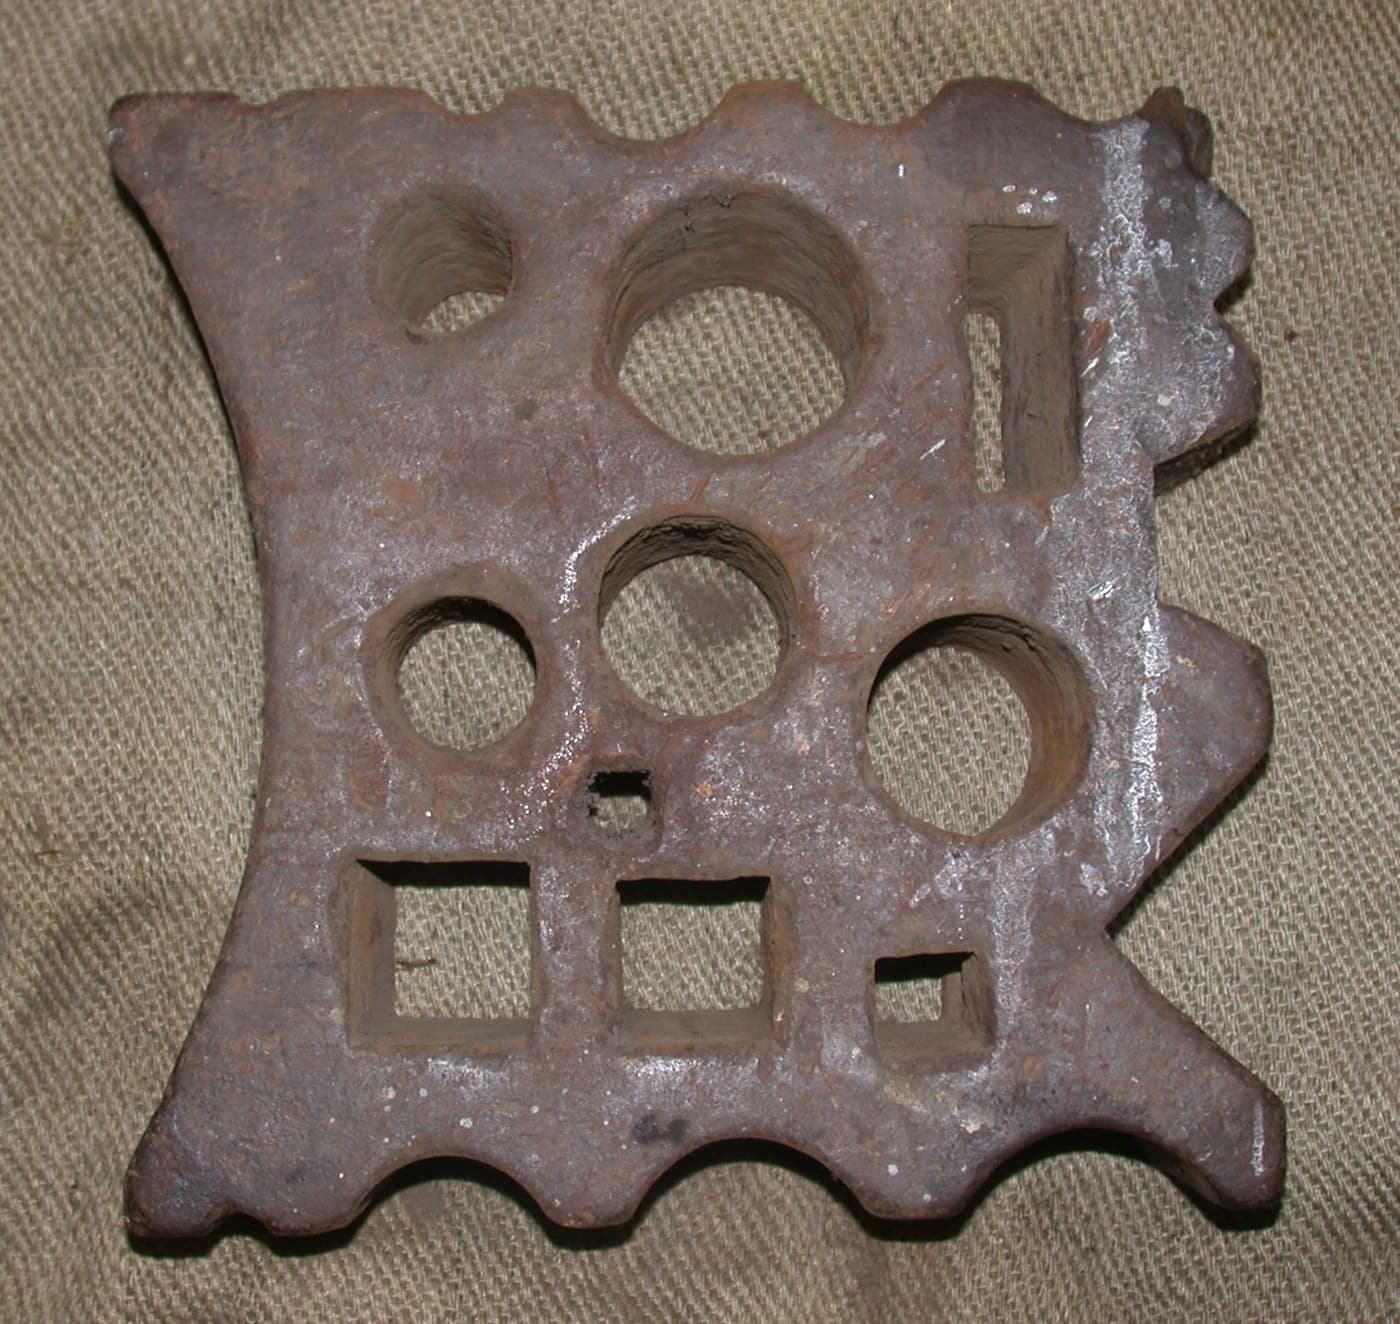
Bottom tools have a square shank that drops into the anvil's hardy hole; top tools have a handle and are held on the work and struck. The hardy cuts hot stock laid over it, the fuller's rounded nose spreads metal, the punch makes a hole and the drift opens it to size, the hot chisel cuts from above, and the bottom swage rounds bar in its groove. Forge them all from tool steel.
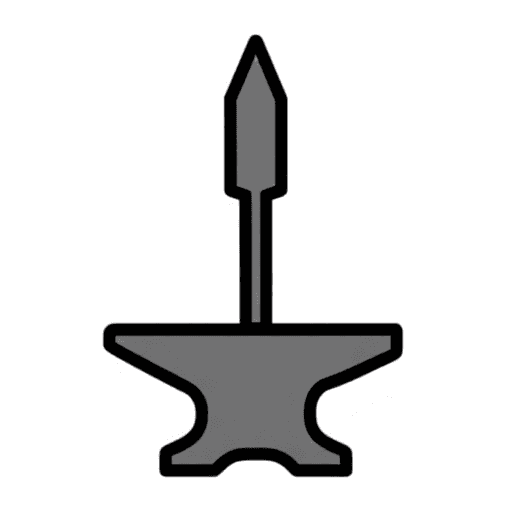
The picture: a smith at the anvil, a hardy standing in the hardy hole.
Advanced
Two days
Instructions
1
1
Shanks for the hardy hole
Shanks for the hardy hole
For each bottom tool, forge a square shank that slips into the hardy hole without rocking, with a shoulder above it that sits on the anvil face.
Materials for this step:
 Octagonal Tool Steel Bar4 kg
 Charcoal6 as required
Tools needed:
 Blacksmith Forge
 Anvil
Anvil Cross Peen Hammer
 Sledgehammer
 Blacksmith Tongs
 Welding Gloves
 Safety Glasses
2
2
Hardy and bottom fuller
Hardy and bottom fuller
On one shanked blank forge a wedge with its edge upward: the hot cut hardy. On another, forge a rounded nose: the bottom fuller.
Tools needed:
Blacksmith ForgeAnvilCross Peen HammerSledgehammerBlacksmith TongsWelding GlovesSafety Glasses3
3
Bottom swage
Bottom swage
On a third shanked blank, form a half-round groove by forging a hot bar of the size you want into it with the top swage, then file it clean.
Tools needed:
Blacksmith ForgeAnvilCross Peen HammerSledgehammerBlacksmith TongsWelding GlovesSafety Glasses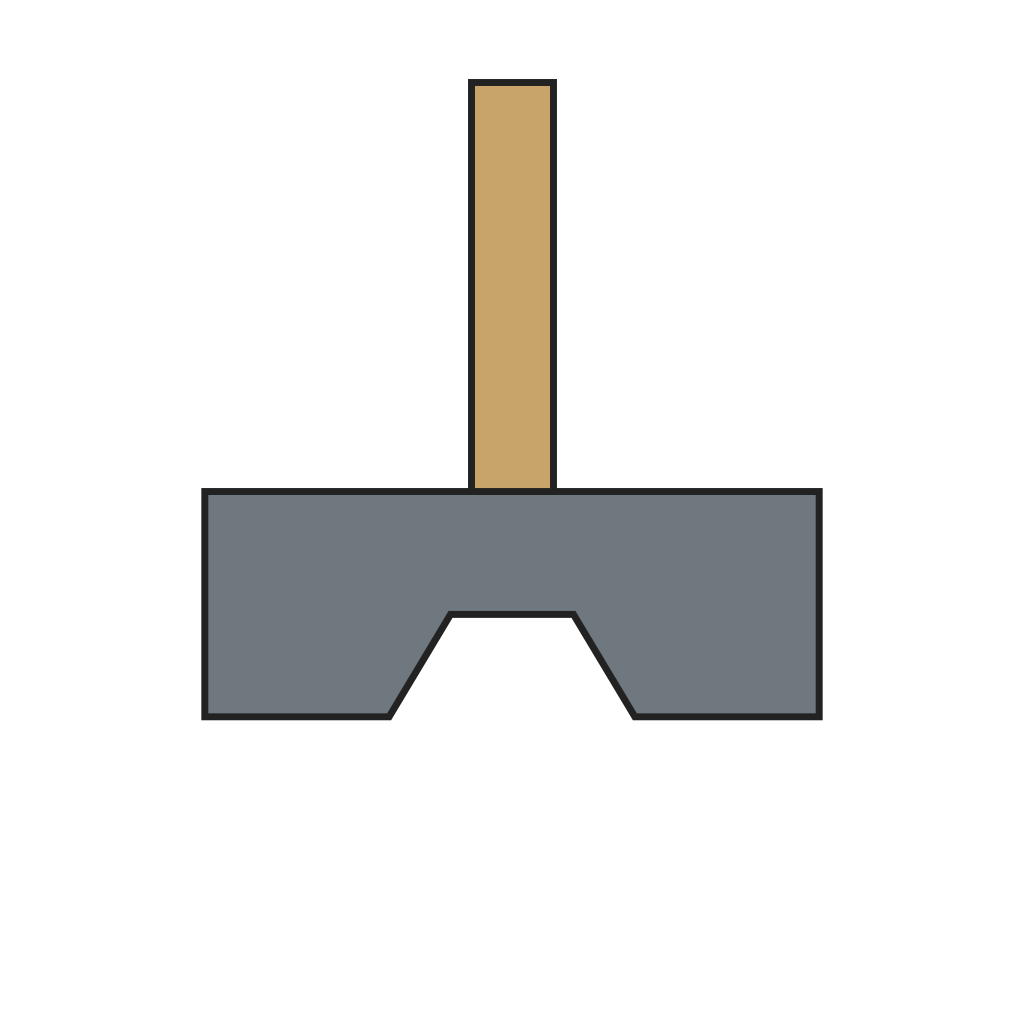 Top Swage
 Metal File
4
4
Top tools
Top tools
Forge the top tools from bar: a hot punch tapering to a small flat end, a drift tapering evenly to the size of the finished hole, a top fuller with a rounded nose, and a hot chisel with a thin edge. Leave a flat face on top of each to be struck.
Tools needed:
Blacksmith ForgeAnvilCross Peen HammerSledgehammerBlacksmith TongsWelding GlovesSafety Glasses5
5
Harden the edges and fit handles
Harden the edges and fit handles
Harden the hardy and hot chisel edges in water and temper them to blue; leave the punch, drift and fullers as forged, since they work hot (our practice). Fit ash handles to the hot chisel and top fuller.
Materials for this step:
 Ash Billet2 pieces
 Water10 liters
Tools needed:
Blacksmith Forge Quench Bucket
 GrindstoneBlacksmith TongsWelding GlovesSafety Glasses
6
6
Steel for the set
Steel for the set
Loading Jupyter Notebook...
Materials
4- Placeholder
- 6 as requiredPlaceholder
- 2 piecesPlaceholder
- 10 litersPlaceholder
Tools Required
11- Placeholder
- Placeholder
- Placeholder
- Placeholder
- Placeholder
- Placeholder
- Placeholder
- Placeholder
- Placeholder
- Placeholder
- Placeholder
This blueprint makes



Related Blueprints
These blueprints share knowledge with this one — techniques, materials, or principles that connect them in the learning graph.
CC0 Public Domain
This blueprint is released under CC0. You are free to copy, modify, distribute, and use this work for any purpose, without asking permission.
Support the Maker by purchasing products through their Blueprint where they earn a Maker Commission set by Vendors, or create a new iteration of this Blueprint and include it as a connection in your own Blueprint to share revenue.