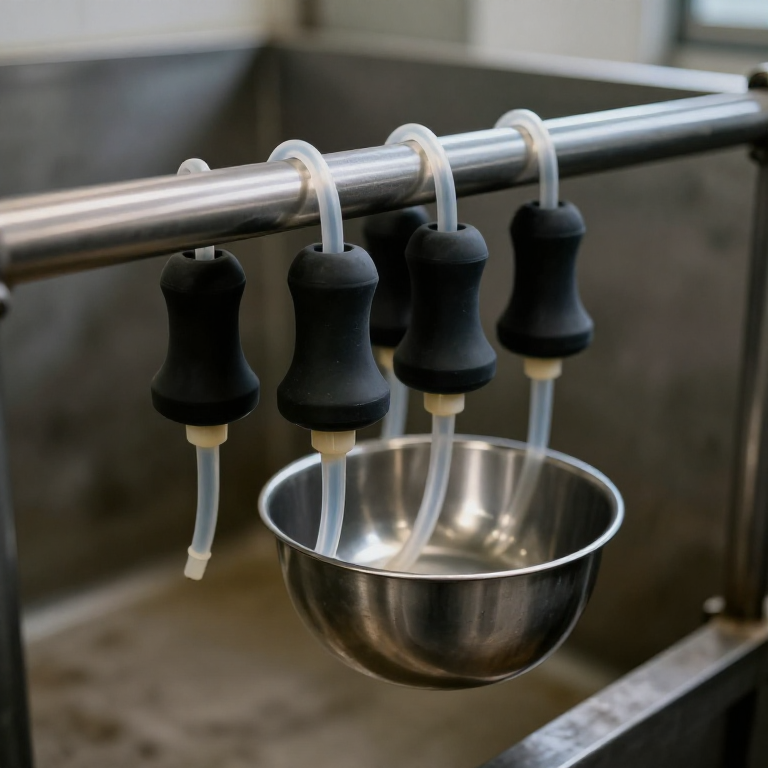


Milking Machine
Instructions
Show why steady suction fails
Show why steady suction fails
Model the teat with something that behaves like soft tissue.
- Fit a short length of soft rubber tubing over a nozzle to stand in for the teat.
- Apply steady gentle suction with a syringe and hold it.
- Watch the tube walls draw in and stay drawn in.
Materials for this step:
 Rubber Tubing1 length
Build the liner and shell
Build the liner and shell
Two chambers, one inside the other. This is the whole hardware.
- Put the soft tube (the liner) inside a rigid outer tube (the shell), sealed at both ends.
- Connect the INSIDE of the liner to the milk line.
- Connect the space BETWEEN liner and shell to the pulsator line.
Materials for this step:
 PVC Pipe (50 mm)1 length
Pulsate it by hand
Pulsate it by hand
Alternate the shell chamber between vacuum and atmosphere.
- Keep steady vacuum inside the liner throughout.
- Open the shell chamber to air: the liner collapses and squeezes — the REST phase.
- Apply vacuum to the shell chamber: the liner opens and milk flows — the MILK phase.
- Alternate at roughly one cycle per second.
Measure rate and ratio
Measure rate and ratio
Two numbers define a pulsator, and both matter to the animal.
- Count cycles per minute — typical machines run about 60.
- Time the milk phase against the rest phase.
- Express as a ratio, commonly around 60:40.
Tools needed:
 Stopwatch
History and context
History and context
Mechanical milking was attempted through the nineteenth century and mostly failed, sometimes cruelly. Early devices inserted tubes into the teat canal, which carried infection directly into the udder. Others applied continuous vacuum and caused the congestion demonstrated in step 1.
Pulsation is what made it work. The Scottish engineer Alexander Shiels introduced a pulsating machine in the early 1890s, and Alexander Gillies patented a design in 1902 in which the vacuum acts through a flexible liner rather than directly on the teat. The two ideas together — pulsation plus a liner — are the basis of every milking machine since.
Why the biology had to come first. Milk is not simply sucked out. Let-down is a reflex: stimulation causes oxytocin release, which contracts muscle cells around the alveoli and pushes milk into the ducts. The reflex takes a minute or so to arrive and fades within several minutes, so a machine that is attached too early or left on too long fights the animal instead of working with it. Machines that ignored this milked poorly and were blamed on mechanics rather than physiology.
What it changed: herd sizes. Hand milking limits a dairy to the number of animals people can milk twice a day, every day. Machines broke that limit, and dairying moved from many small herds to fewer large ones. Modern parlours add automatic cluster removal — sensing when flow drops and detaching, because leaving the cups on an empty udder is precisely the damage this blueprint starts with.
What this build is not: a working milking machine, and it must never be used on an animal. It demonstrates the pulsation principle on rubber tubing, which is where the engineering insight lives.
Materials
2- 1 lengthPlaceholder
- 1 lengthPlaceholder
Related Blueprints
These blueprints share knowledge with this one — techniques, materials, or principles that connect them in the learning graph.

CC0 Public Domain
This blueprint is released under CC0. You are free to copy, modify, distribute, and use this work for any purpose, without asking permission.
Support the Maker by purchasing products through their Blueprint where they earn a Maker Commission set by Vendors, or create a new iteration of this Blueprint and include it as a connection in your own Blueprint to share revenue.