Collaboration
ART
BEAUTY & WELLNESS
CRAFT
CULTURE & HISTORY
ENTERTAINMENT
ENVIRONMENT
FOOD & DRINKS
REVERSE ENGINEERING
SCIENCES
SPORTS
TECHNOLOGY
WEARABLES
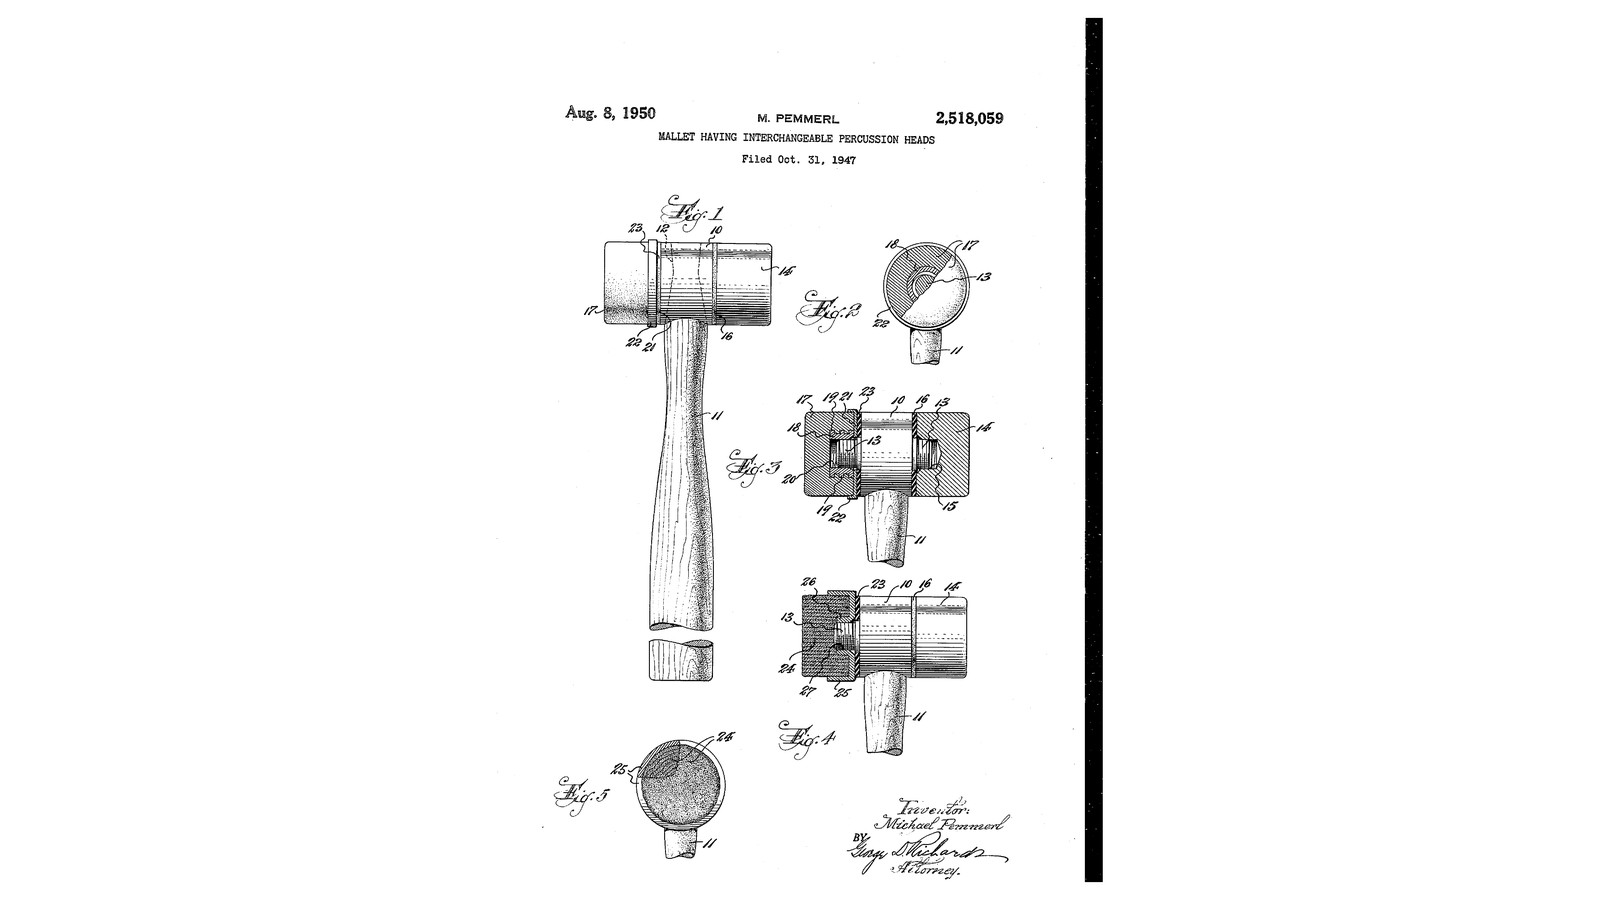


Screw-On Rubber Head Mallet: Rubber Members on Flanged Ferrules, Cupped and Cushioned on Steel Studs (Pemmerl, 1950)
Michael Pemmerl of Chatham, New Jersey, received US 2,518,059, dated 8 August 1950, for an industrial mallet with heads that change. A threaded stud stands out of each end of the steel head, and percussion members of different hardness screw on. A soft member is moulded round a hard ferrule with flanges and a threaded bore, so it cannot pull off. A steel cup holds its inner end from bulging. A thick rubber washer between cup and head stops it working loose and soaks up the shock before it reaches the hand.
We make two rubber members from rubber sheet bonded round a flanged nut. The sizes are ours.
Intermediate
About 2 days
Instructions
1
1
Building a rubber member round its ferrule
Building a rubber member round its ferrule
Loading Jupyter Notebook...
2
2
Read US 2,518,059
Read US 2,518,059
"The frictional and cushioning washers 16 and 23, as interposed between the respective percussion members 14 and 17 and the mallet head 10, serve the two-fold purpose of setting up a strong frictional resistance against tendency of said percussion members to accidentally loosen or turn off the coupling studs 13 when the mallet is in use, while at the same time said washers act as impact shock absorbing means."
3
3
Turn the head 10
Turn the head 10
From 35 mm steel round bar turn a head 90 mm long between its end faces, and at each end a stud 13 12 mm across and 20 mm long; cut an M12 thread on each with the die. Drill a 20 mm eye through the middle, square to the axis, in a V-block, for the handle.
Materials for this step:
 Mild Steel Round Bar1 piece
 Cutting Oil1 piece
Tools needed:
 Metal Lathe
 Lathe Chuck 3-Jaw
 Lathe Cutting Tool
 Parting Tool
 Tap and Die Set
 Die Stock
 Bench Vise
 Drill Press
 V-Block
 Drill Bit Set
 Digital Caliper 6-Inch
 Safety Glasses
4
4
Ferrules 18 and cups 21-22
Ferrules 18 and cups 21-22
For each member, saw an M12 coupling nut to 30 mm and lock a 24 mm washer on it 4 mm from each end with a nut and thread locker: the flanges 19 round the threaded bore 20. Turn two cups from 45 mm bar: a base 3 mm thick with a 13 mm hole, and a skirt 12 mm deep bored 40.5 mm to embrace the member's inner end.
Materials for this step:
 Hex Nut6 pieces
 Flat Washer4 pieces
 Thread Locker1 pieceMild Steel Round Bar1 piece
Tools needed:
 HacksawBench Vise
 Adjustable SpannerMetal LatheLathe Chuck 3-JawLathe Cutting Tool
 Boring BarParting ToolDigital Caliper 6-Inch
5
5
Build the rubber members 17
Build the rubber members 17
Scribe and cut 4 mm rubber discs 40 mm across with the knife: for each member, seven holed to the ferrule (24 mm holes level with the two flanges and 22 mm round the nut, so the discs either side trap each flange's rim) and five solid discs for the striking face. Brush contact cement on both faces, let it go touch-dry, and build the member up over its ferrule, the ferrule's end flush with the member's inner end; press it in clamps overnight and trim it round.
Materials for this step:
 Natural Rubber Sheet1 piece
 Contact Cement1 piece
Tools needed:
 Compass
 Craft Knife
 Bar Clamp
6
6
Handle and assembly
Handle and assembly
Turn an ash handle 300 mm long, fit it in the eye with a glued wedge. Cut two 6 mm rubber washers 23, 40 mm across with 13 mm holes. On each stud put a rubber washer, then a cup, skirt outwards, then screw a member on until its end is in the cup and the washer is squeezed; it should take a firm twist to undo.
Materials for this step:
 Hardwood Board1 piece
 Wood Glue1 pieceNatural Rubber Sheet1 piece
Tools needed:
 Wood Lathe
 Lathe Tool Set (HSS)Hacksaw
 Ball Peen HammerCraft Knife
7
7
Troubleshooting
Troubleshooting
Interchangeable-head mallet troubleshooting.
Flow
Loading...
8
8
History and honest limits
History and honest limits
**Michael Pemmerl** of Chatham, New Jersey, US 2,518,059, dated 8 August 1950, filed 31 October 1947. He claimed a mallet head with a screw-threaded coupling stud at an end, "a percussion member made of relatively soft material such as lead, an internally screw-threaded ferrule made of hard metal imbedded in said percussion member, said ferrule having external annular flanges", "a perforate cupped reenforcing member", and "a perforate rubber washer of substantial thickness" between cup and head. His soft members were moulded, and he names rubber among their materials; ours are rubber discs bonded round the ferrule. He also shows hard metal and rawhide members. He gives no sizes; every size here is ours.
Materials
9- 1 piecePlaceholder
- 1 piecePlaceholder
- 6 piecesPlaceholder
- 4 piecesPlaceholder
- 1 piecePlaceholder
- 1 piecePlaceholder
- 1 piecePlaceholder
- 1 piecePlaceholder
- 1 piecePlaceholder
Tools Required
21- Placeholder
- Placeholder
- Placeholder
- Placeholder
- Placeholder
- Placeholder
- Placeholder
- Placeholder
- Placeholder
- Placeholder
- Placeholder
- Placeholder
- Placeholder
- Placeholder
- Placeholder
- Placeholder
- Placeholder
- Placeholder
- Placeholder
- Placeholder
- Placeholder
This blueprint makes

Related Blueprints
These blueprints share knowledge with this one — techniques, materials, or principles that connect them in the learning graph.
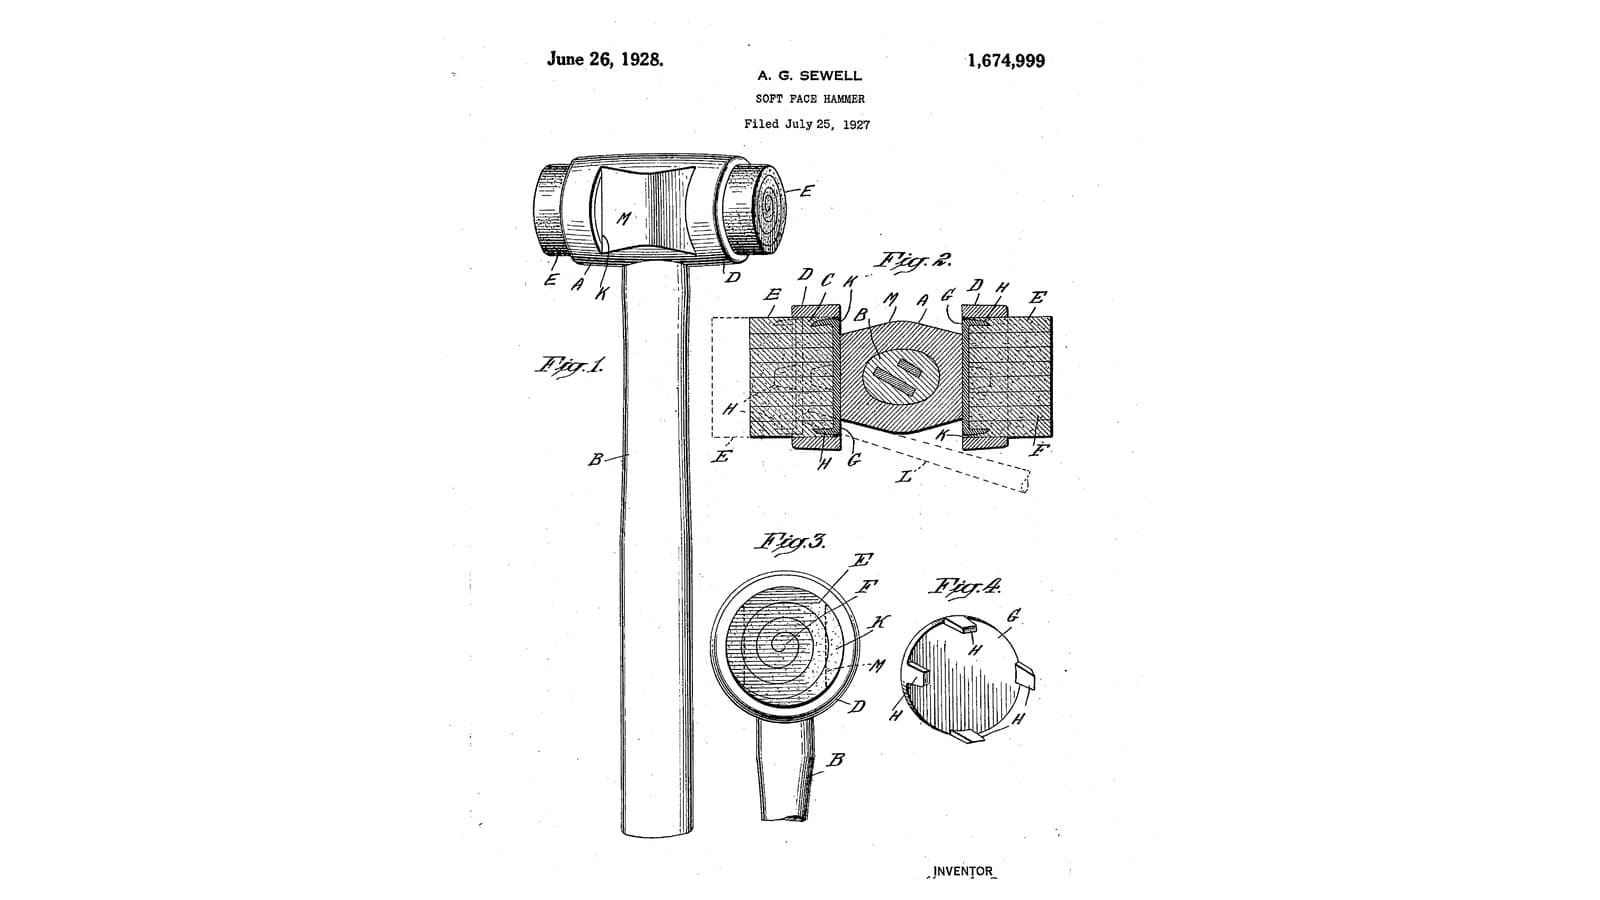
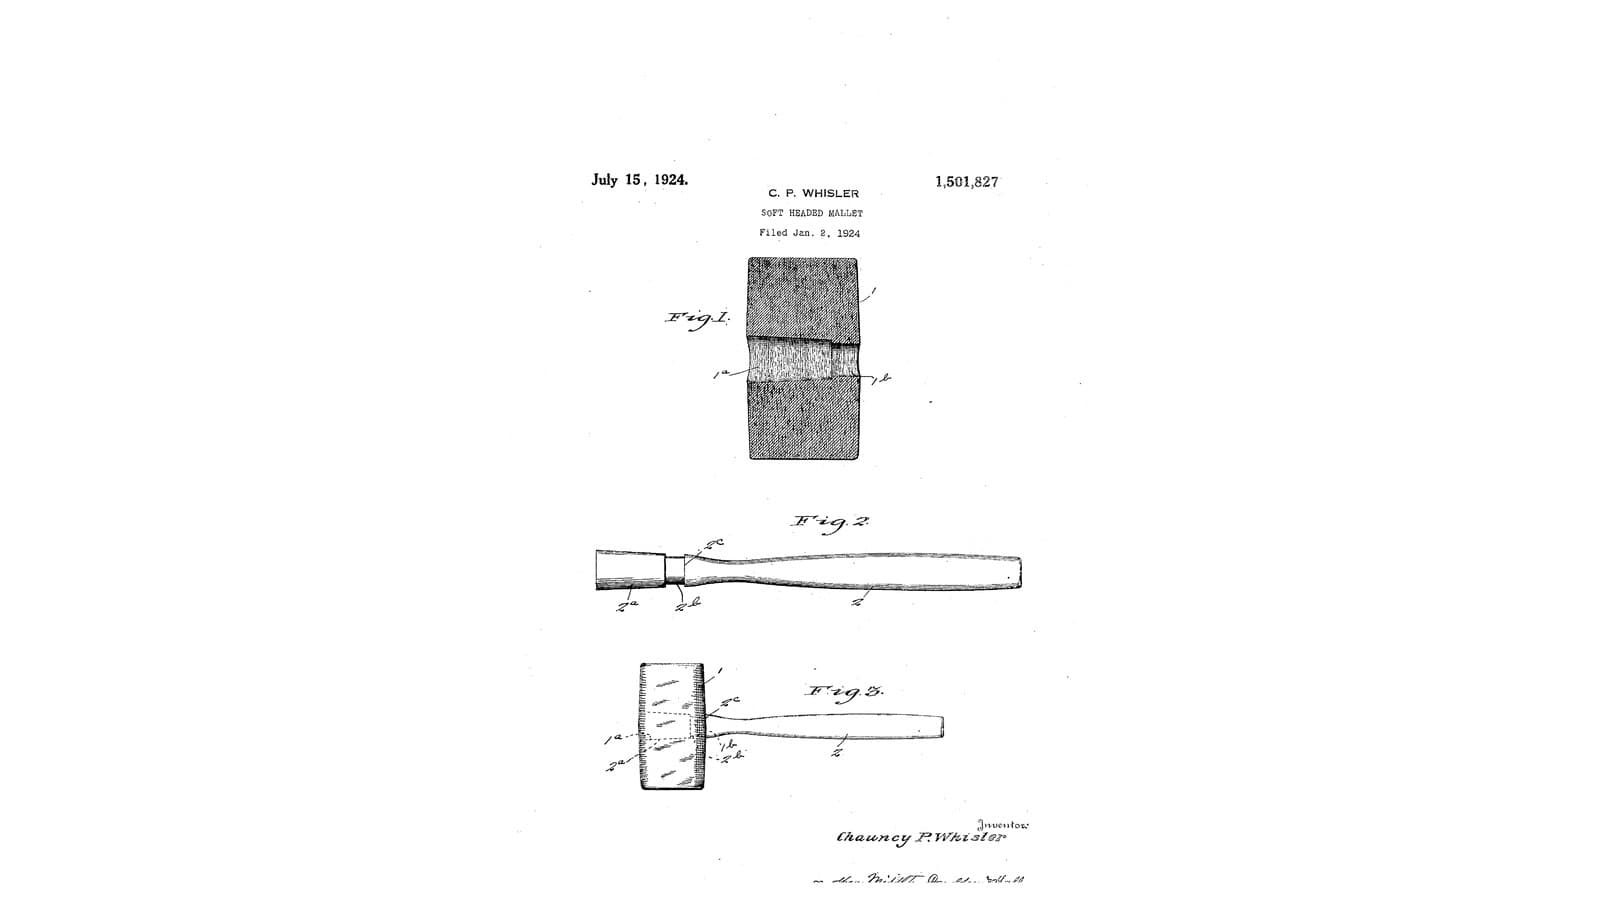
CC0 Public Domain
This blueprint is released under CC0. You are free to copy, modify, distribute, and use this work for any purpose, without asking permission.
Support the Maker by purchasing products through their Blueprint where they earn a Maker Commission set by Vendors, or create a new iteration of this Blueprint and include it as a connection in your own Blueprint to share revenue.