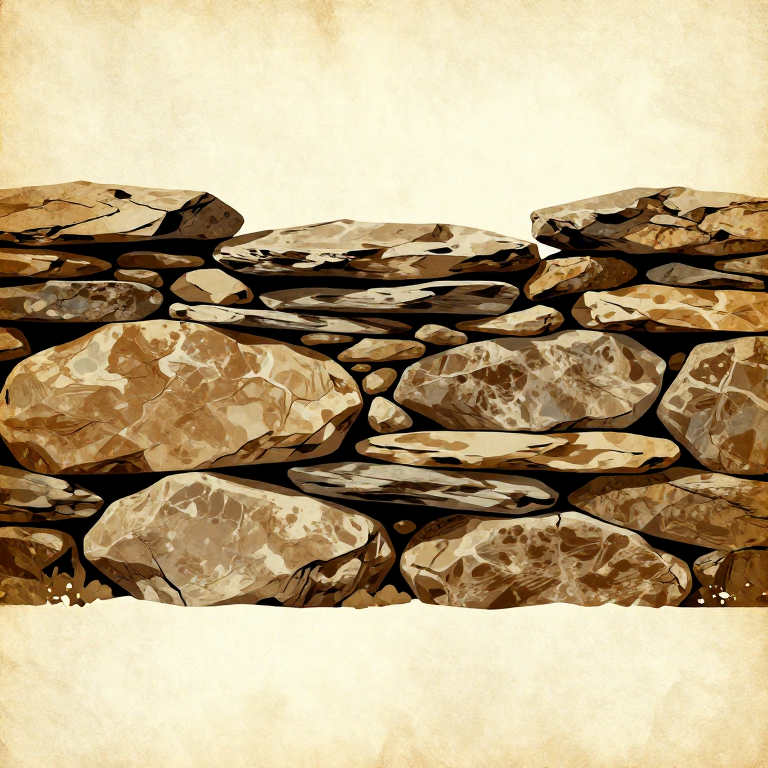
Building a Dry Stone Wall — Neolithic Mortarless Construction
Instructions
Select and Sort Building Stones
Select and Sort Building Stones
Materials for this step:
 Large Flat-Faced Stones80 pieces
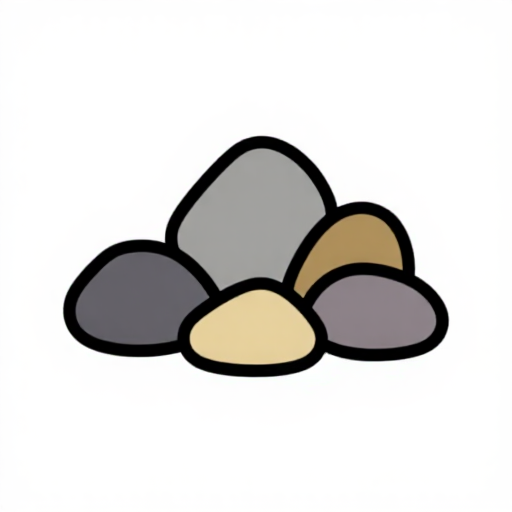 Small Irregular Stones100 pieces
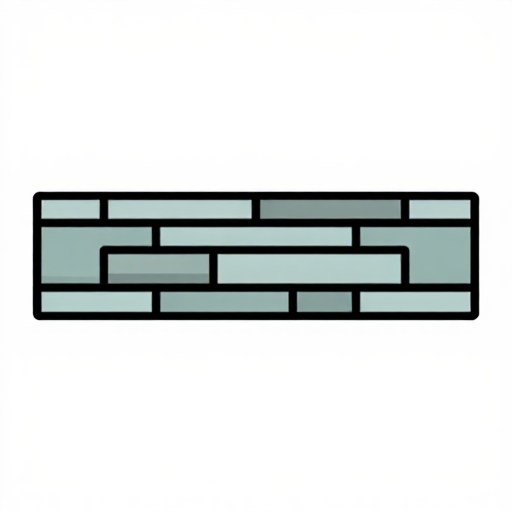 Through-Stones12 pieces
Mark and Excavate the Foundation Trench
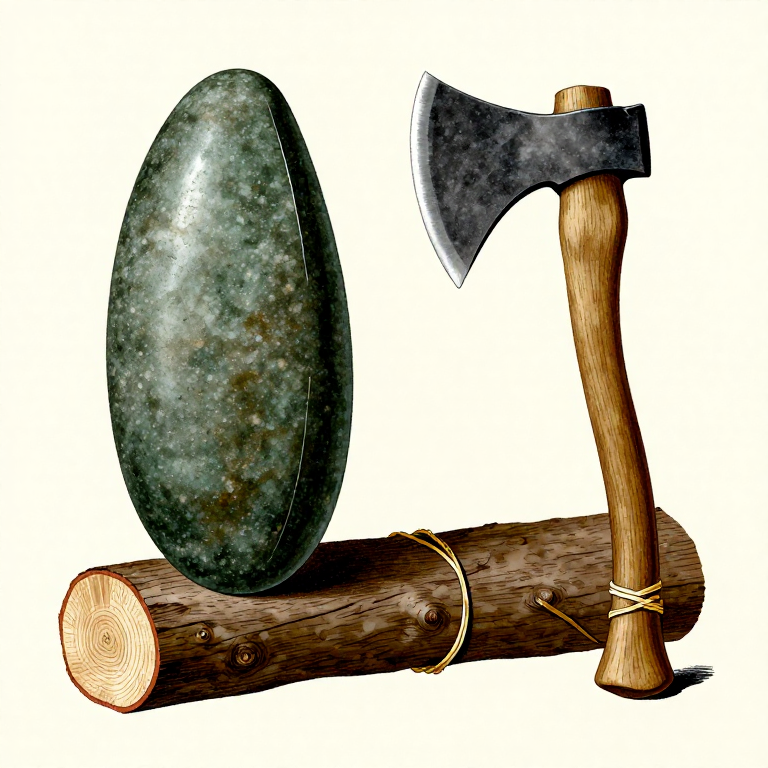
Mark and Excavate the Foundation Trench
Tools needed:
 Hardwood Sapling
 Cordage
Lay the Foundation Course
Lay the Foundation Course
Materials for this step:
Large Flat-Faced Stones20 piecesTools needed:
 Hammerstone
Build the First Outer Face Course
Build the First Outer Face Course
Materials for this step:
Large Flat-Faced Stones15 piecesFill the Centre with Hearting Stones
Fill the Centre with Hearting Stones
Materials for this step:
Small Irregular Stones25 piecesContinue Building Courses with Batter
Continue Building Courses with Batter
Materials for this step:
Large Flat-Faced Stones30 piecesSmall Irregular Stones40 piecesTools needed:
Hardwood SaplingEnsure Every Stone Bears on Two Below
Ensure Every Stone Bears on Two Below
Place the First Row of Through-Stones
Place the First Row of Through-Stones
Materials for this step:
Through-Stones6 piecesContinue Courses to Working Height
Continue Courses to Working Height
Materials for this step:
Large Flat-Faced Stones15 piecesSmall Irregular Stones35 piecesThrough-Stones6 piecesLevel the Top Course for Capstones
Level the Top Course for Capstones
Tools needed:
HammerstonePlace Capstones Along the Top
Place Capstones Along the Top
Materials for this step:
 Capstones10 pieces
Pack Final Hearting Under Capstones
Pack Final Hearting Under Capstones
Materials for this step:
Small Irregular Stones10 piecesTools needed:
HammerstoneInspect and Tighten the Entire Wall
Inspect and Tighten the Entire Wall
Tools needed:
HammerstoneBuild Wall Ends with Quoin Stones
Build Wall Ends with Quoin Stones
Materials for this step:
Large Flat-Faced Stones8 piecesMaintenance and Repair Over Time
Maintenance and Repair Over Time
Materials
4- 168 piecesPlaceholder
- 210 piecesPlaceholder
- 24 piecesPlaceholder
Connected Blueprint Materials
Related Blueprints
These blueprints share knowledge with this one — techniques, materials, or principles that connect them in the learning graph.
Related blueprints
Other builds that share materials, tools, or techniques with this one.

CC0 Public Domain
This blueprint is released under CC0. You are free to copy, modify, distribute, and use this work for any purpose, without asking permission.
Support the Maker by purchasing products through their Blueprint where they earn a Maker Commission set by Vendors, or create a new iteration of this Blueprint and include it as a connection in your own Blueprint to share revenue.