ART
BEAUTY & WELLNESS
CRAFT
CULTURE & HISTORY
ENTERTAINMENT
ENVIRONMENT
FOOD & DRINKS
GREEN FUTURE
REVERSE ENGINEERING
SCIENCES
SPORTS
TECHNOLOGY
WEARABLES

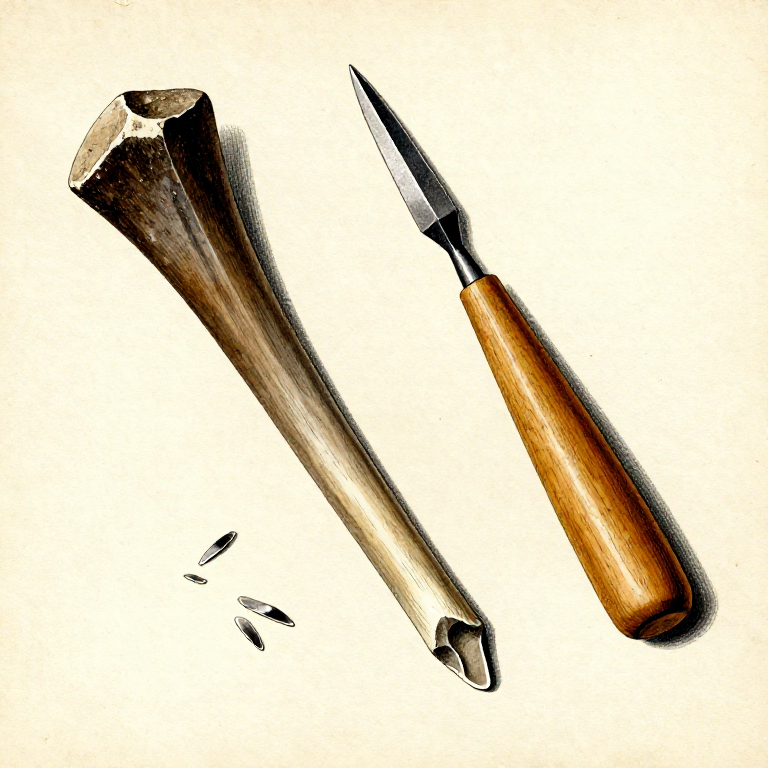
Making a Stone Chisel — Splitting and Grooving Tool
A stone chisel is a narrow-edged tool designed to concentrate force along a thin line, enabling splitting, grooving, and mortising operations that broader tools like axes cannot perform. While an axe delivers force across a wide cutting edge to sever wood fibres, a chisel focuses the blow of a mallet onto a narrow edge that wedges into a groove or drives along a split. Stone chisels appear in the Neolithic archaeological record across the world, used for woodworking (mortise joints, grooves, carving), stoneworking (channelling, splitting slabs), and bone/antler working. The chisel is made by grinding a narrow piece of fine-grained stone to a straight, sharp edge on one end. Driven by a wooden mallet, it is the precision complement to the broad-cutting axe.
Intermediate
2-3 hours
Instructions
1
1
Select a Dense, Fine-Grained Stone
Select a Dense, Fine-Grained Stone
Choose a piece of dense, fine-grained stone 10 to 15 cm long. Basalt, diorite, nephrite, or greenstone are ideal because they are hard, tough, and grind to a smooth edge without chipping. Flint and obsidian are too brittle for a chisel — they shatter under mallet blows. The stone should be naturally elongated or tabular in shape so that minimal material needs to be removed to reach the final rectangular bar form.
Materials for this step:
 Flint Nodule1 piece
2
2
Rough-Shape by Pecking with a Hammerstone
Rough-Shape by Pecking with a Hammerstone
Using a hard hammerstone, peck the selected stone into a narrow rectangular bar roughly 10 to 15 cm long, 2 to 3 cm wide, and 1 to 1.5 cm thick. Pecking is done by striking the surface with repeated light blows that crush and remove small amounts of material. Work all four sides to establish the rectangular cross-section. Do not try to create the cutting edge yet — this stage is about establishing the overall shape.
Tools needed:
 Hammerstone
3
3
Grind Both Wide Faces Flat
Grind Both Wide Faces Flat
Wet a large flat sandstone slab and grind both wide faces of the chisel blank back and forth across the slab using long, even strokes. Add water frequently to keep the surface wet — dry grinding creates dust and overheats the stone. Continue until both faces are uniformly flat with no high spots or hollows. Flat faces are essential for a chisel that tracks straight in a groove without twisting.
Tools needed:
 Sandstone (Abrasive)
4
4
Grind the Narrow Sides Straight and Parallel
Grind the Narrow Sides Straight and Parallel
Grind the two narrow sides on the wet sandstone slab until they are straight and parallel to each other. A chisel with non-parallel sides will wedge crookedly in a groove and steer off course. Check parallelism by sighting along the edge — both sides should appear as straight lines that do not converge or diverge. This step takes patience but is critical for accurate chisel work.
5
5
Grind the Cutting Edge
Grind the Cutting Edge
Grind the cutting end to a straight, sharp edge by holding the chisel at a consistent angle against the wet sandstone slab. Bevel both faces equally so the edge is centred on the thickness of the chisel — an off-centre edge will cause the chisel to steer to one side when driven into wood. The bevel should extend 1 to 2 cm back from the edge on each face.
6
6
Set the Edge Angle to 25-35 Degrees
Set the Edge Angle to 25-35 Degrees
The included angle of the cutting edge should be between 25 and 35 degrees. A steeper angle (30 to 35 degrees) is more durable and better for hardwood or bone work where the edge takes heavy blows. A shallower angle (25 to 28 degrees) cuts more easily in softwood but chips more readily under heavy impact. For general-purpose use, 30 degrees is a good compromise. Check the angle visually against a known reference or by feel.
7
7
Polish the Entire Surface
Polish the Entire Surface
Polish the entire chisel on a fine-grained stone — slate, fine sandstone, or a smooth river cobble — using water as a lubricant. Polishing removes pecking marks and grinding scratches, which are stress points where cracks can initiate under impact. A polished surface is also smoother in a groove, reducing friction. The chisel should have a uniform matte sheen when finished.
Tools needed:
 Sharpening Stone
8
8
Check Edge Straightness
Check Edge Straightness
Hold the chisel at eye level and sight along the cutting edge. It should appear as a perfectly straight line with no curves, nicks, or irregularities. A wavy edge will not cut a clean groove — it will tear fibres and wander off line. If the edge is not straight, return to the sandstone slab and regrind until it is true. Rotate the chisel and check from the other face as well.
9
9
Test on Soft Wood with a Mallet
Test on Soft Wood with a Mallet
Place the chisel edge on a piece of soft wood (pine, poplar, or willow) with the bevel facing up. Tap the butt end of the chisel with a wooden mallet using moderate force. The chisel should cut a clean groove without skipping sideways or diving too deep. If it steers to one side, the edge bevel is asymmetric — regrind the thicker bevel until both sides match.
10
10
Test Mortising by Cutting a Groove
Test Mortising by Cutting a Groove
Mark a straight line on a flat piece of wood. Place the chisel edge on the line and drive it in with the mallet to a depth of 5 to 8 mm. Reposition the chisel 5 mm forward along the line and drive again. Continue along the full line, then clean out the groove by holding the chisel at a low angle and paring away the waste. The finished groove should have clean, straight walls and a flat bottom.
11
11
Resharpen When the Edge Dulls
Resharpen When the Edge Dulls
With use, the chisel edge will dull, chip, or develop small nicks. Resharpen by grinding the bevel on the wet sandstone slab, maintaining the original 25 to 35 degree angle. Remove only enough material to restore a sharp, straight edge — excessive regrinding shortens the chisel's useful life. Finish with a few passes on the fine polishing stone to remove the grinding burr. A sharp chisel should shave a thin curl from softwood when pushed by hand.
Materials
1- 1 piecePlaceholder
Tools Required
3- Placeholder
- Placeholder
- Placeholder
Connected Blueprint Materials
Related Blueprints
These blueprints share knowledge with this one — techniques, materials, or principles that connect them in the learning graph.
Related blueprints
Other builds that share materials, tools, or techniques with this one.
Making a Stone Hoe — The First Agricultural Toolstoneworking
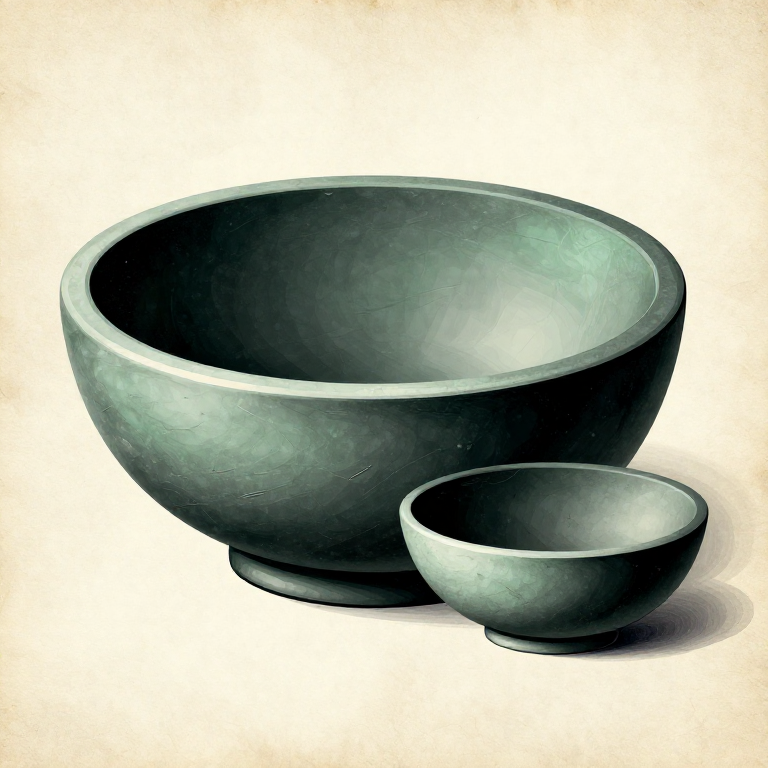
Carving a Stone Bowl by Pecking and Grinding — Soapstone Vesselstoneworking
Making a Stone Scraper for Hide Working — Conchoidal Flake Toolstoneworking
Making a Hammerstone — The First Tool in Human Historystoneworking
Making an Antler Pressure Flaker — Precision Flint-Knapping Toolstoneworking

Carving a Stone Oil Lamp — Soapstone Fat Lamp with Wick Channelstoneworking
CC0 Public Domain
This blueprint is released under CC0. You are free to copy, modify, distribute, and use this work for any purpose, without asking permission.
Support the Maker by purchasing products through their Blueprint where they earn a Maker Commission set by Vendors, or create a new iteration of this Blueprint and include it as a connection in your own Blueprint to share revenue.