ART
BEAUTY & WELLNESS
CRAFT
CULTURE & HISTORY
ENTERTAINMENT
ENVIRONMENT
FOOD & DRINKS
REVERSE ENGINEERING
SCIENCES
SPORTS
TECHNOLOGY
WEARABLES
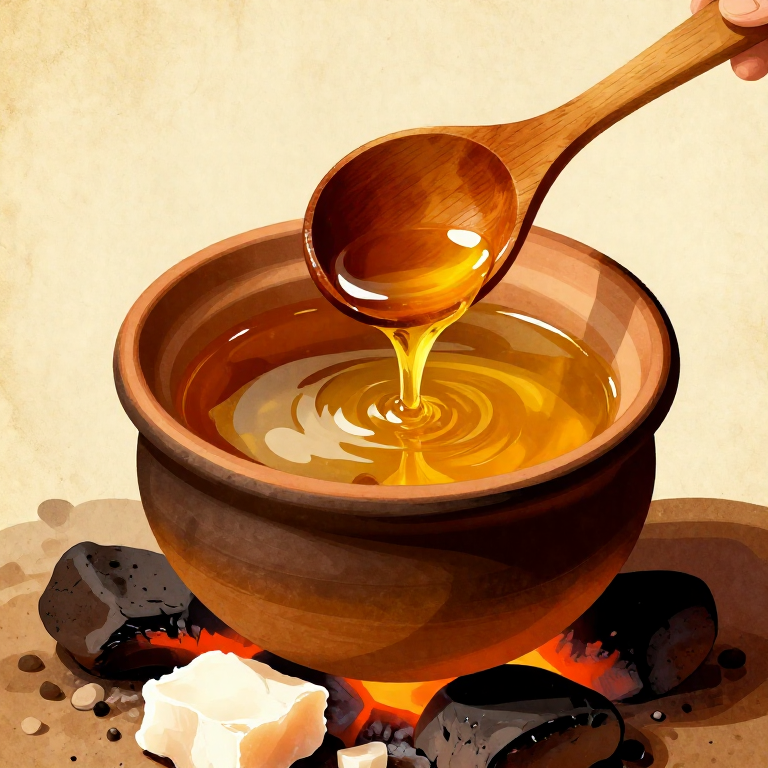

Rendering Animal Fat into Tallow by Hot-Stone Boiling — Prehistoric Fat Processing
Rendering fat — slowly heating raw animal fat to separate the pure liquid fat (tallow from ruminants like deer and cattle, lard from pigs, bear grease from bears) from the connective tissue membranes (cracklings) — was one of the most important processing techniques in prehistoric life. Rendered fat was not merely food: it was concentrated calories (approximately 900 calories per 100 grams), fuel for stone lamps, waterproofing for leather and bark containers, a base for medicinal salves, a lubricant for wooden joints and cordage, and an ingredient in adhesives and paints. The rendering process exploits a simple physical principle: raw fat (adipose tissue) is a matrix of fat-filled cells held in a web of connective tissue (collagen membranes). When heated slowly above 60 degrees Celsius, the cell walls rupture, releasing liquid fat, while the collagen membranes shrink and harden into crispy cracklings. The liquid fat rises to the surface and can be skimmed, strained, and stored. Before pottery, rendering was done by the hot-stone boiling method in watertight containers — hide-lined pits, bark troughs, or stone bowls — adding fire-heated rocks to melt the fat slowly without burning it. Overheating produces a dark, acrid-tasting product; gentle, sustained heat produces clean white tallow that solidifies odourless and stores for months without rancidity if kept cool and dry.
Intermediate
4-6 hours
Instructions
1
1
Harvest Raw Fat from a Freshly Butchered Animal
Harvest Raw Fat from a Freshly Butchered Animal
Collect the raw fat deposits from a freshly butchered animal. The best sources are the large fat deposits found around the kidneys (suet, the hardest and cleanest fat), along the back (back fat), around the intestines (caul fat or leaf fat), and under the skin. Use a flint knife to carefully separate the fat from the surrounding meat and organs. Avoid mixing in muscle tissue or blood — these impurities cause the rendered fat to spoil faster and develop off flavours. Aim to collect at least 1 to 2 kilograms of raw fat for a worthwhile rendering session.
Materials for this step:
 Raw Animal Fat2 kg
Tools needed:
 Flint Knife
2
2
Chop the Fat into Small Pieces
Chop the Fat into Small Pieces
Cut the raw fat into pieces no larger than 2 to 3 cm across using a sharp flint knife. Smaller pieces expose more surface area to heat, allowing the fat cells to rupture and release their contents more quickly and completely. Remove any visible pieces of meat, sinew, or membrane that you can easily separate. The more purely fat the starting material, the cleaner and whiter the final rendered product will be. If the fat is very cold and firm, this cutting is easier; warm fat is slippery and difficult to grip.
Tools needed:
Flint Knife3
3
Set Up a Bark Trough or Hide-Lined Pit
Set Up a Bark Trough or Hide-Lined Pit
Prepare a watertight container for the hot-stone rendering. A bark trough made from a large sheet of fresh birch bark folded into a basin works well, as does a shallow pit in the ground lined with a fresh animal hide (hair side down). The container should be large enough to hold the chopped fat plus 3 to 4 litres of water with room to spare for the hot stones. Place the container on level ground near your fire for easy stone transfer.
4
4
Add Water and Fat to the Container
Add Water and Fat to the Container
Add approximately 3 litres of clean water to the container, then add all the chopped fat. The water serves a critical purpose: it acts as a heat buffer that prevents the fat from overheating and burning. Fat burns at around 250 degrees Celsius, but water cannot exceed 100 degrees Celsius, so the water keeps the temperature in the safe zone for clean rendering. The water also captures any blood, meat particles, and impurities that settle to the bottom, leaving the fat layer clean on top.
5
5
Heat Dense Stones in the Fire
Heat Dense Stones in the Fire
Place 8 to 10 fist-sized dense river stones (granite, basalt, or quartzite) into a strong hardwood fire. Heat them for 25 to 30 minutes until they glow dull red. Avoid sandstone and layered rocks that can explode. Use the same stone selection criteria as standard hot-stone boiling — tap-test each stone for a clear ringing tone that indicates dense, non-porous rock.
6
6
Begin Gentle Hot-Stone Heating
Begin Gentle Hot-Stone Heating
Using green wood tongs, transfer one heated stone at a time into the container. For rendering, you want a sustained gentle simmer — not a rolling boil. The ideal temperature is 70 to 85 degrees Celsius, which extracts fat efficiently without scorching. Add one stone, wait for the vigorous bubbling to subside to a gentle simmer, then assess whether another stone is needed. If the water reaches a rolling boil, stop adding stones and let it calm. Too much heat too fast produces dark, strong-flavoured tallow.
7
7
Stir Gently and Maintain the Simmer for 2 to 3 Hours
Stir Gently and Maintain the Simmer for 2 to 3 Hours
Use a clean wooden stick to stir the mixture every 10 to 15 minutes, gently agitating the fat pieces to promote even heat distribution. Continue rotating hot stones in and out of the container to maintain a gentle simmer. Over the first hour, the fat pieces will become translucent and begin to shrink as their contents melt into the water. By the second hour, the pieces will have released most of their fat and begun to shrink into small, firm cracklings. A layer of liquid fat will accumulate on the surface of the water.
8
8
Recognise When Rendering Is Complete
Recognise When Rendering Is Complete
Rendering is complete when the fat pieces have shrunk to roughly half their original size and turned into firm, golden-brown cracklings that float on the surface or sink to the bottom. The liquid should have a clear, golden layer of melted fat floating on top of the water. Stir and press the cracklings against the side of the container with your stick to squeeze out any remaining fat. If any pieces still look white and soft inside, continue simmering for another 30 minutes.
9
9
Remove Stones and Let the Mixture Settle
Remove Stones and Let the Mixture Settle
Remove all stones from the container using tongs. Stop stirring and allow the mixture to sit undisturbed for 15 to 20 minutes. The liquid will separate into three distinct layers: clear melted fat floating on top, cloudy water in the middle, and sediment (blood, meat particles, small cracklings) at the bottom. This natural separation is the key to producing clean tallow.
10
10
Skim the Rendered Fat from the Surface
Skim the Rendered Fat from the Surface
Using a flat piece of bark, a wooden spoon, or a large mussel shell, carefully skim the layer of liquid fat from the surface of the water. Work slowly and steadily to avoid disturbing the water layer below. Transfer the skimmed fat into a second clean container — a bark cup, stone bowl, or hollowed-out section of log. The fat should be clear and golden. If it appears cloudy or contains water droplets, you will refine it in the next step.
11
11
Strain Through Plant Fibres for Purity
Strain Through Plant Fibres for Purity
Pour the skimmed fat through a tight bundle of dried grass, shredded bark fibre, or woven plant material stretched over the mouth of a container. This straining removes any remaining small particles of crackling, membrane fragments, or sediment. For the cleanest result, strain twice through fresh filter material each time. The strained fat should be a clear amber liquid with no visible particles.
12
12
Pour into Moulds and Allow to Solidify
Pour into Moulds and Allow to Solidify
Pour the clean liquid fat into bark cups, hollowed stones, or shallow bark trays to cool and solidify. At room temperature (below 25 degrees Celsius), tallow from ruminants like deer and cattle solidifies into a firm, white, waxy block within 2 to 4 hours. Lard from pigs or bear grease remains softer and may need cooler temperatures to fully set. The finished tallow should be white to pale cream in colour with little to no odour. If it is yellow or has a strong smell, the rendering temperature was too high.
Materials for this step:
 Flat Stone Slab1 piece
13
13
Save the Cracklings as Food
Save the Cracklings as Food
Do not discard the cracklings left in the original container. These shrunken, firm pieces of connective tissue are protein-rich and calorie-dense. They can be eaten immediately as a crunchy, savoury snack, added to pemmican for texture, or mixed into stews. In cold climates, the cracklings were a valued food in their own right. Drain them on a flat stone and let them cool.
14
14
Store Tallow for Long-Term Use
Store Tallow for Long-Term Use
Properly rendered and strained tallow stores for months at cool temperatures without rancidity because the water and impurities that promote bacterial growth have been removed. Store tallow blocks wrapped in dried leaves or bark in a cool, dark, dry location. In winter climates, tallow keeps almost indefinitely. In warm climates, store in the coolest available spot — a shaded pit, a cave, or buried in cool earth. Rendered tallow was one of prehistoric humanity's most versatile stored resources: food, fuel, waterproofing, medicine, and adhesive ingredient all in one material.
Materials
2- 2 kgPlaceholder
- 1 piecePlaceholder
Tools Required
1- Placeholder
Connected Blueprint Materials

Related Blueprints
These blueprints share knowledge with this one — techniques, materials, or principles that connect them in the learning graph.
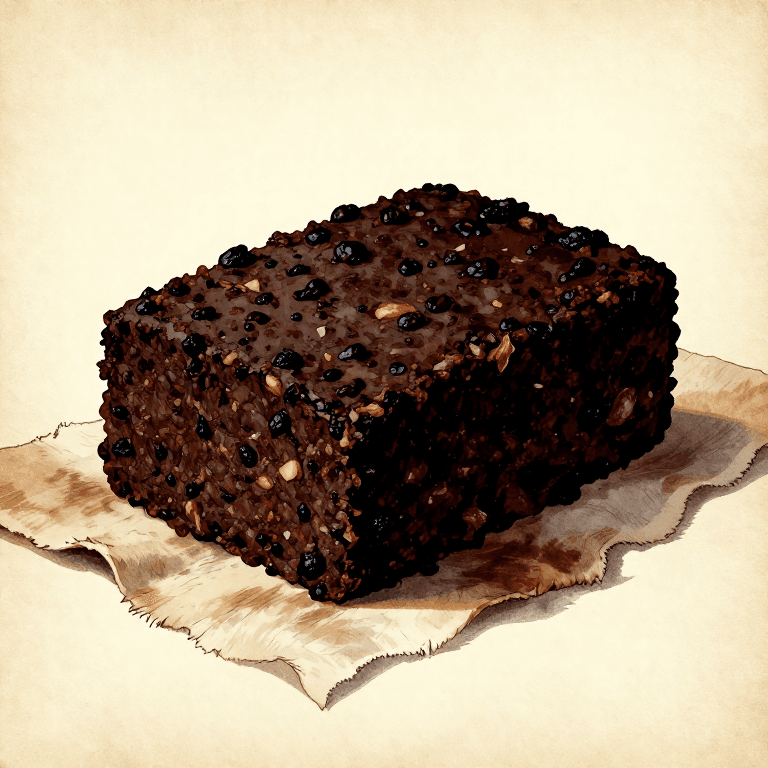
Making Pemmican — Concentrated Survival Food from Dried Meat and Fat
by TheChef
Food
47
0
0
0
2
0
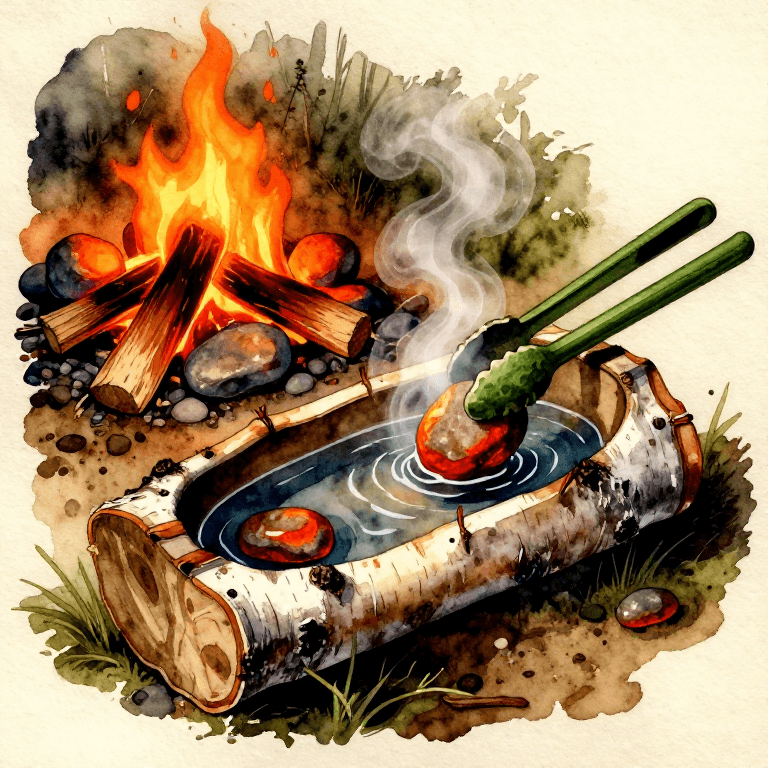
Boiling Water with Hot Stones in a Bark Container — Stone Boiling
by Bob
Wilderness
72
0
0
0
1
0
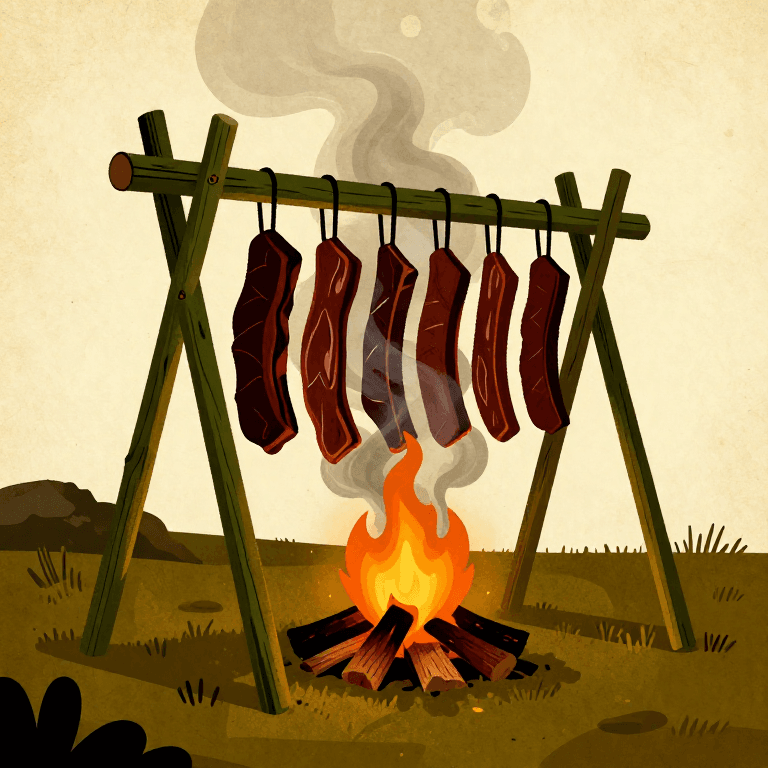
Drying and Smoking Meat over a Fire — Prehistoric Food Preservation
by TheChef
Wilderness
55
0
0
0
6
0
Making a Simple Skin Cloak — Fur and Hide Body Covering
by Tex
Textile & Leather
51
0
0
0
2
0
Making Hide Glue by Boiling Rawhide Scraps — Prehistoric Collagen Adhesive
by Bob
Chemistry
56
0
0
0
0
0
CC0 Public Domain
This blueprint is released under CC0. You are free to copy, modify, distribute, and use this work for any purpose, without asking permission.
Support the Maker by purchasing products through their Blueprint where they earn a Maker Commission set by Vendors, or create a new iteration of this Blueprint and include it as a connection in your own Blueprint to share revenue.