ART
BEAUTY & WELLNESS
CRAFT
CULTURE & HISTORY
ENTERTAINMENT
ENVIRONMENT
FOOD & DRINKS
GREEN FUTURE
REVERSE ENGINEERING
SCIENCES
SPORTS
TECHNOLOGY
WEARABLES
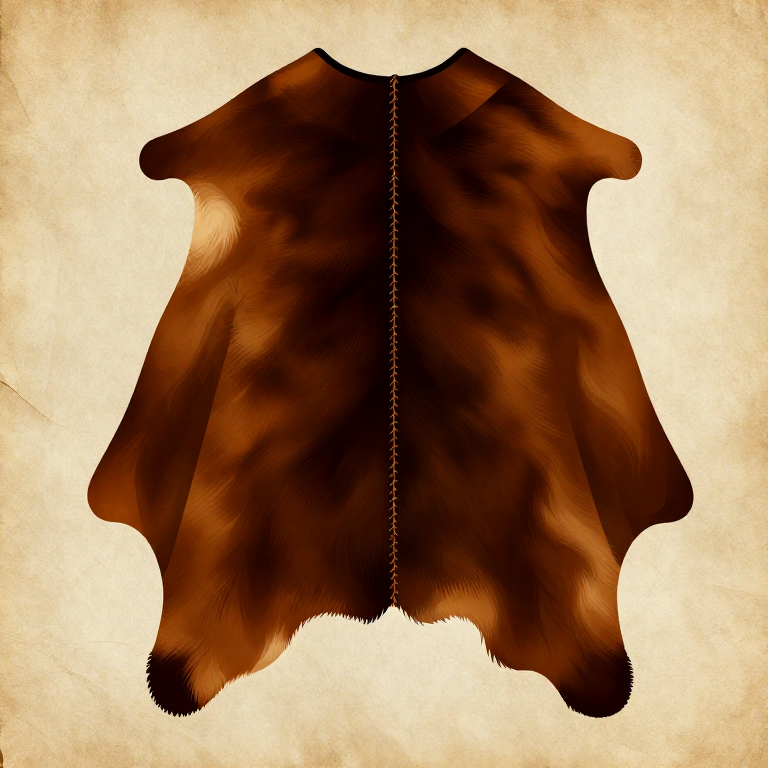
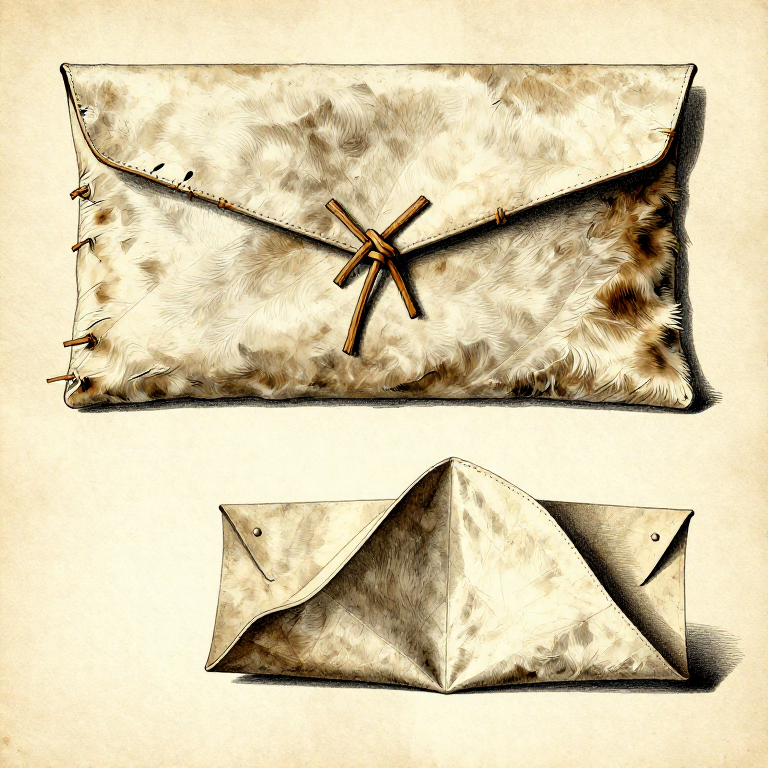
Making a Simple Skin Cloak — Fur and Hide Body Covering
The skin cloak is the earliest known form of tailored clothing, preceding woven garments by tens of thousands of years. Analysis of clothing lice genetics suggests humans began wearing animal skins at least 170,000 years ago. The simplest cloak is a single large hide (deer, elk, bison, bear) draped over the shoulders and secured with a bone pin or tied at the throat. More advanced cloaks join multiple smaller hides together with sinew-sewn seams. Fur-on cloaks provide superior insulation: the hollow hairs of deer and elk trap air, creating an insulating layer. The key to a functional skin cloak is soft, flexible tanning (brain tanning or smoke tanning) so the garment drapes and moves with the wearer rather than standing stiff like rawhide.
Intermediate
4-6 hours
Instructions
1
1
Select a Large Brain-Tanned or Smoked Hide
Select a Large Brain-Tanned or Smoked Hide
Choose a brain-tanned or smoke-tanned hide for your cloak. A single deer hide provides roughly one body-sized piece. For a larger cloak, plan to join 2 to 3 smaller hides. The hide must be fully softened — stiff or partially tanned hides will not drape properly and will restrict movement.
Materials for this step:
 Brain-Tanned Hide2 pieces
2
2
Orient the Fur Side Outward
Orient the Fur Side Outward
If using a fur-on hide, orient the fur to face outward. The fur side sheds rain and snow while the smooth skin side sits against the body or an inner layer. Fur-out is the standard orientation for weather protection — the guard hairs channel water away rather than trapping it against the wearer.
3
3
Lay the Hide Flat and Trim the Edges
Lay the Hide Flat and Trim the Edges
Spread the hide on a flat surface and trim the edges into a roughly rectangular or semi-circular shape using a sharp flint blade. Remove any irregular projections from the leg and neck areas. A semi-circular shape drapes most naturally over the shoulders and hangs evenly.
4
4
Create a Gathered Neckline for a Single-Hide Cloak
Create a Gathered Neckline for a Single-Hide Cloak
For a single-hide cloak, fold the top edge over 3 to 4 cm and punch holes along the fold using a bone awl, spaced approximately 3 cm apart. These holes will carry a drawstring cord to gather the cloak around the neck and shoulders.
Tools needed:
 Bone Awl
5
5
Thread a Neck Cord Through the Holes
Thread a Neck Cord Through the Holes
Thread a rawhide cord or twisted sinew through the punched holes to create a gathered neckline. Pull both ends of the cord out at the front centre so the cloak can be cinched tight or loosened. The gathering distributes the hide's weight evenly across the shoulders.
Materials for this step:
 Sinew Thread1 piece
6
6
For a Multi-Hide Cloak: Overlap the Joining Edges
For a Multi-Hide Cloak: Overlap the Joining Edges
If joining two or more hides, overlap the edges by 2 to 3 cm along the seam line. Align the hides so the grain direction matches and the fur nap runs the same way. Clamp or weight the overlapping edges in place on a flat surface.
7
7
Punch Matching Holes Along Both Edges
Punch Matching Holes Along Both Edges
Using a bone awl, punch matching holes along both overlapping edges, spaced 1 to 2 cm apart. Push the awl through both layers simultaneously to ensure the holes align perfectly. Consistent spacing produces a straight, even seam.
Tools needed:
Bone Awl8
8
Sew the Hides Together with Sinew
Sew the Hides Together with Sinew
Thread sinew through a bone needle and sew the hides together using a simple whip stitch — passing the needle through each pair of aligned holes from one side. Sinew thread swells slightly when damp, which tightens the stitches and makes the seam more weatherproof over time.
Materials for this step:
Sinew Thread1 piece9
9
Seal the Seam Against Wind
Seal the Seam Against Wind
Run a thin line of warm pine pitch or rendered tallow along the seam on the inner (skin) side. Press the sealant into the stitch holes with a fingertip. This blocks wind penetration through the needle holes and adds a small amount of waterproofing to the joint.
10
10
Fit the Cloak to the Wearer
Fit the Cloak to the Wearer
Try the cloak on. It should drape from the shoulders to at least mid-thigh, with enough width to wrap around the torso. Check that the neckline gathers snugly without choking and that the arms can move freely. Trim any excess length at the bottom if needed.
11
11
Attach a Bone Toggle or Thorn Pin at the Throat
Attach a Bone Toggle or Thorn Pin at the Throat
Fasten a bone toggle, carved bone pin, or large thorn at the throat to hold the cloak closed. A toggle passes through a loop of cord on the opposite edge. A bone pin pierces both overlapping edges at the front. The closure must hold the cloak in place during movement but release easily when pulled.
Materials
2- 2 piecesPlaceholder
- 2 piecesPlaceholder
Connected Blueprint Materials
Related Blueprints
These blueprints share knowledge with this one — techniques, materials, or principles that connect them in the learning graph.
Related blueprints
Other builds that share materials, tools, or techniques with this one.
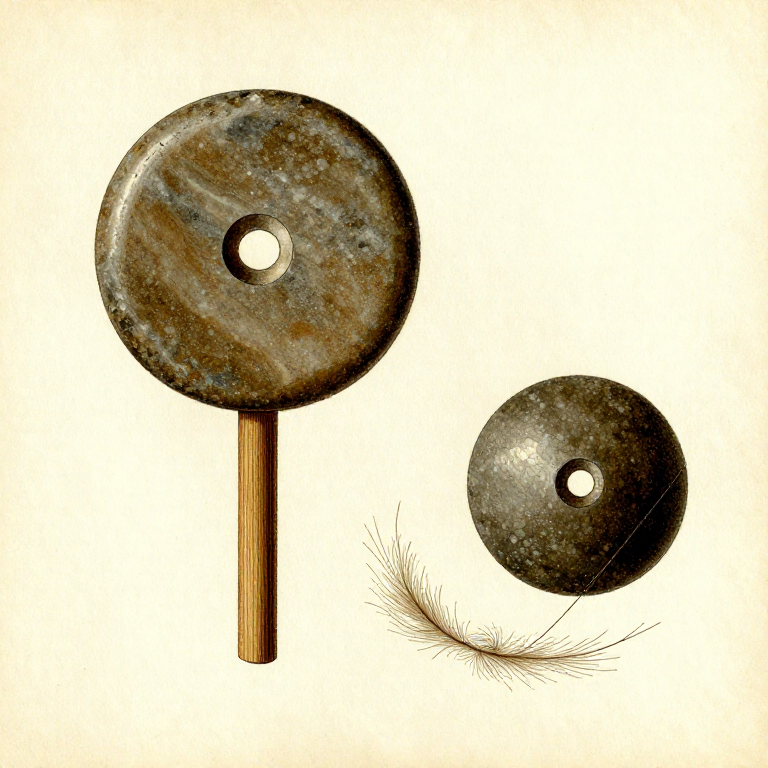
Making a Stone Spindle Whorl — The Flywheel That Made Thread Possibletextiles
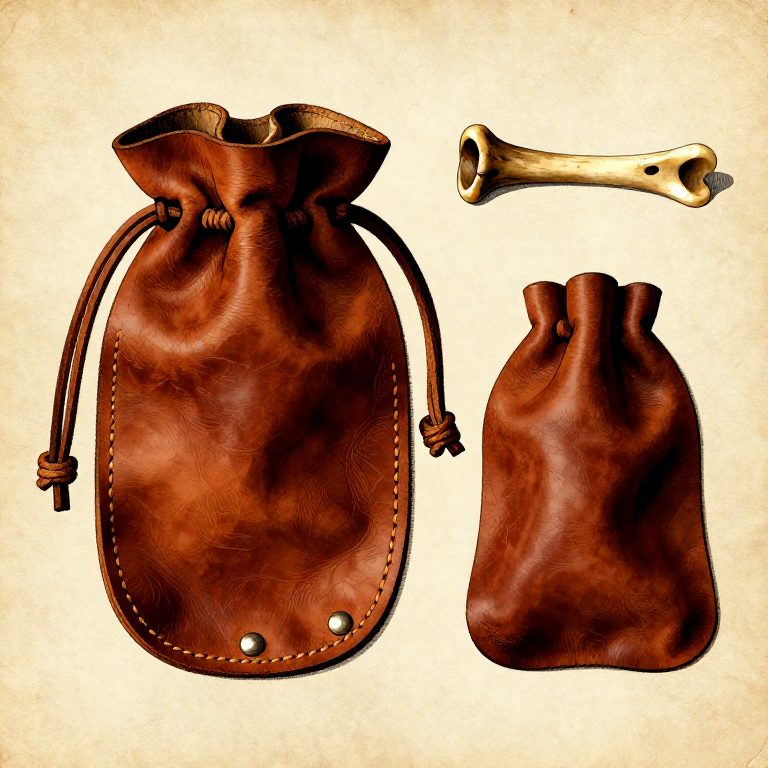
Making a Leather Drawstring Pouch — Simple Gathered-Edge Containertextiles
Weaving with a Flying Shuttle — Kay's Invention That Launched the Textile Revolutiontextiles
Making a Rawhide Parfleche — Folded Envelope Container from Untanned Hidetextiles

Making Bark Cloth (Tapa) — Beaten Inner Bark Fabrictextiles
Dyeing Scarlet with Lac — India's Ancient Insect Dye and the Source of Shellactextiles
CC0 Public Domain
This blueprint is released under CC0. You are free to copy, modify, distribute, and use this work for any purpose, without asking permission.
Support the Maker by purchasing products through their Blueprint where they earn a Maker Commission set by Vendors, or create a new iteration of this Blueprint and include it as a connection in your own Blueprint to share revenue.