ART
BEAUTY & WELLNESS
CRAFT
CULTURE & HISTORY
ENTERTAINMENT
ENVIRONMENT
FOOD & DRINKS
REVERSE ENGINEERING
SCIENCES
SPORTS
TECHNOLOGY
WEARABLES


Reading a Broken Spring: Where It Broke Names the Cause
A broken spring is easy to replace and easy to replace badly. The new one goes in, and some months later it breaks in the same place, because nothing that broke the first one was changed.
The useful thing about springs is that they are unusually honest about it. A helical spring has one worst point — the inside of the coil — and a small number of things that can go wrong, so WHERE it broke and WHAT the broken face looks like narrow the cause down to one or two possibilities in a couple of minutes with a loupe.
This rung is that vocabulary: the fracture faces and what each means, the positions along a spring and what each says, and the short list of questions to ask about the machine before fitting the replacement.
Intermediate
3 hours
Instructions
1
1
Reading the fracture face
Reading the fracture face
Get the two halves, put them under a loupe, and look at the broken faces. Do this before cleaning them.
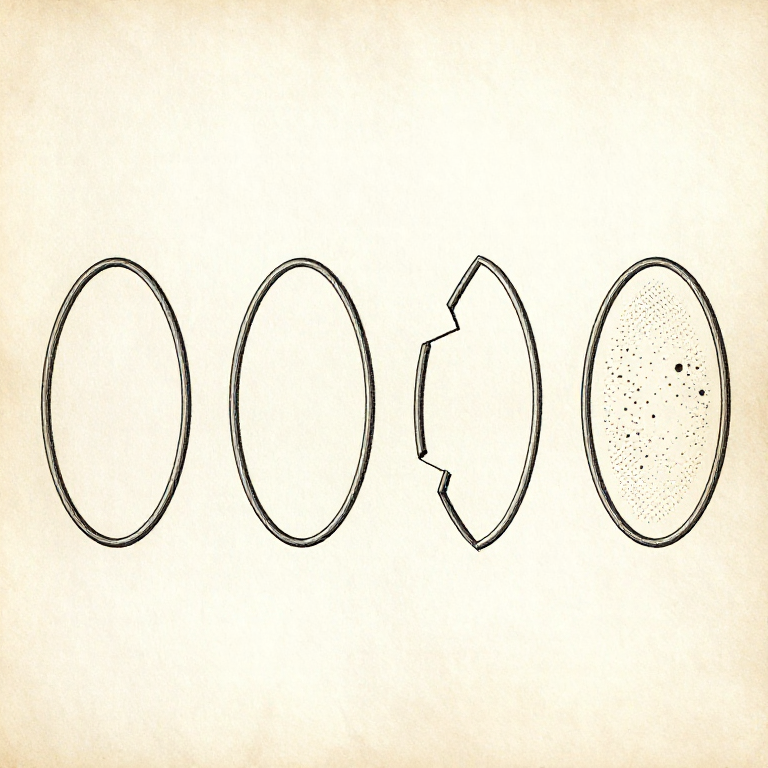
**A fatigue fracture** has two zones. A smooth, flat, often slightly discoloured region where the crack grew slowly, sometimes with fine curved beach marks showing where it stopped and started; and a rough, bright, crystalline region where the remaining metal finally tore. Find the smooth region and follow it back — it points at the origin, and the origin is the defect.
**The smaller the rough zone, the lower the load.** A spring that broke under gentle loading crept a long crack before the rest gave way. A spring with a large rough zone broke soon after the crack started, which means the load was high.
**A brittle fracture** is rough and bright all over, flat, at right angles to the wire, with no smooth zone at all. This is a single event, and on a spring it usually means hydrogen embrittlement from plating, or a badly hardened wire, or a genuinely enormous overload. If the spring was plated and broke early, suspect the plating.
**A ductile fracture** is dull, torn, and the wire is visibly necked or twisted near the break. It has deformed before parting. This is honest overload, and the spring will usually also be set.
**Look at the origin specifically.** On the inside of the coil is normal for fatigue. On the outside is not, and means the spring was loaded backwards, or buckled and rubbed. At a bright scar means something hit it or rubbed it. At a pit means corrosion started it.
Materials for this step:
 Compression Spring Assortment1 piece
Tools needed:
 Magnifying Loupe
2
2
Where along the spring, and what that says
Where along the spring, and what that says
**In the middle of the body, inside the coil.** The ordinary fatigue failure. The alternating stress is too high for the number of cycles it has done. Fix the loading, the preload or the peening — see the fatigue rung — not the steel.
**One or two coils in from a ground end.** Suspect the grinding: a burnt or overheated end leaves tensile residual stress exactly where the spring bears. Also suspect an uneven seat, which loads that coil more than the rest.
**At the very end coil, on a compression spring.** The seat. Either it is not flat, or it has a raised edge, or the spring is not square and is rocking on it.
**At the hook bend, on an extension spring.** The commonest single failure in all of spring work, and usually a design problem rather than a manufacturing one: the bend radius is too tight. A replacement with the same hook will do the same thing. Fix it with an extended hook, a generous radius, or a threaded insert.
**Where the legs leave the coil, on a torsion spring.** The stress is highest at the transition, and it is made worse by any sharpness in the bend. Also check the spring was the correct hand.
**Several coils broken, or a coil ground flat.** Not a break at all — the spring buckled, or went solid, and has been rubbing on something. Look for the matching wear mark on the housing or the rod.
**Every spring in the set broken.** A system problem: a resonance, a shock load, or a temperature. One failure is a spring; five identical failures is the machine.
Materials for this step:
Compression Spring Assortment1 piece Extension Spring1 piece
Tools needed:
Magnifying Loupe Vernier Caliper
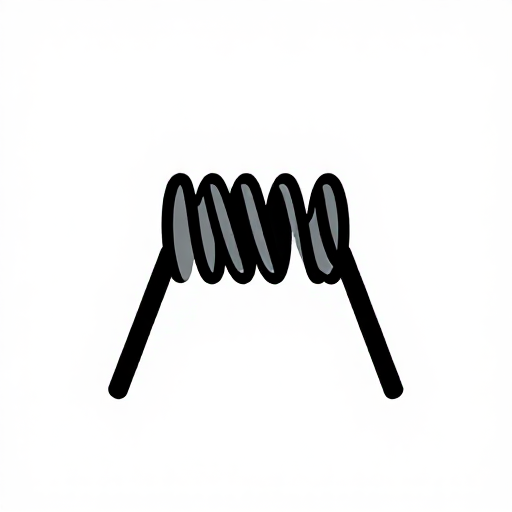 Torsion Spring
3
3
Corrosion, contact and the things that are not the spring
Corrosion, contact and the things that are not the spring
**Pitting corrosion** is the big one. A pit is a sharp notch, it forms at the surface where the stress is highest, and on a peened spring it removes the compressive layer that was doing the work. Springs in damp places should be specified with that in mind, not simply painted — paint does not stay on a surface that flexes.
**Stress corrosion cracking** needs stress and a corrosive environment together, and a loaded spring always has the stress. The cracks are branching and run across the wire, and the fracture face often has no fatigue zone. Stainless in chlorides is a classic combination, which is why 'stainless' is not automatically the right answer for a wet application.
**Fretting** happens where two things rub microscopically — coil against coil in a nested pair, or the end coil against its seat. It shows as a reddish brown powder and a dull patch, and it starts fatigue cracks very effectively.
**Hydrogen embrittlement**, from plating or from pickling before it. The spring breaks brittle, often within days of being fitted, at a load it should carry easily. The fix is baking after plating, and the prevention is asking whether the spring needs plating at all.
**Heat.** A spring that has been anywhere near a welding torch or a brake has been tempered, and it will not be the spring it was. Look for discolouration.
**Contact with anything.** A spring that touches its housing wears a flat, and a flat on the outside of a coil is a stress raiser and a sign it buckled. Find the matching mark on the other part before assuming the spring was at fault.
Materials for this step:
Compression Spring Assortment1 pieceExtension Spring1 pieceTools needed:
Magnifying Loupe4
4
Before fitting the new one
Before fitting the new one
Six questions. They take five minutes and they are the difference between a repair and a repeat.
**1. Is the replacement actually the same spring?** Measure the wire with a micrometer and the coil diameter with a caliper, and count the coils. A spring that looks right and has wire a tenth of a millimetre thinner has 78% of the rate — the fourth power again.
**2. What length is it installed at?** Measure it in place, not in the catalogue. A worn seat, a missing shim or a bent bracket changes the working length, and therefore the force and the stress, as surely as a wrong spring does.
**3. Can anything press it solid?** If yes, and it was not designed for that, that is your answer and a stop is the fix.
**4. Is the seat flat and square?** Put the spring on a flat surface with a square against it. More than about 3 degrees of lean means it will load one side of every coil.
**5. Is anything rubbing?** Look for bright marks on the coils and matching marks on the housing or rod. Rubbing means buckling or insufficient clearance, and both will come back.
**6. Why now?** If the machine ran for years and has broken two springs in a month, something else changed — a speed, a load, a temperature, a different supplier. The spring is reporting on the machine.
**Then write down the free length and the installed length** before you close it up. Next time, that record turns the whole of this rung into one subtraction.
Materials for this step:
Compression Spring Assortment1 piece Compression Spring Set1 piece
Tools needed:
 MicrometerVernier Caliper
 Steel RulerMagnifying Loupe
Materials
3- Placeholder
- 1 piecePlaceholder
- 1 piecePlaceholder
Related Blueprints
These blueprints share knowledge with this one — techniques, materials, or principles that connect them in the learning graph.



CC0 Public Domain
This blueprint is released under CC0. You are free to copy, modify, distribute, and use this work for any purpose, without asking permission.
Support the Maker by purchasing products through their Blueprint where they earn a Maker Commission set by Vendors, or create a new iteration of this Blueprint and include it as a connection in your own Blueprint to share revenue.