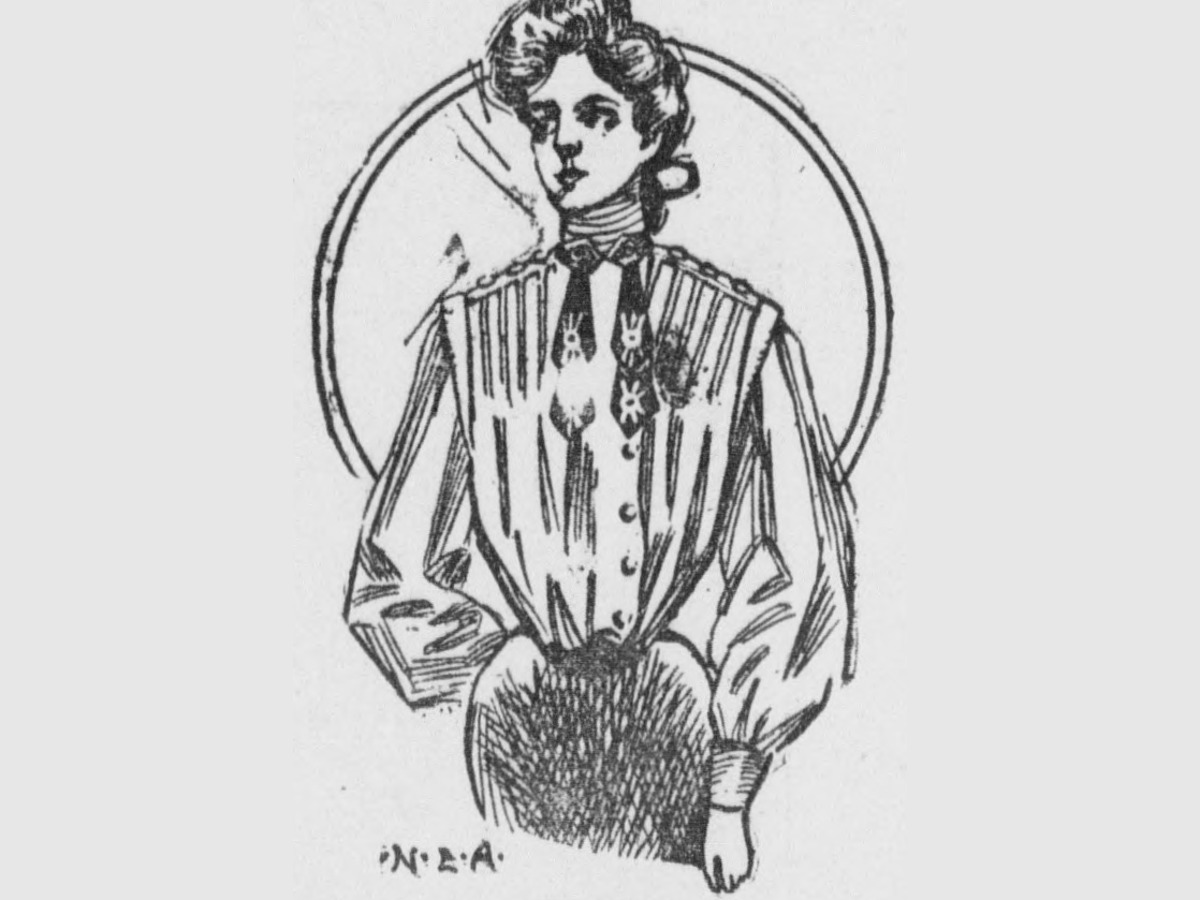

Shirt-Waist with Printable Pattern (Fales, 1917)
Instructions
Draft your pattern
Draft your pattern
Materials for this step:
 Paper1 as required
Tools needed:
 Tape Measure
 Inkjet Printer
 Scissors
 Masking Tape
Print the pattern (A4)
Print the pattern (A4)
Materials for this step:
Paper1 as requiredTools needed:
Inkjet PrinterScissorsMasking TapePrint the pattern (US Letter)
Print the pattern (US Letter)
Materials for this step:
Paper1 as requiredTools needed:
Inkjet PrinterScissorsMasking TapeLay out and cut
Lay out and cut
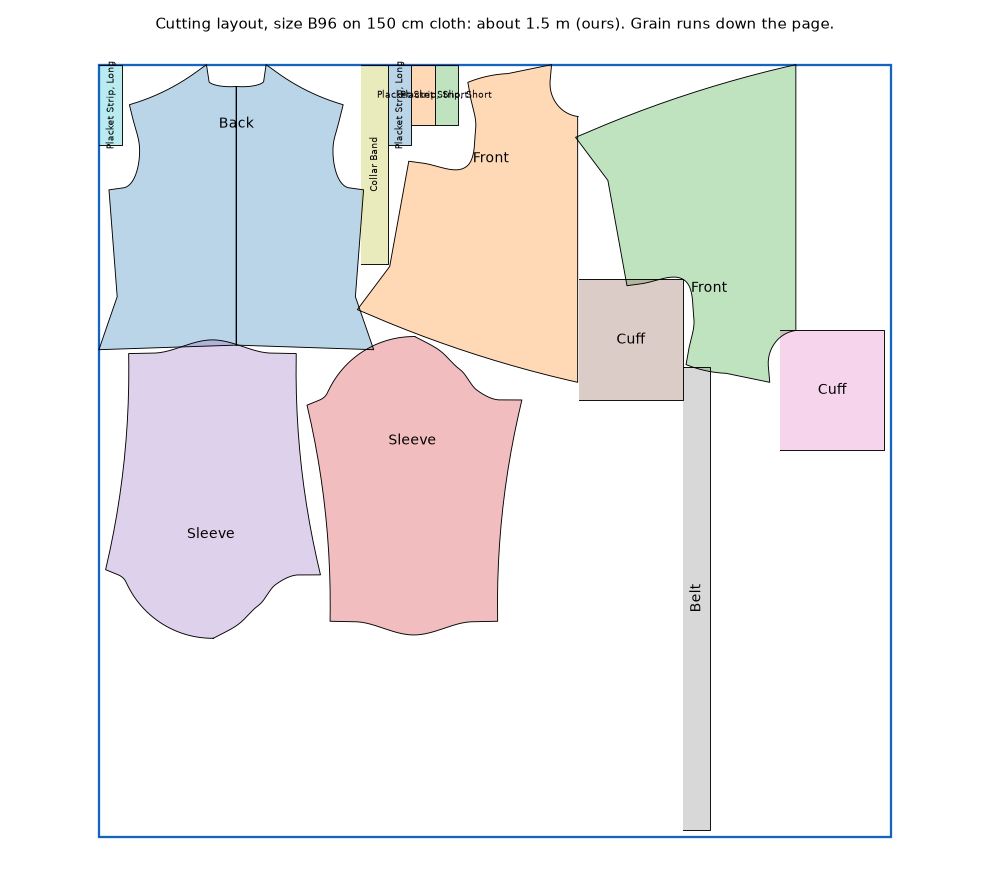
Materials for this step:
 Cotton Fabric (Lightweight)1 1.5 m x 150 cm (B96, ours)
Tools needed:
 Shears
 Dressmaker's PinsTape Measure
Materials
2- 3 as requiredPlaceholder
- 1 1.5 m x 150 cm (B96, ours)Placeholder
Tools Required
6- 1 vendor sell this, none ship to you yetPlaceholder
- Placeholder
- Placeholder
- Placeholder
- Placeholder
- Placeholder
Design Files
2Connected Blueprint Materials
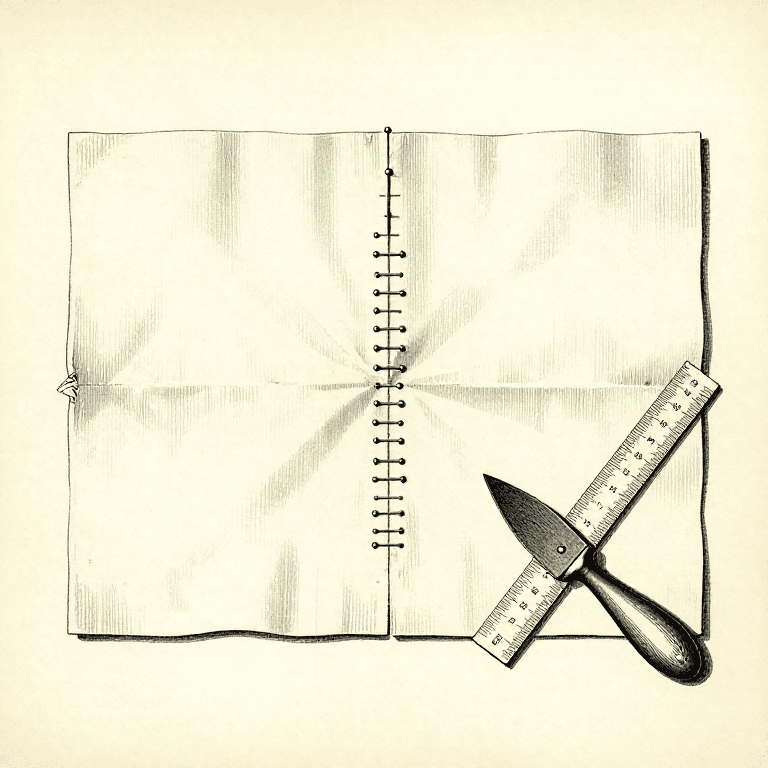
Making a Seam: Pin, Tack, Sew, Press — In That Order
by Tex
Textile & Leather
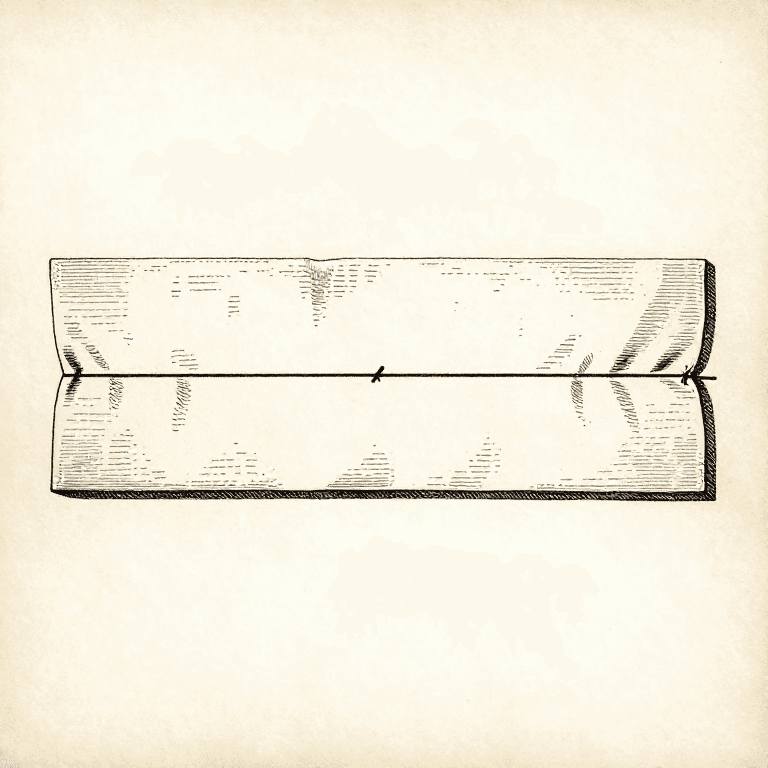
Seam Allowance: One Number, Everywhere, or Nothing Fits
by Tex
Textile & Leather
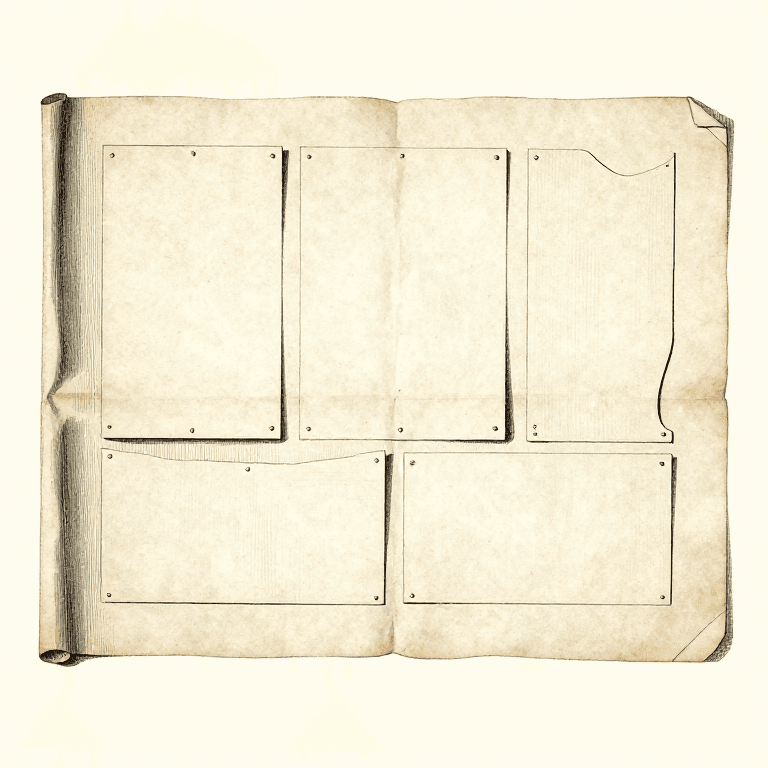
Laying Out and Cutting: Two Layers, One Way Up, and Cut Once
by Tex
Textile & Leather
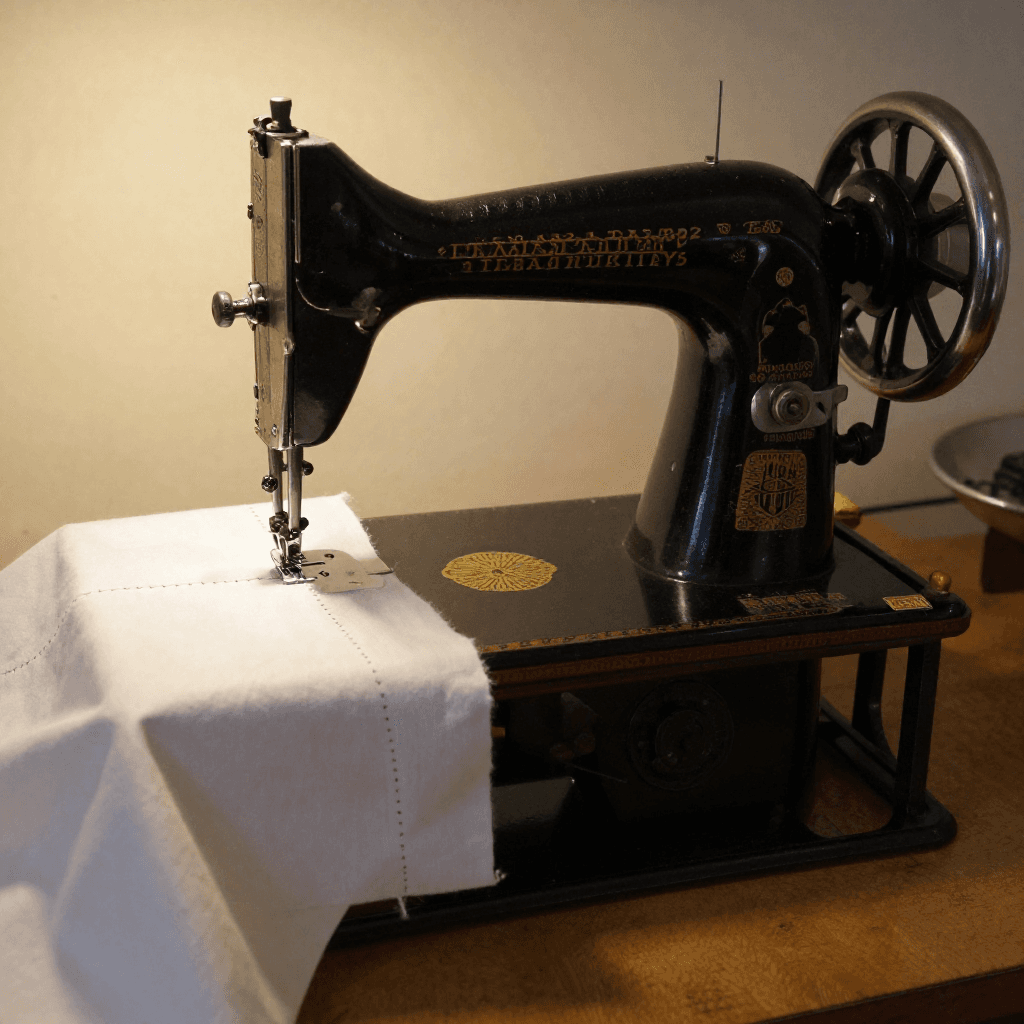
The Lock Stitch Sewing Machine — Mechanized Garment Construction
by Tex
Textile & Leather
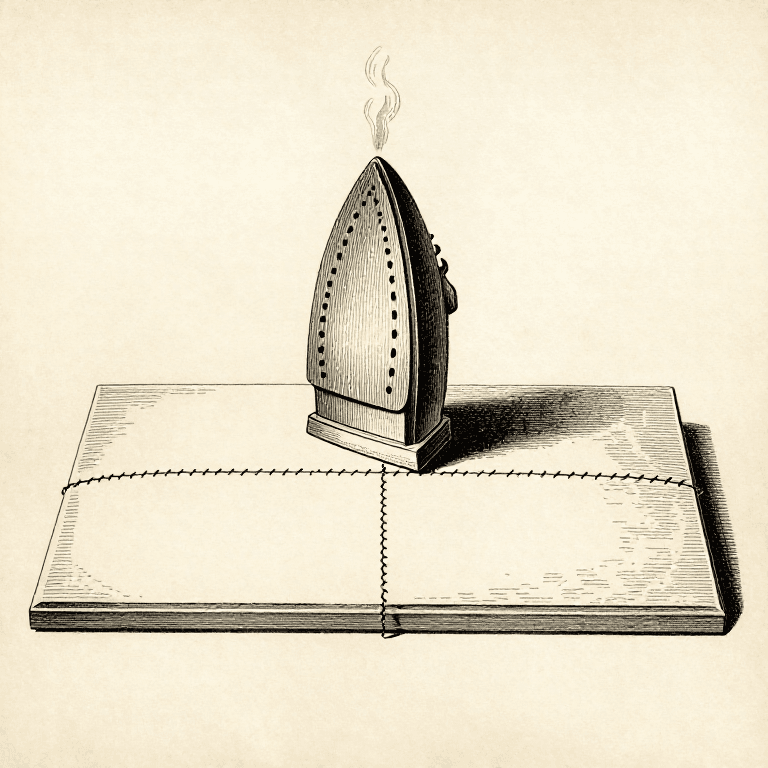
Pressing Is Not Ironing: Lift, Place, Press — and It Is Half the Construction
by Tex
Textile & Leather
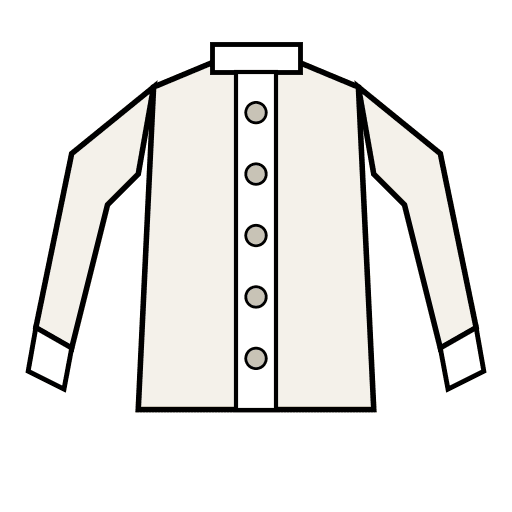
This blueprint makes
Related Blueprints
These blueprints share knowledge with this one — techniques, materials, or principles that connect them in the learning graph.

CC0 Public Domain
This blueprint is released under CC0. You are free to copy, modify, distribute, and use this work for any purpose, without asking permission.
Support the Maker by purchasing products through their Blueprint where they earn a Maker Commission set by Vendors, or create a new iteration of this Blueprint and include it as a connection in your own Blueprint to share revenue.