Collaboration
ART
BEAUTY & WELLNESS
CRAFT
CULTURE & HISTORY
ENTERTAINMENT
ENVIRONMENT
FOOD & DRINKS
REVERSE ENGINEERING
SCIENCES
SPORTS
TECHNOLOGY
WEARABLES
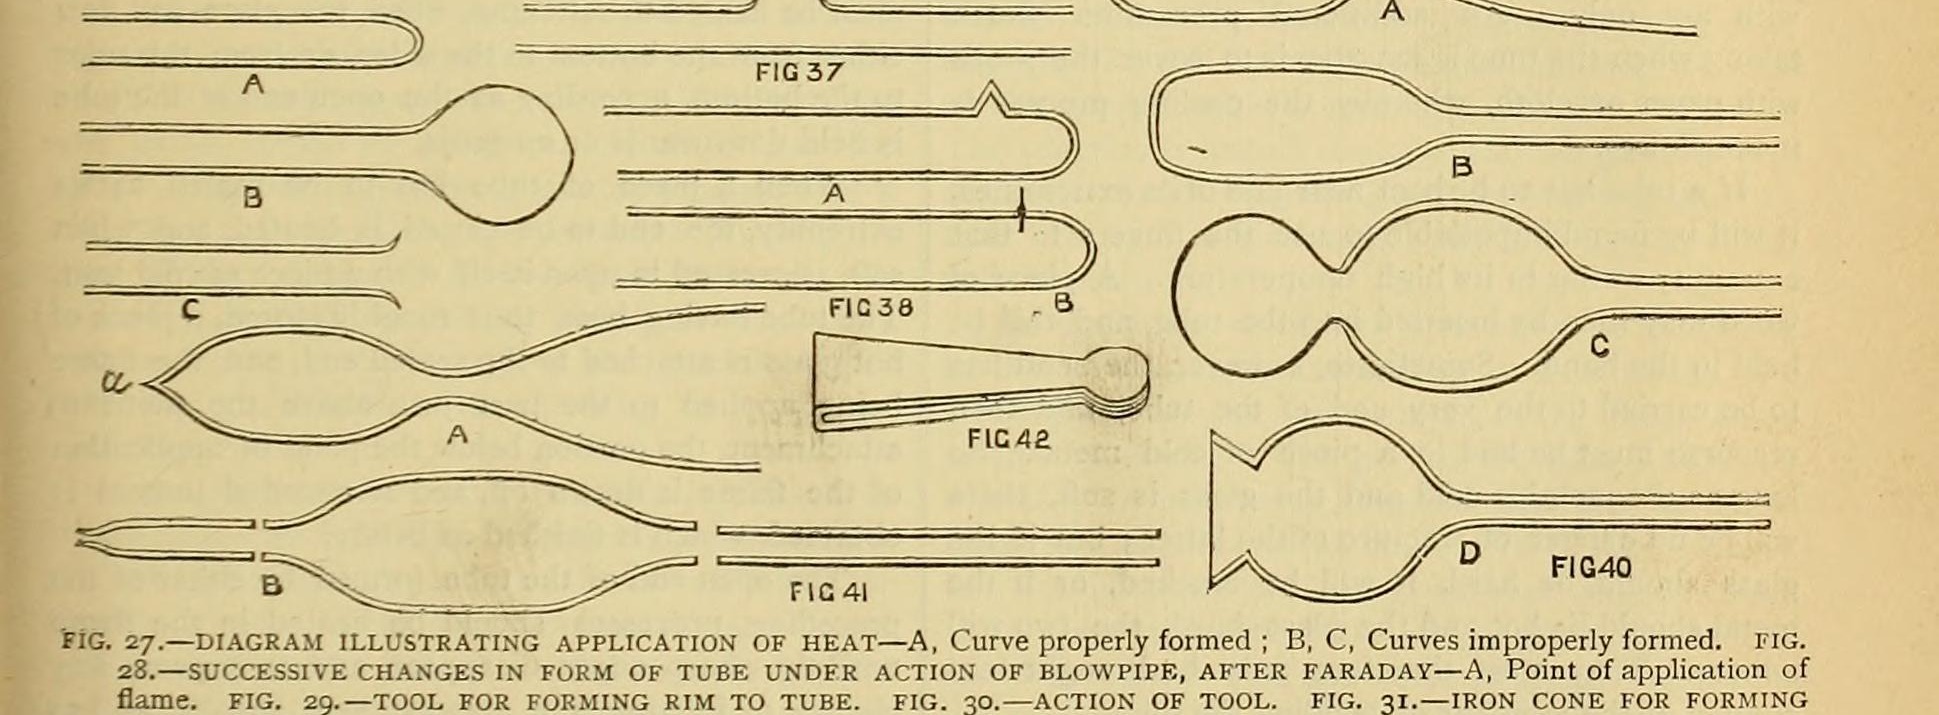


Bulb Pipette Blown at the Lamp: a Closed Tube Drawn, Bulbed, Pierced and Joined to Two Stems (Soward, 1886)
Alfred Soward's lampwork bulb pipette from Amateur Work (1886), made like his thistle funnel: a 3/8 in. bore tube closed and drawn down onto a 1/8 in. stem, blown into a bulb, a thin second bulb blown and broken off the far side to leave a short neck, and a second stem drawn to a fine capillary tip joined on.
Advanced
An hour once the basic operations are mastered
Instructions
1
1
Read Soward
Read Soward
"To make a pipette the process is very similar." (to the thistle funnel)
2
2
Prepare the tubes
Prepare the tubes
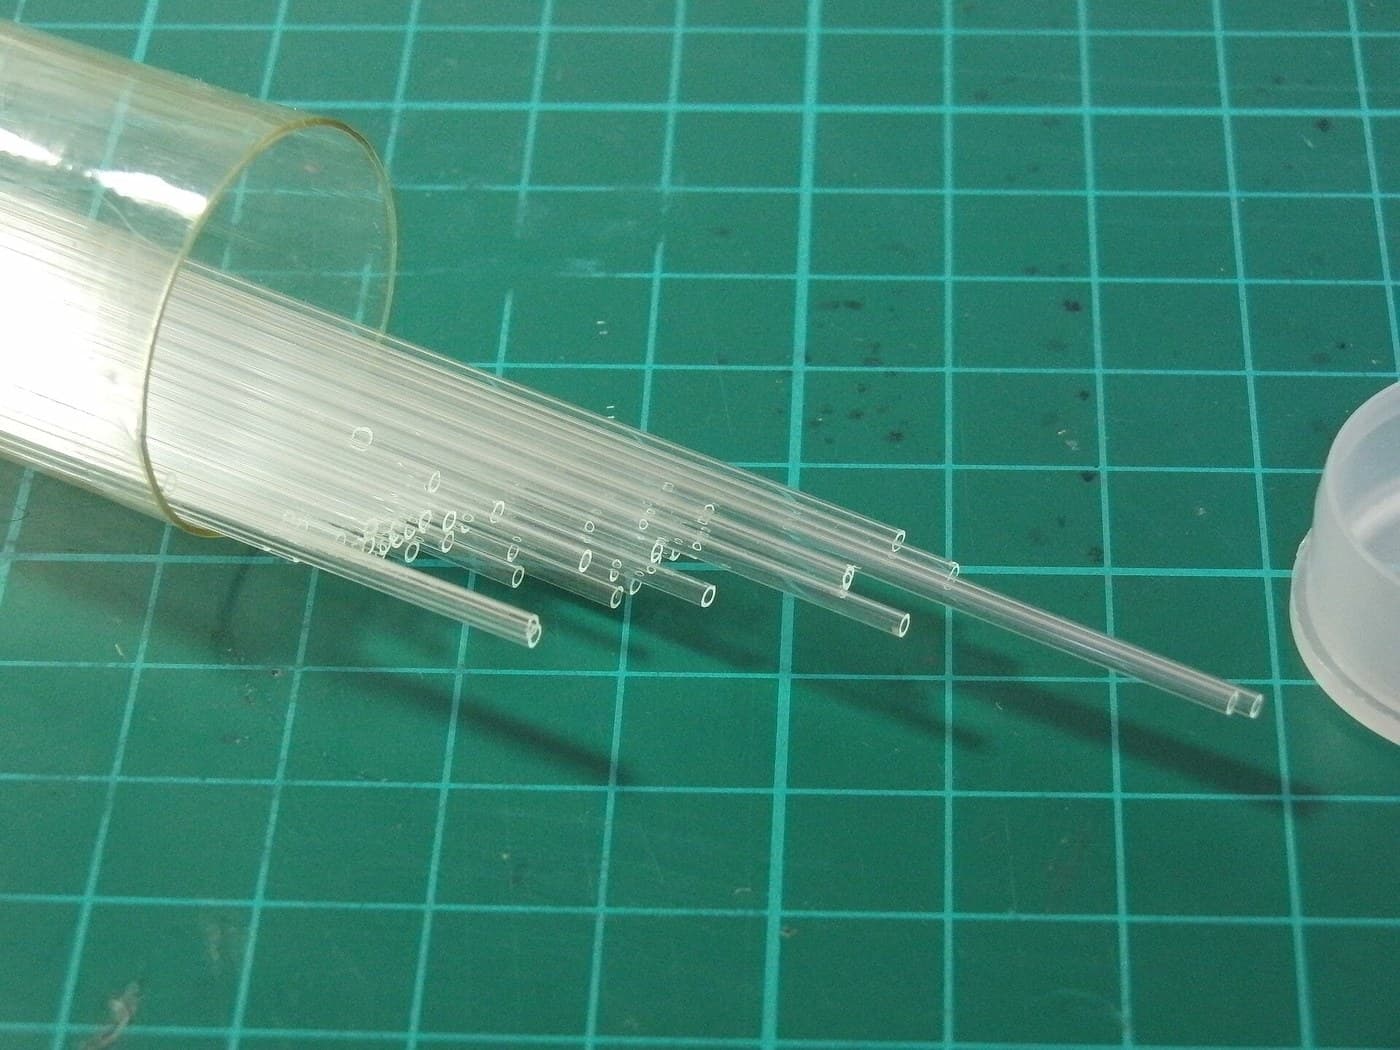
Take glass tube of about 1/8 in. (3 mm) bore for the stems and about 3/8 in. (10 mm) bore for the bulb. Close the wide tube at one end in the form of his fig. 41 A, then soften it about an inch from the end and draw it down to the small tube's diameter.
Materials for this step:
 Glass Tube1 piece
Tools needed:
 Bunsen Burner
 Glassblowing Blowpipe
3
3
Join the first stem
Join the first stem
Cut the drawn, flask-shaped piece off with a file and fuse it to a length of the narrow tube: soften both ends, press them together, pull gently to reduce the thickened joint, and blow a gentle stream of air in.
Materials for this step:
Glass Tube1 pieceTools needed:
 Files (Hand File)Bunsen BurnerGlassblowing Blowpipe
4
4
Blow the bulb
Blow the bulb
Soften the flask part and blow it into a bulb through the stem.
Tools needed:
Bunsen BurnerGlassblowing Blowpipe5
5
Open the far end
Open the far end
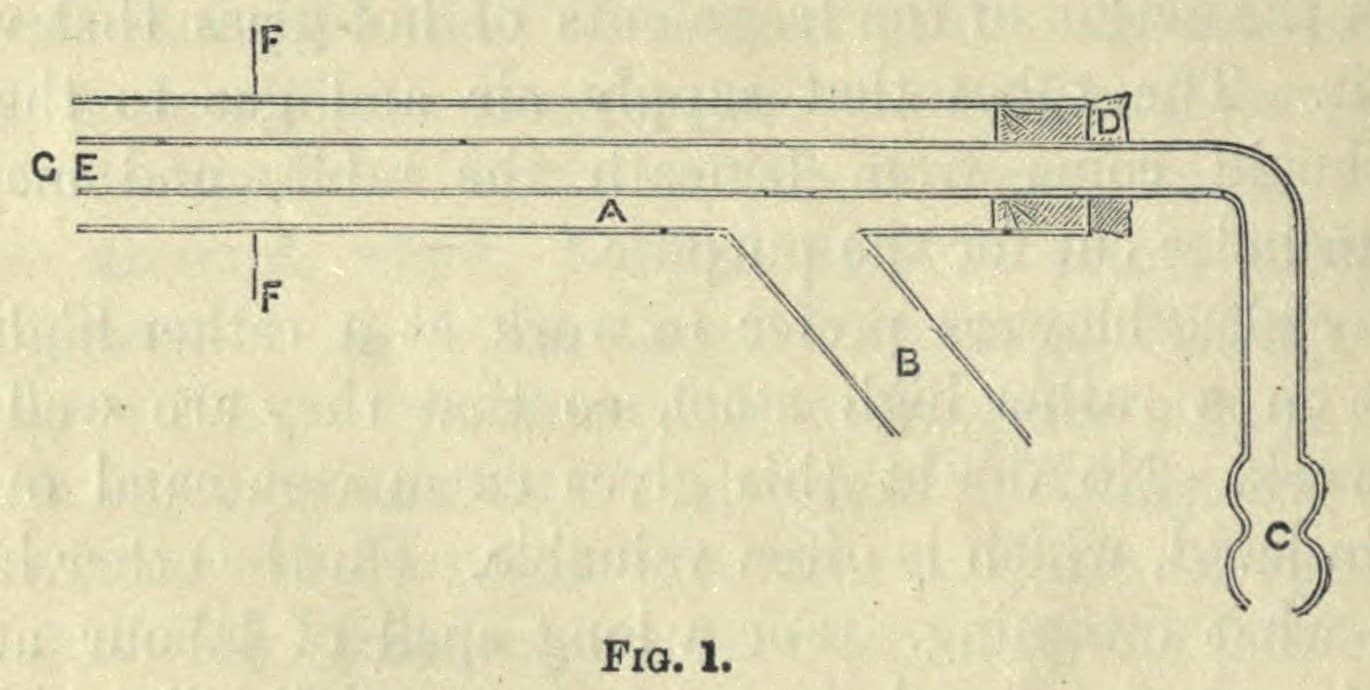
Play the flame on the point opposite the stem (A in fig. 41) and blow a very thin second bulb with a strong blast. Break it away: it leaves a small projecting tube (B).
Tools needed:
Bunsen BurnerGlassblowing Blowpipe6
6
Draw and join the tip
Draw and join the tip
Draw a second piece of narrow tube to a capillary end: thicken it in the flame, pull the hands apart, cut with a file and hold the cut end a moment in the flame. Join this stem to the projecting tube as before.
Materials for this step:
Glass Tube1 pieceTools needed:
Files (Hand File)Bunsen BurnerGlassblowing Blowpipe7
7
Troubleshooting
Troubleshooting
Pipette troubleshooting.
Flow
Loading...
8
8
History and honest limits
History and honest limits
From Alfred W. Soward, "Glass-Blowing for Amateurs" IV, **Amateur Work, Illustrated**, vol. V (1886), pp. 173-176, figs. 39-41 (checked on the archive.org scan amateurworkillus05lond). He gives no volume or graduation: calibrate it by weighing water if you need one (see the graduated-pipette blueprint). Metric figures are ours.
This blueprint makes

Related Blueprints
These blueprints share knowledge with this one — techniques, materials, or principles that connect them in the learning graph.

CC0 Public Domain
This blueprint is released under CC0. You are free to copy, modify, distribute, and use this work for any purpose, without asking permission.
Support the Maker by purchasing products through their Blueprint where they earn a Maker Commission set by Vendors, or create a new iteration of this Blueprint and include it as a connection in your own Blueprint to share revenue.