ART
BEAUTY & WELLNESS
CRAFT
CULTURE & HISTORY
ENTERTAINMENT
ENVIRONMENT
FOOD & DRINKS
REVERSE ENGINEERING
SCIENCES
SPORTS
TECHNOLOGY
WEARABLES
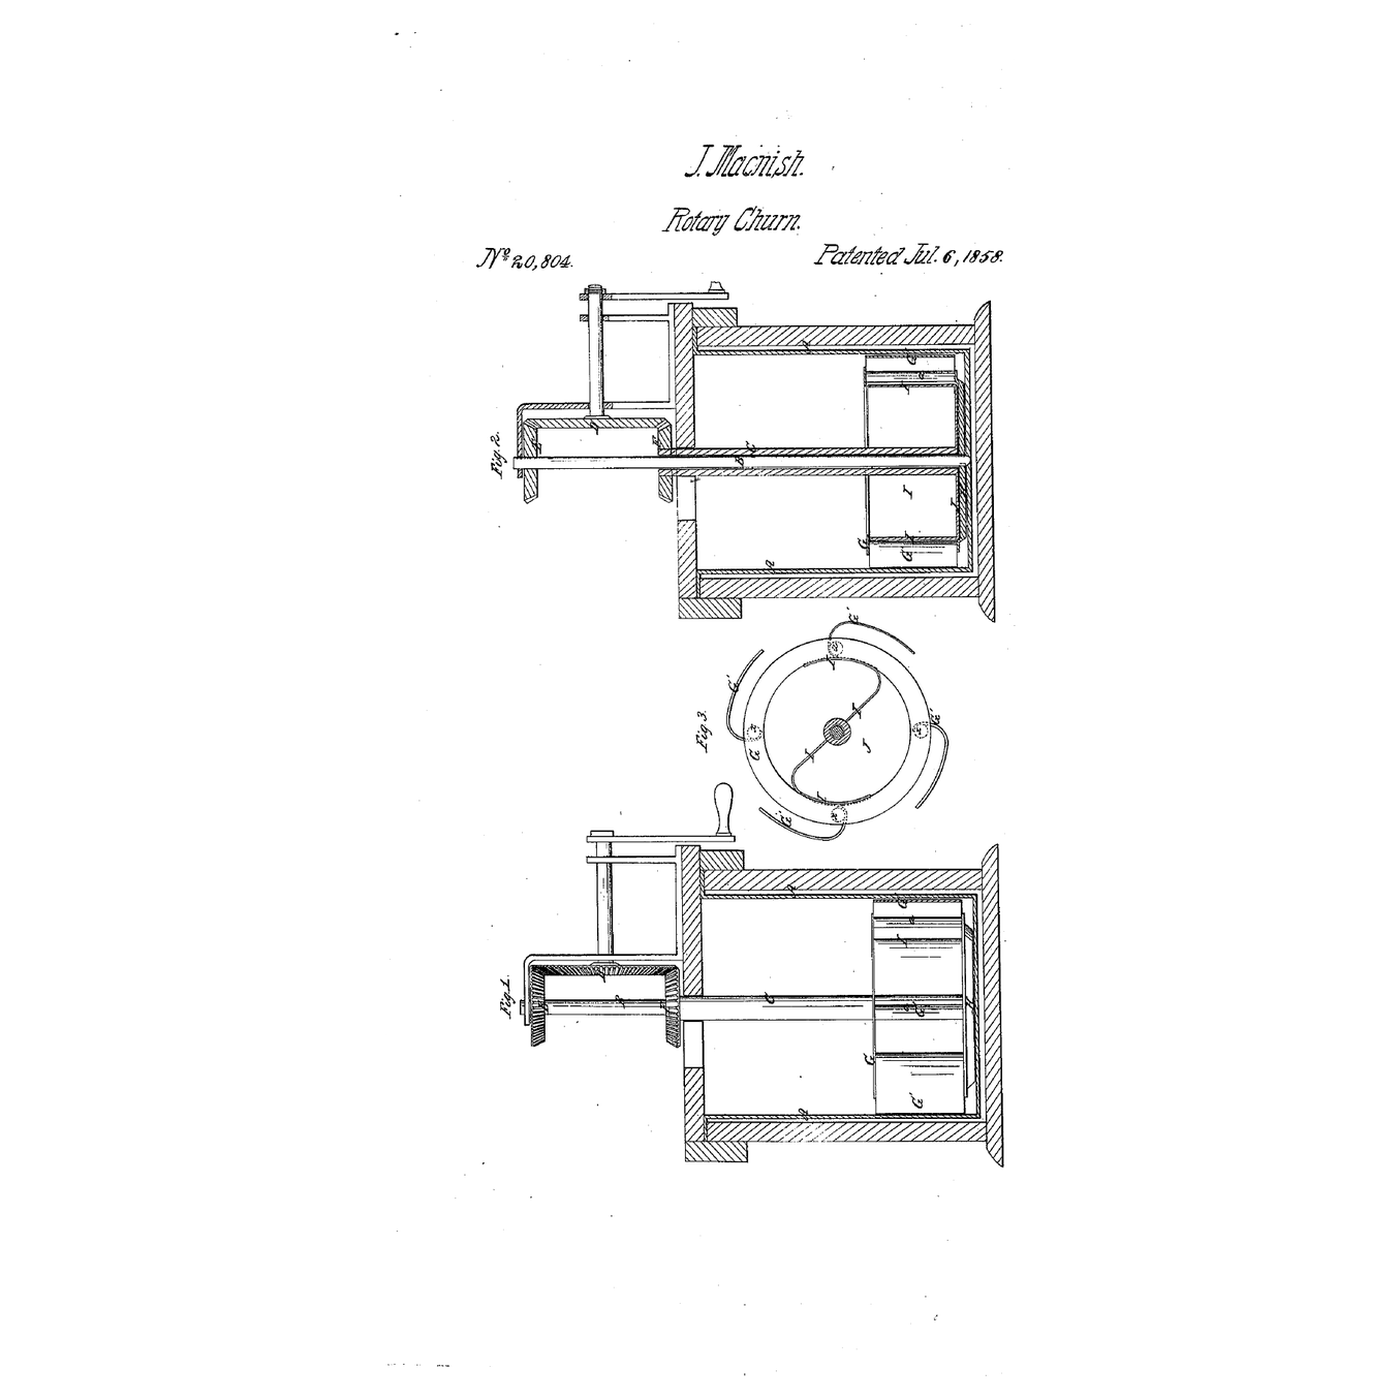


Spring-Wing Friction Churn: Sprung Wings Rub the Tub and Each Other, Two Plates Rub Below
James MacNish of Berlin, Wisconsin, received US 20,804, dated 6 July 1858, for a churn that makes butter by friction: an open cylinder of tangential spring wings rubbing the tub's wall, a second set inside turning the other way against its standards, and two friction plates rubbing the tub's bottom and each other.
This rung prints both dashers, thin PETG spring wings and the bevel gearing at tabletop scale, in a stock pot.
Advanced
About 6 hours, plus printing
Instructions
1
1
Gearing and rubbing speed
Gearing and rubbing speed
Loading Jupyter Notebook...
2
2
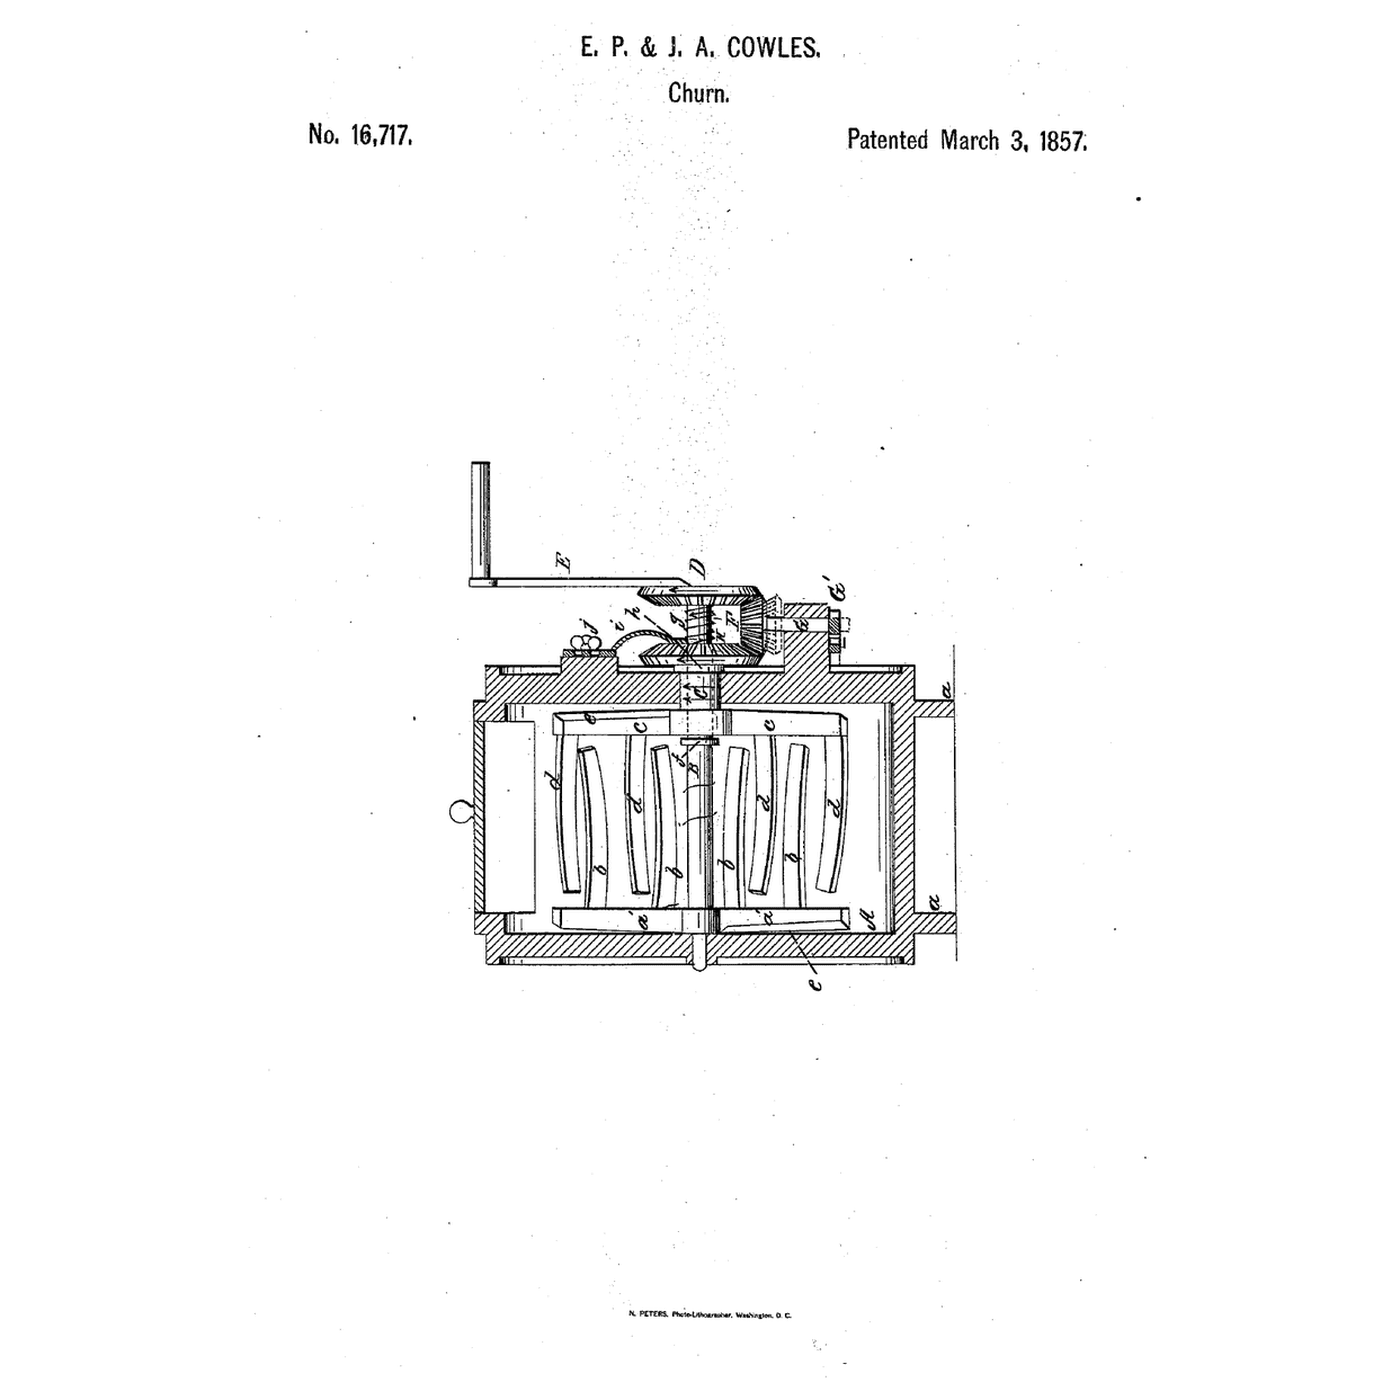
Counter-turning churns, before it
Counter-turning churns, before it
Those beaters cut through the cream; MacNish's sprung wings and plates rub it against the tub and each other.
3
3
Read US 20,804
Read US 20,804
"The wings serve for causing friction and expressing the cream or milk between themselves and the inner circumference of the churn tub, while the bottom plate H, serves for causing friction and expressing the cream or milk between itself and the bottom of the churn tub."
4
4
Print the parts
Print the parts
Print the skeleton (/uploads/blueprints/spring-wing-friction-churn-skeleton.stl), its top ring (/uploads/blueprints/spring-wing-friction-churn-top-ring.stl), four outer wings (/uploads/blueprints/spring-wing-friction-churn-outer-wing.stl), the inner dasher with its tube (/uploads/blueprints/spring-wing-friction-churn-inner-dasher.stl), four inner wings (/uploads/blueprints/spring-wing-friction-churn-inner-wing.stl), pinions D (/uploads/blueprints/spring-wing-friction-churn-pinion-d.stl) and E (/uploads/blueprints/spring-wing-friction-churn-pinion-e.stl), wheel F (/uploads/blueprints/spring-wing-friction-churn-wheel-f.stl), the step (/uploads/blueprints/spring-wing-friction-churn-step.stl), the cover (/uploads/blueprints/spring-wing-friction-churn-cover.stl), the standard (/uploads/blueprints/spring-wing-friction-churn-standard.stl) and the crank (/uploads/blueprints/spring-wing-friction-churn-crank.stl). Print the wings standing up: their 1.2 mm walls are the springs. Print in PETG at 0.2 mm layers, 30 % infill, 4 walls; wash before first use.
Materials for this step:
 PETG Filament1 piece
Tools needed:
 FDM 3D Printer
5
5
Dashers
Dashers
Cut a 10 mm square hardwood strip 325 mm long as the solid shaft and sand it. Slide the skeleton on, plate down, its plate 7 mm above the shaft's foot, and fix it with an M3 screw drilled through the boss and the shaft. Screw an outer wing to each standard with two M3 screws, all curving the same way, and an inner wing to each post of the inner dasher, curving the other way.
Materials for this step:
 Hardwood Strip1 piece
 Machine Screws1 piece
Tools needed:
 Hand Saw
 Sandpaper
 Hand Drill
 Screwdriver Set
6
6
Into the pot, gears on
Into the pot, gears on
Set the step in the pot and lower the skeleton in, the shaft's foot in the step and the wings springing against the wall. Lower the inner dasher's tube over the shaft, easing its wings past the standards, and screw the top ring onto the standards with four M3 screws. Lay the cover on with a washer over the tube, slide pinion D onto the tube's flat and fix pinion E on the shaft with an M3 screw drilled through it. Screw the standard to the cover from below with two M4 screws, push a 10 mm dowel through it, press wheel F tight on its inner end to mesh D below and E above, and fix the crank on its outer end with an M3 screw drilled through the dowel.
Materials for this step:
 Stock Pot1 piece
 Hardwood Dowels1 pieceMachine Screws1 piece
 Flat Washer1 piece
Tools needed:
Hand SawHand DrillScrewdriver Set7
7
The build in 3D
The build in 3D
FreeCAD model of this build: the pot cut open, the step, the solid shaft with the skeleton, its friction plate, standards, top ring and outer spring wings, the inner dasher on its tube with its plate and inner spring wings, the cover, bevel pinions D and E driven opposite ways by wheel F, the standard and the crank.
8
8
Churn
Churn
Pour in 3 litres of heavy cream at about 15 °C, checked with the thermometer. Turn the crank steadily and time it with the stopwatch. When the butter comes, lift out the cover and dashers, pour off the buttermilk, wash the butter in cold water until it runs clear, work in a pinch of salt and weigh it.
Materials for this step:
 Heavy Cream3 l
 Coarse Sea Salt1 piece
 Water1 piece
Tools needed:
 Leave-In Probe Thermometer
 Stopwatch
 Digital Kitchen Scale
 Stainless Steel Mixing Bowl (Large)
9
9
Troubleshooting
Troubleshooting
Spring-wing friction churn troubleshooting.
Flow
Loading...
10
10
History and honest limits
History and honest limits
**James MacNish** of Berlin, Marquette County, Wisconsin, US 20,804, 6 July 1858, for churns "for making butter by friction". The two shafts and bevel wheels, he wrote, were like churns in common use. He claimed the inner set of tangential spring wings with the outer set, and the friction plates H and J with both sets and the tub. His plate H worked close on the tub's bottom; ours runs 8 mm over it, above a flat step. Our pot, sizes, gear counts and printed spring wings are ours. FDM prints hold food in their layer lines, so wash well and replace when worn.
Materials
9- 1 piecePlaceholder
- 1 piecePlaceholder
- 2 piecesPlaceholder
- 1 piecePlaceholder
- 1 piecePlaceholder
- 1 piecePlaceholder
- 3 lPlaceholder
- 1 piecePlaceholder
- 1 piecePlaceholder
Tools Required
9- Placeholder
- Placeholder
- Placeholder
- Placeholder
- Placeholder
- Placeholder
- Placeholder
- Placeholder
- Placeholder
Design Files
1Related Blueprints
These blueprints share knowledge with this one — techniques, materials, or principles that connect them in the learning graph.



CC0 Public Domain
This blueprint is released under CC0. You are free to copy, modify, distribute, and use this work for any purpose, without asking permission.
Support the Maker by purchasing products through their Blueprint where they earn a Maker Commission set by Vendors, or create a new iteration of this Blueprint and include it as a connection in your own Blueprint to share revenue.