ART
BEAUTY & WELLNESS
CRAFT
CULTURE & HISTORY
ENTERTAINMENT
ENVIRONMENT
FOOD & DRINKS
REVERSE ENGINEERING
SCIENCES
SPORTS
TECHNOLOGY
WEARABLES
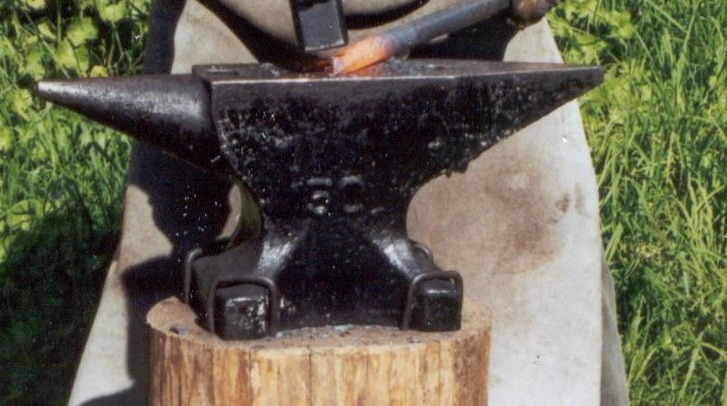


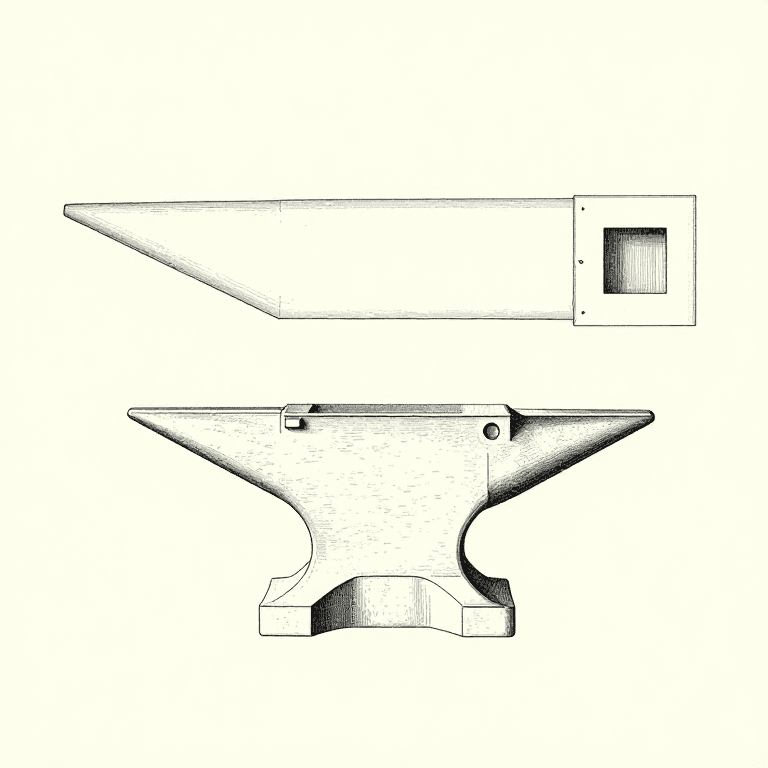
Anvil: Wrought-Iron Body with a Welded Steel Face
Outside the United States, anvils of the 1880s had a body of wrought iron under a steel face, and a horn of plain wrought iron. The body was roughly shaped under tilt hammers, in one piece or with the corners and horn welded on. A face plate of shear or blister steel, 3/8 to 3/4 inch thick, was forge-welded to it a few inches at a time by four strikers, then the holes were punched and the anvil dressed to shape, ground flat and hardened under a falling stream of water. A well-welded anvil rings clearly when struck. Most modern anvils are instead cast steel with the face hardened by flame or induction.
Advanced
Works process (1880s)
Instructions
1
1
Shape the body
Shape the body
Rough out the wrought-iron body under the tilt hammer, in one piece or with the corners and horn welded on.
Materials for this step:
 Wrought Iron Bar1 as required
Tools needed:
 Trip Hammer
 Blacksmith Forge
2
2
Weld on the face
Weld on the face
Bring the body and the steel face plate to a welding heat and weld from one end, about five inches at a time with four strikers, heat after heat, until the whole face is on. Take care not to burn the steel.
Materials for this step:
 Shear Steel Plate1 piece
Tools needed:
Blacksmith Forge Sledgehammer
3
3
Punch and dress
Punch and dress
Punch the hardy (cutter) hole and the small round hole in the tail, round the horn, and dress the anvil to shape at another heat.
Tools needed:
 Hot PunchSledgehammer
4
4
Grind
Grind
Grind any unevenness out of the face, crosswise on a large stone.
Tools needed:
 Grindstone
5
5
Harden
Harden
Reheat the top to a red heat and let a stream of water fall on it from a ten-foot head. A clear ring when struck shows a sound weld.
Materials for this step:
 Water1 as required
Tools needed:
Blacksmith ForgeMaterials
3- 1 as requiredPlaceholder
- 1 piecePlaceholder
- 1 as requiredPlaceholder
This blueprint makes

Related Blueprints
These blueprints share knowledge with this one — techniques, materials, or principles that connect them in the learning graph.
CC0 Public Domain
This blueprint is released under CC0. You are free to copy, modify, distribute, and use this work for any purpose, without asking permission.
Support the Maker by purchasing products through their Blueprint where they earn a Maker Commission set by Vendors, or create a new iteration of this Blueprint and include it as a connection in your own Blueprint to share revenue.