ART
BEAUTY & WELLNESS
CRAFT
CULTURE & HISTORY
ENTERTAINMENT
ENVIRONMENT
FOOD & DRINKS
REVERSE ENGINEERING
SCIENCES
SPORTS
TECHNOLOGY
WEARABLES
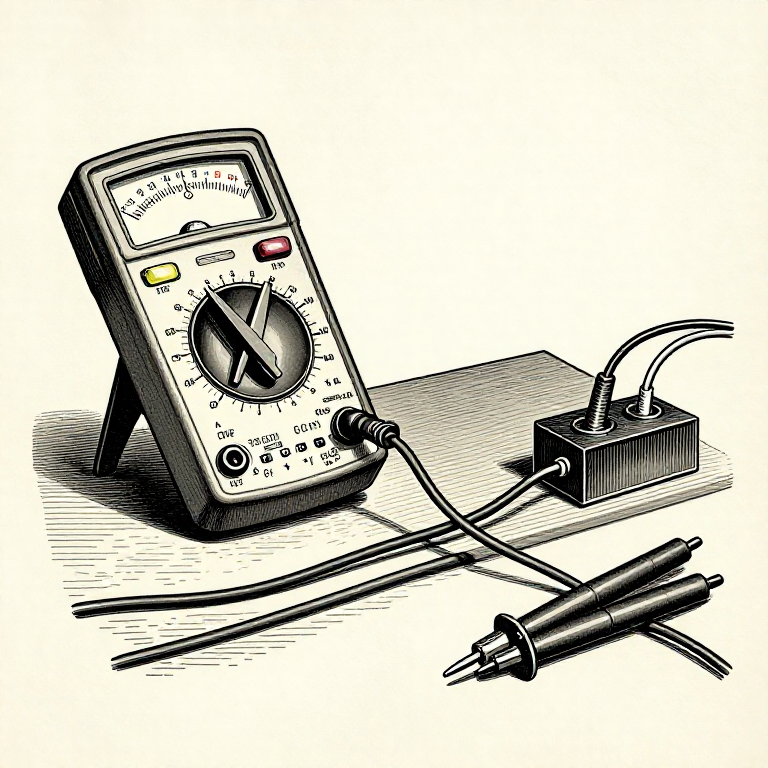


Testing What You Wired: Continuity, Polarity, Then Power
Every wiring job should be tested before it is powered, in a fixed order: continuity first, then isolation, then polarity, and only then power.
The order matters because each test is cheap and the mistakes it catches get more expensive as you go. A shorted supply found with a meter costs nothing; the same short found by switching on costs a board.
This is the mirror of the published fault-finding rung. That one is for when something has gone wrong; this one is the ten minutes that means it does not.
Beginner
2 hours
Instructions
1
1
Continuity: does each wire go where you think?
Continuity: does each wire go where you think?
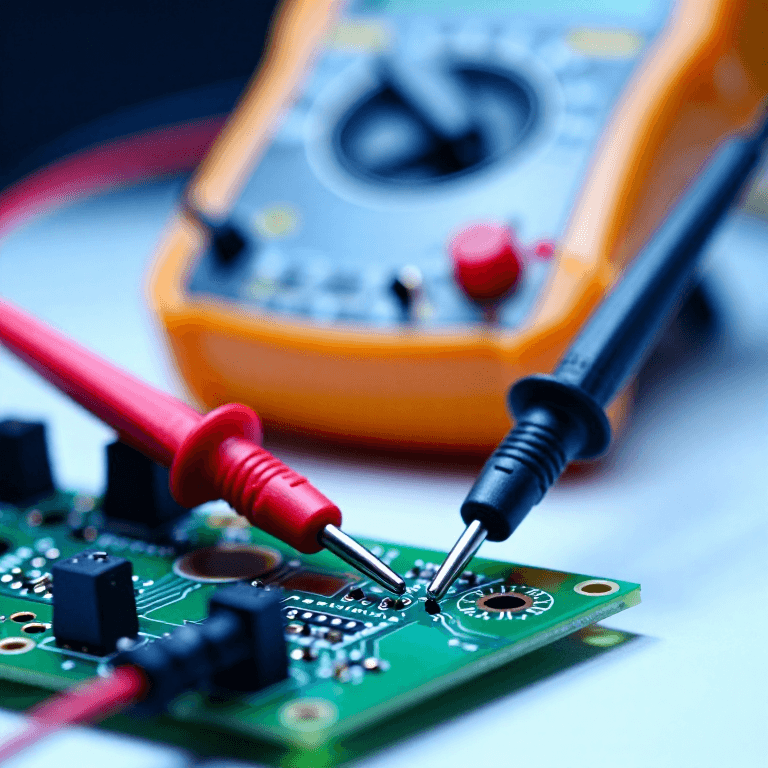
Set the meter to continuity and check every connection end to end. It should beep from the pin at one end to the pin at the other, and the reading should be a fraction of an ohm.
A reading of a few ohms on a short wire means a bad joint — a poor crimp, a cold solder joint, or a screw terminal that is not actually gripping. It will work today and warm up later, so chase it now.
Wiggle each joint while the probes are on it. An intermittent connection will break the beep, and finding that on the bench is a completely different proposition from finding it in a finished assembly.
Tools needed:
 Multimeter
 Magnifying Loupe
2
2
Isolation: does anything go where it should NOT?
Isolation: does anything go where it should NOT?
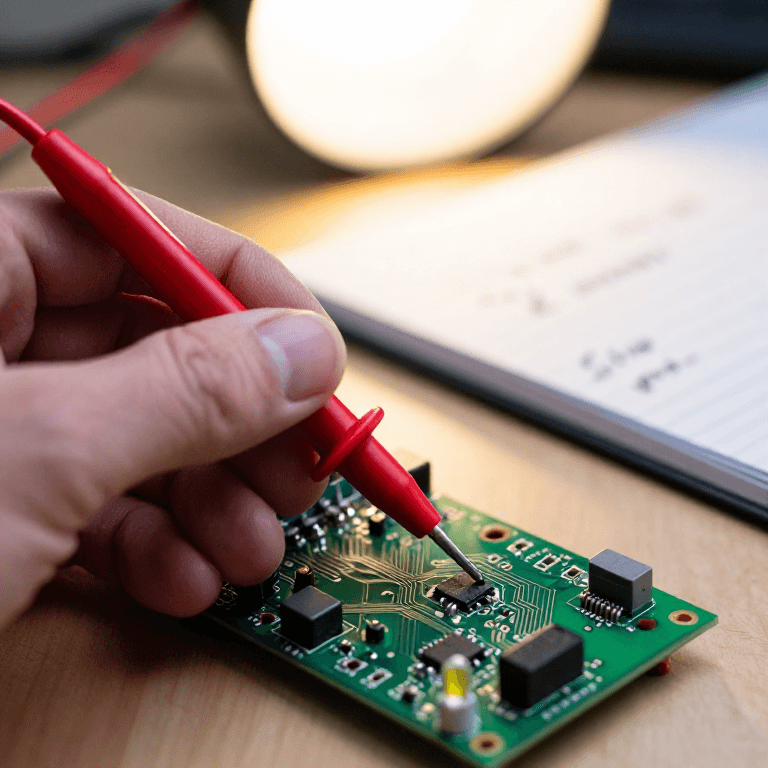
Now check between things that must not be connected: supply to ground, each signal to its neighbours, and everything to the metal chassis.
This is the test that catches a whisker of stray copper bridging two terminals, a screw pinching a wire against the case, or a conductor pushed too far into a terminal block so it touches the one beside it. None of those is visible.
Do it before every first power-up. It takes two minutes and it is the difference between a mistake you correct and a mistake that releases the smoke — the exact situation the fault-finding rung then has to deal with.
Tools needed:
MultimeterMagnifying Loupe3
3
Polarity, and a current-limited first power-up
Polarity, and a current-limited first power-up
Check polarity at the load end, not at the supply. Everyone gets the supply right and it is the swap somewhere in the middle that does the damage.
For the first power-up, use a bench supply with the current limit turned down to just above what the circuit should draw. If something is wrong, the supply limits instead of the wiring burning — and the current limit light coming on tells you immediately.
With no bench supply, a fuse of the right size does a cruder version of the same job, and an inline ammeter tells you whether the current drawn is what you predicted. A circuit drawing far less than expected is as informative as one drawing far more.
Tools needed:
Multimeter DC Fuse Holder
 Clear Safety Glasses
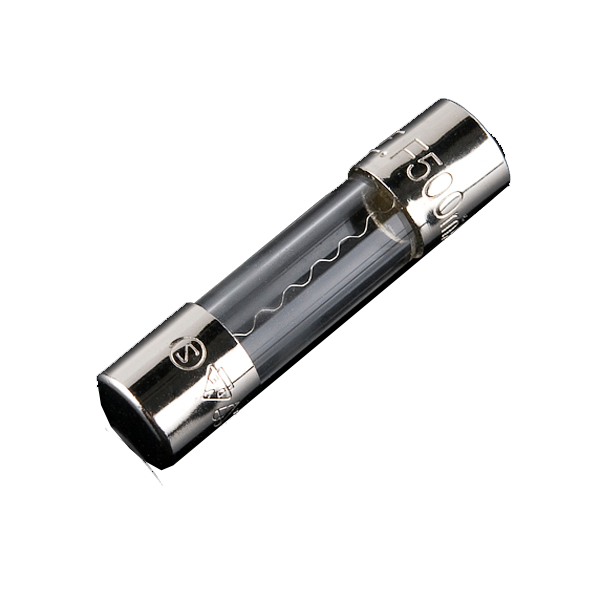 Fuse 5mm 250V 500mA
4
4
Then feel it, and check it again after an hour
Then feel it, and check it again after an hour
With power on and everything working, touch each connection. Anything noticeably warm is a joint with resistance it should not have, and it is only going to get worse.
Warmth at a crimp means a poor crimp. Warmth at a screw terminal means it needs tightening — or that stranded wire went in without a ferrule and has crept. Warmth along a wire means the wire is undersized for the current, which the wire rung sizes properly.
Check again after an hour of running. Some faults only appear once everything has reached temperature, and an hour on the bench is much cheaper than discovering it in service.
Tools needed:
MultimeterMagnifying LoupeRelated Blueprints
These blueprints share knowledge with this one — techniques, materials, or principles that connect them in the learning graph.

CC0 Public Domain
This blueprint is released under CC0. You are free to copy, modify, distribute, and use this work for any purpose, without asking permission.
Support the Maker by purchasing products through their Blueprint where they earn a Maker Commission set by Vendors, or create a new iteration of this Blueprint and include it as a connection in your own Blueprint to share revenue.