ART
BEAUTY & WELLNESS
CRAFT
CULTURE & HISTORY
ENTERTAINMENT
ENVIRONMENT
FOOD & DRINKS
REVERSE ENGINEERING
SCIENCES
SPORTS
TECHNOLOGY
WEARABLES
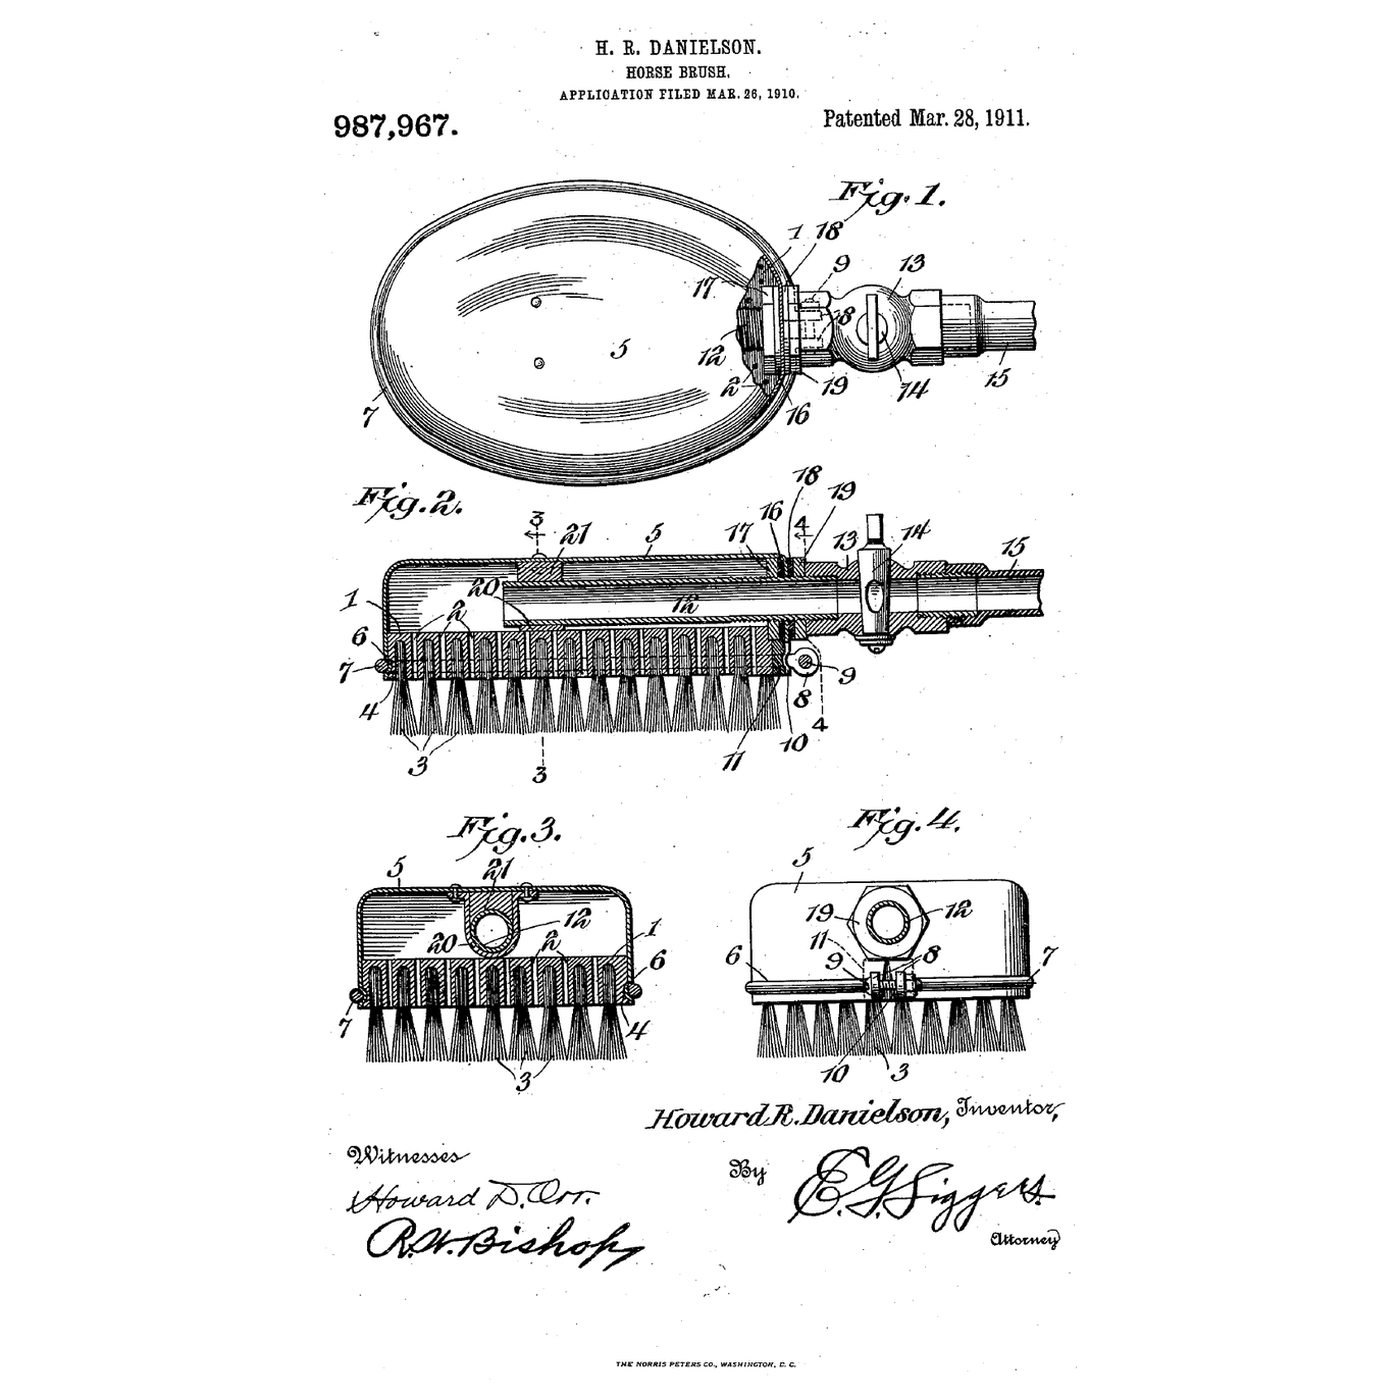


The Capped Fountain Horse Brush: Water Out Only Through the Bristles
A horse caked in mud is slow to clean with a dry brush, and a hose alone soaks the handler.
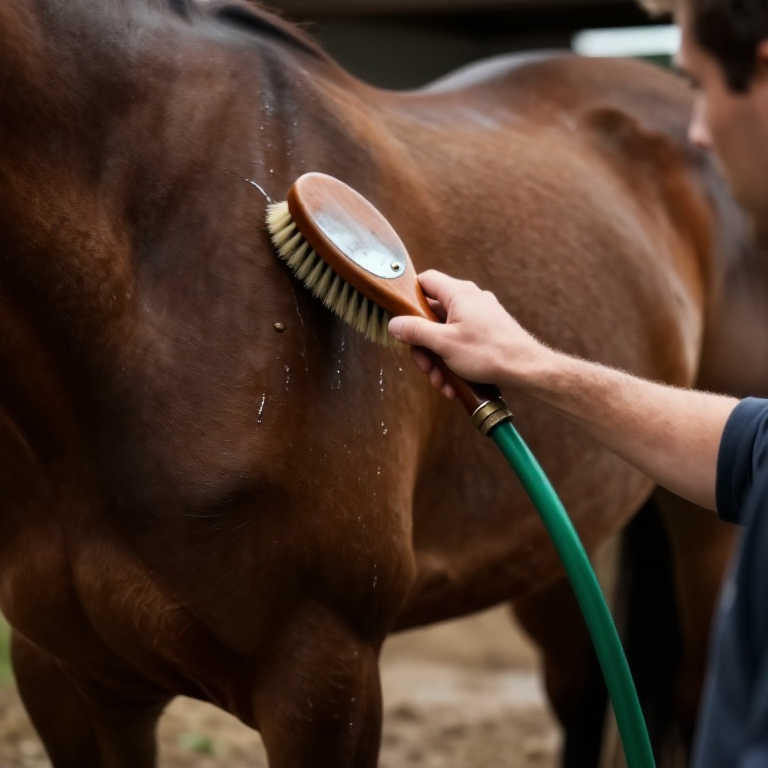
Howard R. Danielson of Crookston, Minnesota, received US 987,967, patented 28 March 1911, for a horse brush "so constructed as to avoid leakage, and to provide no outlet for the water except through the bristles": a perforated wooden back under a steel cap whose bead sits in a groove round the back, held by a clamping wire and bolt, with a pipe clamped through the cap by washers and nuts; loosening the wire lets a worn brush be replaced.
This rung shows why the valve sets the water use, then caps a scrub brush in aluminium, plumbs it and measures the water a grooming takes.
Intermediate
About 4 hours
Instructions
1
1
Water per grooming
Water per grooming
Loading Jupyter Notebook...
2
2
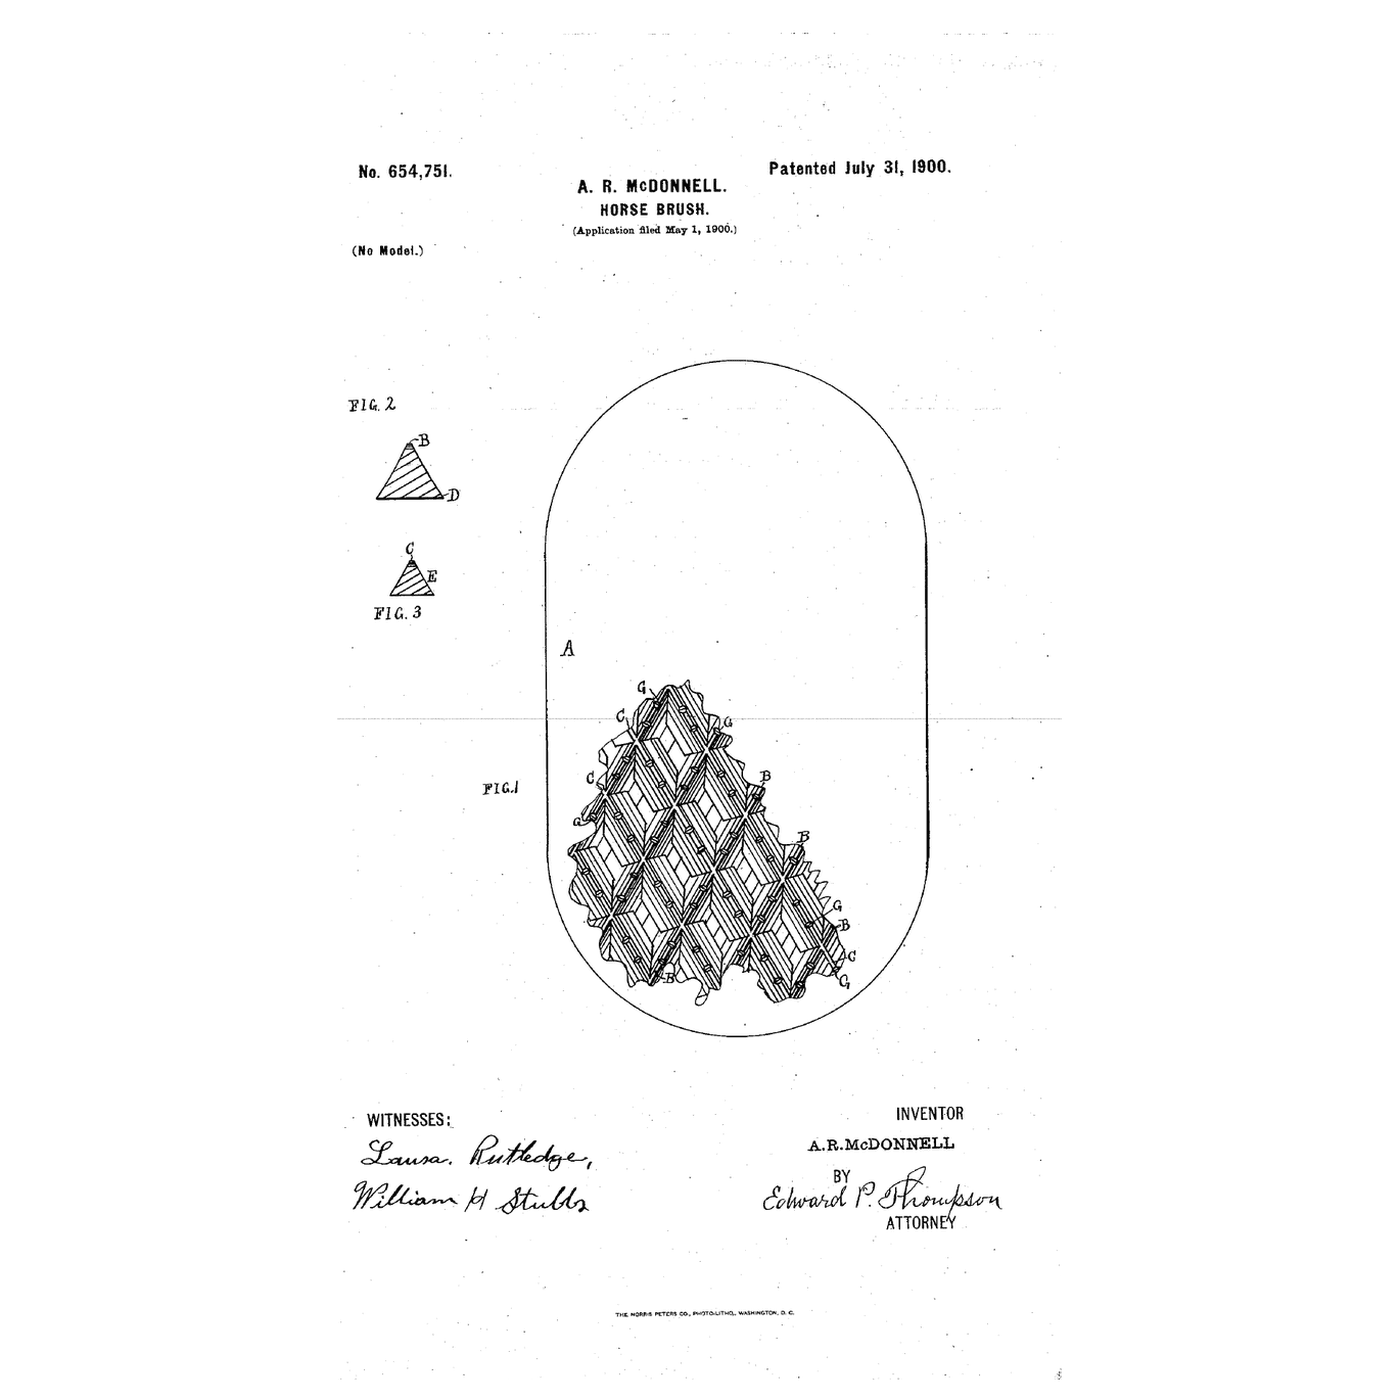
A horse brush before it
A horse brush before it
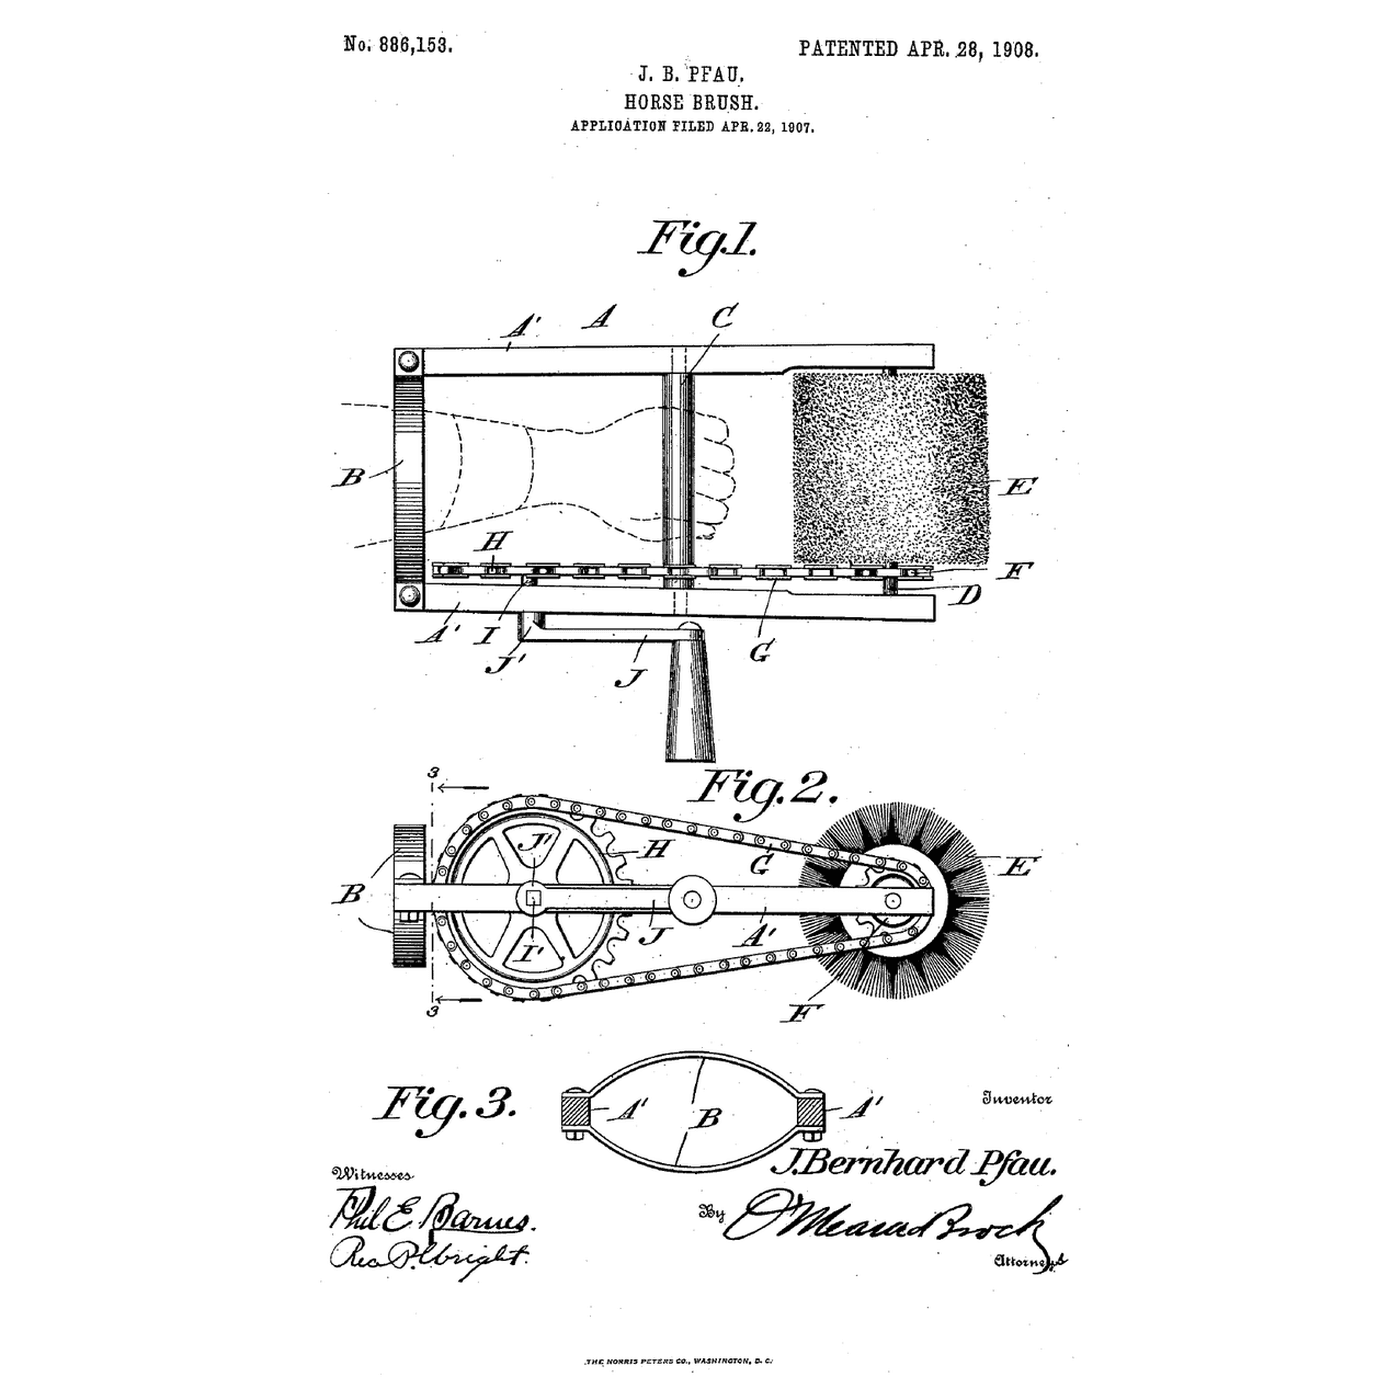
The embedded blueprint cleans the coat dry with rubber ridges. Danielson brings water to the bristles and lets it out nowhere else.
3
3
Read US 987,967
Read US 987,967
"A clamping wire 7 is placed around the cap and body within the groove in the cap presented by the said bead 6, and the ends of this clamping wire are formed into perforated lugs or ears 8 through which a securing bolt or screw 9 is inserted."
"The brush is moved over the body of the horse and the water permitted to flow through the pipe to the interior of the cap, whence it will escape through the perforations in the body or back of the brush and escape through the bristles to the animal. The flow of water may be regulated according to the condition of the animal's skin so that mud or other matter may be quickly and easily removed and the horse quickly cleaned."
4
4
Perforate the back
Perforate the back
Drill ten 4 mm holes through the scrub brush's back between the tufts, from the top.
Materials for this step:
 Scrub Brush1 piece
Tools needed:
 Bench Vise
 Cordless Drill
 Drill Bit Set
 Permanent Marker
 Clear Safety Glasses
5
5
Groove the edge
Groove the edge
Rout a 3 mm groove 3 mm deep round the back's edge, 8 mm above the bristle face.
Tools needed:
 Router
 Router Bit SetClear Safety Glasses
6
6
Shape the cap
Shape the cap
Cut aluminium sheet to the back's outline plus 25 mm all round. Snip the margin into 15 mm tabs, fold them down over the sides, and press their edges into the groove. Seal the tab gaps with silicone.
Materials for this step:
 Aluminium Sheet1 piece
 Silicone Sealant1 piece
Tools needed:
 Tin Snips
 Flat-Nose Pliers
 Hammer
 Leather Work Gloves
7
7
Wire it on
Wire it on
Lay a strip of rubber sheet across the cap's joint. Lay galvanised wire in the groove over the tabs, bend its ends into eyes, and draw them together with an M4 screw and nut.
Materials for this step:
 Rubber Sheet1 piece
 Galvanised Steel Wire1 piece
 Machine Screws1 piece
 Hex Nut1 piece
Tools needed:
Flat-Nose Pliers Screwdriver Set
 Adjustable Spanner
8
8
Plumb the cap
Plumb the cap
Drill the cap's end for a threaded brass connector from the fittings. Clamp it with a flat washer, a rubber washer and a nut each side. Fit the ball valve and a hose connector to it.
Materials for this step:
 Brass Fittings1 piece
 Flat Washer1 pieceRubber Sheet1 piece
 Ball Valve1 piece
 PTFE Thread Seal Tape1 piece
Tools needed:
Cordless DrillDrill Bit SetAdjustable Spanner9
9
The build in 3D
The build in 3D
FreeCAD model of this build, not of the patent: a 190 × 90 × 24 mm elliptical back with ten 4 mm holes and a groove, the cap and clamping wire, and the connector, valve and hose tail.
10
10
Test it
Test it
Connect the garden hose. Set the valve to fill the jug in one minute and note the litres; look for water anywhere but the bristles. Time how long it takes to loosen the wire and lift the cap off.
Materials for this step:
 Garden Hose1 piece
 Water1 piece
Tools needed:
 Measuring Jug
 Stopwatch
11
11
A brush that leaks, floods or will not come apart
A brush that leaks, floods or will not come apart
Capped fountain horse brush troubleshooting.
Flow
Loading...
12
12
History and honest limits
History and honest limits
**Howard R. Danielson** of Crookston, Minnesota, filed US 987,967 on 26 March 1910; it was patented 28 March 1911. The back is preferably a wooden block of elliptical outline; the cap preferably a single piece of steel. A slit lets the cap spring over the back, sealed by a rubber block behind it. Inside, a clamping band riveted to the cap supports the pipe's inner end. He wrote that its life "is practically limitless, as the wear will all be on the bristles."
**Honest limits.** Our tabbed aluminium cap needs silicone where his pressed steel cap did not, and a bought scrub brush stands in for his. Your water use is the result.
Materials
13- 1 piecePlaceholder
- 1 piecePlaceholder
- 1 piecePlaceholder
- 1 piecePlaceholder
- 1 piecePlaceholder
- 1 piecePlaceholder
- 1 piecePlaceholder
- 1 piecePlaceholder
- 1 piecePlaceholder
- 1 piecePlaceholder
- 1 piecePlaceholder
- Garden Hose10% commission1 piecePlaceholder
- 1 piecePlaceholder
Tools Required
15- Placeholder
- 1 vendor sell this, none ship to you yetPlaceholder
- Placeholder
- Placeholder
- Placeholder
- Placeholder
- 1 vendor sell this, none ship to you yetPlaceholder
- Placeholder
- Placeholder
- Placeholder
- Placeholder
- Placeholder
- Placeholder
- Placeholder
- Placeholder
Design Files
1Related Blueprints
These blueprints share knowledge with this one — techniques, materials, or principles that connect them in the learning graph.


CC0 Public Domain
This blueprint is released under CC0. You are free to copy, modify, distribute, and use this work for any purpose, without asking permission.
Support the Maker by purchasing products through their Blueprint where they earn a Maker Commission set by Vendors, or create a new iteration of this Blueprint and include it as a connection in your own Blueprint to share revenue.