ART
BEAUTY & WELLNESS
CRAFT
CULTURE & HISTORY
ENTERTAINMENT
ENVIRONMENT
FOOD & DRINKS
REVERSE ENGINEERING
SCIENCES
SPORTS
TECHNOLOGY
WEARABLES



The Compound Microscope
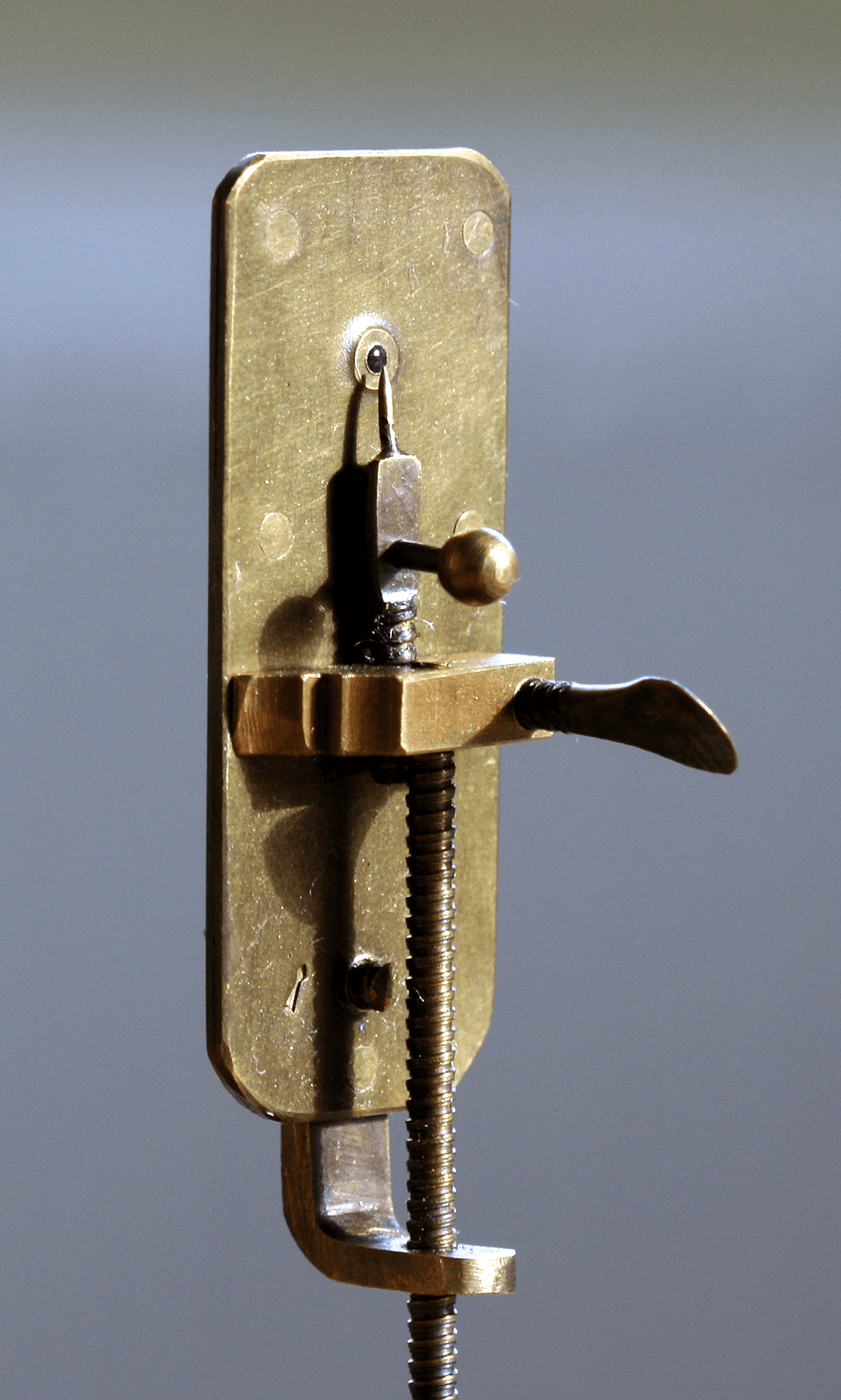
Leeuwenhoek's microscope, already published here, is a single tiny bead of glass held close to the eye. It beat everything else for a century and it has a hard ceiling: to magnify more you need a smaller bead, and a smaller bead means a shorter working distance and a darker, more painful image.
Robert Hooke's answer, in the microscope behind *Micrographia* in 1665, was to use TWO lenses. A short-focus objective throws a real, enlarged image of the specimen inside the tube; the eyepiece then magnifies that image again. The magnifications multiply rather than adding, so two easy lenses beat one impossible one.
That is the whole architecture of every microscope since. Build it from two lenses and a tube, measure what you actually got, and you will understand why the numbers printed on a modern objective mean what they do — and why the biggest one is not the most useful.
Intermediate
1 day
Instructions
1
1
Pick the two lenses by focal length, not by strength
Pick the two lenses by focal length, not by strength
Choose a short-focus lens for the objective — 10 to 20 mm — and a longer one for the eyepiece, around 25 to 50 mm.
A lens sold as 'strong' tells you nothing you can calculate with; a focal length tells you everything. The objective's job is to form a real image a fixed distance up the tube, and the shorter its focal length the bigger that image. The eyepiece is simply a magnifying glass looking at that image, so a longer focal length there gives comfortable eye relief and a wider view.
Materials for this step:
 Convex Lens Set1 set
 Plano-Convex Lens Set1 set
Tools needed:
 Metal Ruler
2
2
Measure each focal length before you cut anything
Measure each focal length before you cut anything
Focus a distant window onto a sheet of paper with each lens and measure lens-to-paper. That distance IS the focal length, to within a millimetre or two.
Do this even when the lens came labelled, because assorted lens sets are often mislabelled and every calculation in this build depends on these two numbers. Two minutes here saves rebuilding a tube that turns out to be the wrong length — which is the single most common way a home-built microscope ends up as a blurry disappointment.
Materials for this step:
 Card Stock4 pieces
Tools needed:
Metal Ruler3
3
Build the tube to the length the lenses demand
Build the tube to the length the lenses demand
Make a tube whose length puts the objective's real image just inside the eyepiece's focal length. For a 15 mm objective and a 30 mm eyepiece with a 160 mm optical tube, that is roughly 160 mm plus both focal lengths.
Line the inside with matt black card or black paint. An unlined cardboard tube scatters light off its walls straight into the eyepiece and washes the contrast out of everything — you will see a bright grey field and wonder why the specimen looks faint. Blacking the inside is the cheapest improvement in the whole build.
Materials for this step:
 Cardboard Tube2 pieces
 Black Card Stock4 pieces
Tools needed:
Metal Ruler Scalpel
4
4
Make a stage and a mirror
Make a stage and a mirror
Fix a flat platform with a hole in it under the objective, and put a small mirror beneath the hole angled to throw light up through the specimen.
The stage must be rigid and the focus adjustment must be smooth and fine — at 100× the depth of focus is a few micrometres, so a stage that flexes when you touch it is a microscope you cannot focus. A screw thread or a sliding tube with friction works; a hinge does not.
Materials for this step:
 Flat Mirror1 pieceCard Stock6 pieces
Tools needed:
ScalpelMetal Ruler5
5
Look at something you already know
Look at something you already know
Start with a thin onion skin in a drop of water under a coverslip. It is one cell thick, almost transparent, and its brick-like cells are unmistakable.
Beginning with a known specimen is how you tell an instrument fault from a specimen fault. If the onion cells are sharp, your build works and anything blurry afterwards is the preparation. If the onion is blurry, stop looking at pond water and fix the microscope — otherwise you will spend an evening blaming the wrong thing.
Materials for this step:
 Onion1 piece
 Microscope Slides with Coverslips10 pieces
Tools needed:
 Razor Blade
 Graduated Pipette (Mohr)
6
6
Measure the magnification you actually built
Measure the magnification you actually built
Put a millimetre ruler on the stage, look at it, and count how many screen or field widths one millimetre covers. Compare that with the magnification the focal lengths predict.
They will disagree, often by 20 per cent or more, because the real tube length differs from the nominal one and the lenses are not exactly as specified. The measured number is the true one. Write it on the tube — every measurement you ever make with this instrument depends on it, and it is the whole subject of the micrometry rung at the end of this batch.
Tools needed:
Metal Ruler7
7
Magnification, resolution and empty magnification
Magnification, resolution and empty magnification
Loading Jupyter Notebook...
Tools needed:
Metal Ruler8
8
Know what your build cannot do
Know what your build cannot do
A two-lens microscope made from simple lenses shows colour fringes at the edges and a field that goes soft away from the centre. Both are real and neither is your fault.
The fringes are chromatic aberration, which is why the achromatic lens blueprint exists and why every serious objective is a cemented doublet or better. The soft edges are field curvature. Knowing which defects are inherent to the design stops you polishing a lens that was never the problem — and tells you exactly which upgrade is worth buying.
Materials
8- 1 setPlaceholder
- Placeholder
- 6 piecesPlaceholder
- 2 piecesPlaceholder
- 4 piecesPlaceholder
- 1 piecePlaceholder
- 1 piecePlaceholder
- 10 piecesPlaceholder
This blueprint makes

Related Blueprints
These blueprints share knowledge with this one — techniques, materials, or principles that connect them in the learning graph.

CC0 Public Domain
This blueprint is released under CC0. You are free to copy, modify, distribute, and use this work for any purpose, without asking permission.
Support the Maker by purchasing products through their Blueprint where they earn a Maker Commission set by Vendors, or create a new iteration of this Blueprint and include it as a connection in your own Blueprint to share revenue.