Collaboration
ART
BEAUTY & WELLNESS
CRAFT
CULTURE & HISTORY
ENTERTAINMENT
ENVIRONMENT
FOOD & DRINKS
REVERSE ENGINEERING
SCIENCES
SPORTS
TECHNOLOGY
WEARABLES
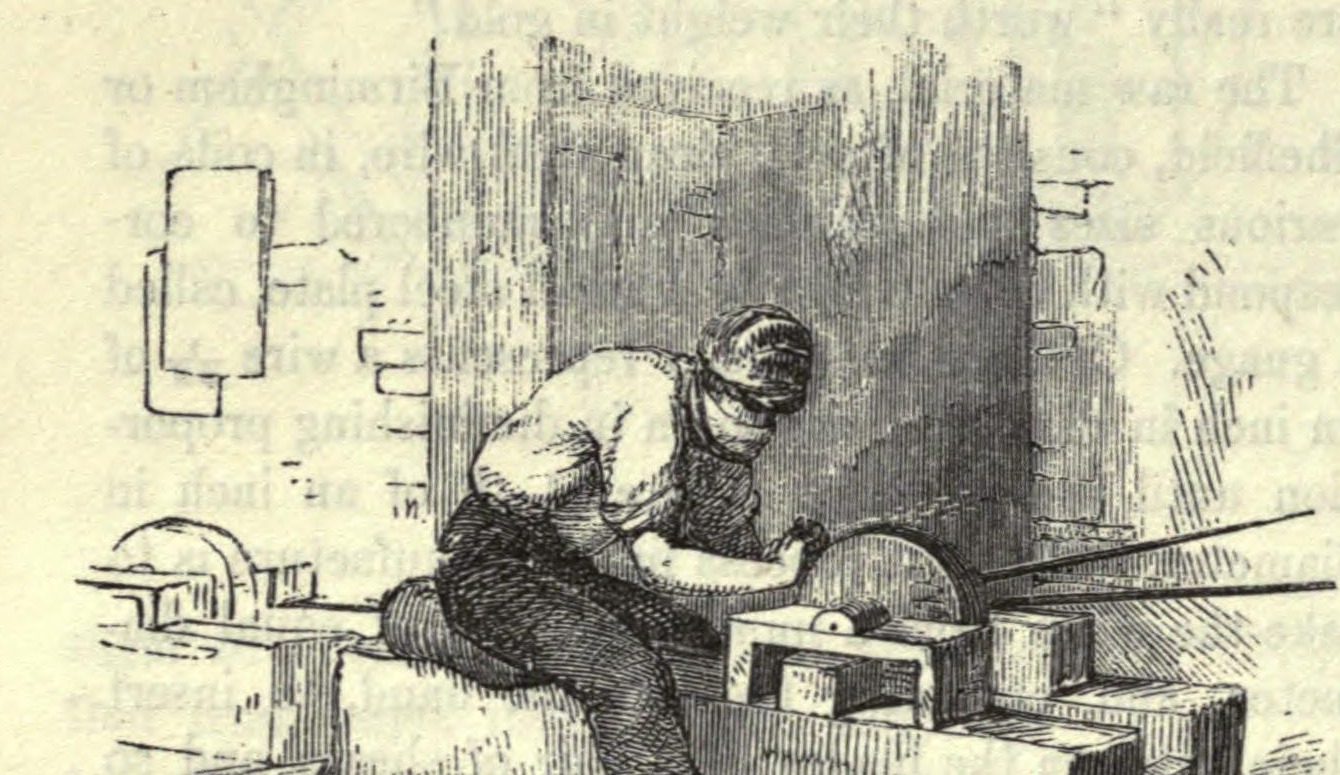


Redditch Steel Sewing Needles: Point, Stamp, Eye, Harden, Scour and Drill (Tomlinson, 1854)
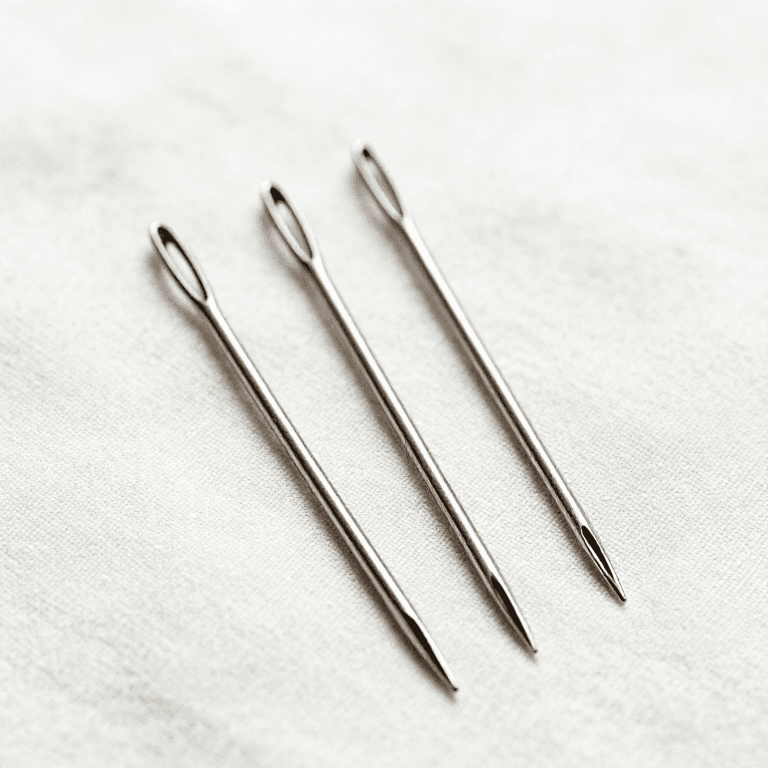
How the Redditch needle mills of the 1850s made steel sewing needles, from Tomlinson's Cyclopaedia of Useful Arts: wire cut in double lengths, pointed on grit stones, stamped and punched for two eyes, split, hardened and tempered blue, then scoured bright for days in rolled canvas bundles with emery and oil.
Advanced
About two weeks per lot (scouring alone 50-60 hours)
Instructions
1
1
Gauge and rates
Gauge and rates
Loading Jupyter Notebook...
2
2
Read the Cyclopaedia of Useful Arts
Read the Cyclopaedia of Useful Arts
"The raw material, as received from Birmingham or Sheffield, consists of soft, clean steel wire."
3
3
Cut and straighten
Cut and straighten
Cut soft steel wire into lengths of two needles each, about 3 in (76 mm) for size No. 6. Collect several thousand inside two heavy iron rings, heat them to redness, lay them on an iron plate and roll them back and forth with a smooth file between the rings until the grating sound softens: they are then straight.
Materials for this step:
 Steel Wire1 piece
Tools needed:
 Wire Cutters
 Blacksmith Forge
 Iron Plate
 Files (Hand File)
 Blacksmith Tongs
4
4
Point both ends
Point both ends
Grind both ends on a fast grit stone (10-20 in across, by needle size). Spread the wires in the left hand, hold them with the right and roll them so each forms a true cone. Dip them in water to keep them cool. The dust of grit and steel causes grinder's asthma: he urged a mask and a fan-driven ventilating shaft; wear a dust mask and extract the dust.
Tools needed:
 Grindstone
 Quench Bucket
 Dust Mask
5
5
Stamp the eyes
Stamp the eyes
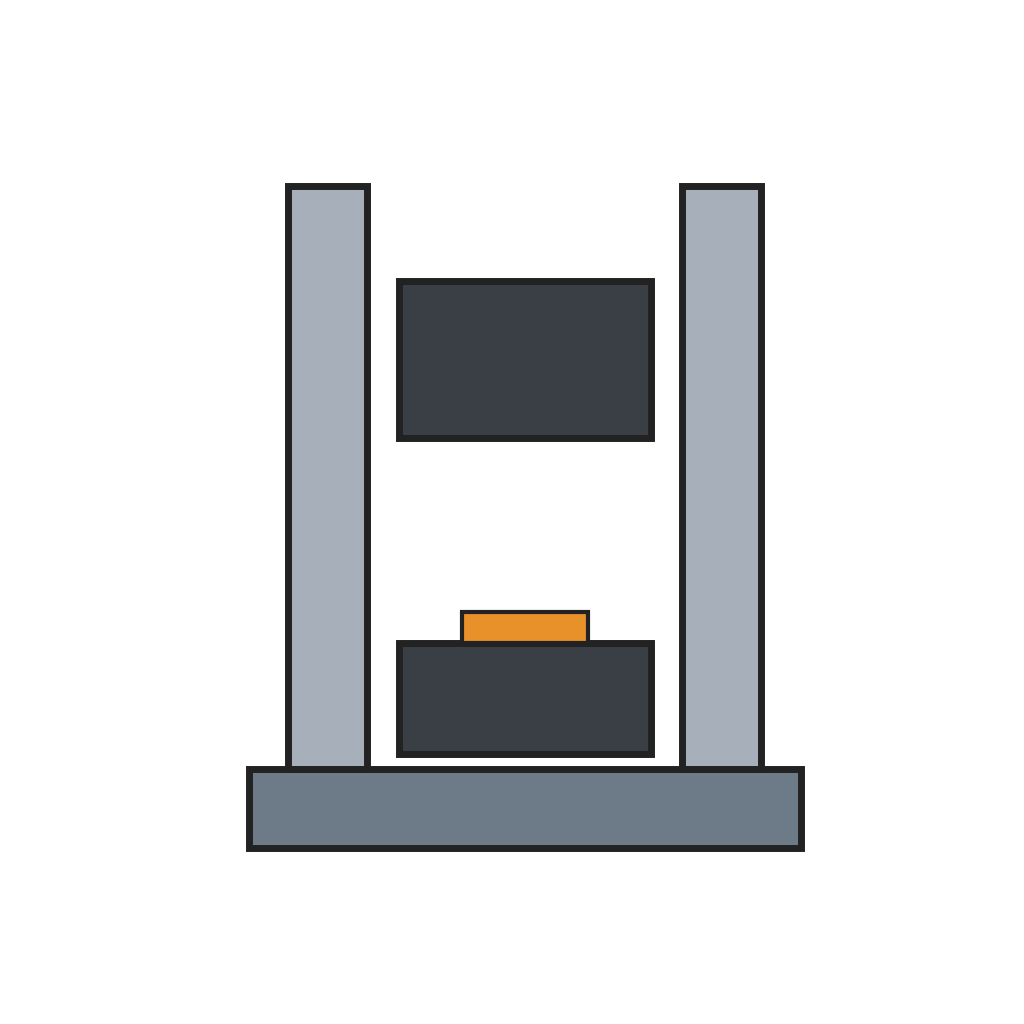
Lay each blank on the iron bed of the stamp (half a die, on a stone block), push it to the stop, and drop the 12 lb hammer with the other half of the die by its foot lever. One blow gives the grooves and a dent for each of the two eyes.
Tools needed:
 Drop Hammer with Forging Dies
6
6
Punch the eyes
Punch the eyes
In a small hand press with two steel points the size of the eye, punch both eyes through. File off the burr from many at once spitted on two fine wires through the eyes, then bend the row back and forth between the spits so it breaks into two rows of single needles. Grip each row in a hand vice and file the heads to shape.
Tools needed:
 Punch PressFiles (Hand File)
 Pin Vice
7
7
Straighten soft
Straighten soft
Roll each bent needle on a flat steel plate with a smooth steel file turned up at each end; two or three turns straighten it.
Tools needed:
Iron PlateFiles (Hand File)8
8
Harden and temper
Harden and temper
Spread the needles thickly on narrow iron plates, heat them to red in the furnace and plunge them into cold water or oil. Dry them, then heat them on an iron plate over a fire, stirring them with small iron shovels until a blue oxide forms, and take them off at once. Roll them on a steel slab to find the bent ones and straighten those with a hammer on a small anvil.
Materials for this step:
 Machine Oil1 piece
Tools needed:
Blacksmith ForgeIron PlateQuench Bucket Anvil
 Hammer
9
9
Scour bright
Scour bright
Lay strings across an open wooden tray, a stout canvas on them, and 40,000-50,000 needles lengthwise in it. Sprinkle emery, oil and soft soap, roll it up and wind strong twine round it into a bundle 2-3 ft long and 3-4 in thick. Work it under the weighted slab of a scouring machine, 20-30 strokes a minute, for 50-60 hours (7 or 8 days for the best needles). Every 8 hours renew the canvas, add fresh polishing putty and oil, and wash the needles in soap and water.
Materials for this step:
 Canvas Fabric1 piece
 Emery Powder1 pieceMachine Oil1 piece
 Soap1 piece
 Polishing Powder1 piece
 Cotton Twine1 piece
Tools needed:
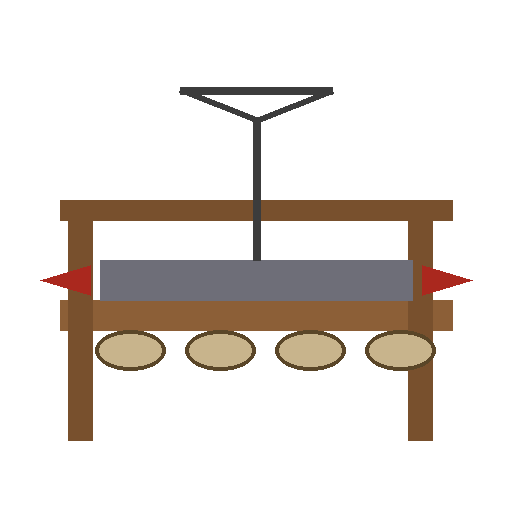 Scouring Machine
10
10
Head, drill and finish
Head, drill and finish
Turn all heads one way: press a finger wrapped in rag into the heap and the points that stick draw out. Reject broken ones. Anneal the eyes by bringing a red-hot plate near them until dark blue, then countersink and smooth each eye on both sides with a small fast three-sided steel drill. Finish the points on a small turning hone-stone and polish on wooden wheels covered in buff leather with polishing paste.
Materials for this step:
 Polishing Compound1 piece
Tools needed:
Iron Plate Drill Press
 Whetstone
 Polishing Wheel
11
11
Troubleshooting
Troubleshooting
Needle troubleshooting.
Flow
Loading...
12
12
History and honest limits
History and honest limits
From Charles Tomlinson (ed.), **Cyclopaedia of Useful Arts** (1854), vol. II, "Needles" (checked on the archive.org scan cyclopdiaofuse02tomlrich, pp. 321-325). He describes a whole mill; quantities scale down. Metric figures, the dust mask and the tool heads are ours.
Materials
8- 1 piecePlaceholder
- 2 piecesPlaceholder
- 1 piecePlaceholder
- 1 piecePlaceholder
- 1 piecePlaceholder
- 1 piecePlaceholder
- 1 piecePlaceholder
- 1 piecePlaceholder
Tools Required
17- Placeholder
- Placeholder
- Placeholder
- Placeholder
- Placeholder
- Placeholder
- Placeholder
- Placeholder
- Placeholder
- Placeholder
- Placeholder
- Placeholder
- Placeholder
- Placeholder
- Placeholder
- Placeholder
- Placeholder
This blueprint makes

Related Blueprints
These blueprints share knowledge with this one — techniques, materials, or principles that connect them in the learning graph.

CC0 Public Domain
This blueprint is released under CC0. You are free to copy, modify, distribute, and use this work for any purpose, without asking permission.
Support the Maker by purchasing products through their Blueprint where they earn a Maker Commission set by Vendors, or create a new iteration of this Blueprint and include it as a connection in your own Blueprint to share revenue.