ART
BEAUTY & WELLNESS
CRAFT
CULTURE & HISTORY
ENTERTAINMENT
ENVIRONMENT
FOOD & DRINKS
REVERSE ENGINEERING
SCIENCES
SPORTS
TECHNOLOGY
WEARABLES



The Twisted Nematic LCD
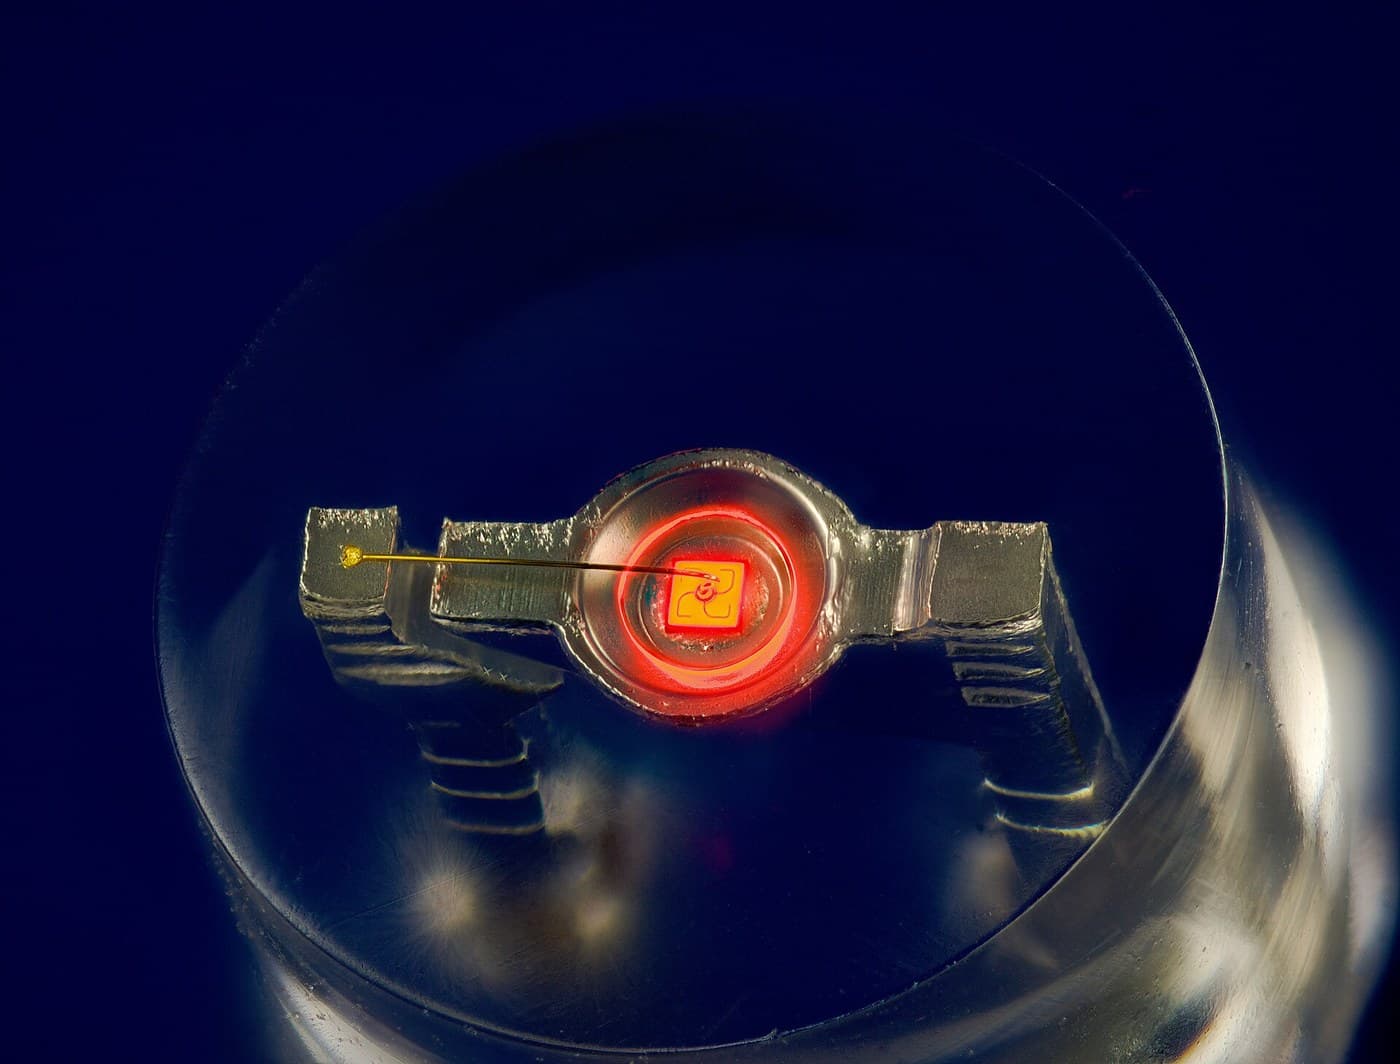
Schadt and Helfrich, 1970. Every other display in this batch makes light; the LCD is a valve in front of a backlight. Rod-shaped molecules line up with a rubbed surface and twist a quarter-turn between two plates, carrying polarised light round with them — the cell is clear. A few volts stand the molecules up, the twist vanishes, the light is blocked. A valve costs power only to switch, which is why the LCD won. You will build a working cell.
Advanced
6 hours
Instructions
1
1
The molecule whose shape is the whole device
The molecule whose shape is the whole device
5CB — 4-cyano-4'-pentylbiphenyl — is the first room-temperature liquid crystal (Gray, 1972), and almost every early LCD uses it or a relative. Its shape is the device: a rigid biphenyl rod so the molecules line up (the nematic phase), a floppy pentyl tail so it stays liquid, and a polar cyano end that is the handle the electric field grabs to switch it. Rigid enough to align, floppy enough to flow, polar enough to steer.
2
2
The twist, and why it needs two polarisers
The twist, and why it needs two polarisers
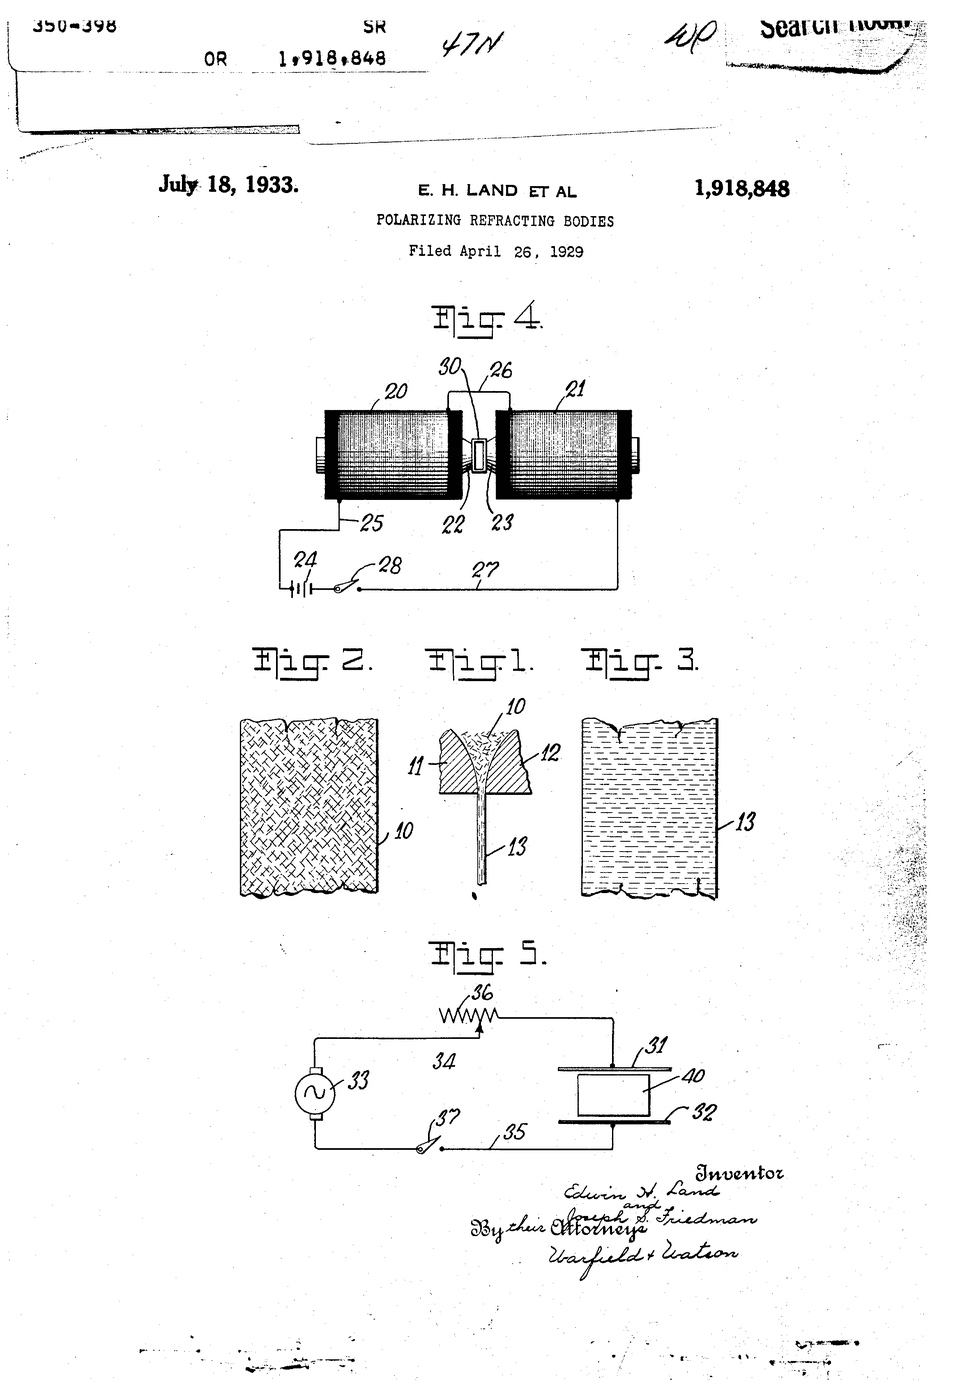
A liquid-crystal cell does nothing visible without a polariser each side — it rotates polarisation, which the eye cannot see. The plates are rubbed at 90 degrees, so the molecules form a quarter-turn helix that guides polarised light round to pass the crossed rear polariser: bright. A few volts stand the molecules up, the helix dies, the light is blocked: dark. Read the embedded polariser blueprint first.
3
3
Build a working cell and rub the alignment layer
Build a working cell and rub the alignment layer
A real build. Two ITO-coated glass plates (find the conductive side with a meter, ~hundreds of ohms). Wipe a thin PVA or polyimide film on each and RUB firmly one way — the grooves align the molecules. Assemble conductive faces in, rubbing directions at 90 degrees, ~10 um spacers, three edges sealed. Draw in 5CB by capillary action (warm it above ~35 C so it flows), seal the last edge. Add a polariser each side, axes crossed.
Test: crossed polarisers, no volts = bright; touch 3-5 V AC to the two ITO faces and the lit area goes dark. Use AC, not DC — DC electrolyses and kills the cell in minutes.
Materials for this step:
 ITO-Coated Glass Slide2 pieces
 5CB Liquid Crystal1 ml
 Polarising Filter Sheet2 sheets
Tools needed:
 Digital Multimeter (Lab Grade)
 Bench Power Supply (30V/5A)
 Precision Tweezers Set
4
4
Measure the threshold voltage
Measure the threshold voltage
Loading Jupyter Notebook...
Tools needed:
 Desktop Computer
Materials
3- 2 piecesPlaceholder
- Placeholder
- 2 sheetsPlaceholder
Tools Required
4- Placeholder
- Placeholder
- Placeholder
- Placeholder
Related Blueprints
These blueprints share knowledge with this one — techniques, materials, or principles that connect them in the learning graph.

CC0 Public Domain
This blueprint is released under CC0. You are free to copy, modify, distribute, and use this work for any purpose, without asking permission.
Support the Maker by purchasing products through their Blueprint where they earn a Maker Commission set by Vendors, or create a new iteration of this Blueprint and include it as a connection in your own Blueprint to share revenue.