ART
BEAUTY & WELLNESS
CRAFT
CULTURE & HISTORY
ENTERTAINMENT
ENVIRONMENT
FOOD & DRINKS
GREEN FUTURE
REVERSE ENGINEERING
SCIENCES
SPORTS
TECHNOLOGY
WEARABLES
Carving and Printing a Woodblock — Relief Printing on Paper
Woody

Created by

Woody

26. May 2026NO
4
0
0
1
0

Carving and Printing a Woodblock — Relief Printing on Paper

Woodblock printing is the oldest method of printing text and images onto paper or cloth. Invented in China during the Tang dynasty (7th century CE) and spreading to Europe by the 14th century, it works by carving an image in relief on a flat block of wood — the raised surface holds ink and transfers it to paper when pressed. European broadsheets, playing cards, and early book illustrations were all printed this way before movable type. This blueprint covers selecting and preparing the wood, transferring a design, carving with gouges and knives, inking, and pulling prints by hand.

Intermediate
4-6 hours

Instructions

1

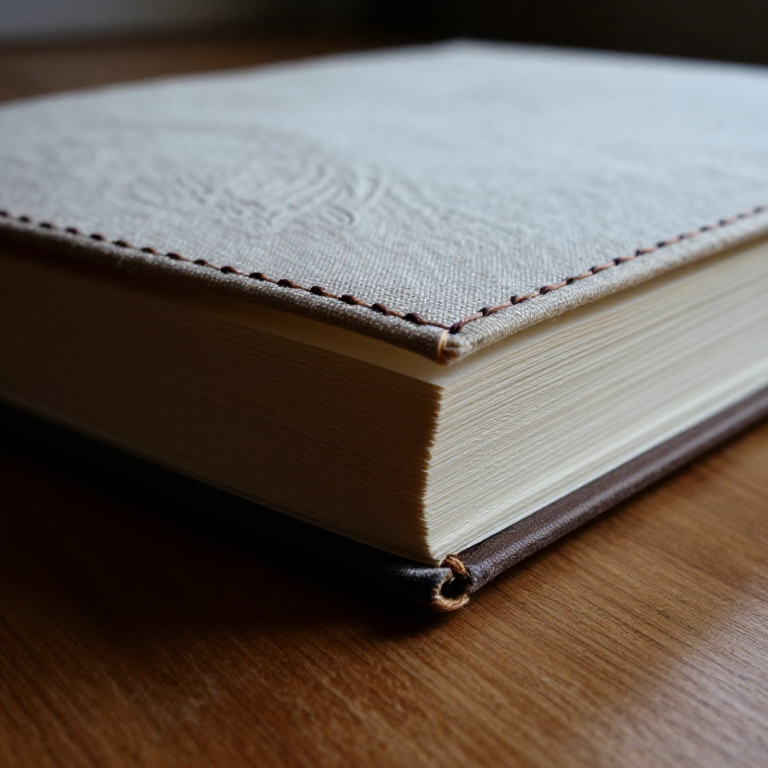
Select the wood block

Choose a close-grained hardwood — cherry, pear, or birch — sawn plank-wise (along the grain) and planed flat. The block should be about 20 mm thick and at least 2 cm larger than the intended image on all sides. Avoid softwoods like pine — they splinter when carving fine detail.

Materials for this step:

Hardwood Block (cherry/pear)
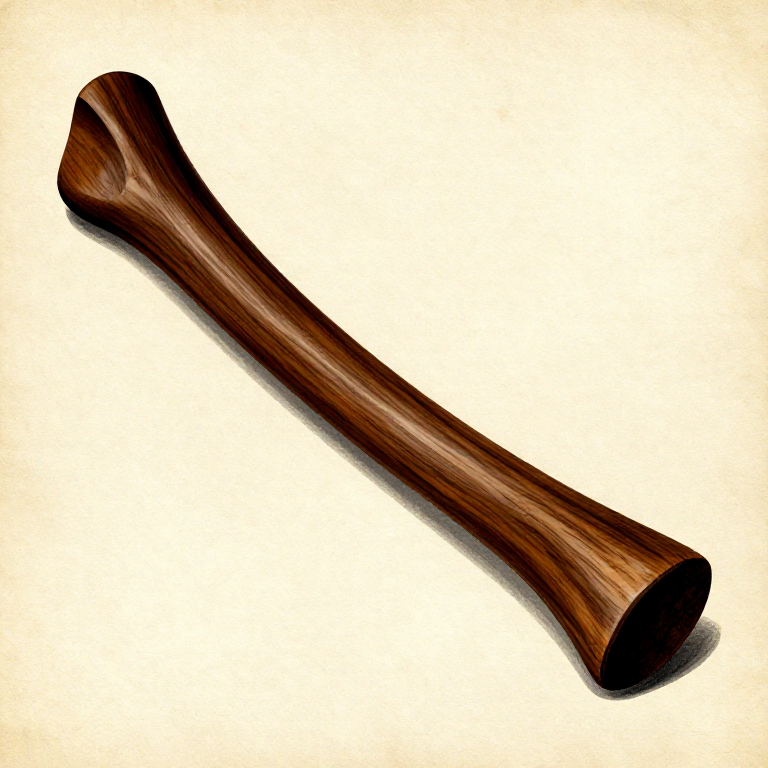
Hardwood Block (cherry/pear)1 piece
2

Prepare the block surface

Sand the printing face smooth with progressively finer sandpaper — 120, 220, then 400 grit. The surface must be perfectly flat and free of scratches, as every mark will print. Wipe clean with a damp cloth and let dry.
3

Draw or transfer the design

Draw the design directly onto the wood with a soft pencil. Remember that the printed image will be a mirror of the block — any text must be drawn in reverse. Alternatively, draw the design on thin paper, place it face-down on the block, and rub the back with a bone folder to transfer the pencil lines.
4

Outline the design with a knife

Using a sharp carving knife, cut along both sides of every line you want to print. Hold the knife at a slight angle so the cuts slope outward from the line — this gives the raised printing surface a strong, wedge-shaped base. Cut about 2-3 mm deep.

Tools needed:

Carving KnifeCarving Knife
5

Clear the waste wood

Using a shallow gouge, remove the wood between the knife cuts — this is the non-printing area. Work away from the raised lines to avoid accidentally undercutting them. Clear to a depth of 3-5 mm. Large open areas can be cleared quickly; fine details require patience.

Tools needed:

Wood GougeWood Gouge
6

Refine the carving

Go back over the design and clean up any rough edges. Make sure all raised surfaces are level — an uneven block prints unevenly. Check for loose fibres that could hold ink in the wrong places and trim them away.
7

Ink the block

Squeeze a small amount of oil-based block-printing ink onto a flat surface (a sheet of glass or smooth tile). Roll a brayer (rubber roller) through the ink until it is evenly coated, then roll it across the block surface in multiple directions. The ink should coat only the raised surfaces — if it fills the carved-out areas, you are using too much.

Materials for this step:

Block Printing InkBlock Printing Ink1 tube

Tools needed:

Rubber BrayerRubber Brayer
8

Position the paper

Lay a sheet of paper carefully onto the inked block. For best results use smooth, absorbent paper — traditional Japanese washi or Western printmaking paper. Align the paper by holding two opposite corners and lowering the centre first to avoid trapping air bubbles.
9

Burnish the print

Press the paper firmly onto the block using a baren (a flat, round burnishing pad) or the back of a large wooden spoon. Rub in small circular motions, covering the entire image area with even pressure. You can lift a corner to check the transfer — if it is pale, press harder or add more ink.

Tools needed:

Baren (burnishing pad)Baren (burnishing pad)
10

Pull the print

Peel the paper slowly from one edge, pulling it away from the block at a low angle. The image should be crisp and even. Lay the print flat on a clean surface to dry — oil-based ink takes several hours to dry fully.
11

Print the edition

Re-ink the block and print as many copies as desired. Each print in a hand-pulled edition will be slightly different — this is the character of relief printing. Number each print in pencil at the bottom margin (e.g., 1/20, 2/20).
12

Clean and store the block

Clean the ink from the block with a rag dampened with a small amount of vegetable oil, then wipe dry. Store the block flat in a dry place — a well-carved woodblock can produce hundreds of prints over many years.

Materials

2

Tools Required

4

Connected Blueprint Materials

CC0 Public Domain

This blueprint is released under CC0. You are free to copy, modify, distribute, and use this work for any purpose, without asking permission.

Support the Maker by purchasing products through their Blueprint where they earn a Maker Commission set by Vendors, or create a new iteration of this Blueprint and include it as a connection in your own Blueprint to share revenue.

Discussion

(0)

Log in to join the discussion

Loading comments...