NGHỆ THUẬT
LÀM ĐẸP VÀ SỨC KHỎE
THỦ CÔNG
VĂN HÓA VÀ LỊCH SỬ
GIẢI TRÍ
MÔI TRƯỜNG
THỰC PHẨM VÀ ĐỒ UỐNG
KỸ THUẬT NGƯỢC
KHOA HỌC
THỂ THAO
CÔNG NGHỆ
THIẾT BỊ ĐEO
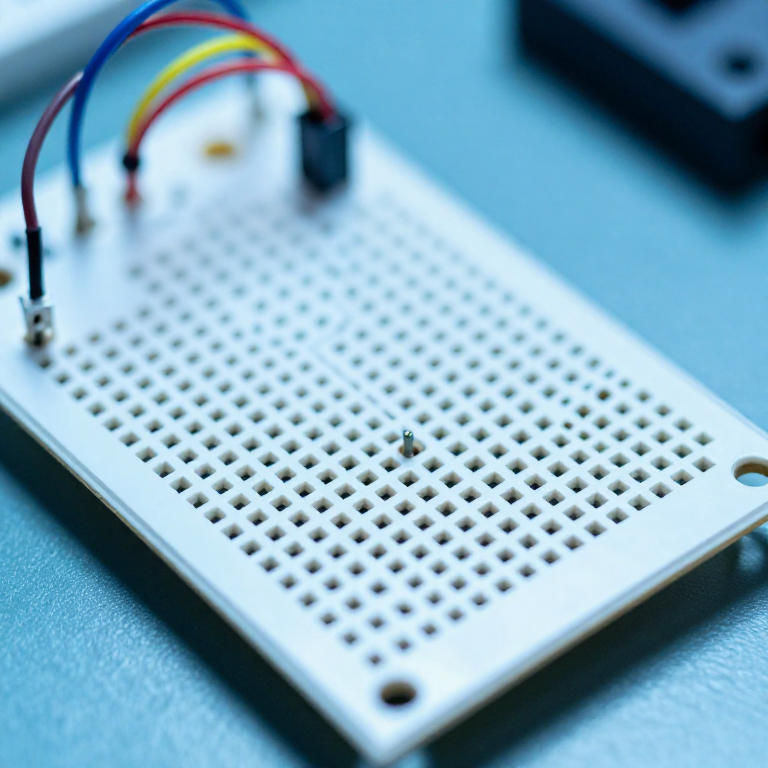


Breadboarding: How It Connects, and When It Lies to You
A breadboard is a grid of spring clips in a plastic block. Understanding which holes are joined to which takes about a minute, and every SIK circuit published here is built on one.
What takes longer to learn is that the breadboard is not a neutral place to test a circuit. It adds resistance at every contact, capacitance between every adjacent strip, and inductance along every jumper — so a circuit can work perfectly on a breadboard and fail when soldered, or much more often, fail on the breadboard and work fine soldered.
Knowing which faults are yours and which belong to the board is the difference between debugging your circuit and debugging the furniture.
Cơ bản
2 hours
Hướng dẫn
1
1
Rows across, rails along, and a gap down the middle
Rows across, rails along, and a gap down the middle
In the main field, each row of five holes is connected together, across the board. The rows are NOT connected to each other. Down the long edges the power rails run the other way — along the board — and are usually marked with a red and a blue line.
The channel down the centre separates the left half from the right half. That gap exists so a chip can straddle it with each leg landing in its own private five-hole row; without it, opposite legs would be shorted together.
Prove it rather than trusting the description: put the meter on continuity and walk it around one row, then across to the next, then along a rail. Two minutes with the meter replaces any diagram.
Công cụ cần thiết:
 Bảng cắm mạch
 Đồng hồ vạn năng
2
2
The rails are often split, and that is the classic beginner fault
The rails are often split, and that is the classic beginner fault
On many boards the power rails are broken in the middle — there is a small gap in the printed line where the strip underneath stops and a new one starts. The top half and the bottom half of the same rail are not connected.
This produces the most frustrating breadboard fault there is: half the circuit works and the other half is dead, everything looks correct, and the wiring is correct. Bridge the halves with a short jumper at the gap and it comes alive.
Check yours with the continuity beeper the first time you use it, and if the rails are split, get into the habit of bridging both rails as the very first thing you do on a new build.
Công cụ cần thiết:
Bảng cắm mạchĐồng hồ vạn năng Dây nối
3
3
What the board adds to your circuit
What the board adds to your circuit
Đang tải sổ tay Jupyter…
Công cụ cần thiết:
Bảng cắm mạch Máy tính bỏ túi
4
4
Wire discipline: short, flat, and colour-coded
Wire discipline: short, flat, and colour-coded
Cut jumpers to length and lay them flat on the board rather than using long pre-made leads that arch over everything. Keep red for the positive rail and black for ground, always.
A flat, short layout is not tidiness for its own sake. You can trace it with a finger, you can see which row a wire enters, and you can lift one component without disturbing six others. A bird's nest hides exactly the fault you are looking for.
Never push solid wire thicker than about 0.6 mm into a hole, and never push in stranded wire at all. Thick wire permanently stretches the clip, and from then on that hole is an intermittent contact for every circuit you ever build there — the fault that appears and disappears when you touch the board.
Công cụ cần thiết:
Bảng cắm mạchDây nối Kìm tuốt dây
 Kìm cắt sát
5
5
Build it in stages and test as you go
Build it in stages and test as you go
Wire the power rails and check the voltage before adding a single component. Then build one functional block, test it, and only then add the next.
A circuit built entirely and then powered for the first time gives you one fact — it does not work — and a whole board to search. Built in four stages, the fault is in the stage you just added, which is a search of about five components.
This is the cheapest debugging technique in electronics and it costs nothing but the discipline to not wire the whole thing at once. The fault-finding rung that follows is what you do when you did build it all at once anyway.
Vật liệu cho bước này:
 Bộ LED1 cái
 Bộ điện trở1 cái
Công cụ cần thiết:
Bảng cắm mạchĐồng hồ vạn năng Nguồn điện để bàn
Vật liệu
2- 1 cáiTạm thời
- từ$5.64
Công cụ yêu cầu
7- Bảng cắm mạchHoa hồng 10%Magento Legacy Storeships internationallyTạm thời
- Tạm thời
- Tạm thời
- Tạm thời
- Tạm thời
- Tạm thời
Blueprint liên quan
Các blueprint này chia sẻ kiến thức — kỹ thuật, vật liệu hoặc nguyên tắc
CC0 Phạm vi công cộng
Bản thiết kế này được phát hành theo CC0. Bạn tự do sao chép, sửa đổi, phân phối và sử dụng cho bất kỳ mục đích nào mà không cần xin phép.
Hỗ trợ nhà sáng tạo bằng cách mua sản phẩm qua bản thiết kế, nơi họ nhận Hoa hồng nhà sáng tạo do nhà bán hàng đặt, hoặc tạo phiên bản mới và kết nối trong bản thiết kế riêng để chia sẻ doanh thu.