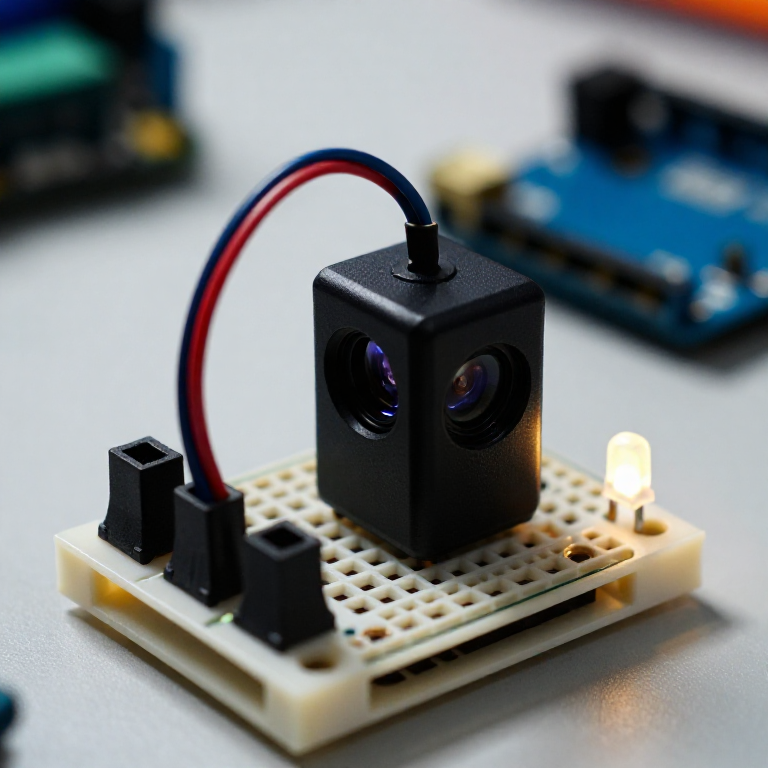


Building an Infrared Distance Sensor
Measure distance with light. A Sharp infrared sensor bounces a beam off an object and reports, as a voltage, the angle it returns at — closer objects give a higher reading. The Arduino turns that into an approximate distance and lights an LED when something comes near: a touchless switch, a hand-wave trigger, or a robot's eyes. Unlike the ultrasonic sensor, this uses infrared light, works at short range, and makes no sound.
Hướng dẫn
Wire the sensor and LED
Wire the sensor and LED
The Sharp sensor has a 3-wire cable: VCC (red) to Arduino 5V, GND (black) to GND, and signal (white or yellow) to A0. On the breadboard, wire an LED from pin 7 through a 330 Ω resistor to GND (long leg to the pin).
Vật liệu cho bước này:
 Arduino Uno R31 cái
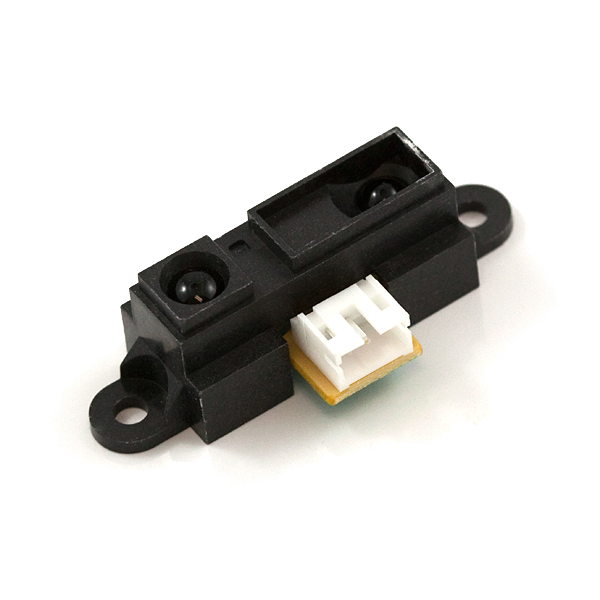 Infrared Proximity Sensor - Sharp GP2Y0A21YK1 cái
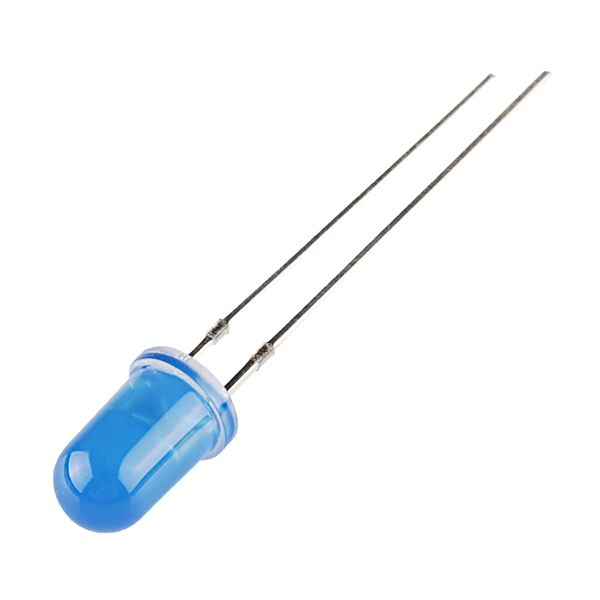 LED - Basic 5mm1 cái
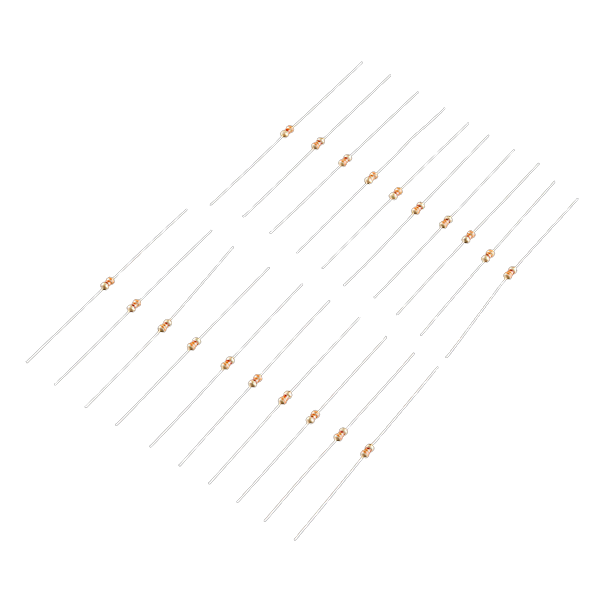 Resistor 330 Ohm 1/6 Watt PTH - 20 pack1 gói
 Breadboard1 cái
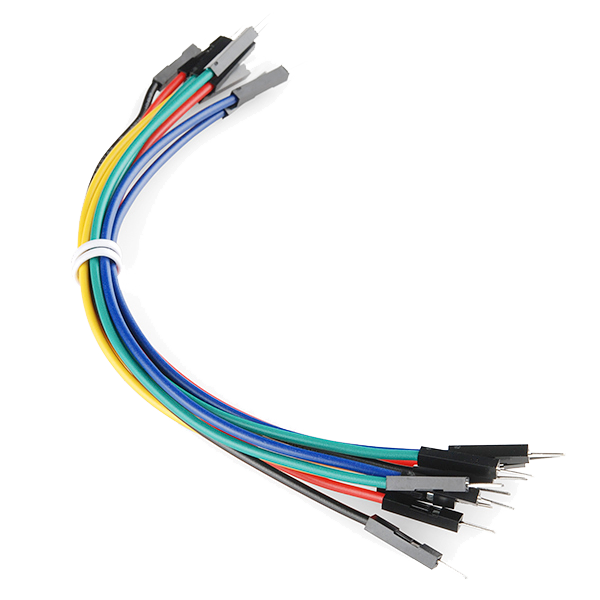 Jumper Wires (Male-to-Male)1 gói
Connect and open the IDE
Connect and open the IDE
Plug the Arduino into your computer with the USB cable, open the Arduino IDE, and select Arduino Uno and its serial port.
Vật liệu cho bước này:
 USB-B Cable1 cái
Công cụ cần thiết:
 Máy tính cài Arduino IDE
Upload the distance sketch
Upload the distance sketch
Paste this sketch and upload, then open the Serial Monitor. It reads the sensor, estimates the distance, and lights the LED when something is within 20 cm.
Test and understand the curve
Test and understand the curve
Open the Serial Monitor and move your hand between about 10 and 80 cm — the printed distance should track it, and the LED lights inside 20 cm. Two things to know: below ~10 cm the reading becomes ambiguous (the sensor's curve folds back), and the output is non-linear, so for real accuracy note the raw value at a few known distances and fit your own curve.
Put it to work
Put it to work
Use it as a touchless switch (wave to trigger), a shelf or drawer 'is-it-open' sensor, or an obstacle detector for a small robot. Change NEAR_CM to set the trigger distance, or swap in the short-range (4–30 cm) or long-range (20–150 cm) Sharp sensor for a different span.
Vật liệu
7- Arduino Uno R3 SMDHoa hồng 10%1 cái$26.95
- Infrared Proximity Sensor - Sharp GP2Y0A21YKHoa hồng 10%1 cái$13.18
- LED - Basic 5mmHoa hồng 10%1 cái$0.77
- Resistor 330 Ohm 1/6 Watt PTH - 20 packHoa hồng 10%1 gói$1.19
- Breadboard - ClassicHoa hồng 10%1 cái$9.46
- 1 gói$4.99
- SparkFun Cerberus USB Cable - 1.8 meterHoa hồng 10%1 cái$5.66
Công cụ yêu cầu
2- Tạm thời
- Breadboard - ClassicHoa hồng 10%$9.46
Blueprint liên quan
Các blueprint này chia sẻ kiến thức — kỹ thuật, vật liệu hoặc nguyên tắc


CC0 Phạm vi công cộng
Bản thiết kế này được phát hành theo CC0. Bạn tự do sao chép, sửa đổi, phân phối và sử dụng cho bất kỳ mục đích nào mà không cần xin phép.
Hỗ trợ nhà sáng tạo bằng cách mua sản phẩm qua bản thiết kế, nơi họ nhận Hoa hồng nhà sáng tạo do nhà bán hàng đặt, hoặc tạo phiên bản mới và kết nối trong bản thiết kế riêng để chia sẻ doanh thu.