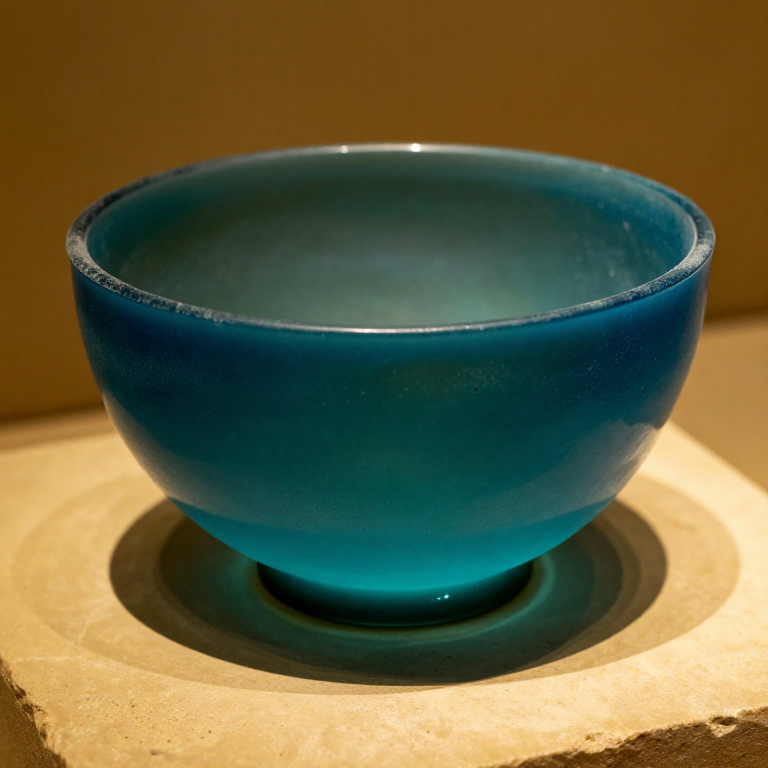
Casting a Glass Bowl in an Open Mold — Frit-Fusing the Oldest Hollow Glassware
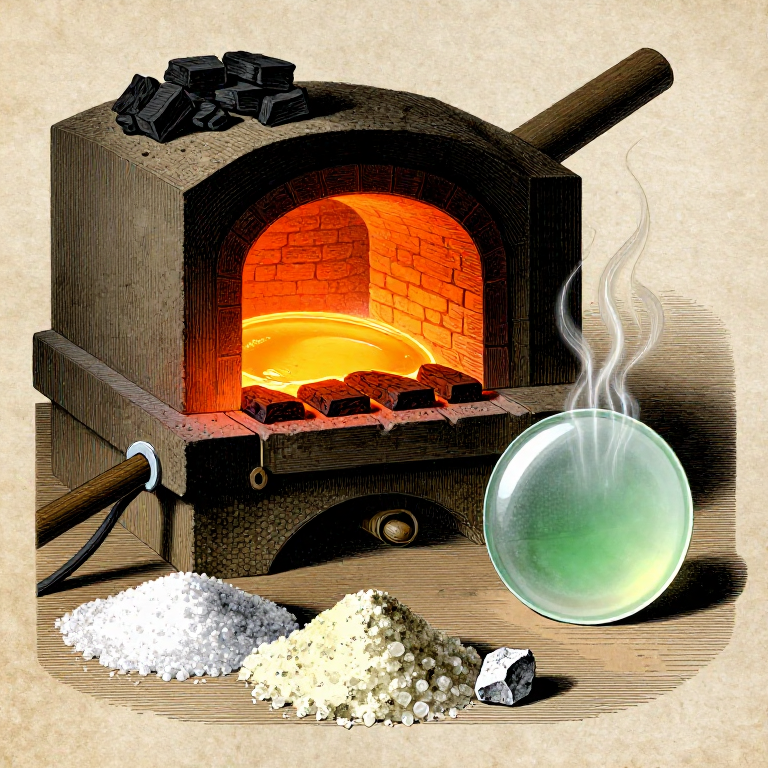
Before anyone learned to blow glass, the earliest glass vessels were made by packing crushed glass (frit) into open clay molds and heating until the fragments softened and fused together. This technique appeared in Mesopotamia and Egypt around 1500 BCE, roughly a thousand years after the first glass beads but fifteen centuries before glassblowing. The resulting bowls are thick-walled, heavy, and often translucent rather than transparent — very different from blown glass.
Cast glass vessels were luxury goods: the raw glass itself was precious, the fuel for sustained kiln firing expensive, and the grinding and polishing labour-intensive. Egyptian workshops produced cast glass bowls, cosmetic dishes, and inlay tiles in vivid colours — turquoise from copper, cobalt blue, opaque white from tin oxide. The technique survived alongside core-forming until blown glass made thin-walled vessels fast and cheap around 50 BCE.
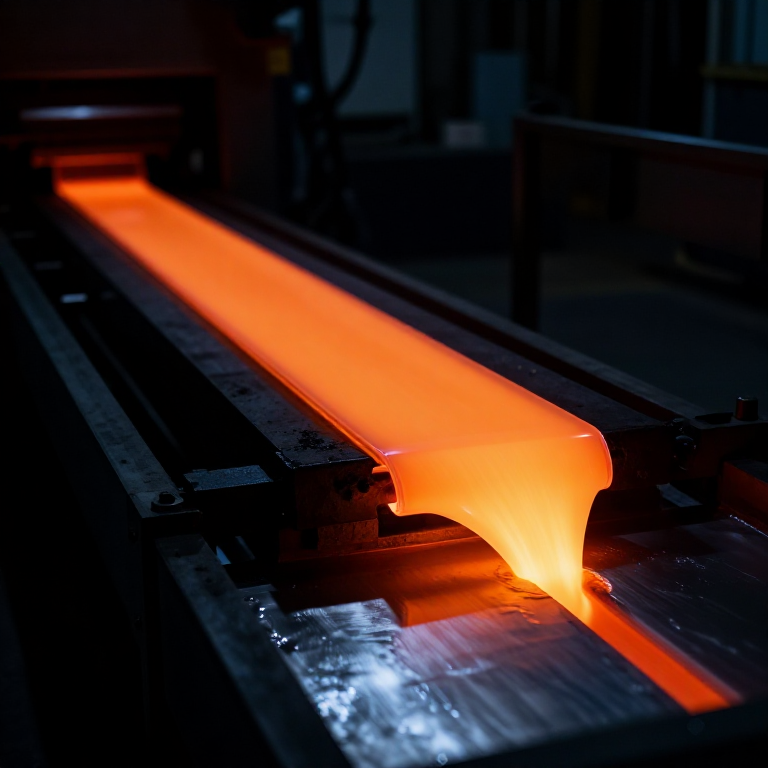
The process is straightforward but slow. You crush pre-made soda-lime glass into small pieces, pack them into a fired clay mold, heat the filled mold in a kiln to about 800–850 °C until the fragments slump and fuse, then anneal slowly and cold-work the surface smooth. The chemistry is pure physics of viscous flow — glass never truly melts at these temperatures but softens enough for gravity and surface tension to close the gaps between fragments.
Hướng dẫn
Select pre-made soda-lime glass for crushing
Select pre-made soda-lime glass for crushing
Start with pre-made soda-lime glass — either purpose-made glass ingots or clean scrap glass of known composition. Ancient Egyptian glassmakers used glass ingots traded from primary production centres. The glass should be a soda-lime-silica type (roughly 70% silica, 15% soda, 10% lime). Avoid modern borosilicate or lead glass — their different softening points make frit-fusing unpredictable. If using coloured glass, select a single colour per casting to avoid muddied results. About 400–500 g of glass produces a small bowl roughly 12 cm in diameter.
Vật liệu cho bước này:
 Glass Frit500 g
Crush the glass into small fragments
Crush the glass into small fragments
Wrap the glass in a heavy cloth or leather and strike with a hammer to break it into coarse pieces. Then transfer the pieces to a stone mortar and pestle and pound to reduce them to fragments roughly 2–5 mm across. Wear eye protection — glass splinters fly unpredictably. Do not grind to powder; you want granular frit, not dust. Extremely fine powder can trap air bubbles that persist in the finished piece. The ideal grain size is coarse sand — small enough to pack tightly but large enough to let trapped air escape during fusing.
Công cụ cần thiết:
 Stone Mortar and Pestle (large)
 Safety Goggles
Sieve the crushed glass to uniform grain size
Sieve the crushed glass to uniform grain size
Pass the crushed glass through a coarse sieve (roughly 5 mm mesh) to remove any large chunks that did not break down. Then pass through a finer sieve (roughly 2 mm mesh) to remove excessively fine powder. Collect the fraction that passes the coarse sieve but is retained by the fine sieve — this 2–5 mm range is ideal. Return oversize pieces to the mortar for further crushing. The fine powder that passes through can be saved separately for surface finishing later.
Công cụ cần thiết:
 Coarse Mesh Sieve
 Fine Mesh Sieve
Shape a shallow bowl mold from refractory clay
Shape a shallow bowl mold from refractory clay
Form the mold from refractory (firecite) clay mixed with coarse sand — roughly 3 parts clay to 1 part sand by volume. The sand opens the clay body, reducing shrinkage cracking and improving heat resistance. Shape the mold as a shallow, open-topped bowl form — the interior surface defines the exterior of the finished glass bowl. Make the walls about 2 cm thick for thermal mass and durability. Smooth the interior surface carefully — every imperfection transfers to the glass. The mold diameter should be about 14–15 cm (the glass will shrink slightly during cooling).
Vật liệu cho bước này:
 Refractory Clay1 kg
 Coarse Sand300 g
Dry the clay mold thoroughly
Dry the clay mold thoroughly
Allow the shaped clay mold to air-dry for 2–3 days in a warm, ventilated space. Turn it periodically to ensure even drying. The mold must be bone-dry before firing — any residual moisture will flash to steam in the kiln and crack the mold, ruining the glass casting. Test by holding the mold to your cheek: if it feels cool, it still contains moisture. A fully dry mold feels neutral or warm.
Fire the mold to bisque hardness
Fire the mold to bisque hardness
Fire the dry mold in a kiln to approximately 900–1000 °C (a standard bisque firing) to convert it to a hard, porous ceramic. This makes the mold strong enough to withstand the sustained high temperatures of the glass-fusing cycle without cracking. A bisque-fired mold also releases the glass more cleanly than raw clay. Fire slowly — raise the temperature no faster than 100 °C per hour through the first 600 °C to prevent thermal shock cracking. Hold at peak temperature for 30 minutes, then allow the kiln to cool naturally.
Vật liệu cho bước này:
 Charcoal5 kg
Công cụ cần thiết:
 Kiln
KilnApply a release agent to the mold interior
Apply a release agent to the mold interior
Dust the interior of the bisque-fired mold with a thin, even layer of calcium carbonate (whiting) powder. This acts as a release agent — it prevents the molten glass from bonding permanently to the clay mold surface. Apply by dipping a cloth in the powder and patting it lightly over the entire interior surface. The layer should be thin and uniform — too thick and it leaves a chalky residue on the glass surface; too thin and the glass sticks. About 1–2 mm of powder coverage is correct.
Vật liệu cho bước này:
 Calcium Carbonate (Whiting)50 g
Pack the glass frit into the prepared mold
Pack the glass frit into the prepared mold
Pour the sieved glass frit into the mold, filling it to just above the rim. Tap the mold gently on a flat surface to settle the frit and eliminate large air pockets. Add more frit to top up after settling. The frit bed should be about 8–10 mm deep for a finished wall thickness of roughly 5–6 mm (the glass compacts as it fuses). Level the surface with a flat stick. If you have fine glass powder reserved from sieving, sprinkle a thin layer over the top — this produces a smoother interior surface on the finished bowl.
Place the filled mold on the kiln floor
Place the filled mold on the kiln floor
Set the filled mold on a level area of the kiln floor. Ensure it sits perfectly flat — if the mold is tilted, the molten glass will flow to one side and produce an uneven bowl. Place small kiln shelves or firebricks around it if needed to create a stable, level platform. Leave space around the mold for heat circulation. Do not stack anything above the mold — the glass surface must be open to allow trapped air to escape upward during fusing.
Raise the kiln temperature slowly to 500 °C
Raise the kiln temperature slowly to 500 °C
Light the kiln and raise the temperature gradually — no faster than 100 °C per hour — up to 500 °C. This slow initial ramp prevents thermal shock to the mold and allows any residual moisture in the frit (surface condensation) to evaporate safely. At 500 °C the glass begins to show a faint red glow but has not yet started to soften. Hold at 500 °C for 30 minutes to equalise the temperature throughout the mold and frit bed before continuing.
Công cụ cần thiết:
 Crucible Tongs (long-handled)
Continue heating to fusing temperature (800–850 °C)
Continue heating to fusing temperature (800–850 °C)
Increase the temperature from 500 °C to 800–850 °C over the next 3–4 hours. Soda-lime glass begins to soften around 700 °C and becomes viscous enough to flow and fuse around 800 °C. At 850 °C the glass fragments merge under their own weight and surface tension pulls the surface smooth. You do not need full melting temperature (which would be above 1000 °C) — frit-fusing works by viscous sintering, where the glass is soft enough to flow into the gaps between particles but thick enough to hold the mold shape.
Hold at peak temperature until the surface is smooth
Hold at peak temperature until the surface is smooth
Hold the kiln at 800–850 °C for 1–2 hours. If the kiln has a spy hole, observe the glass surface — it should gradually transform from a granular, rough texture to a smooth, glossy surface as the frit particles merge. Small bubbles may rise to the surface and pop. When the surface looks uniformly glossy with no visible grain boundaries, the fusing is complete. Holding longer than necessary risks the glass flowing too thin and losing shape, so do not exceed 2 hours at peak temperature.
Begin annealing — cool to 550 °C and hold
Begin annealing — cool to 550 °C and hold
Reduce the kiln temperature to 550 °C over approximately 1 hour. This is the annealing point of soda-lime glass — the temperature at which internal stresses can be relieved by molecular rearrangement. Hold at 550 °C for 2 hours to allow the entire piece to reach a uniform temperature and for residual stresses to relax. Annealing is critical: glass that cools too quickly develops internal stresses that cause it to crack — sometimes days or weeks later. A thick cast piece stores more heat than blown glass, making annealing even more important.
Cool the kiln slowly to room temperature
Cool the kiln slowly to room temperature
After the 2-hour annealing hold, allow the kiln to cool naturally with the door closed. Do not open the kiln door or introduce cold air — even a small draft can cause thermal shock cracking in the still-hot glass. The cooling from 550 °C to room temperature should take at least 8–12 hours. Ideally, do not open the kiln until it is below 50 °C. The glass should be completely cool to the touch before handling.
Remove the glass from the mold
Remove the glass from the mold
Lift the glass bowl from the clay mold. If the release agent was applied correctly, the glass should lift away cleanly with gentle pressure. If it sticks in spots, tap the outside of the mold gently with a wooden mallet — the vibration usually breaks the bond. Do not pry with metal tools against the glass edge, which risks chipping. The exterior surface (mold contact side) will be rough and matt from contact with the clay. The interior surface (open to the kiln atmosphere) should be smoother and slightly glossy.
Chip away any adhering mold material
Chip away any adhering mold material
If fragments of clay mold or whiting residue cling to the glass exterior, remove them carefully with a wooden scraper or stiff brush. Work gently — the rough exterior surface of cast glass can have thin spots or micro-cracks that aggressive scraping might enlarge. Rinse the bowl in clean water to wash away loose residue. The exterior surface at this stage is rough and opaque — this is normal. All the smoothness comes from the grinding and polishing steps that follow.
Grind the exterior surface with coarse sandstone
Grind the exterior surface with coarse sandstone
Rub the rough exterior of the bowl against a flat, wet sandstone slab using a circular motion. Keep the surface wet at all times — dry grinding overheats the glass and risks cracking. The coarse sandstone removes the rough mold texture and brings the surface to a uniform matt finish. Work evenly to maintain a consistent wall thickness. This stage shapes the bowl as much as it smooths it — you can correct slight irregularities in the profile by grinding more in thick areas. Expect 30–60 minutes of grinding to remove the mold texture completely.
Công cụ cần thiết:
 Sandstone (Abrasive)
Grind the rim to a smooth, level edge
Grind the rim to a smooth, level edge
Invert the bowl and grind the rim flat against the wet sandstone. The rim is the most visible part of the finished bowl and must be smooth and even. Check for level by placing the inverted bowl on a flat surface — it should sit without rocking. Round the sharp edges of the rim slightly by angling the bowl during grinding. A sharp glass edge is both fragile and dangerous. The rim should feel smooth to the touch with no sharp corners.
Polish with progressively finer abrasive
Polish with progressively finer abrasive
Move from coarse sandstone to finer abrasive — fine sand on a leather pad, then dampened cloth with very fine quartz powder. Each stage removes the scratches left by the previous one and produces a progressively smoother surface. Work in consistent circular motions. Egyptian glassmakers achieved near-transparent surfaces through hours of patient polishing with fine abrasives. The interior surface needs less work since it was already smooth from the kiln atmosphere during fusing.
Vật liệu cho bước này:
 Fine Sand (silica)100 g
Inspect the finished bowl for defects
Inspect the finished bowl for defects
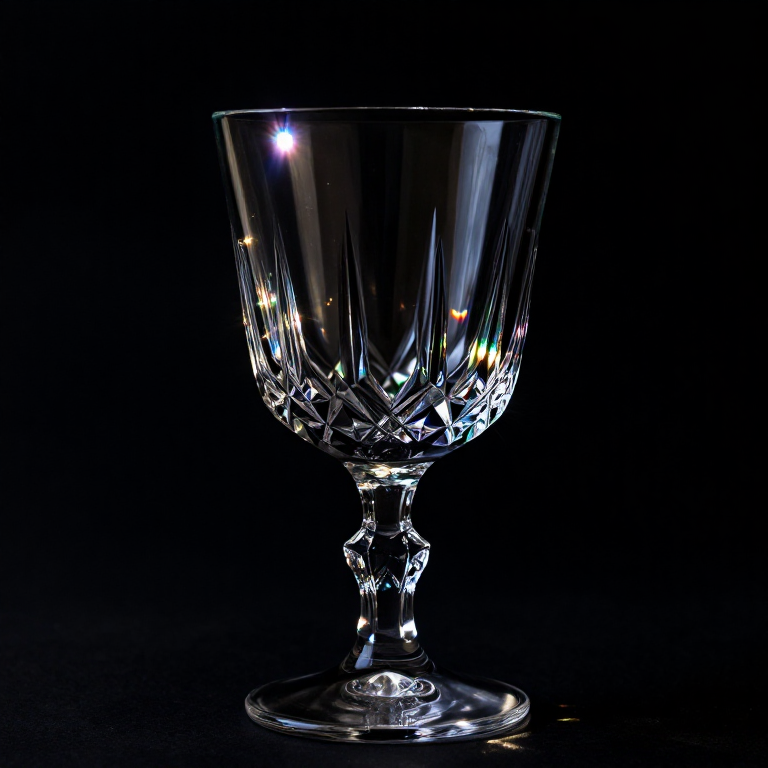
Hold the finished bowl up to bright light and examine for cracks, large bubbles, or thin spots. Small bubbles trapped in the glass are normal in frit-cast work and were common in ancient examples — they add character rather than weakness. Any surface cracks, however, indicate either incomplete annealing or grinding damage and the piece should be re-annealed (heated back to 550 °C and slow-cooled). A well-made cast glass bowl is heavy, solid, and translucent — light passes through it with a soft glow. The finished piece closely resembles the ancient Egyptian cast glass bowls found in tombs of the New Kingdom period.
Vật liệu
6- 500 gTạm thời
- 1 kgTạm thời
- Tạm thời
- Tạm thời
- 100 gTạm thời
Công cụ yêu cầu
7- Tạm thời
- Tạm thời
- Tạm thời
- Tạm thời
- Tạm thời
Vật liệu bản thiết kế liên kết
Blueprint liên quan
Các blueprint này chia sẻ kiến thức — kỹ thuật, vật liệu hoặc nguyên tắc
Related blueprints
Other builds that share materials, tools, or techniques with this one.

CC0 Phạm vi công cộng
Bản thiết kế này được phát hành theo CC0. Bạn tự do sao chép, sửa đổi, phân phối và sử dụng cho bất kỳ mục đích nào mà không cần xin phép.
Hỗ trợ nhà sáng tạo bằng cách mua sản phẩm qua bản thiết kế, nơi họ nhận Hoa hồng nhà sáng tạo do nhà bán hàng đặt, hoặc tạo phiên bản mới và kết nối trong bản thiết kế riêng để chia sẻ doanh thu.