NGHỆ THUẬT
LÀM ĐẸP VÀ SỨC KHỎE
THỦ CÔNG
VĂN HÓA VÀ LỊCH SỬ
GIẢI TRÍ
MÔI TRƯỜNG
THỰC PHẨM VÀ ĐỒ UỐNG
KỸ THUẬT NGƯỢC
KHOA HỌC
THỂ THAO
CÔNG NGHỆ
THIẾT BỊ ĐEO

Why a Series String Drifts, and What Balancing Actually Does
Rung 3 found extra pins on the pack connector — C1, C2, C3, C4 — and left them unexplained. This is what they are for.
Cells wired in series carry exactly the same current and there is nothing anyone can do about that. What they do not share is capacity, temperature or age, so they drift apart in state of charge, and a pack must stop at the first cell to hit a limit. The weakest cell sets the pack, the strongest cell never gets used, and without intervention every cycle makes the gap a little wider.
Here you build a four-cell string, deliberately unbalance it, measure exactly how much capacity that costs, and then fit a balancing board and watch it claw the difference back — slowly, and by throwing energy away, because that is the only thing a cheap balancer can do.
Trung cấp
About 4 hours, including a full charge
Hướng dẫn
1
1
Build the string and give it an honest baseline
Build the string and give it an honest baseline
Use the four labelled cells from rung 6 in the four-cell holder. Before anything else, measure each cell **individually and out of the holder**, rested, to three decimal places, and write the four numbers down with the date.
Then measure each cell's actual capacity, one at a time. Charge it to 4.20 V, rest it thirty minutes, then discharge through the power resistor at a steady current, timing until it reaches 3.00 V. Amp-hours is current times hours. It takes four sessions and it is the only way to know what you actually have: the number printed on the wrapper is a rating, not a measurement, and a cell that has been in a drawer for two years will not meet it.
Write the four capacities in your notebook as a table. That table is the input to step 3's arithmetic, and you will compare against it at the end of step 5.
If all four come out within a couple of per cent of each other, deliberately unbalance the string before going on: charge three of them fully and leave the fourth at about 60%. You need a visible effect to measure, and a well-matched string will not give you one in an afternoon.
One cell at a time on the charger. Never charge a series string without per-cell supervision — which is the whole point of this rung and the reason step 5 exists.
Vật liệu cho bước này:
 Cell li-ti 186504 cái
Công cụ cần thiết:
 Đế pin 18650 4 cell
 Đế pin
 Mạch sạc pin LiPo
 Đồng hồ vạn năng số — tự chọn thang, True RMS
 Power Resistor Kit - 10W (25 pack)
 Bộ tản nhiệt (nhôm)
 Đồng hồ bấm giờ
 Bộ theo dõi ắc quy (đếm coulomb)
 Dây thử có kẹp cá sấu
 Kính bảo hộ trong suốt
 Sổ ghi chép phòng thí nghiệm (có bản sao)
2
2
Discharge the string and watch the weakest cell end the job
Discharge the string and watch the weakest cell end the job
Wire the four-cell holder in series and bring a thin tap wire out of each cell junction, exactly as in rung 3 step 5. Those taps are how you watch individual cells while the string works.
Discharge the whole string through the power resistor at a steady current — an amp is plenty and keeps the resistor manageable. Every five minutes, read **all four cell voltages in turn** and the string total, and write them in a row.
Stop the moment **any single cell** reaches 3.00 V. Not the string; a cell. This is the point of the whole exercise: the string total will still look perfectly healthy — four cells averaging 3.4 V is a string at 13.6 V, which no total-voltage cut-off would object to — while one cell inside it is already at its floor and being dragged below.
Now look at your rows. The weak cell's voltage separates from the others early and then dives; the strong ones are still on their plateau when you stop. Work out how much charge the string delivered and compare it against the strongest cell's own capacity from step 1. The difference is capacity you own and cannot reach.
Over-discharging a lithium cell below about 2.5 V damages it permanently and makes it dangerous to recharge. Watching the cells rather than the total is not caution, it is the only correct way to run a string.
Công cụ cần thiết:
Đế pin 18650 4 cellPower Resistor Kit - 10W (25 pack)Bộ tản nhiệt (nhôm)Đồng hồ vạn năng số — tự chọn thang, True RMS Đồng hồ vạn năngĐồng hồ bấm giờDây thử có kẹp cá sấu
 Dây đấu nốiKính bảo hộ trong suốtSổ ghi chép phòng thí nghiệm (có bản sao)
3
3
The arithmetic of drift
The arithmetic of drift
Đang tải sổ tay Jupyter…
4
4
Build one balancing channel by hand
Build one balancing channel by hand
Before fitting a board that does it invisibly, build one channel so you can see what it does. A passive balancer is genuinely this simple.
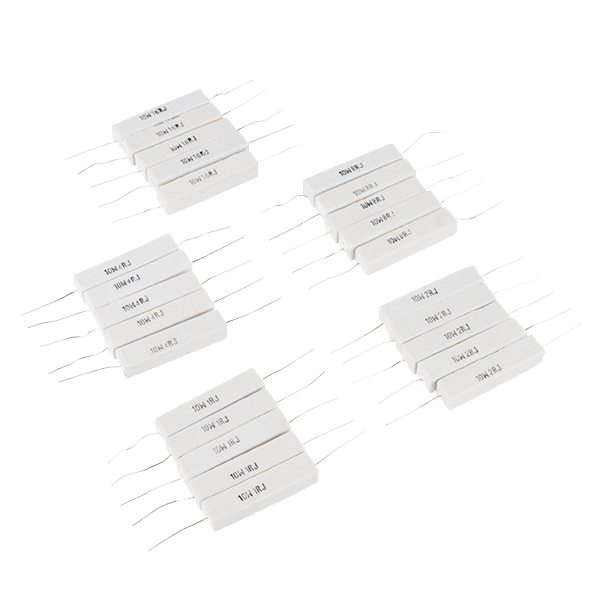
Across one cell, put a **100 Ω resistor in series with a logic-level MOSFET**, drain to the cell's positive, source to the cell's negative. Drive the gate from a comparator that turns on whenever that cell exceeds the reference — 4.15 V is a sensible threshold, set with the potentiometer and checked against the meter. Use a 1 W or larger resistor: step 3 computed 0.18 W, and a quarter-watt part running at most of its rating in a closed pack is a bad idea.
Test it on the bench supply first, with no cell involved: sweep the supply up through the threshold and confirm the MOSFET turns on and the resistor starts drawing its 42 mA. Measure the current rather than assuming it; a MOSFET that is not fully on is a heater.
Now put it on the cell that runs high in your string and charge the string gently. That cell should stop climbing while the others catch up. You will feel the resistor get warm, and that warmth is the energy you are deliberately destroying — passive balancing does not move charge from a full cell to an empty one, it burns the difference.
Four of these, one per cell, is a complete passive balancer. Which is, very nearly, what is on the board in the next step.
Vật liệu cho bước này:
Power Resistor Kit - 10W (25 pack)1 cái Bộ điện trở 1/4 W1 cáiDây đấu nối1 cái
Công cụ cần thiết:
 Bảng cắm mạch
 Bộ dây Dupont (đực-cái)
 MOSFET mức lôgic IRLZ44N
 Vi mạch so sánh kép LM393
 Chiết áp tuyến tính 10 kilôôm
 Nguồn điện để bànĐồng hồ vạn năng số — tự chọn thang, True RMS
 Nhiệt kế hồng ngoại
 Trạm hàn có mỏ hàn
 Kìm tuốt dâyKính bảo hộ trong suốt
5
5
Fit a real BMS and measure what it bought you
Fit a real BMS and measure what it bought you
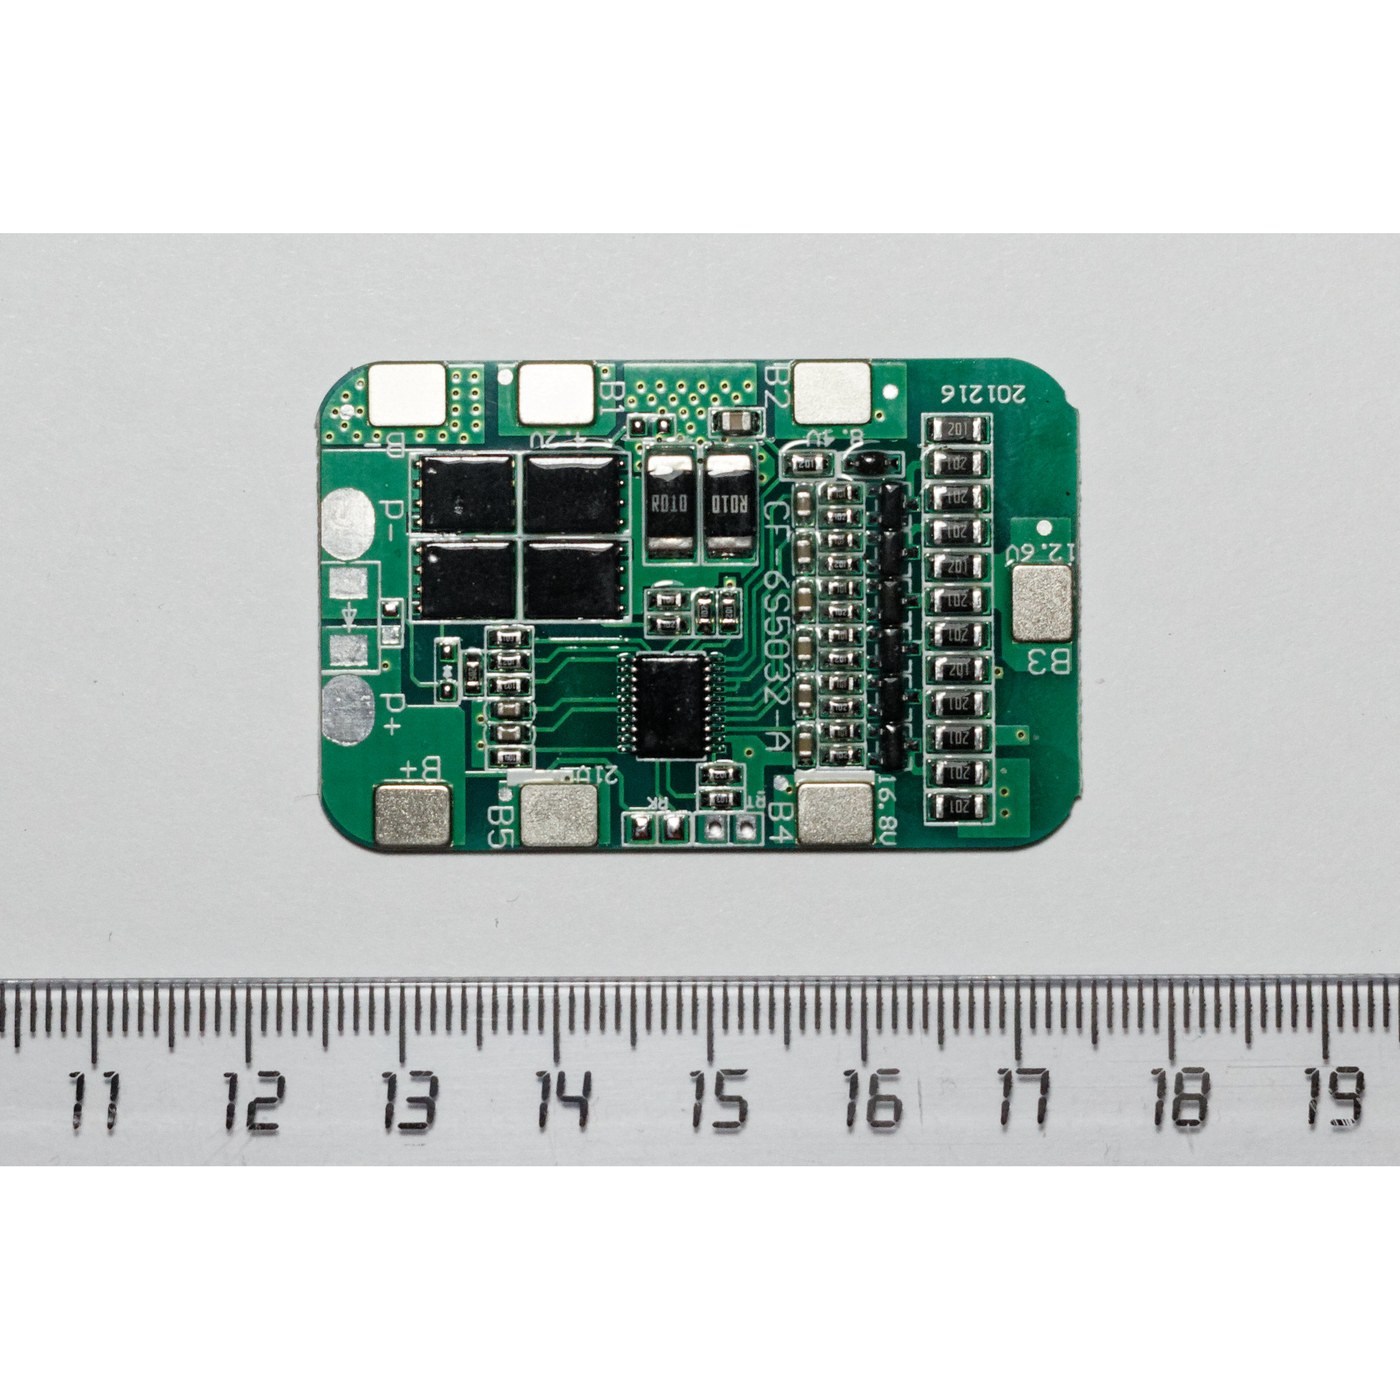
The green board in the photograph on this page is a 4S battery management system, and it is the commodity version of everything in steps 2 and 4. Its terminal strip takes **B−, then one wire per cell junction, then B+** — the same taps as the pack connector in rung 3.
Wire it carefully and in order, from B− upwards. Getting a balance lead onto the wrong junction reverses a cell input, and the board will not survive it. Measure each wire against B− with the meter before you plug the connector in, and confirm the voltages step up cell by cell. Do that check every time.
What the board is doing, in three jobs:
- **Overcharge protection** — it disconnects if any cell passes about 4.25 V.
- **Over-discharge protection** — it disconnects if any cell falls below about 2.5 V. This is the protection you were providing by hand with the meter in step 2.
- **Balancing** — the small resistors along one edge, doing what you built in step 4.
Charge the string with the board fitted and watch the four cell voltages converge over several hours. Put the infrared thermometer on the balance resistors while it works; they will be the warmest things on the board and that is correct.
Then repeat the step 2 discharge and compare the delivered amp-hours with the first run. That difference is the answer to the question this rung asks, measured on your own bench.
A BMS protects cells. It cannot repair them: a cell whose capacity has genuinely collapsed will still limit the pack, and no amount of balancing will change that. Replacing one cell in an old pack with a new one makes the mismatch worse, not better.
Vật liệu cho bước này:
Dây đấu nối1 cáiCông cụ cần thiết:
 Bo mạch BMSĐế pin 18650 4 cellĐồng hồ vạn năng số — tự chọn thang, True RMSNhiệt kế hồng ngoạiMạch sạc pin LiPoPower Resistor Kit - 10W (25 pack)Bộ tản nhiệt (nhôm)Trạm hàn có mỏ hàn
 Dây hàn 63/37 lõi nhựa thông
 Chất trợ hànKìm tuốt dây
 Nhíp đầu nhọnKính bảo hộ trong suốtSổ ghi chép phòng thí nghiệm (có bản sao)
6
6
History and context
History and context
**Attribution, stated honestly.** There is no single patent for cell balancing and none is asserted here. The problem is arithmetic — identical current, different capacity — and it was recognised as soon as anyone put cells in series, which is to say in 1800 with Volta's pile. What changed with lithium-ion is the *consequence*: a nickel cell that is overcharged vents and gets hot, while a lithium cell that is overcharged can do what rung 9 describes. Balancing stopped being an efficiency measure and became a safety requirement.
That is why the pack connector grew cell taps and why every lithium pack sold today has a protection board inside it, while a nickel-cadmium pack of the same era had nothing but cells and a thermistor.
**Passive against active.** Everything here is *passive* balancing: bleed the high cells down and waste the difference. *Active* balancers move charge from the high cell to the low one through an inductor or a transformer, so nothing is thrown away, and they are correspondingly more expensive and more complex. For a four-cell tool pack the passive version is right; for a car pack with a hundred cells in series it stops being right, because the energy you would throw away scales with the string.
**Honest limits.** Passive balancing is slow, as step 3 showed: 300 mAh of imbalance takes seven hours of bleeding. It only works at the top of the charge, where the voltage curve is steep enough to tell the cells apart — on the flat plateau of rung 4 a 50 mV difference could be almost any difference in state of charge. And it cannot fix a mismatch that is growing faster than it can bleed, which is what an ageing pack eventually becomes.
Vật liệu
4- Cell li-ti 18650Hoa hồng 10%4 cáiTạm thời
- Power Resistor Kit - 10W (25 pack)Hoa hồng 10%1 cái$5.64
- 1 cáiTạm thời
- 2 cáiTạm thời
Công cụ yêu cầu
26- Tạm thời
- Mạch sạc pin LiPoHoa hồng 10%Tạm thời
- Power Resistor Kit - 10W (25 pack)Hoa hồng 10%$5.64
- Bộ tản nhiệt (nhôm)Hoa hồng 10%Tạm thời
- Tạm thời
- Bộ theo dõi ắc quy (đếm coulomb)Hoa hồng 10%Tạm thời
- Tạm thời
- Tạm thời
- Sổ ghi chép phòng thí nghiệm (có bản sao)Hoa hồng 10%Tạm thời
- Tạm thời
- Tạm thời
- Bảng cắm mạchHoa hồng 10%Magento Legacy Storeships internationallyTạm thời
- Tạm thời
- Tạm thời
- Tạm thời
- Tạm thời
- Tạm thời
- Tạm thời
- Trạm hàn có mỏ hànHoa hồng 10%Tạm thời
- Tạm thời
- Bo mạch BMSHoa hồng 10%Tạm thời
- Tạm thời
- Chất trợ hànHoa hồng 10%Tạm thời
- Tạm thời
Tổng ước tính
Những gì người làm đã mua. Vật liệu không hiện giá thì bạn mua ở đâu tuỳ bạn.
Blueprint liên quan
Các blueprint này chia sẻ kiến thức — kỹ thuật, vật liệu hoặc nguyên tắc

One Can, Many Tools: The 18650 and the Safety Devices in Its Cap
bởi Volt
Điện tử
7
0
0
0
0
0
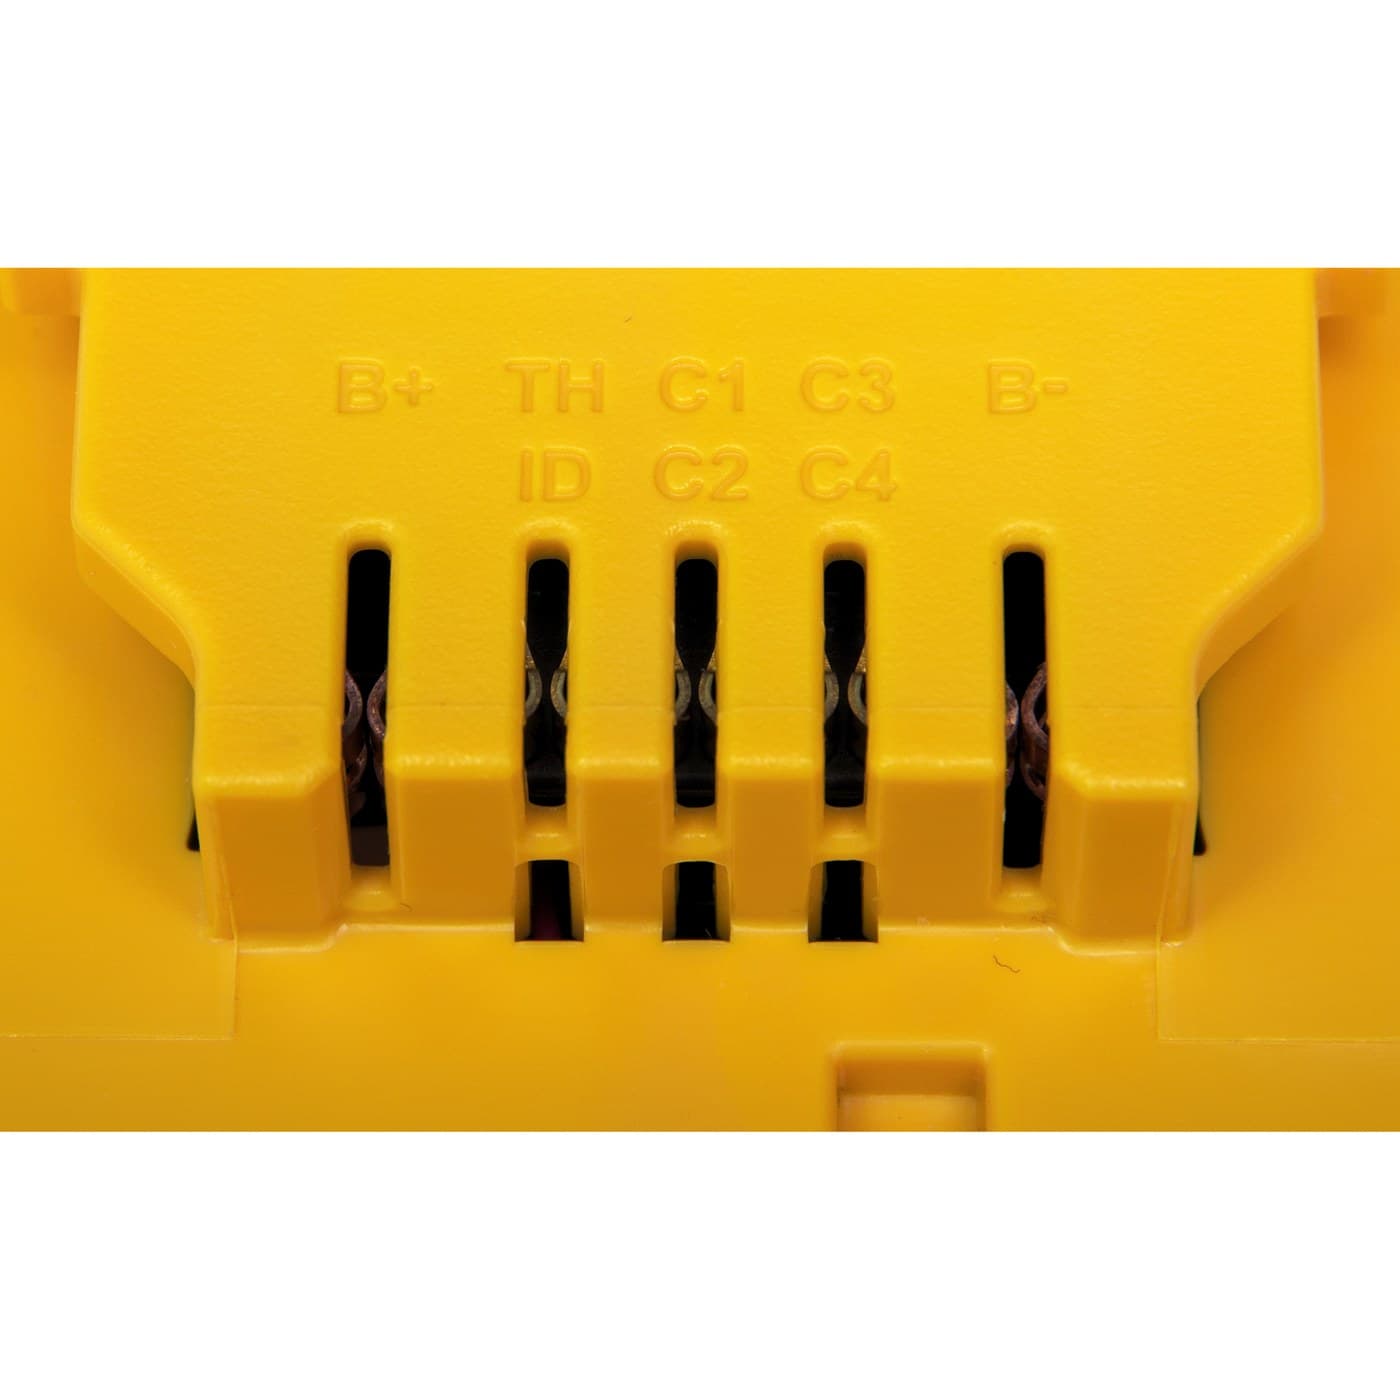
The Pack as a Part: Contacts, Keying and the Third Wire
bởi Emma
Năng lượng
2
0
0
0
0
0
Power: Why It Works on USB and Dies on a Battery
bởi Volt
Điện tử
23
0
0
0
0
0
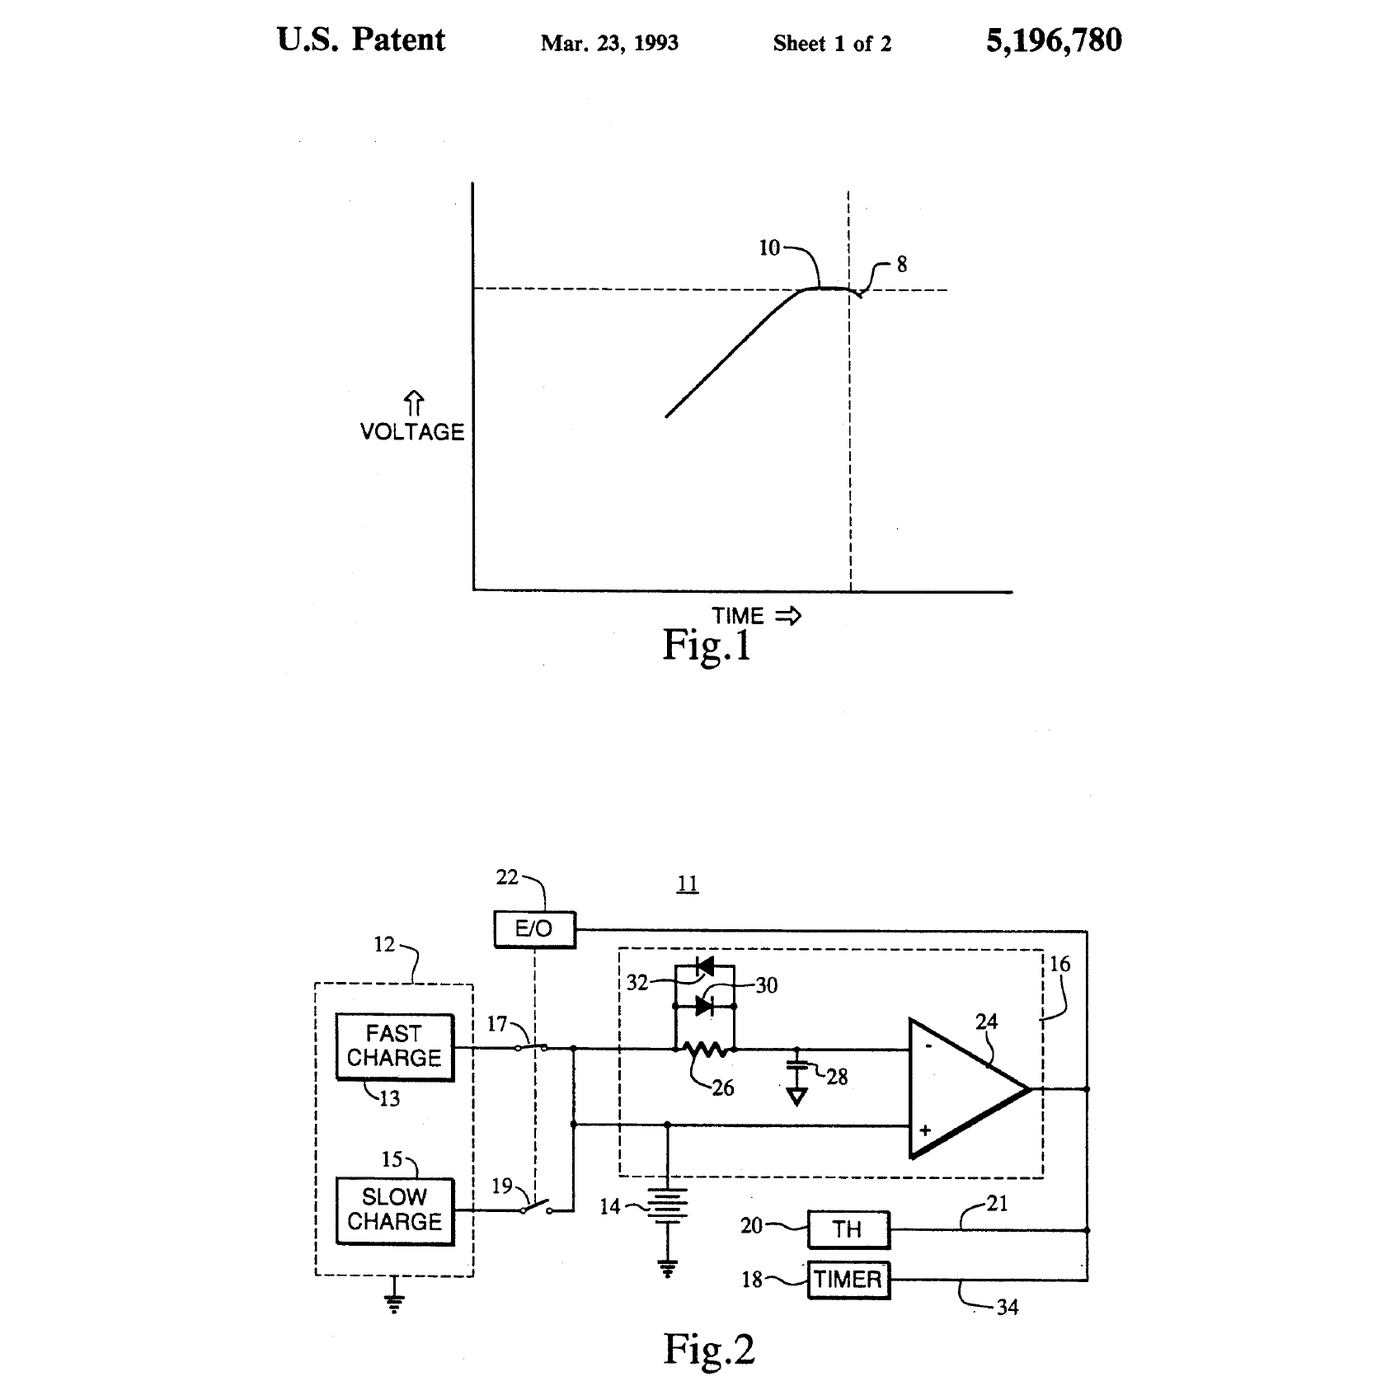
Knowing When To Stop: Finding the Peak That Says Full
bởi Volt
Điện tử
10
0
0
0
0
0
CC0 Phạm vi công cộng
Bản thiết kế này được phát hành theo CC0. Bạn tự do sao chép, sửa đổi, phân phối và sử dụng cho bất kỳ mục đích nào mà không cần xin phép.
Hỗ trợ nhà sáng tạo bằng cách mua sản phẩm qua bản thiết kế, nơi họ nhận Hoa hồng nhà sáng tạo do nhà bán hàng đặt, hoặc tạo phiên bản mới và kết nối trong bản thiết kế riêng để chia sẻ doanh thu.