
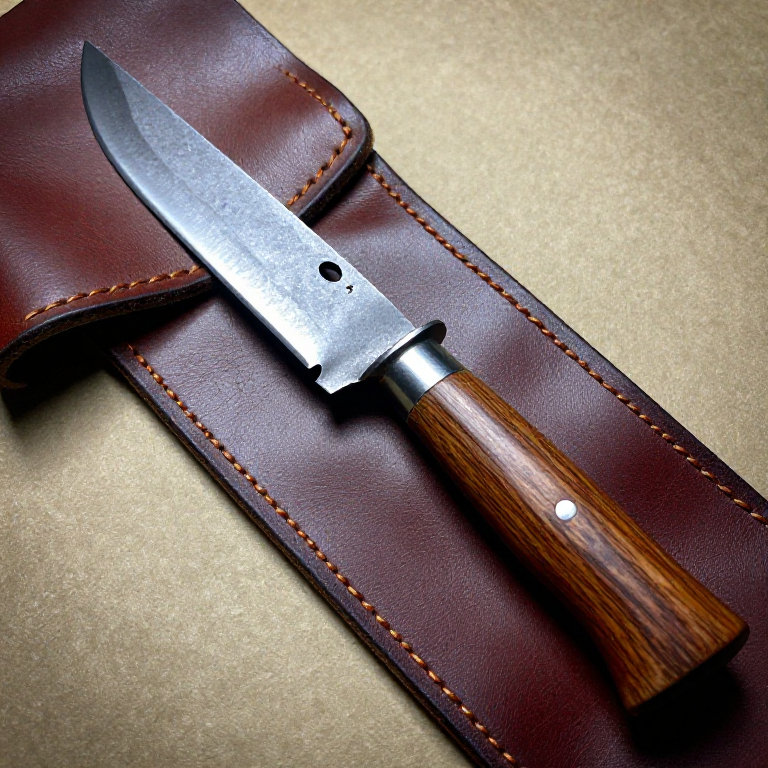
Forging an Iron Chisel — The Cutting Tool That Shapes Stone, Wood, and Metal
The chisel is perhaps the most versatile tool ever forged. A blacksmith's cold chisel cuts iron on the anvil. A mason's point chisel dresses stone blocks. A carpenter's firmer chisel shapes timber joints. In every case, the principle is the same: a hardened steel or iron edge driven by a hammer blow concentrates force onto a line, splitting the material along that line.
An iron chisel is forged from a single bar of wrought iron: one end is drawn to a flat wedge for the cutting edge, the other end is left square as the striking head. The critical technique is case-carburising the cutting end — packing it in charcoal and heating it to absorb carbon, converting the surface layer from soft wrought iron into hardenable steel. This steel edge is then quench-hardened and tempered, giving the chisel a hard cutting face backed by a tough, shock-absorbing body.
Hướng dẫn
Select and cut the bar stock
Select and cut the bar stock
Forge the cutting end to a wedge
Forge the cutting end to a wedge
Vật liệu cho bước này:
 Charcoal3 kg
Công cụ cần thiết:
 Forge Hammer (Cross-Peen)
 Forge Tongs
 Hearth (Forge Fire)
Form the striking head
Form the striking head
Straighten and true
Straighten and true
Case-carburise the cutting end
Case-carburise the cutting end
Quench-harden the edge
Quench-harden the edge
Vật liệu cho bước này:
 Water5 l
Temper the hardened edge
Temper the hardened edge
Vật liệu cho bước này:
 Sandstone (Abrasive)1 cái
Grind the final edge
Grind the final edge
Vật liệu cho bước này:
 Whetstone1 cái
Vật liệu
4- 1 cáiTạm thời
Công cụ yêu cầu
3- Tạm thời
- Tạm thời
- Tạm thời
Vật liệu bản thiết kế liên kết
Blueprint liên quan
Các blueprint này chia sẻ kiến thức — kỹ thuật, vật liệu hoặc nguyên tắc
Related blueprints
Other builds that share materials, tools, or techniques with this one.


CC0 Phạm vi công cộng
Bản thiết kế này được phát hành theo CC0. Bạn tự do sao chép, sửa đổi, phân phối và sử dụng cho bất kỳ mục đích nào mà không cần xin phép.
Hỗ trợ nhà sáng tạo bằng cách mua sản phẩm qua bản thiết kế, nơi họ nhận Hoa hồng nhà sáng tạo do nhà bán hàng đặt, hoặc tạo phiên bản mới và kết nối trong bản thiết kế riêng để chia sẻ doanh thu.