Forging Iron Nails by Hand — Drawing, Cutting, and Heading
Before wire-drawing machines and nail-cutting factories, every nail was forged individually by hand. A skilled nailer could produce 200-300 nails per day — and millions were needed. The Roman army alone consumed an estimated 7 tonnes of iron nails for a single fortress. Medieval cathedrals, Viking longships, and colonial farmhouses all depended on hand-forged nails.
The process is deceptively simple: heat an iron rod, draw it to a taper, cut it to length, insert the cut end into a heading plate, and hammer the protruding end into a head. Each nail takes about 30 seconds for an experienced nailer — making it one of the fastest and most repetitive forge operations.
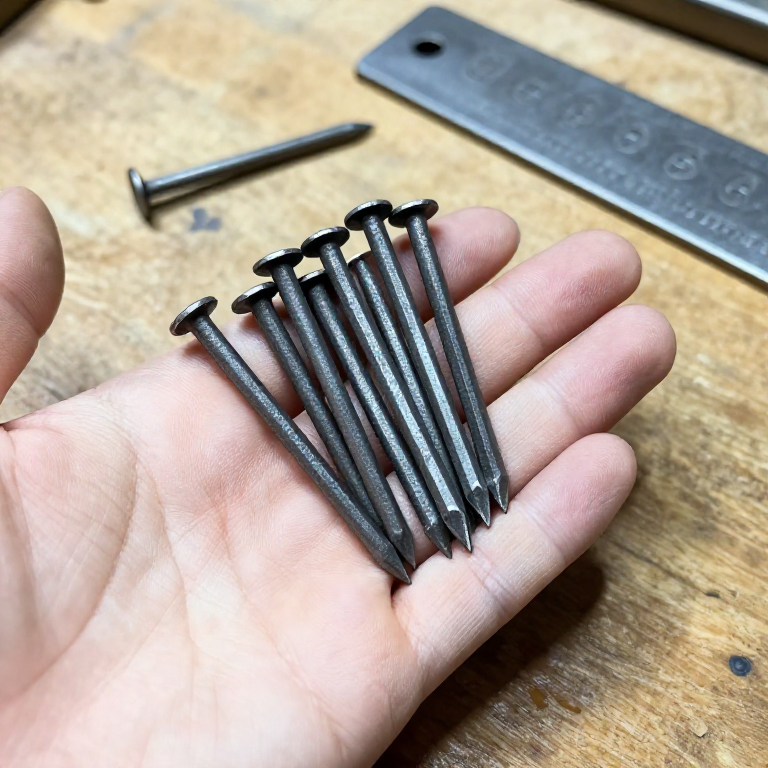
Hand-forged nails have a characteristic square cross-section (from the square rod stock) and an irregular rose head from the final heading blows. This is the blueprint for the most-produced iron object in human history.
Hướng dẫn
Prepare the nail rod
Prepare the nail rod
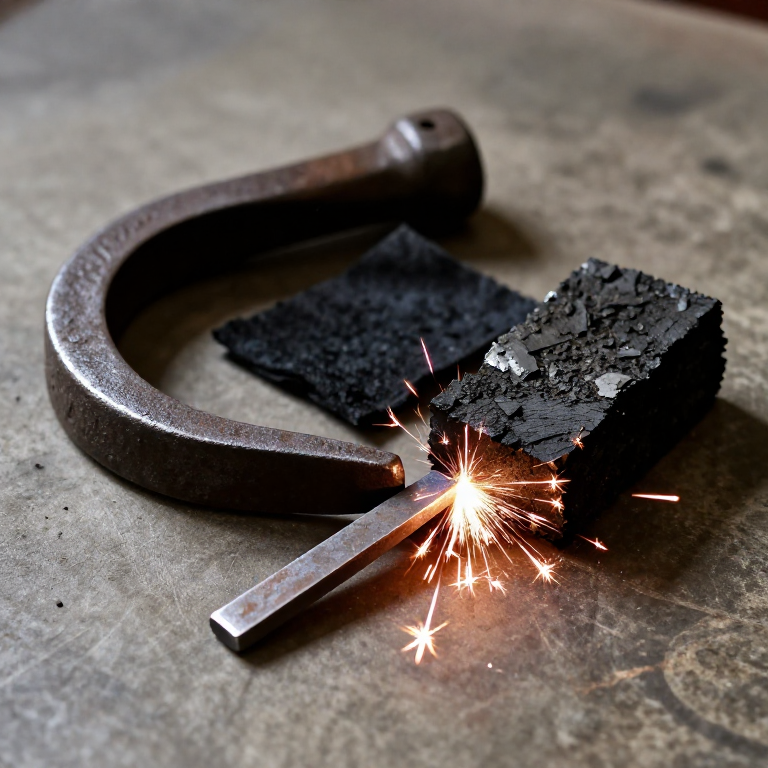
Vật liệu cho bước này:
 Charcoal2 kg
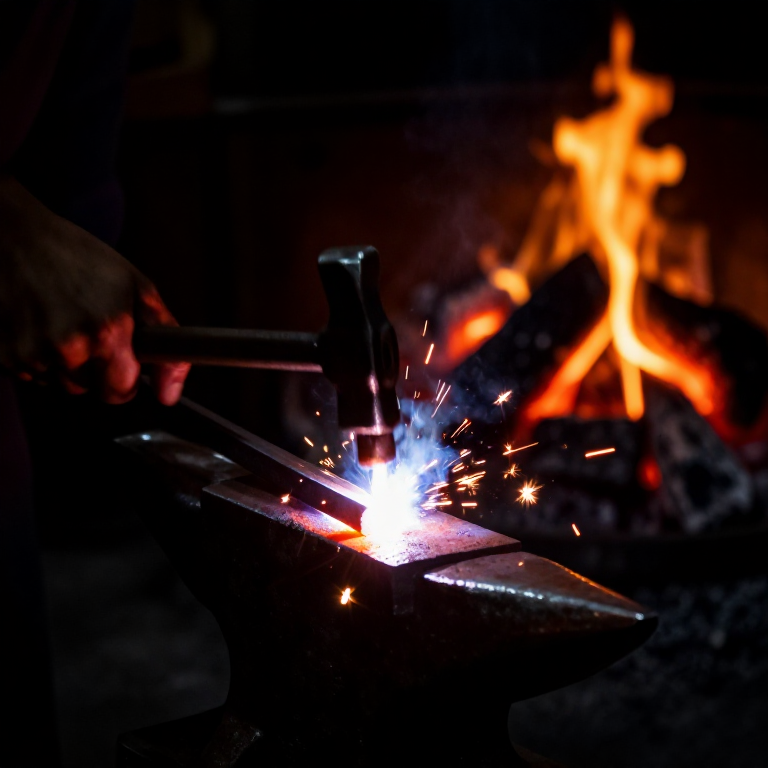
Heat the tip to forging temperature
Heat the tip to forging temperature
Công cụ cần thiết:
 Hearth (Forge Fire)
Draw the taper
Draw the taper
Công cụ cần thiết:
 Forge Hammer (Cross-Peen)
 Forge Tongs
Cut nearly through at the nail length
Cut nearly through at the nail length
Insert into the heading plate
Insert into the heading plate
Forge the head
Forge the head
Snap free and quench
Snap free and quench
Vật liệu cho bước này:
 Water2 l
Repeat for the batch
Repeat for the batch
Công cụ yêu cầu
3- Tạm thời
- Tạm thời
- Tạm thời
Vật liệu bản thiết kế liên kết
Blueprint liên quan
Các blueprint này chia sẻ kiến thức — kỹ thuật, vật liệu hoặc nguyên tắc
Related blueprints
Other builds that share materials, tools, or techniques with this one.


CC0 Phạm vi công cộng
Bản thiết kế này được phát hành theo CC0. Bạn tự do sao chép, sửa đổi, phân phối và sử dụng cho bất kỳ mục đích nào mà không cần xin phép.
Hỗ trợ nhà sáng tạo bằng cách mua sản phẩm qua bản thiết kế, nơi họ nhận Hoa hồng nhà sáng tạo do nhà bán hàng đặt, hoặc tạo phiên bản mới và kết nối trong bản thiết kế riêng để chia sẻ doanh thu.