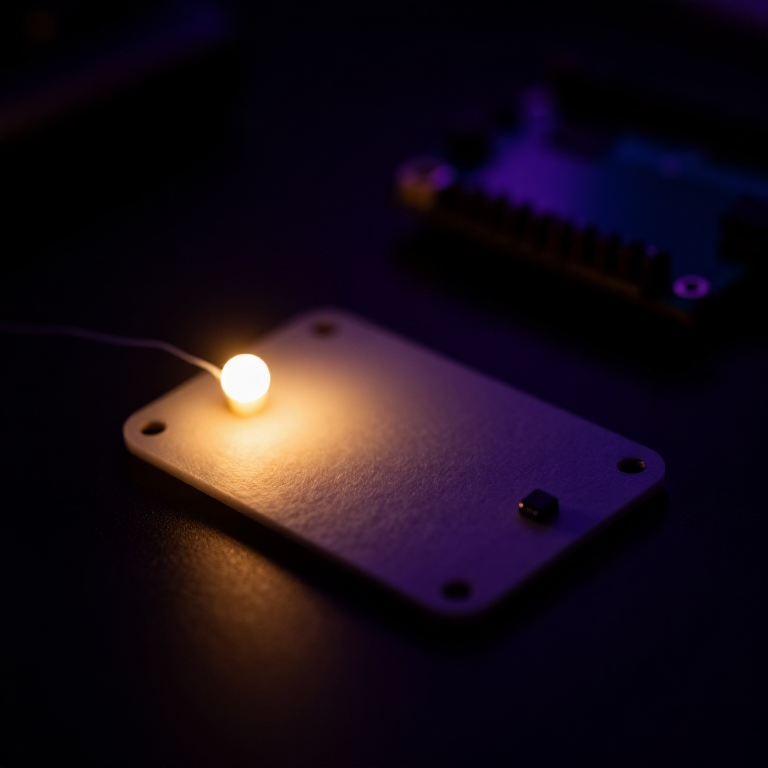


Making a LilyPad Night-Light
Give your fabric a sense of sight. A LilyPad light sensor tells the microcontroller how bright the room is, and a short program switches an LED on when it gets dark. Sew it into a bag, a hat or a bedside patch for a soft glow that only appears at night — your first sensor-driven wearable.
Hướng dẫn
Sew the board, sensor and LED
Sew the board, sensor and LED
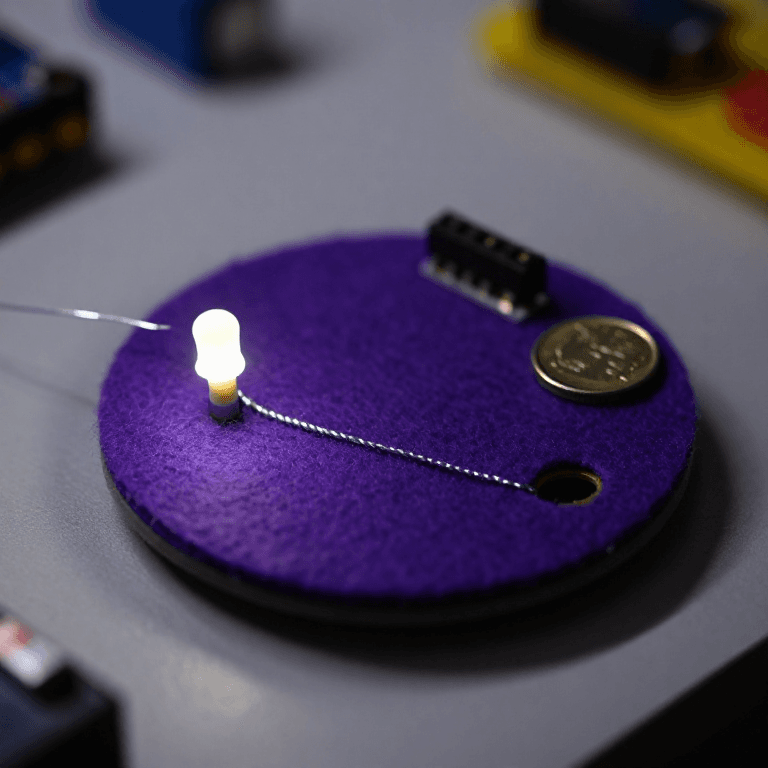
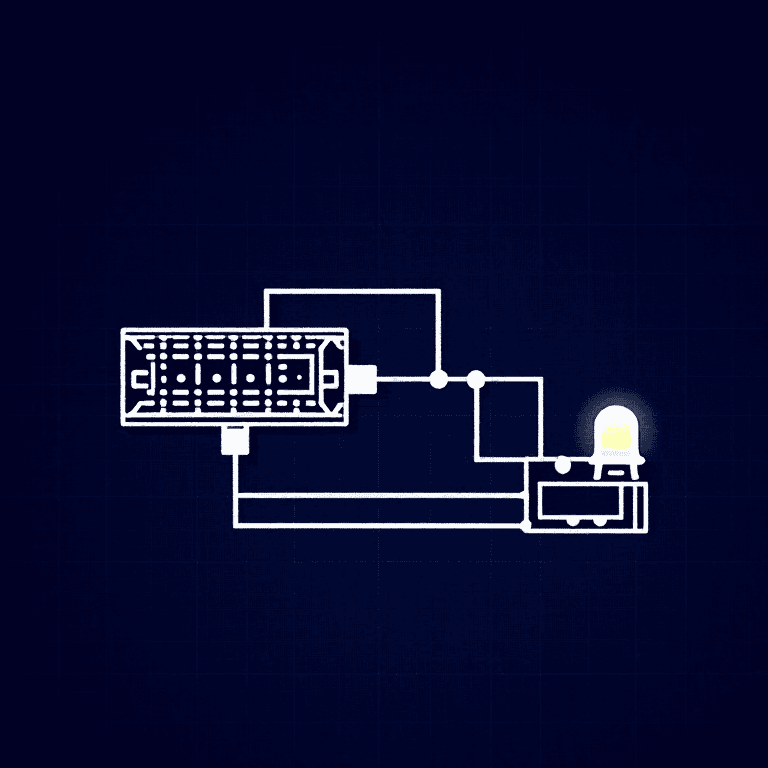
Sew a LilyPad Arduino, a LilyPad light sensor and a LilyPad LED onto felt. Wire it: the LED's + tab to pin 5 and its - tab to -; the sensor's + tab to the board's +, its - tab to -, and its signal (S) tab to analog pin A2. Keep the power (+), ground (-) and signal lines from crossing anywhere.
Vật liệu cho bước này:
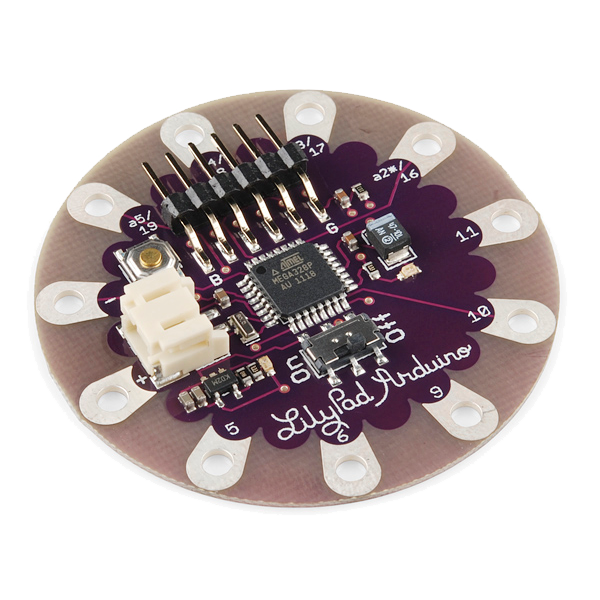 LilyPad Arduino Simple Board1 cái
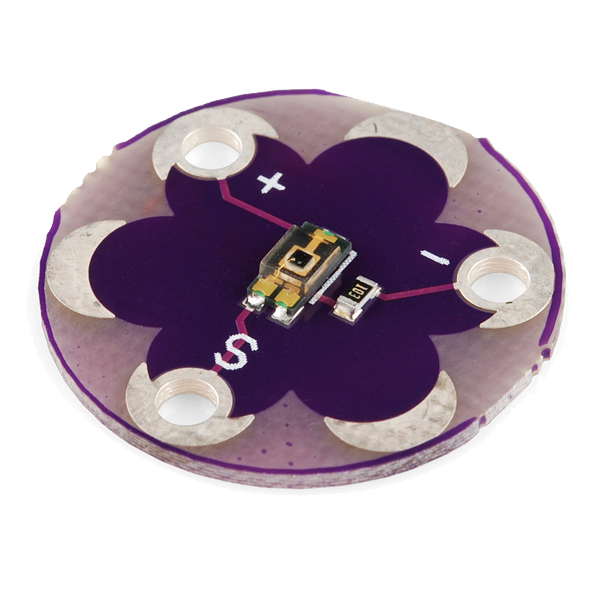 LilyPad Light Sensor1 cái
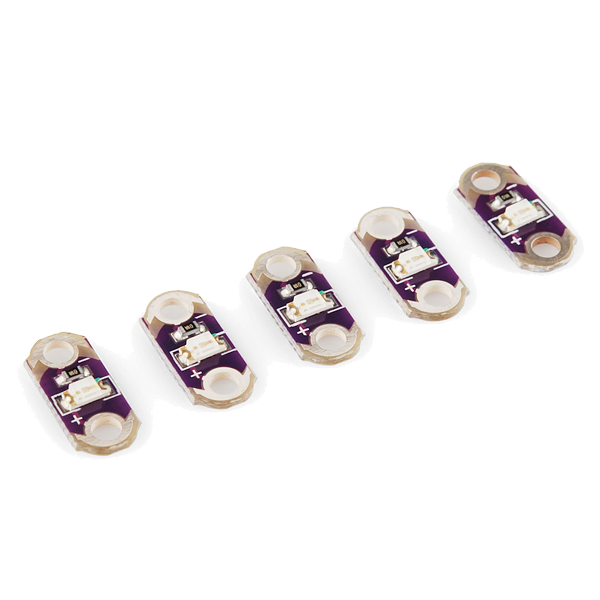 LilyPad LED - 5 pcs1 gói
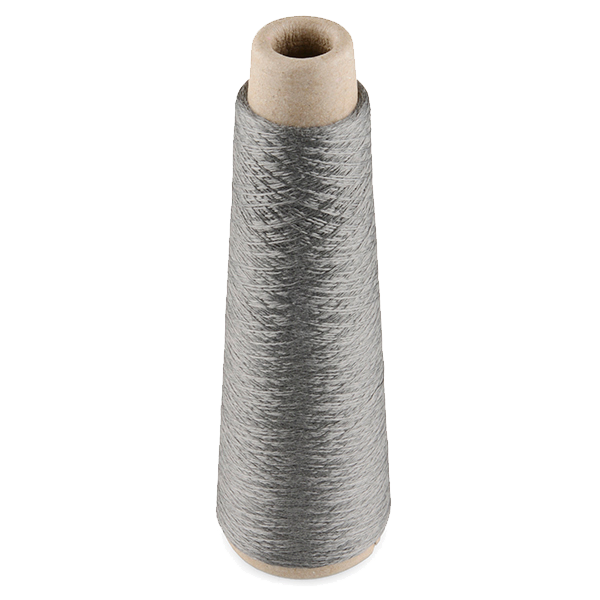 Conductive Thread - 60g (Stainless Steel)1 ống
 Tấm nỉ len1 tờ
Công cụ cần thiết:
 Kim khâu tay
Connect the programmer
Connect the programmer
Plug the LilyPad FTDI onto the programming header and connect the USB cable to your computer. Open the Arduino IDE and select the LilyPad Arduino board and its serial port.
Công cụ cần thiết:
 Máy tính cài Arduino IDE
 LilyPad FTDI Basic Breakout - 5V
 Cáp USB-B
Upload the night-light sketch
Upload the night-light sketch
Paste this sketch and click Upload. It reads the light sensor and turns the LED on whenever the room is darker than the threshold.
Calibrate the threshold
Calibrate the threshold
Cover the sensor with your hand — the LED should come on; in a bright room it should stay off. If it triggers too early or too late, change the threshold number in the sketch and re-upload: higher turns it on in more light, lower waits for darker.
Go wireless and wear it
Go wireless and wear it
Unplug the FTDI, sew a LilyPad coin-cell holder to the board (+ to +, - to -), drop in a CR2032 and switch on. Sew the felt onto a bag, hat or cushion — it now glows on its own whenever the light drops.
Vật liệu cho bước này:
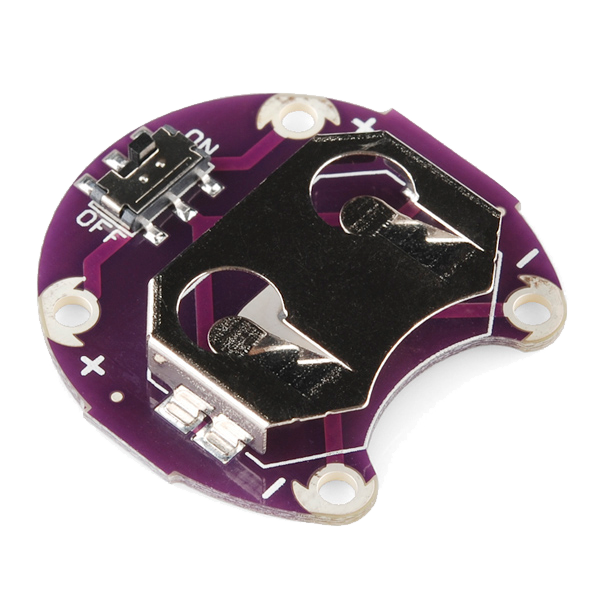 LilyPad Coin Cell Battery Holder - w/Switch - 20mm1 cái
 Pin cúc áo CR20321 cái
Vật liệu
7- LilyPad Arduino Simple BoardHoa hồng 10%1 cái$19.44
- LilyPad Light SensorHoa hồng 10%1 cái$7.56
- LilyPad LED - 5 pcsHoa hồng 10%1 gói$4.16
- Conductive Thread - 60g (Stainless Steel)Hoa hồng 10%1 ống$39.80
- 1 tờTạm thời
- 1 cái$5.01
- 1 cáiTạm thời
Công cụ yêu cầu
4- Tạm thời
- Tạm thời
- LilyPad FTDI Basic Breakout - 5VHoa hồng 10%$14.26
- 1 vendor sell this, none ship to you yetTạm thời
Blueprint liên quan
Các blueprint này chia sẻ kiến thức — kỹ thuật, vật liệu hoặc nguyên tắc
CC0 Phạm vi công cộng
Bản thiết kế này được phát hành theo CC0. Bạn tự do sao chép, sửa đổi, phân phối và sử dụng cho bất kỳ mục đích nào mà không cần xin phép.
Hỗ trợ nhà sáng tạo bằng cách mua sản phẩm qua bản thiết kế, nơi họ nhận Hoa hồng nhà sáng tạo do nhà bán hàng đặt, hoặc tạo phiên bản mới và kết nối trong bản thiết kế riêng để chia sẻ doanh thu.