NGHỆ THUẬT
LÀM ĐẸP VÀ SỨC KHỎE
THỦ CÔNG
VĂN HÓA VÀ LỊCH SỬ
GIẢI TRÍ
MÔI TRƯỜNG
THỰC PHẨM VÀ ĐỒ UỐNG
KỸ THUẬT NGƯỢC
KHOA HỌC
THỂ THAO
CÔNG NGHỆ
THIẾT BỊ ĐEO
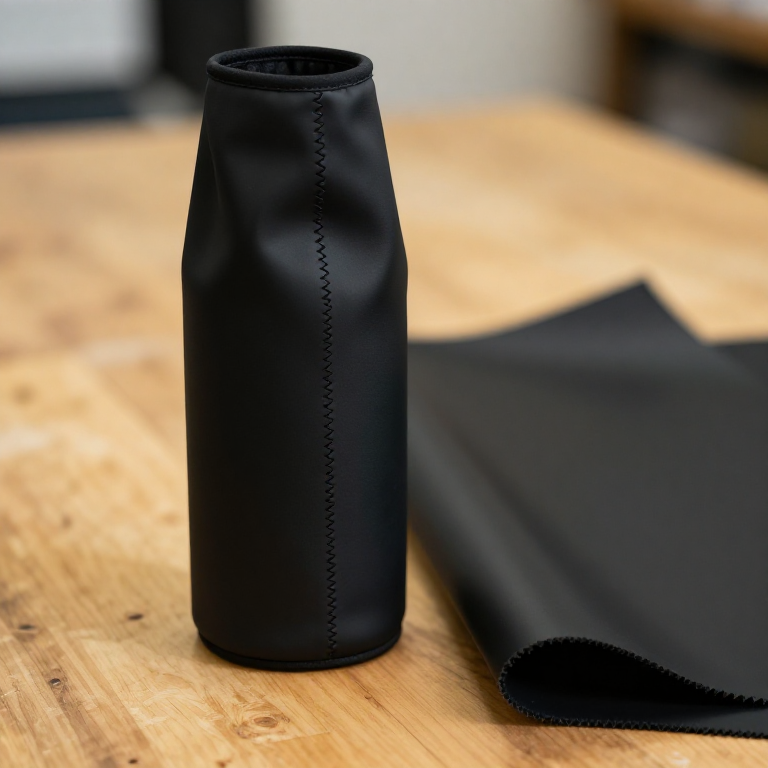


Neoprene
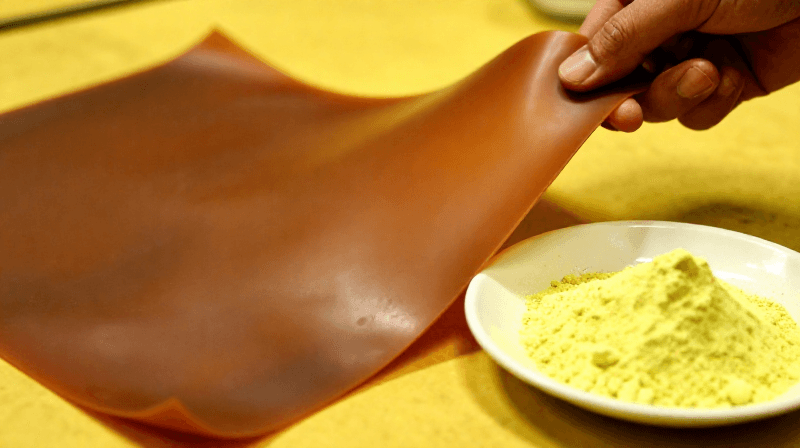
Natural rubber swells and softens in oil and cracks in sunlight. In April 1930 Arnold Collins, working in Wallace Carothers' group at DuPont, isolated chloroprene - a close relative of the isoprene in natural rubber, with one chlorine atom in place of a methyl group - and found that it polymerised by itself into a rubber-like solid. DuPont sold it from 1931 as DuPrene and renamed it neoprene in 1937. It was one of the first commercially successful synthetic rubbers, and its selling point was exactly what natural rubber lacked: resistance to oil, weather and heat.
**No patent number is cited here**: the chemistry is well documented and dated, but no single patent was verified as covering neoprene itself, so none is claimed.
**You make a snug neoprene sleeve with a glued-and-stitched butt seam, then test the claim** - a strip of neoprene and a natural rubber band in mineral oil for a day, measured before and after.
Cơ bản
2 hours plus 24 h soak
Hướng dẫn
1
1
Size the sleeve
Size the sleeve
Measure the bottle diameter. Run the notebook's sizing cell for the cut width and base disc.
Công cụ cần thiết:
 Thước cặp điện tử 6 inch
 Thước kẻ
2
2
Mark the pieces
Mark the pieces
On 3 mm neoprene, chalk a rectangle: cut width x 200 mm tall. Chalk the base disc beside it.
Vật liệu cho bước này:
 Vải neopren1 tờ
Công cụ cần thiết:
 Phấn thợ mayThước kẻ
3
3
Cut
Cut
Cut the rectangle with the rotary cutter against the ruler, one firm pass. Cut the disc with fabric scissors.
Công cụ cần thiết:
 Bộ dao cắt tròn và thảm cắt
 Kéo cắt vải
4
4
Cement the edges
Cement the edges
Brush a thin coat of contact cement on both 3 mm long edges, using the brush in the can lid. Leave until touch-dry, as the can directs.
Vật liệu cho bước này:
 Keo dán tiếp xúc10 ml
Công cụ cần thiết:
 Đồng hồ bấm giờ
5
5
Butt the seam
Butt the seam
Roll into a tube and press the edges face to face, no overlap. Contact cement grabs on touch - align the top first, then close downward. Clip and leave 10 minutes.
Công cụ cần thiết:
 Kẹp bướm lớn
6
6
Stitch across the seam
Stitch across the seam
Zigzag across the glued seam, stitch width wide enough to bite both sides. Stretch slightly as you sew so the thread gives with the fabric.
Vật liệu cho bước này:
 Chỉ polyester5 mét
Công cụ cần thiết:
 Máy khâu
7
7
Close the base
Close the base
Cement the disc rim and the tube's bottom edge, press together, then whip-stitch round by hand.
Vật liệu cho bước này:
Keo dán tiếp xúc5 mlChỉ polyester2 métCông cụ cần thiết:
 Kim khâu tay
8
8
Set up the swell test
Set up the swell test
Cut a 50 x 10 mm neoprene offcut. Cut open a rubber band to a 50 mm strip. Measure both. Submerge in mineral oil in a lidded jar for 24 hours.
Vật liệu cho bước này:
 Dầu khoáng dùng cho thực phẩm100 ml
 Dây thun1 gói
Công cụ cần thiết:
 Lọ thuỷ tinhThước cặp điện tử 6 inch
9
9
Measure again
Measure again
Blot the strips dry and measure their lengths. Enter all four numbers in the notebook.
Công cụ cần thiết:
Thước cặp điện tử 6 inch10
10
Chlorine, swell and sizing
Chlorine, swell and sizing
Đang tải sổ tay Jupyter…
11
11
History & Context
History & Context
Neoprene grew out of Julius Nieuwland's acetylene chemistry at Notre Dame, which DuPont licensed; Collins' chloroprene came from that work in Carothers' laboratory, the same group that produced nylon.
Its limits are the other side of its strength: it costs more than natural rubber, is less springy, and stiffens in deep cold. The sheet you used is almost certainly closed-cell neoprene FOAM laminated to nylon jersey - the form wetsuits made familiar - where trapped gas cells add insulation that solid neoprene lacks.
Vật liệu
5- 1 tờTạm thời
- 15 mlTạm thời
- 7 métTạm thời
- Tạm thời
- 1 góiTạm thời
Công cụ yêu cầu
10- Tạm thời
- Tạm thời
- Tạm thời
- Tạm thời
- Tạm thời
- Tạm thời
- Tạm thời
- Tạm thời
- Tạm thời
- Tạm thời
Bản thiết kế này làm ra

Blueprint liên quan
Các blueprint này chia sẻ kiến thức — kỹ thuật, vật liệu hoặc nguyên tắc


CC0 Phạm vi công cộng
Bản thiết kế này được phát hành theo CC0. Bạn tự do sao chép, sửa đổi, phân phối và sử dụng cho bất kỳ mục đích nào mà không cần xin phép.
Hỗ trợ nhà sáng tạo bằng cách mua sản phẩm qua bản thiết kế, nơi họ nhận Hoa hồng nhà sáng tạo do nhà bán hàng đặt, hoặc tạo phiên bản mới và kết nối trong bản thiết kế riêng để chia sẻ doanh thu.