NGHỆ THUẬT
LÀM ĐẸP VÀ SỨC KHỎE
THỦ CÔNG
VĂN HÓA VÀ LỊCH SỬ
GIẢI TRÍ
MÔI TRƯỜNG
THỰC PHẨM VÀ ĐỒ UỐNG
KỸ THUẬT NGƯỢC
KHOA HỌC
THỂ THAO
CÔNG NGHỆ
THIẾT BỊ ĐEO
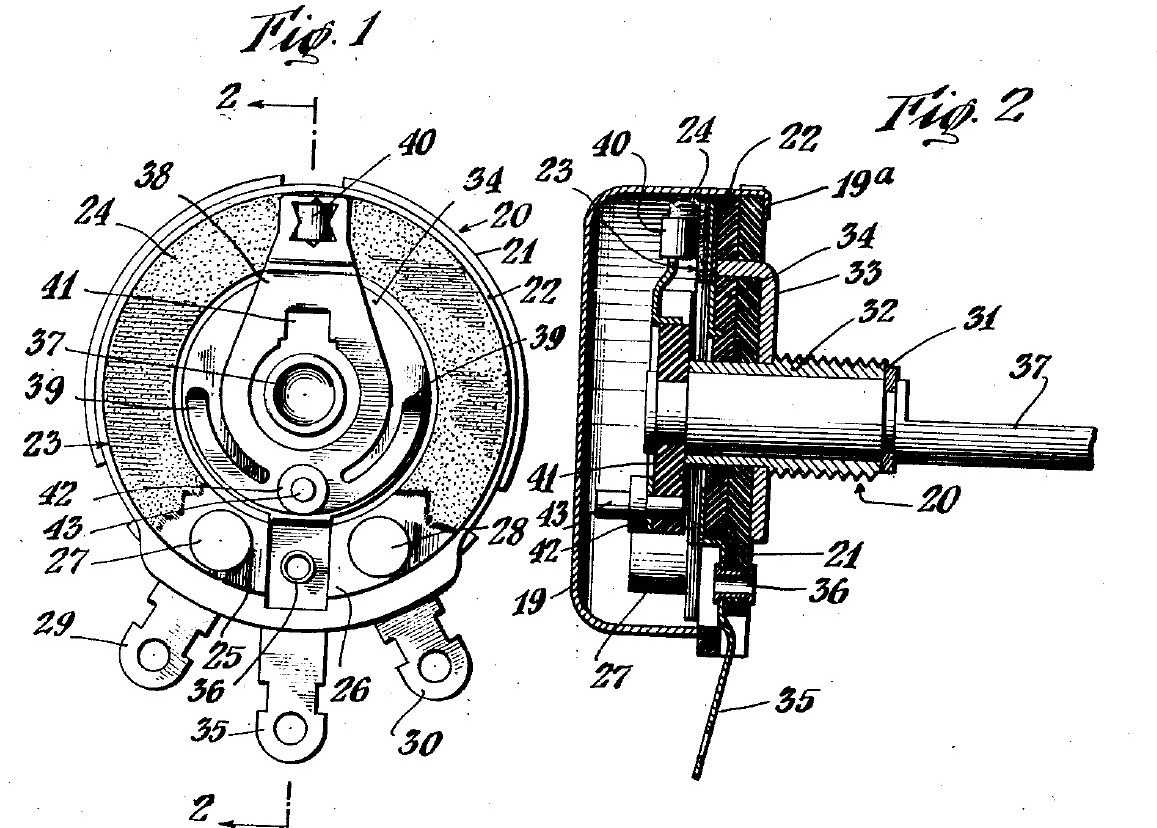


Potentiometer: Mallory Volume Control on a Tung-Oil Paper Ring
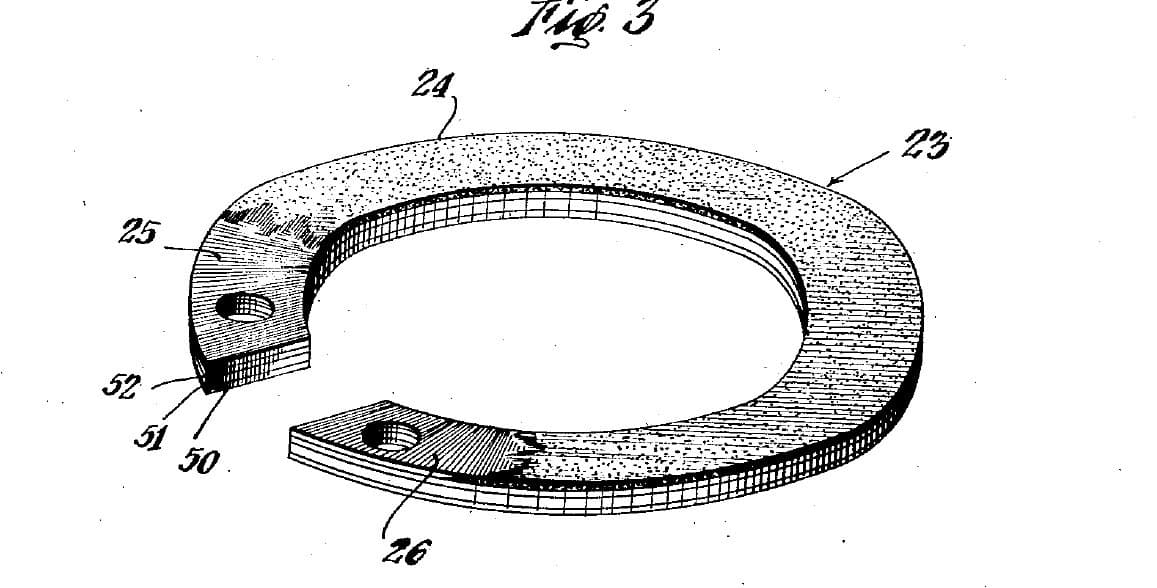
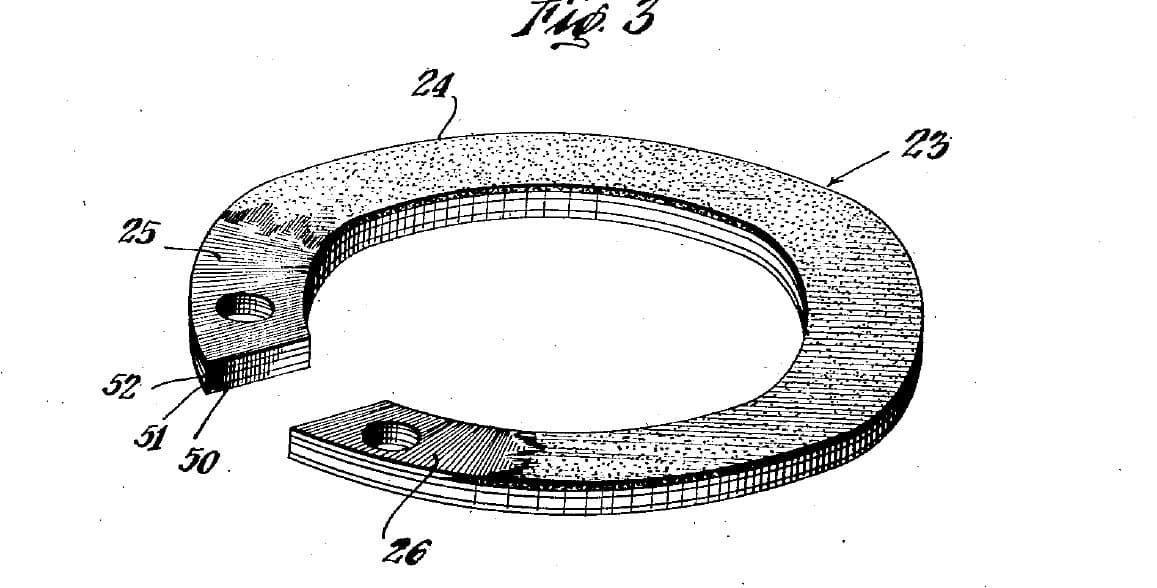
A 1930s radio volume control from Mallory's patent (US 2,144,925, 1939). A carbon ring sits on a base of two resin-fibre discs. A spring arm on the shaft wipes the ring with one contact and a centre metal ring with its fingers, so turning the knob changes the resistance between the centre lug and either end lug. The patent gives no sizes; the parts are named by what they do.
The picture: the patent's drawing (Figs. 1 and 2).
Trung cấp
2 hours
Hướng dẫn
1
1
Clamp the two base discs on the bushing
Clamp the two base discs on the bushing
Stack two discs of resin-impregnated fibre. A metal bushing through their centres clamps them together, with a metal disc clamped against the back of the rear disc. Ours: close the bushing with a hammer and rivet set.
Vật liệu cho bước này:
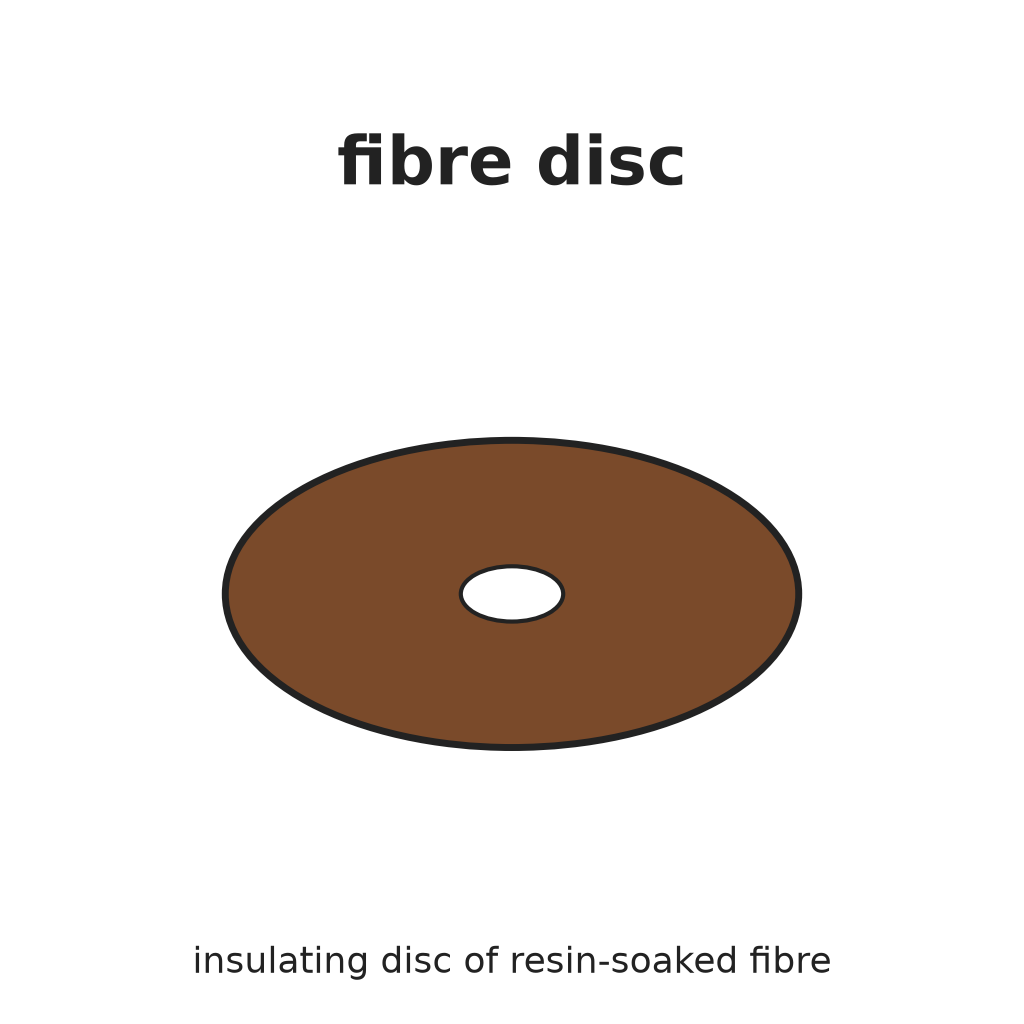 Đĩa sợi tẩm nhựa2 cái
 Ống lót kim loại1 cái
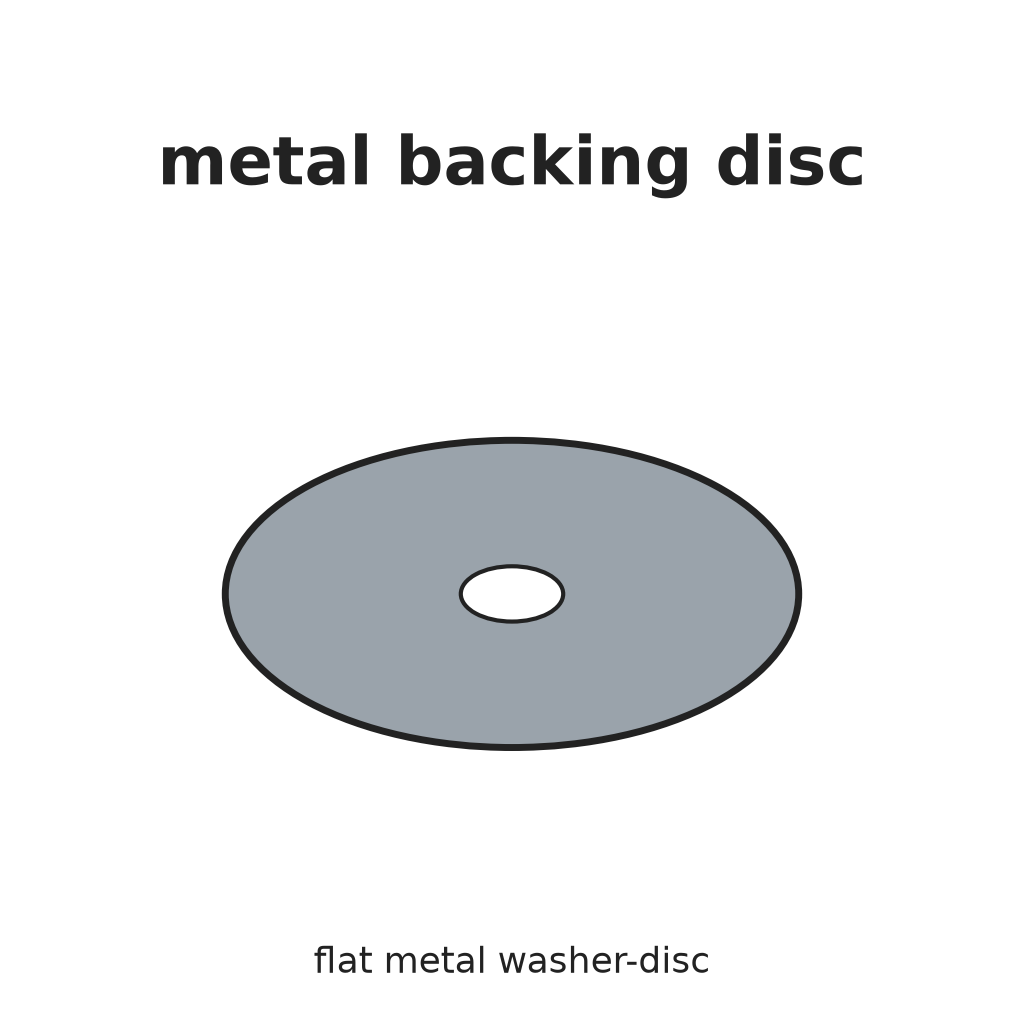 Đĩa đỡ kim loại phía sau1 cái
Công cụ cần thiết:
 Búa tán đinh
 Bộ tán rivê
2
2
Fit the centre contact ring
Fit the centre contact ring
Lay the metal contact ring, with its own terminal lug, on the face of the front disc, centred. An eyelet (or rivet) through the lug holds it. Ours: set with a rivet set and hammer.
Vật liệu cho bước này:
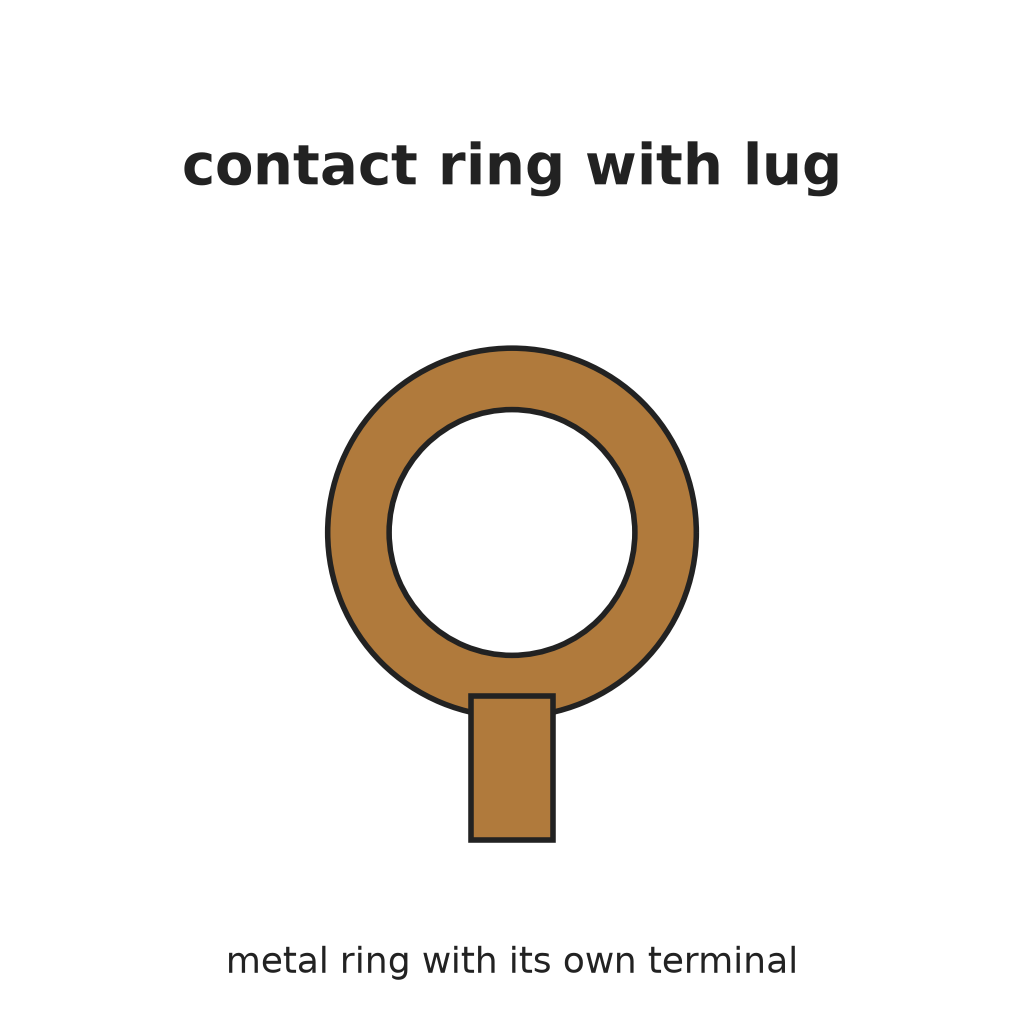 Vòng tiếp xúc có tai đấu nối1 cái
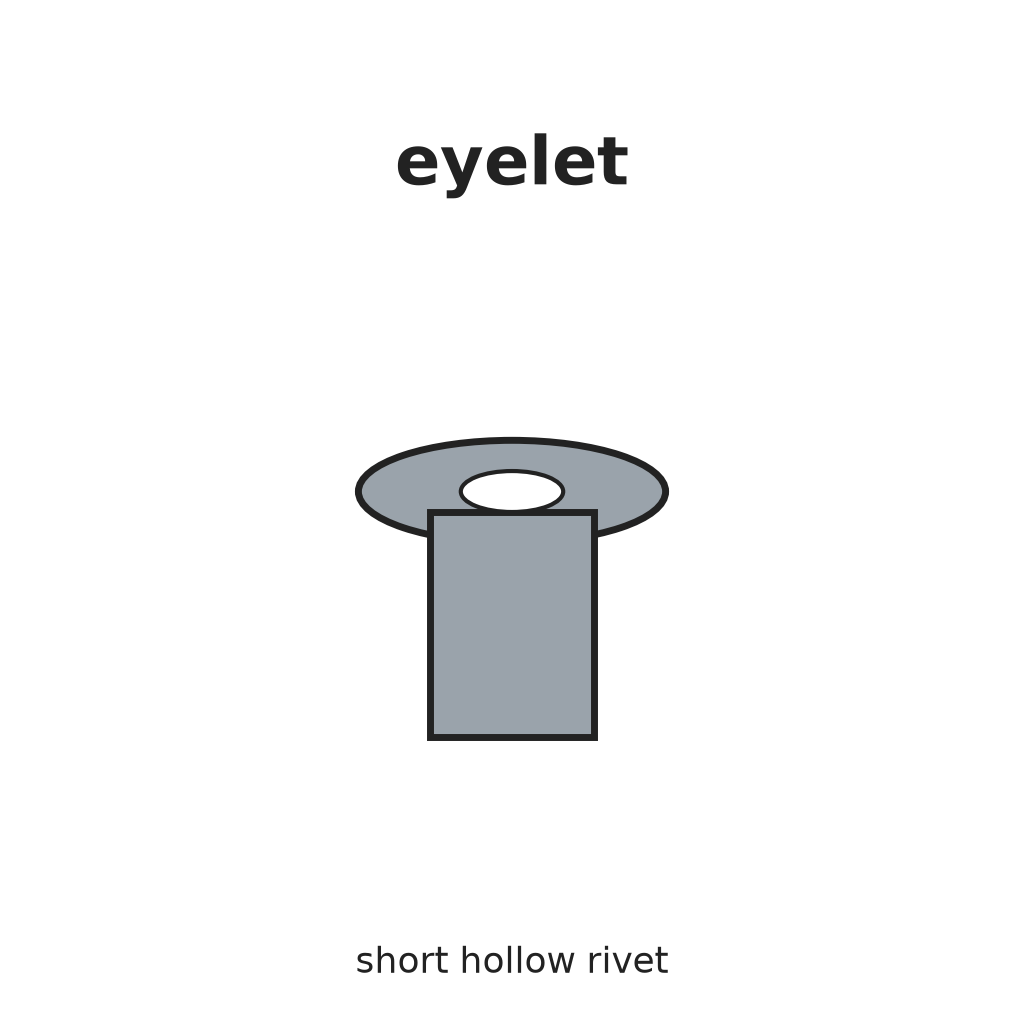 Ôi-lét1 cái
Công cụ cần thiết:
Búa tán đinhBộ tán rivê3
3
Bolt on the resistance ring
Bolt on the resistance ring
Lay the carbon resistance ring on the front disc, round the contact ring. Two terminal bolts pass through the ring's silver-painted ends and the disc; each holds a terminal lug under the disc. The bolts clamp the ring and connect its ends.
Vật liệu cho bước này:
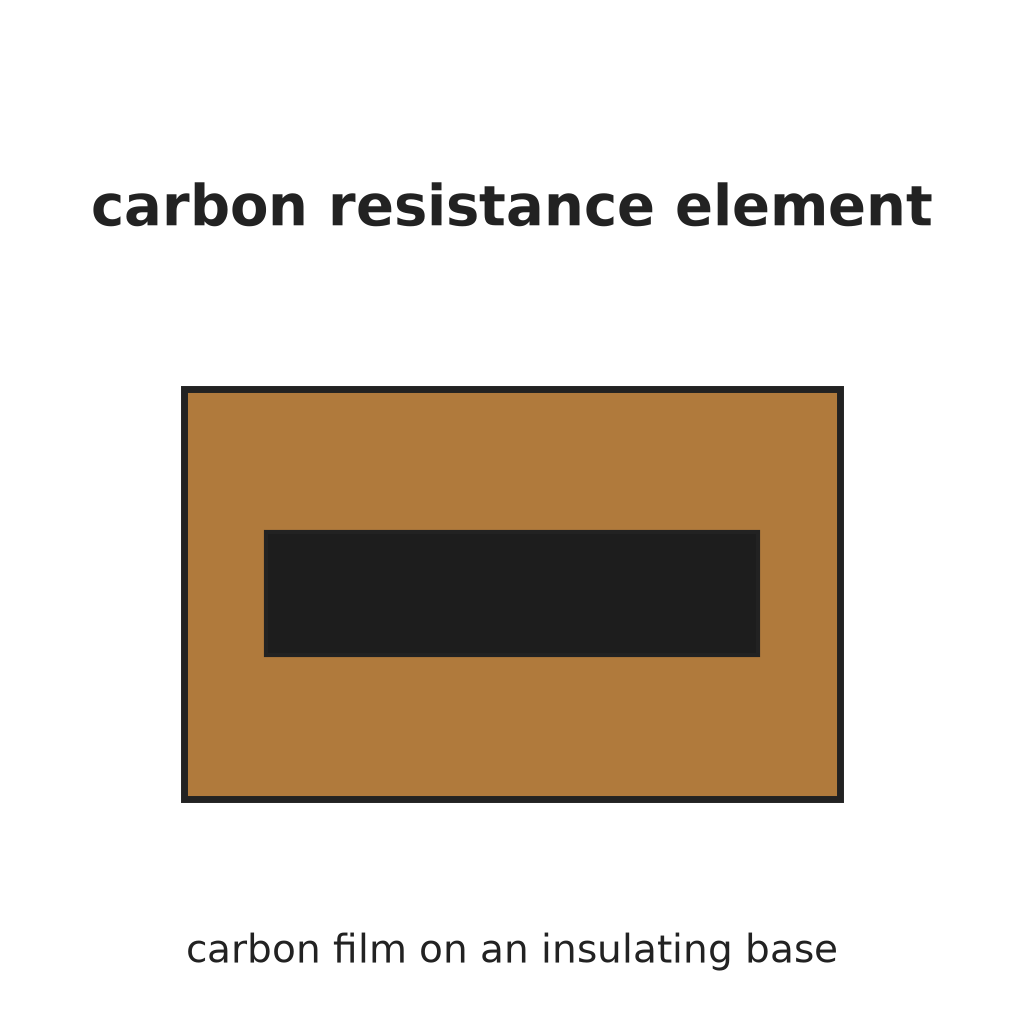 Phần tử điện trở carbon1 cái
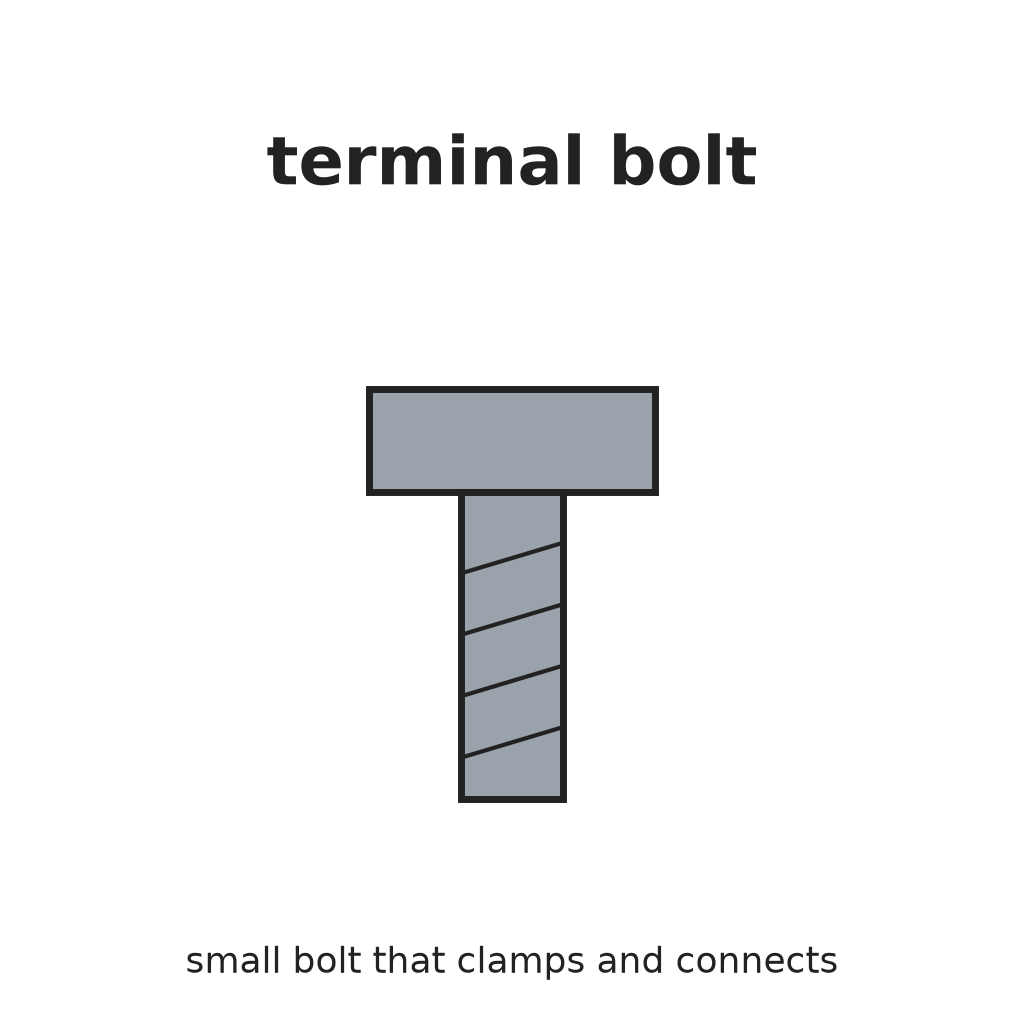 Bu lông đấu nối2 cái
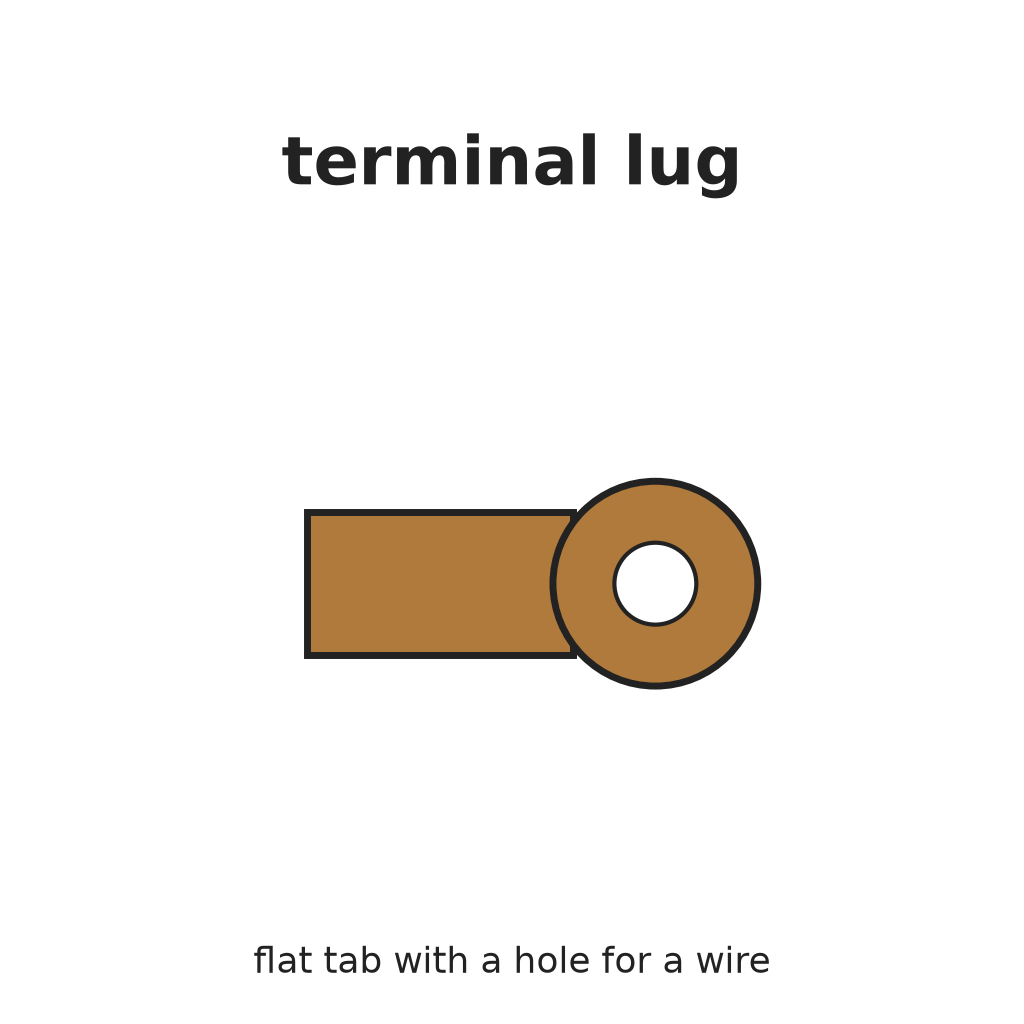 Tai đấu nối2 cái
Công cụ cần thiết:
 Kìm mỏ nhọn
4
4
Fit shaft and spring contact arm
Fit shaft and spring contact arm
Put the shaft through the bushing. On its front end fix the spring contact arm over a small piece of sheet insulation: upset the shaft end to hold the insulation, and clamp arm and insulation together with a rivet pin. The arm's contactor rides on the carbon track, its fingers on the contact ring.
Vật liệu cho bước này:
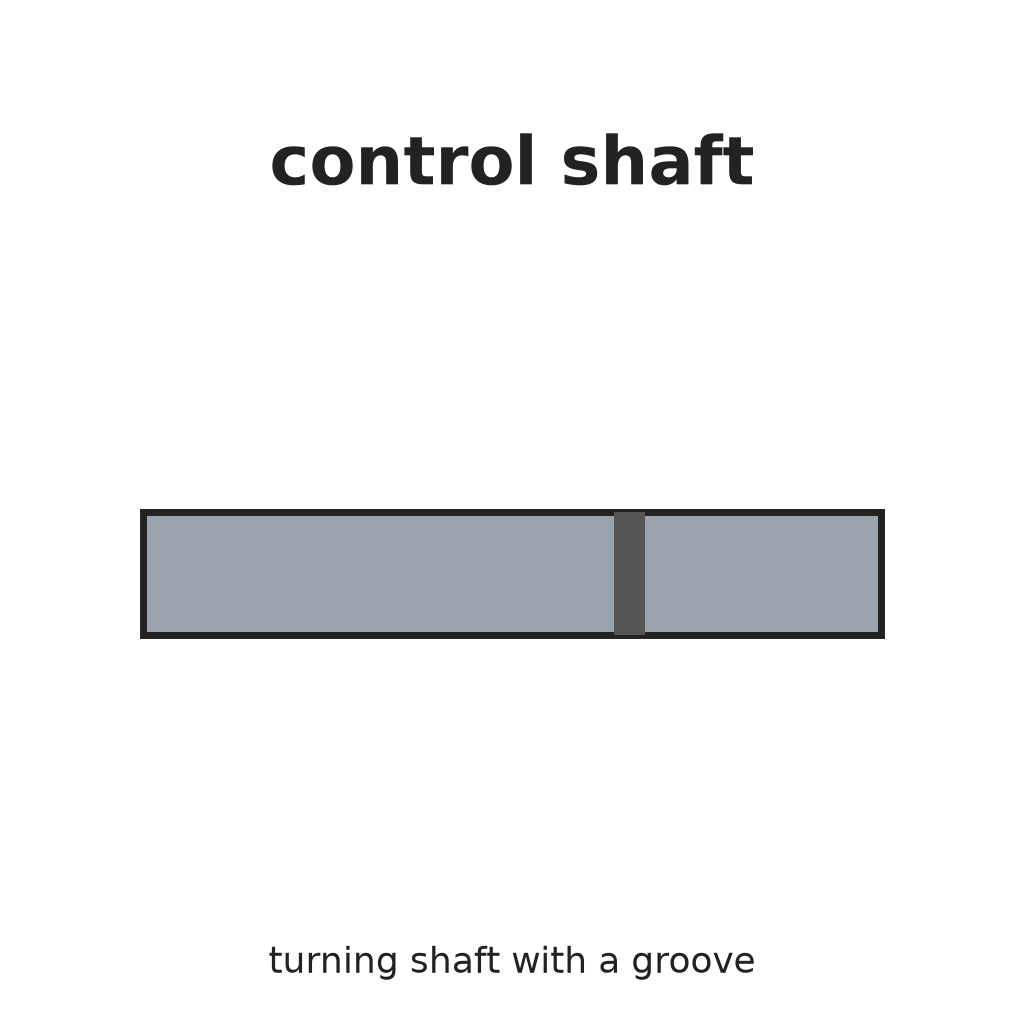 Trục điều khiển1 cái
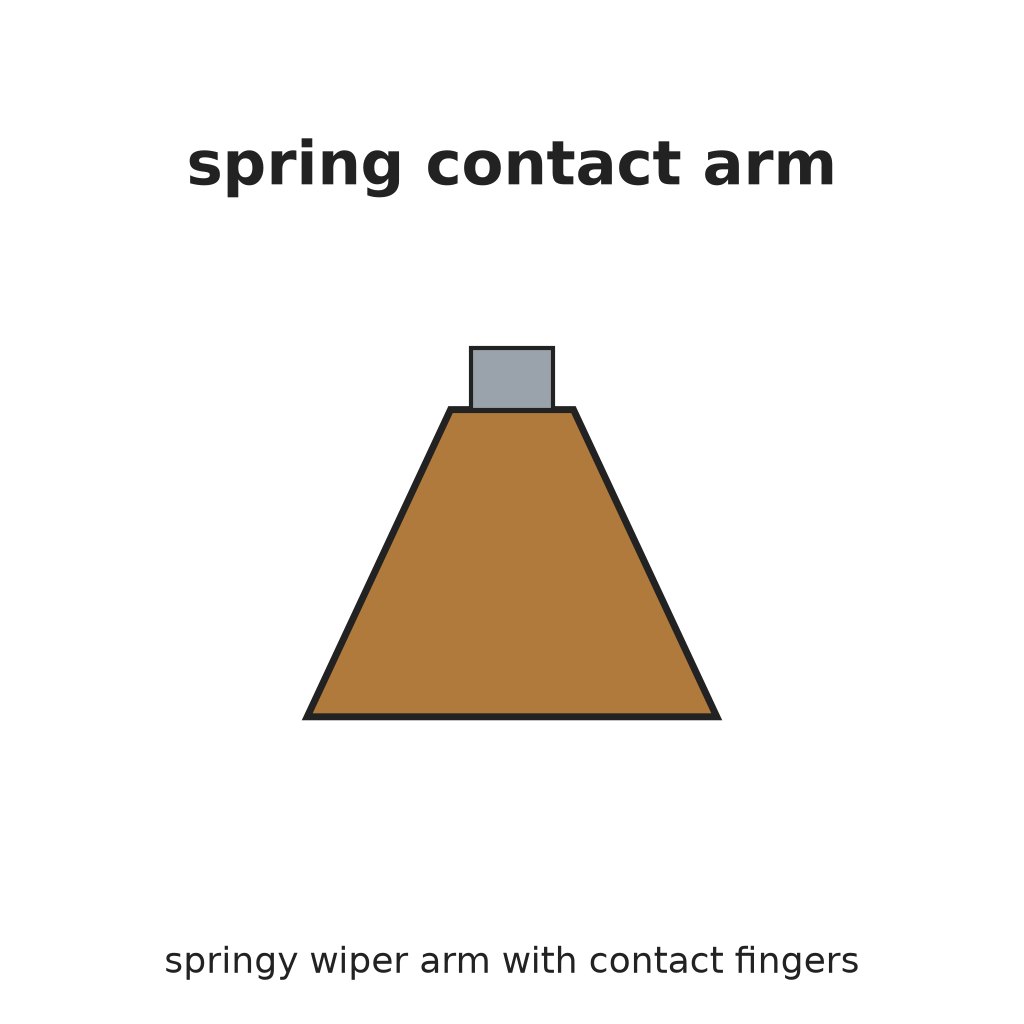 Cần tiếp xúc lò xo1 cái
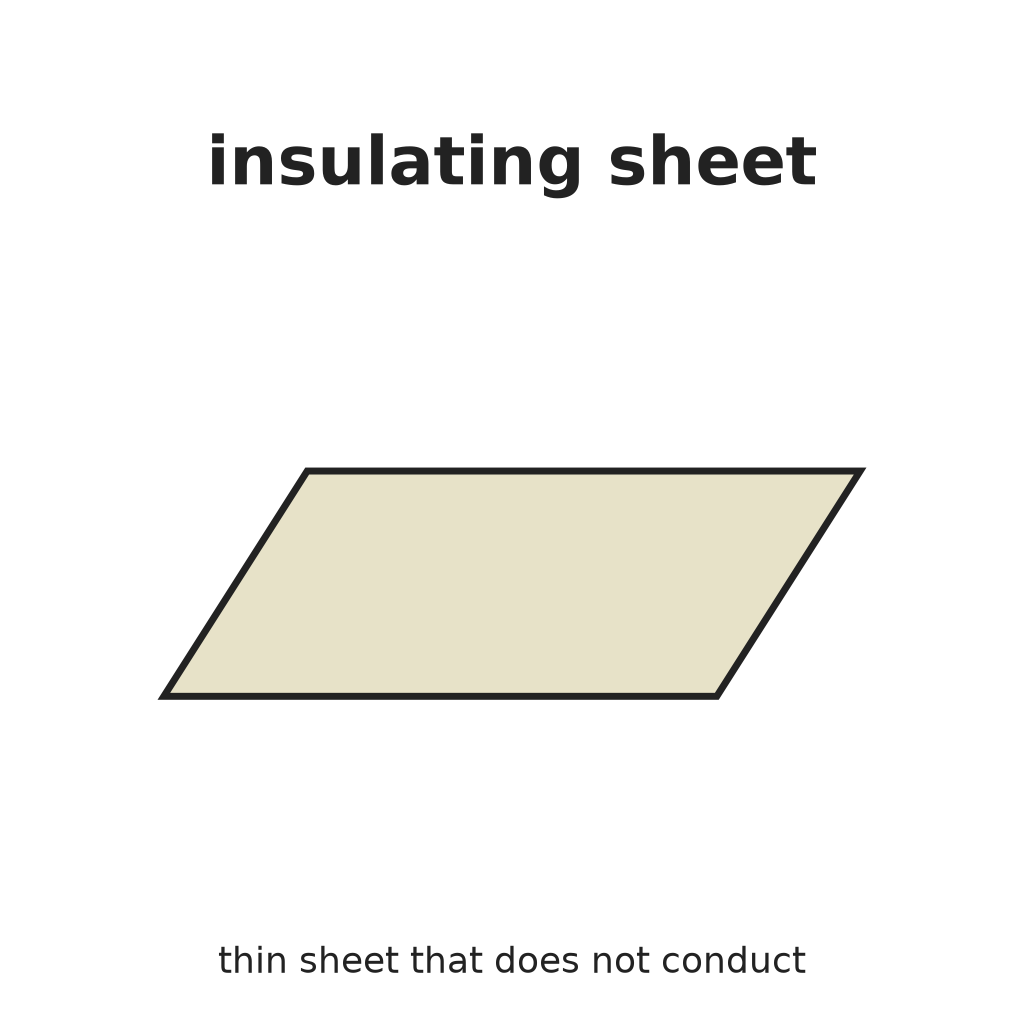 Tấm cách điện1 cái
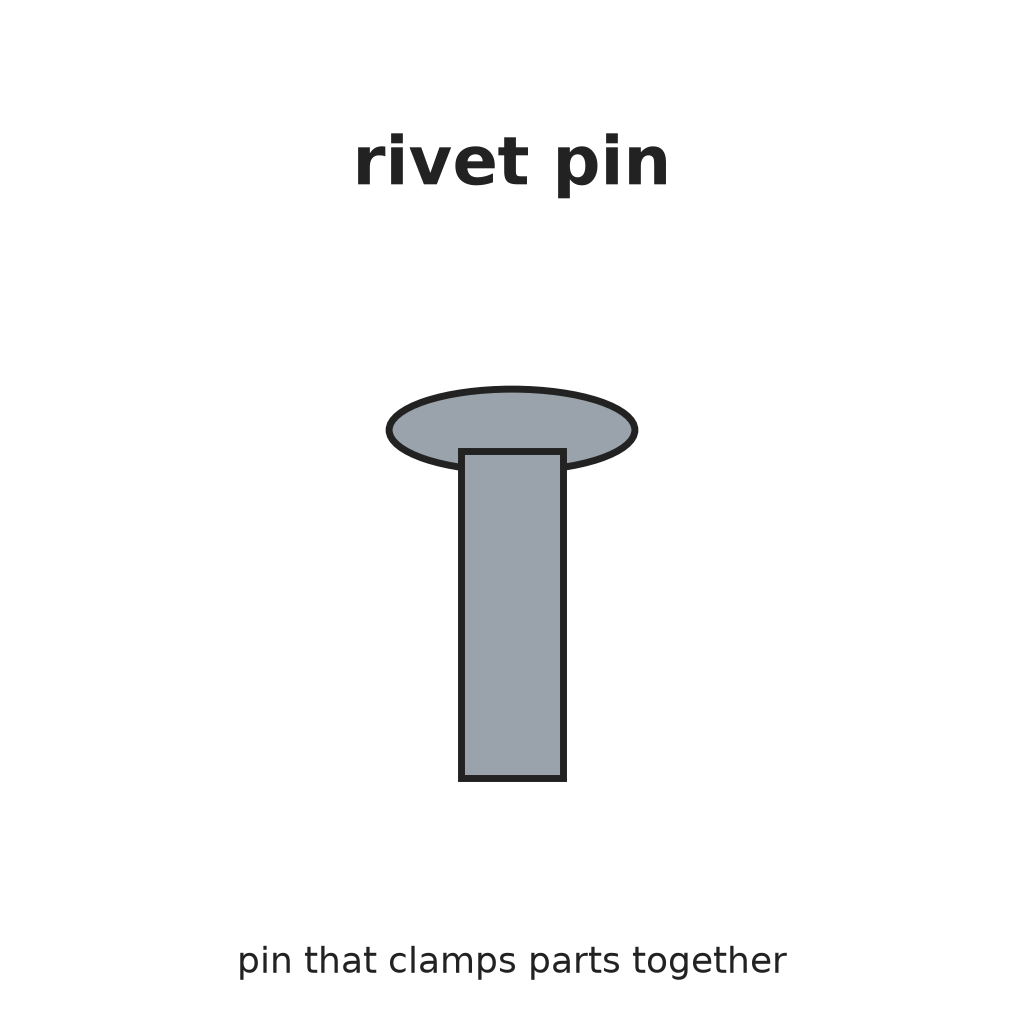 Chốt đinh tán1 cái
Công cụ cần thiết:
Búa tán đinhBộ tán rivê5
5
Clip washer and cover
Clip washer and cover
Snap a clip washer into the groove in the shaft behind the bushing. It stops the shaft sliding and keeps the arm and fingers pressed on their rings. Fix the metal cover cap over the parts by bending its ears onto the discs.
Vật liệu cho bước này:
 Vòng đệm kẹp1 cái
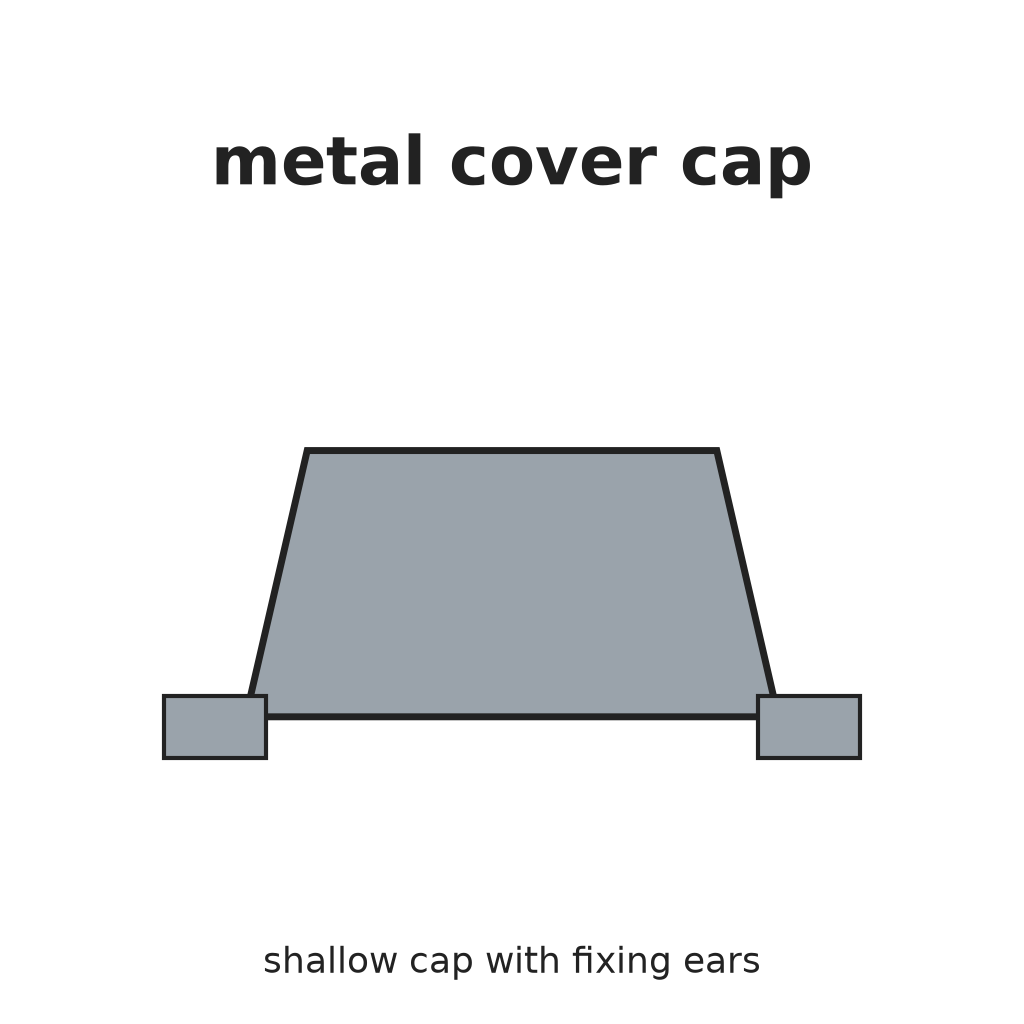 Nắp che kim loại1 cái
Công cụ cần thiết:
Kìm mỏ nhọn Kìm mỏ dẹt
Vật liệu
14- 2 cáiTạm thời
- 1 cáiTạm thời
- Tạm thời
- Tạm thời
- 1 cáiTạm thời
- Tạm thời
- 2 cáiTạm thời
- 2 cáiTạm thời
- 1 cáiTạm thời
- 1 cáiTạm thời
- 1 cáiTạm thời
- 1 cáiTạm thời
- 1 cáiTạm thời
- 1 cáiTạm thời
Bản thiết kế này làm ra
Blueprint liên quan
Các blueprint này chia sẻ kiến thức — kỹ thuật, vật liệu hoặc nguyên tắc
CC0 Phạm vi công cộng
Bản thiết kế này được phát hành theo CC0. Bạn tự do sao chép, sửa đổi, phân phối và sử dụng cho bất kỳ mục đích nào mà không cần xin phép.
Hỗ trợ nhà sáng tạo bằng cách mua sản phẩm qua bản thiết kế, nơi họ nhận Hoa hồng nhà sáng tạo do nhà bán hàng đặt, hoặc tạo phiên bản mới và kết nối trong bản thiết kế riêng để chia sẻ doanh thu.